This easy DIY sign is a great addition to your farmhouse decor! Make this DIY scroll sign without power tools using printable sign templates. An awesome DIY sign on paper!
I am so excited to share this DIY decor project with you guys!
It’s been a long time in the making because… it’s not just ONE DIY sign…
It’s 8 DIY signs… all rolled up into one TOTALLY AWESOME DIY scroll sign!
You all loved these easy DIY wood signs so much, that I was inspired to create these DIY signs on paper. And they are even EASIER than my wood signs, because you don’t need a single power tool to make them (unless you count a glue gun!).
And what I love most about this DIY scroll sign is that you can make about 10-12 signs in one, and just roll it up to switch the signs for different seasons.
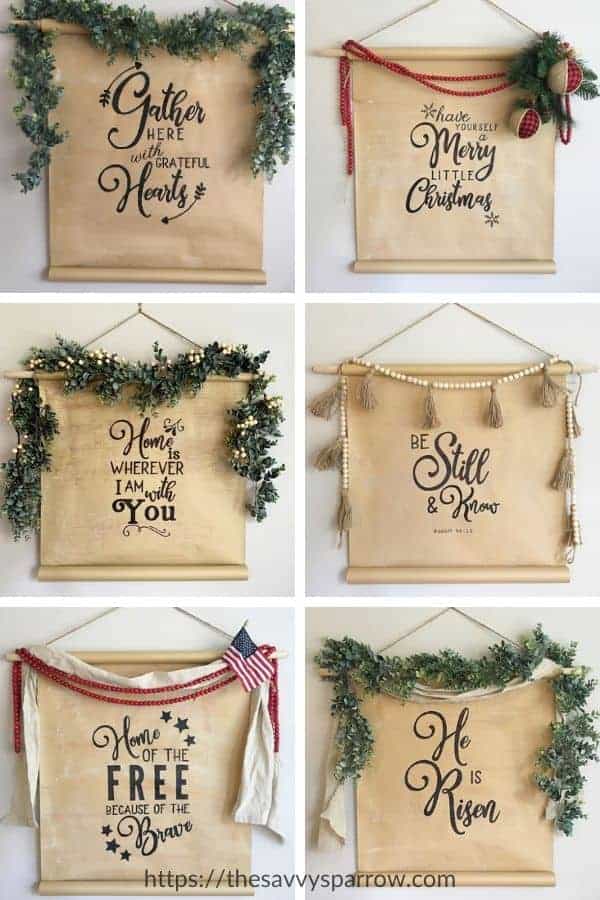
Yup, ALL of these scroll signs are on ONE kraft paper roll! I just switched out the garlands and fun embellishments to go with the different seasons.
And these pictures don’t even do this scroll sign justice! It is SO lovely in person!
Here’s how to make your own scroll sign:
*This post contains affiliate links, which means I earn a commission from these links at no additional cost to you. Read my full disclosure here.
How to Make a Scroll Sign
Gather your supplies to make a scroll sign.
Here are the supplies you will need to make your own scroll sign:
Kraft paper roll
I got my kraft paper roll from Hobby Lobby this fall. It had a “Fall Decor” sticker on the package, so I’m not sure if they sell it year round. If not, you can find a similar kraft paper roll here (affiliate).
My paper roll measures 25″ wide, but paper rolls between 18″-25″ wide should work well with my sign templates.
DIY Sign Templates
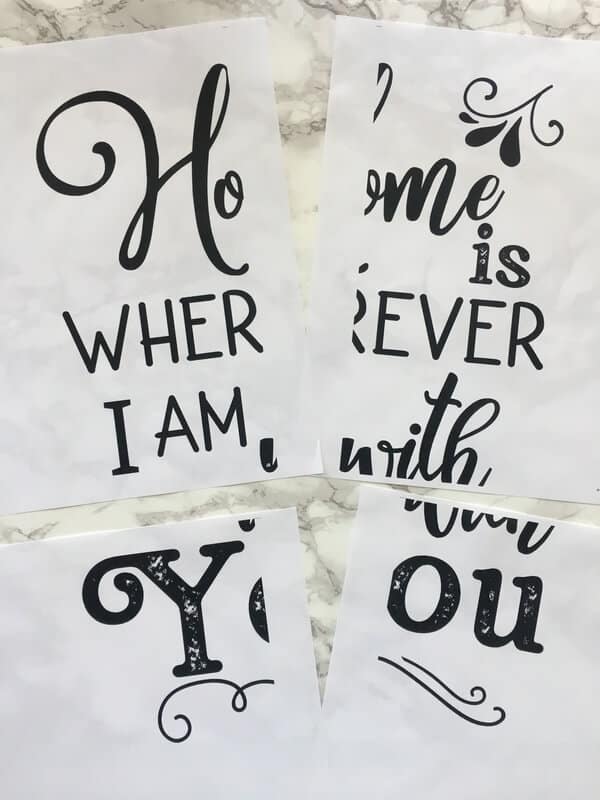
The great thing about my sign templates is that they can be printed on your home printer and taped together like a big puzzle. So, these templates are perfect for making larger signs without having to go to a printing store to get a large print!
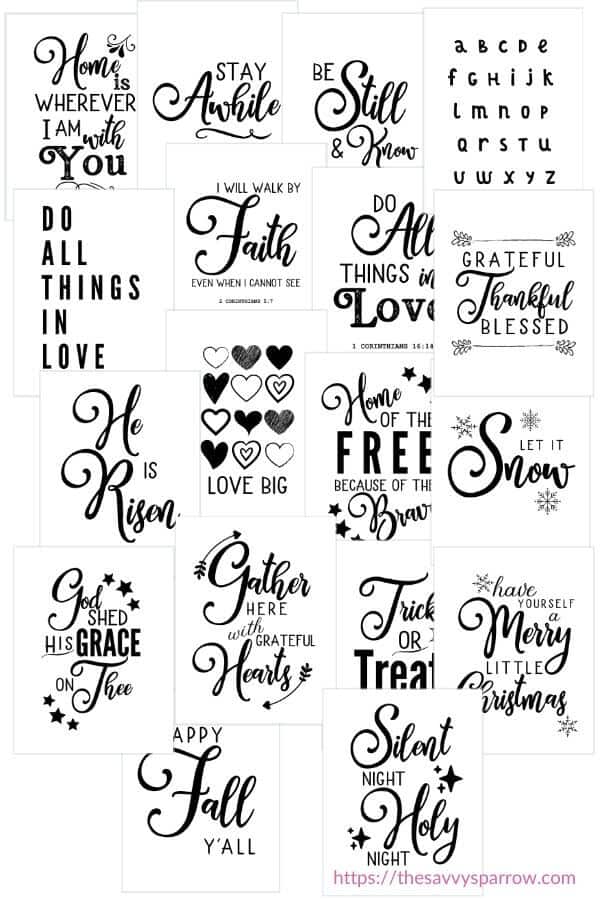
I’ll send you one FREE DIY sign template as a gift when you sign up for my FREE email newsletter using the form below:
Or, you can head here to see all of my DIY Sign Templates!
Carbon Paper
This is the carbon paper that I used (affiliate), and I LOVE it (plus it comes with a set of styluses to use to transfer your designs)! It is super affordable, and I was able to trace 3 different sign templates using just one sheet.
Permanent marker
I tried this project with Sharpie marker AND permanent markers from Dollar Tree, and the Dollar Tree markers won by a landslide!
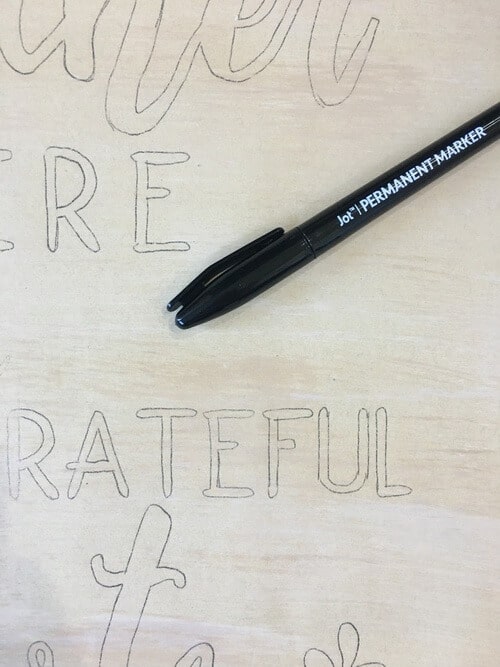
The Dollar Tree markers that I used say “Jot Permanent Marker” on them, and they come in a 4 pack for just $1.
They worked great for this DIY scroll sign because they lasted WAY longer than the Sharpie brand markers. Plus, they were much easier to use for coloring in the thick letters than the Sharpie marker. Highly recommend these permanent markers!
Acrylic paints and paint brush
I used the small tubes of acrylic paint that you can buy for about $1 at most craft stores. The colors I used were: Cocoa, Burlap, and Pale Gray.
Just visit the craft store and pick out some colors that look good with your kraft paper roll.
Wooden dowel
My wooden dowel is 3/4″ thick. I had my husband trim it down a few inches with his saw, but you can also just leave it longer and drape some garland over the excess.
Jute rope
Hot glue gun and glue sticks
Paint your kraft paper using the “dry brushing” technique.
I rolled out my kraft paper across my living room floor and painted a long section of paper all at once to save time.
And I definitely recommend putting a foam board from Dollar Tree under the section that you are painting. The foam board will protect your floors, and it gives you a smooth surface to paint on.
I skipped this step initially, and I ended up with long parallel lines imprinted on my kraft paper from the pattern of my hardwood floors.
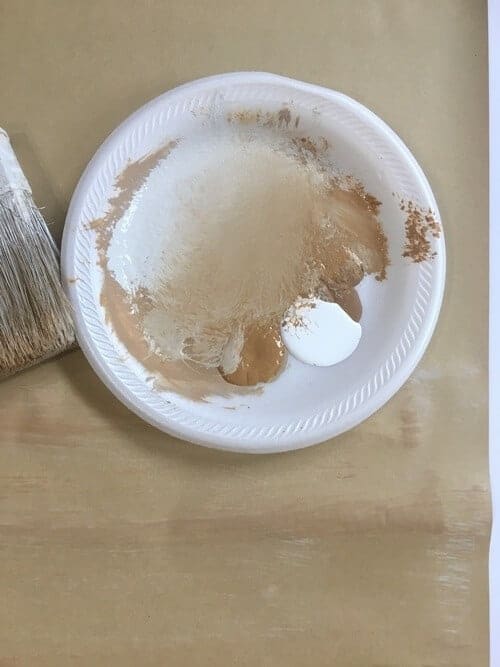
Don’t know how to dry brush? Don’t worry!
“Dry brushing” is exactly how it sounds… you paint with a dry brush, using just a little bit of paint so that you get a streaky look.
I used the dry brushing technique on my scroll sign to give it an aged, rustic look, but you can skip this step completely and your sign will still look awesome!
I explain how I did the “dry brushing” in the video at the end of this post!
Print, cut, and tape your DIY sign templates.
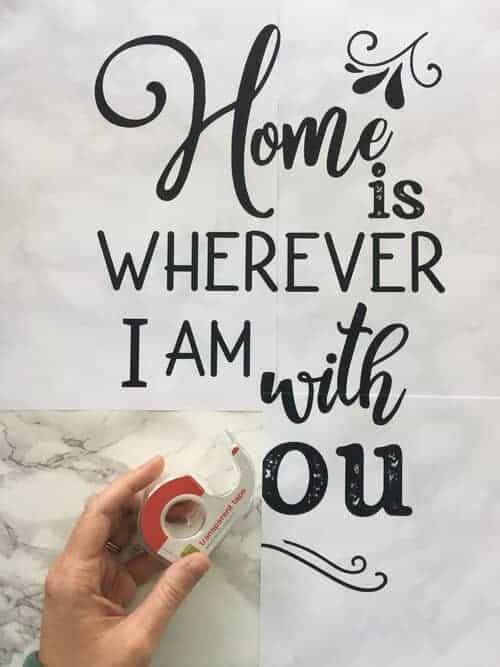
My DIY sign templates come in two versions: 1) a full 8.5″ x 11″ PDF and 2) a tiled PDF that is divided into 4 pages like the picture above.
The tiled PDF version has small margin lines so you can see where to cut and piece the pages together. Then, just use tape to tape the 4 pages together into one large DIY sign template.
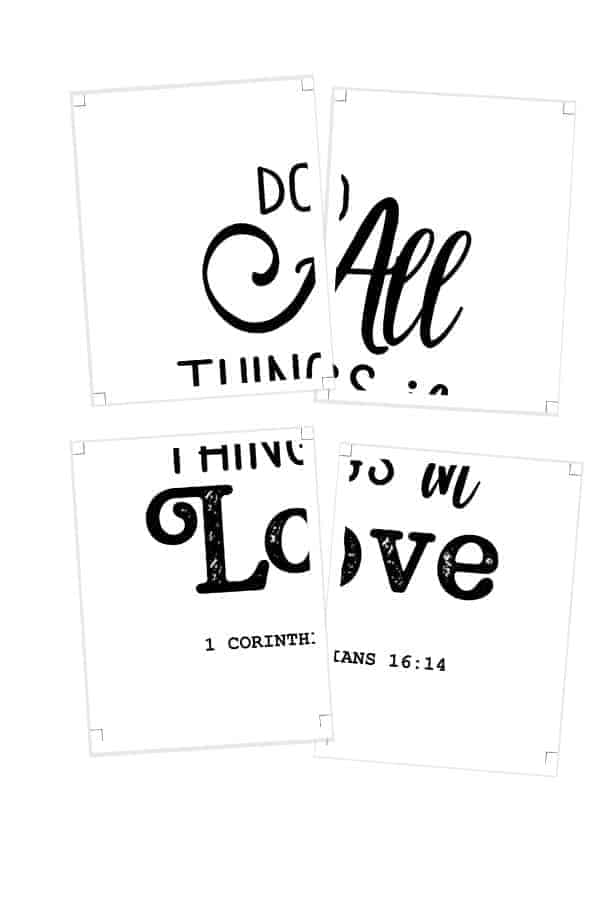
So you can make a large sign without having to make a special trip to the print shop!
Once your paint is dry, place carbon paper in between your DIY sign template and your kraft paper.
Line up your sign template so that it is centered on your kraft paper.
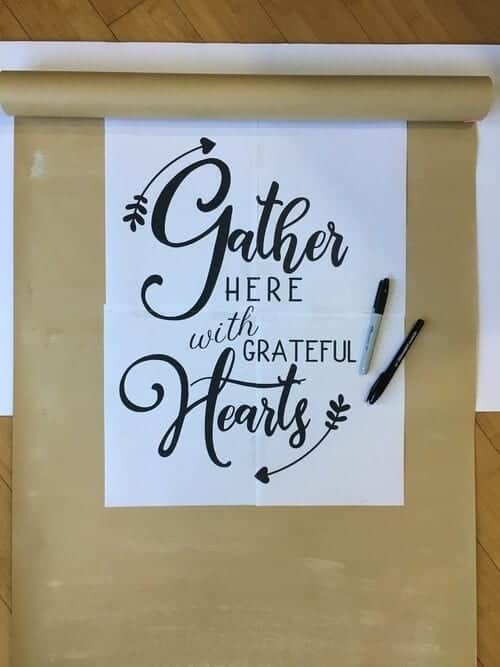
Then, take one sheet of carbon paper and place it shiny side down underneath your template. So, the carbon paper should be in between your kraft paper and sign template.
If you don’t have carbon paper, you can use the same technique that I used for my DIY wood signs here, but it will take longer. Since I was tracing about 10 different sign templates, I chose to invest in the carbon paper to make this project easier… and I’m glad I did!
Trace over your design using a stylus or ball point pen.
Trace the outline of the design using a stylus or a ball point pen.
I like the fine point of a stylus, but a ball point pen allows you to easily see the parts that you have already traced.
While I was tracing with the stylus, I would occasionally forget the parts that I had gone over, and I would have to lift the papers to see where I missed. That’s the benefit of using a colored ball point pen… you can easily tell where you’ve already traced.
If you do have to lift your design to check it mid-tracing, then be sure that you have a firm grip on your DIY sign template so that it doesn’t move.
Here’s what happened the first time that I checked on my design underneath and accidentally shifted my template:
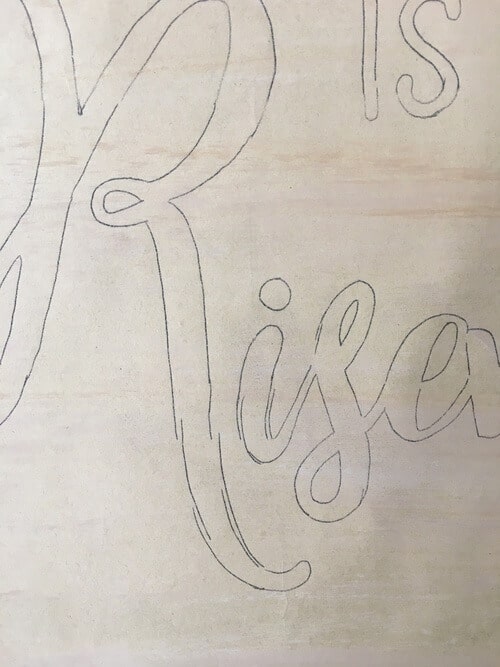
See how the “R” got messed up a bit?
You may want to use some painter’s tape to hold your design in place so this doesn’t happen to you. It’s really hard to get your template lined back up again if it moves.
Color in the design using permanent marker.
As I mentioned, the Dollar Tree permanent markers worked WAY better for coloring in your design.
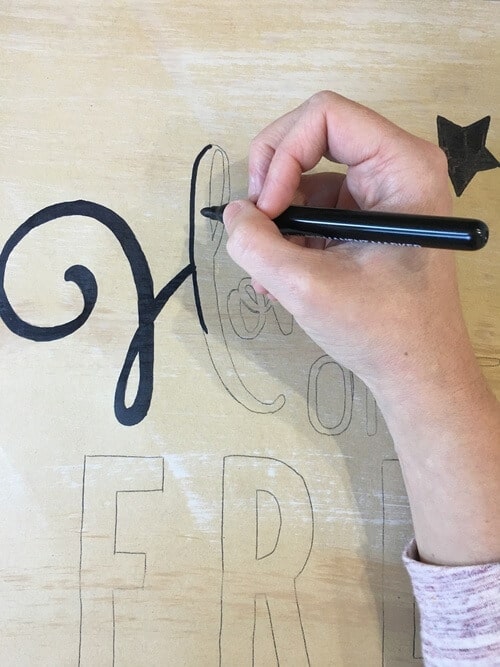
Once your first design is complete, move down the kraft paper, and trace the next sign template.
Roll the kraft paper up until you don’t see any marker bleed through on the roll. (I explain this in the video below!)
Then, you’re ready to start tracing your next sign template onto your scroll sign.
I planned my DIY scroll sign so that I had a sign that would be good for year round on top, and then I just added sign templates in order of holiday.
I traced on my sign templates in this order:
- “Home is wherever I am with you”
- “Be Still and Know”
- He is Risen (for Easter)
- “Home of the Free because of the Brave” (for July 4th)
- Trick or Treat (for Halloween)
- “Gather here with grateful hearts” (for Thanksgiving)
- “Have yourself a Merry Little Christmas”
I also have LOADS of other DIY sign templates that you can find here!
After you’ve added all of your signs to your DIY scroll sign, then cut off the excess kraft paper.
Be sure that you’ve added all of the signs that you want before you cut off the end of your paper… there’s no going back if you decide you want space to stencil one more sign.
Also, make sure that you leave enough space at the bottom to roll it up and give it the scroll look when you are displaying your last DIY sign.
Hot glue the wooden dowel to the top edge of your finished kraft paper roll.
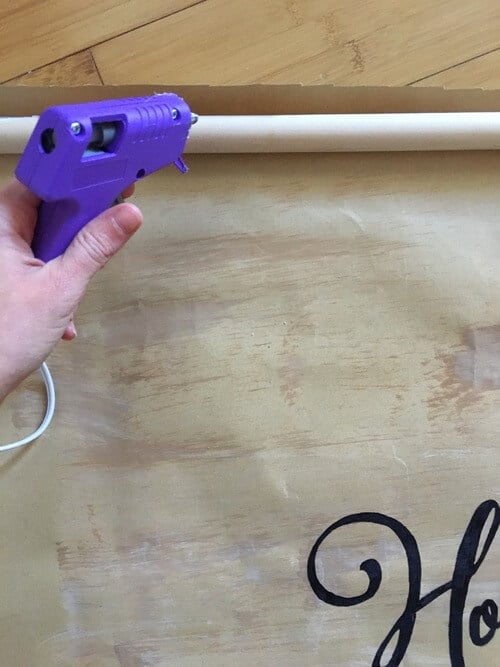
Just run a strip of hot glue down the top edge of the kraft paper and roll it around the wooden dowel.
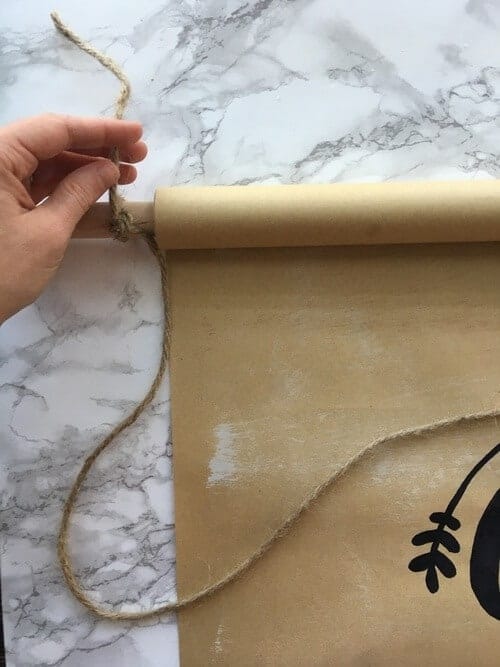
Tie jute rope onto the wooden dowel to use as a hanger for your scroll sign.
Roll up the bottom of your DIY scroll sign and clip it in place.
You will want to use small or medium sized binder clips instead of paper clips, because your scroll will be thick, especially if you trace on 8 or more sign templates.
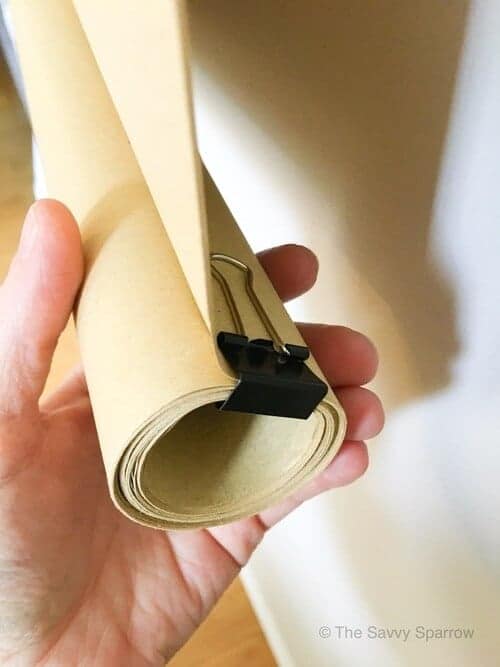
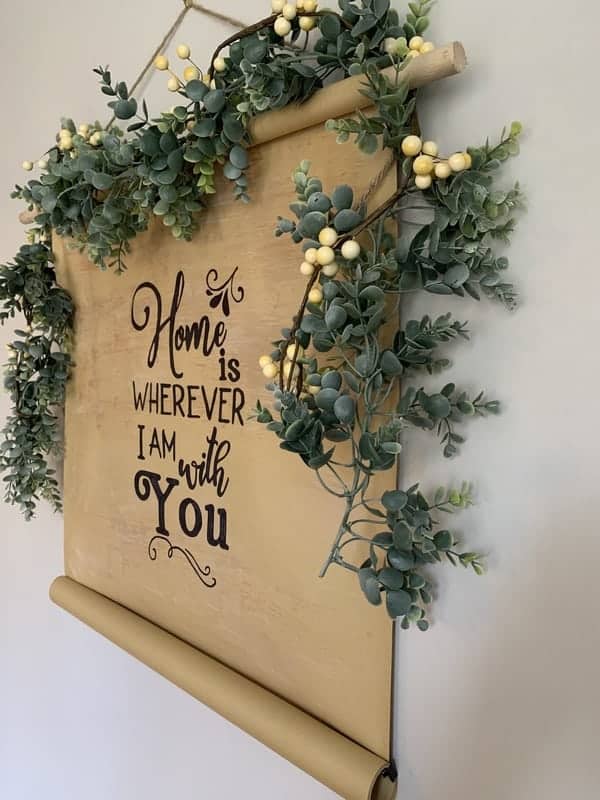
I placed my binder clips on the back side of the roll so that you can’t see them from the front of the sign.
See? Look hard and you can see the black binder clip on the back of the bottom of the scroll sign, but the clips aren’t visible from the front of the sign:
To change your scroll sign from one season to the next:
Just roll the top and bottom of your kraft paper roll until the sign that you want is showing. Then, use binder clips to clip both sides of the bottom of the sign in place.
When you want to change it out, just remove the binder clips, roll to the next sign, and put the clips back in place. Easy peasy!
Just be careful! Remember, this is a PAPER sign so take care when you are moving your binder clips on and off.
How to Decorate Your Scroll Signs
Now that you’re done making your scroll signs, you get to decorate them for the different seasons. This is the fun part!
Here’s how I decorated some of my scroll signs:
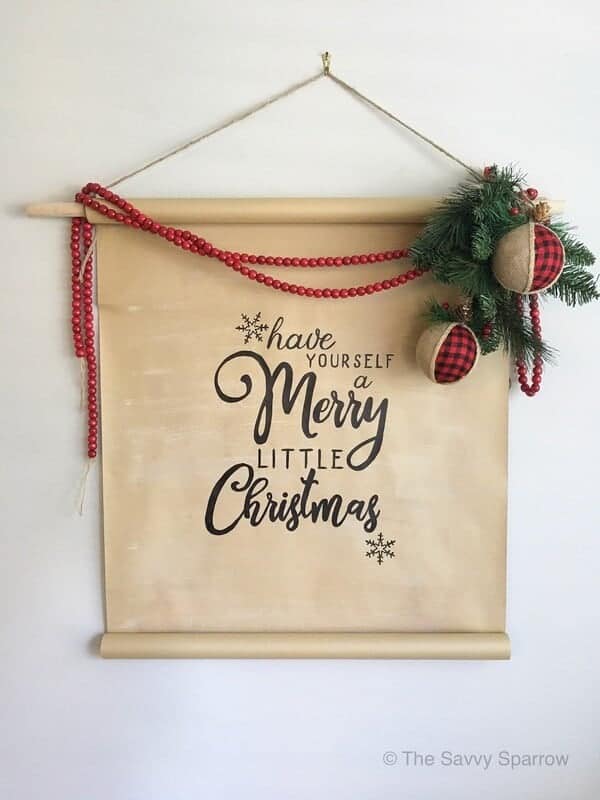
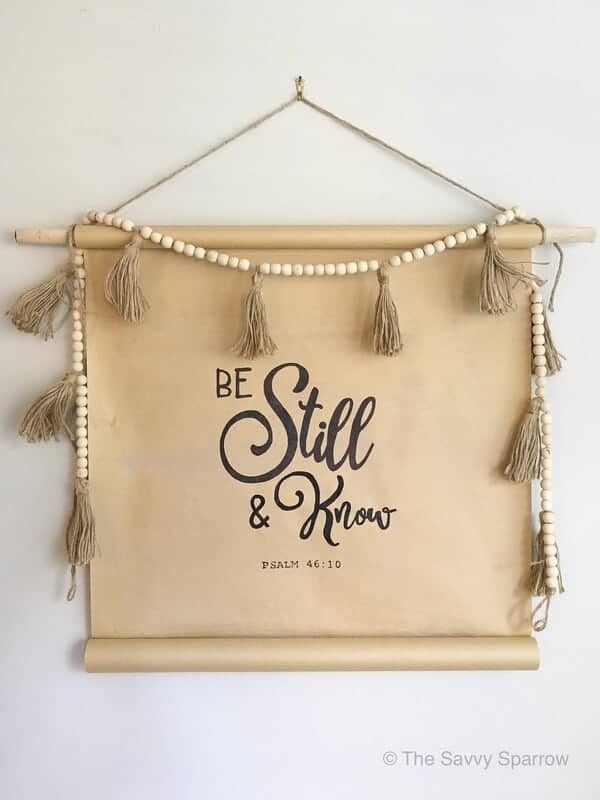
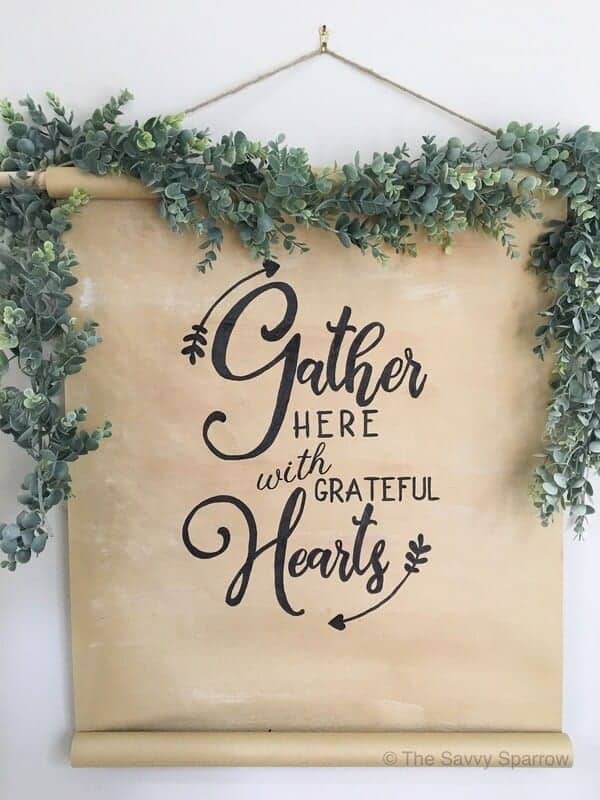
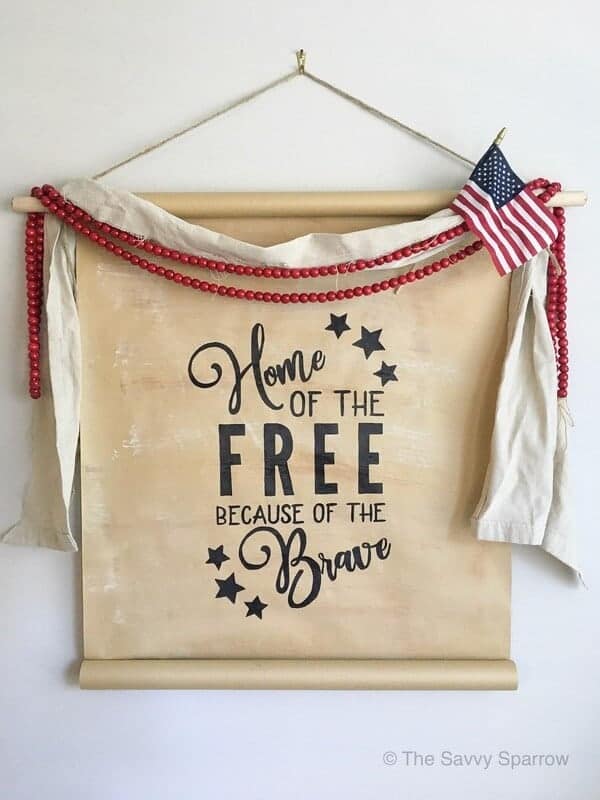
So stinkin’ cute, right?! I LOVE this scroll sign! And I know that you will, too!
And, to show you just how easy these are to make, I made you a video!
Hope you enjoyed this fun DIY project! And be sure to give me some Pinterest LOVE!

Happy Nesting!

Comments & Reviews
Oh wow, so glad you popped up on my feed. This is absolutely awesome. The clear instructions make it seem so achievable. Always loved rustic signs but they’ve always seemed out of reach due to either being expensive or complicated. Am eager to get started on this. Thanks Amy for sharing your skills. God bless.
Love this! Thanks for sharing.
Thanks for making something that seemed impossible possible. I have been wanting to do this with my own verses and sayings but every time I looked at a tutorial I thought I can’t do this. You made it it easy loved it, just purchased some carbon paper and a stylus so next I’m going to give it a try.
THANKS AGAIN, for the information I feel more confident to try this now.
Hi Bobbie Jo! Aww, thanks so much for your sweet comment! I like to think that nothing is impossible if you break the job up into smaller tasks and just take it day by day, one step at a time. So just start with one verse and you’ll probably get the hang of it pretty quickly. This scroll sign was actually pretty easy once you get going. Just be sure to not move your printed out stencil once you start transferring the lettering to the kraft paper roll. Good luck! 🙂
This is so stinking adorable! Now I’m going to have to make one for myself! Thanks for this tutorial.
Thanks Tracy! It really is super easy with the carbon tracing paper, and the possibilities are endless! You can even add in a personalized Happy Birthday sign to change your scroll sign to. Thanks so much for your comment! 🙂
love this idea for gifts.
Yes, this would make a GREAT gift! And you can trace whatever design you want on the signs… You could very easily make a sign template with someone’s last name, monogram initials, wedding date, etc. Thanks for your comment! 🙂
I’m looking for the video
Hi Linda! The video is way down at the bottom of the post. 🙂
Love this!!! Took me a minute to figure out how to show each sign! 🤦🏼♀️ Duh! 😂😂. You could even stain the dowel and glue finials on the ends if you wanted! So many possibilities! I think adding the extra touch of decorating eitherThe garlands, beads, etc. really makes this. ❤️❤️
Thanks, DeAnn! Glad you loved the DIY scroll signs! I didn’t even think about adding finials to the dowel… that’s a great idea!