
These DIY signs on canvas are easy to make and perfect for DIY home decor! Learn how to make signs on canvas with wood frames without power tools. Plus, find out how to do lettering for DIY signs with one simple and cheap tool!
Do you ever make a craft or DIY project that you LOVE so much that you just want to make more and more of it?
Like when you were a pre-teen making enough friendship bracelets to outfit a full stadium of friends… Or when your 10 year old daughter (ahem, Kaylee) makes bracelets on repeat and you end up finding them in the silverware drawer, the laundry hamper, and your pillowcase?
Well, that’s how I feel about ALL of my DIY signs that I’ve made!
Each of my adorable and easy DIY signs feels like one of my babies, without the 20 hour labor.
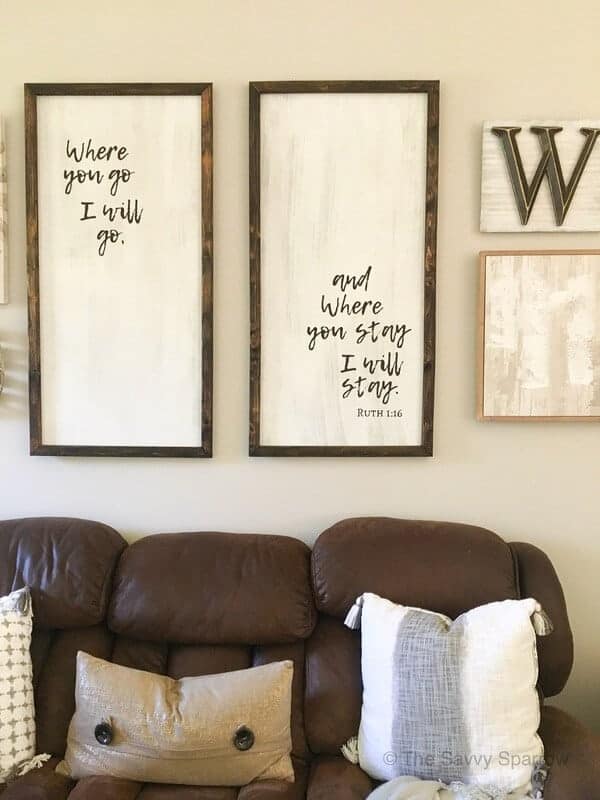
These Cheap and Easy DIY Farmhouse Wood Signs are the oldest children… twins… they started my love of sign-making.
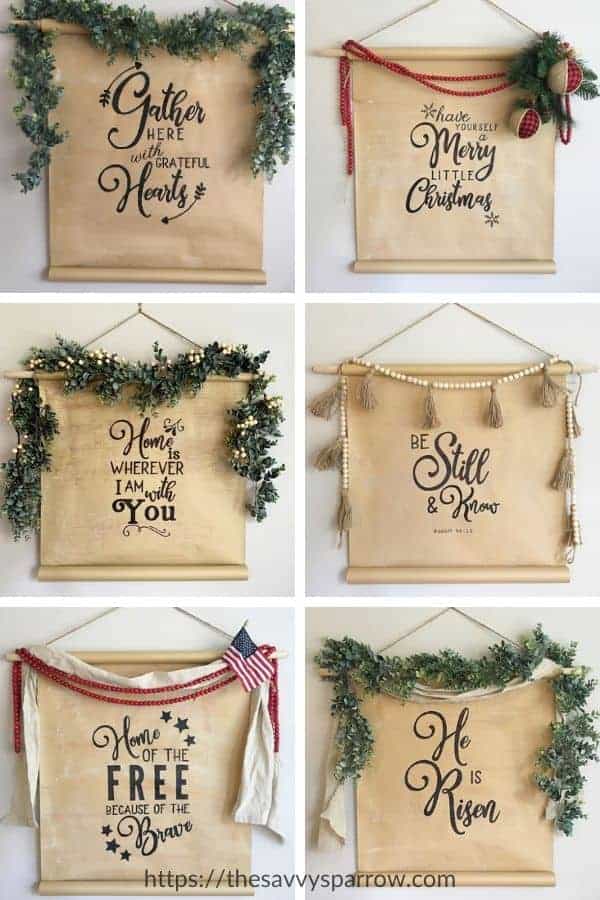
Then there’s this DIY Scroll Sign… she’s the second child… and kind of a genius (she gets it from her Mom!). Because, I hate to sound boastful, but the idea to put 10 signs onto one roll of kraft paper was kind of genius!
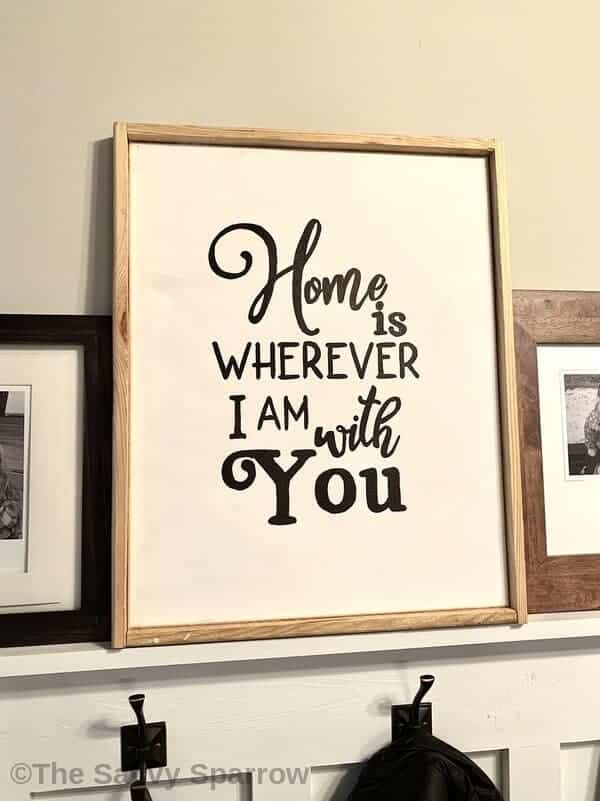
And then there’s the new baby… this DIY Sign on Canvas! As Moms of multiple kids know, after the second child you’re kind of a parenting pro, so creating this third sign was easy-peasy.
All of these DIY sign babies are special in their own ways, but they were ALL born from one main sign-making method…
DIY Sign Templates!
And all of the sign templates that I used were printed right from my home printer on regular old printer paper… so I didn’t have to make a special trip to the print store for a large scale print out.
And I didn’t have to visit the craft store and dole out $300 for a Cricut machine.
*This post contains affiliate links, which means I earn a small commission if you click one of these links and make a purchase, at no additional cost to you. Read my full disclosure here.
Here’s how to use a paper sign template to make DIY framed canvas signs…
How to make DIY Signs on Canvas:
Step 1: Gather your supplies to make signs.
I know it seems like these DIY signs on canvas require a lot of supplies, but most of these things you probably have laying around your house.
And one thing that you DON’T need to make these adorable and easy signs is power tools! So you can absolutely channel your inner Martha Stewart without asking your husband to drag out the table saw.
Here are the sign making supplies you’ll need to recreate my DIY “Home” sign:
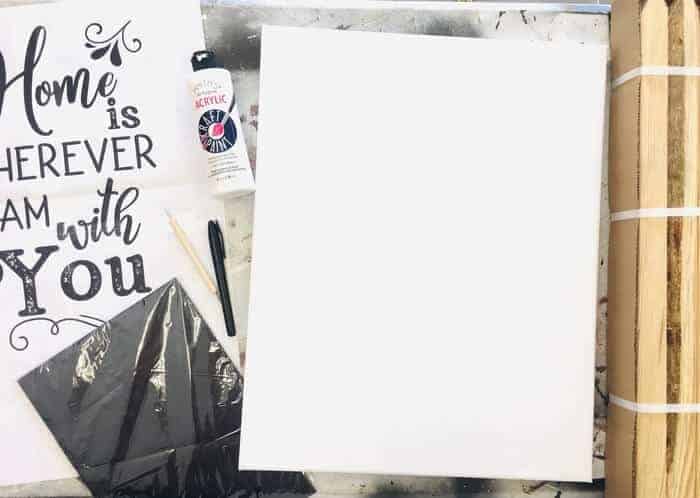
Art Canvas
To make DIY signs on canvas, you of course need canvas. I used the value pack art canvases that you can find at most craft stores. Mine are from Michael’s and they were around $12 for 5 canvases.
Each canvas measures 16″ x 20″, which is the perfect size for my DIY sign templates. If you don’t have a craft store nearby, you can also find canvases like I used here (affiliate).
1″ x 2″ Trim Boards or Yard Sign (Wood) Stakes
To frame out our canvas, we used yard sign stakes… unconventional, I know… but we happened to be driving my car instead of my husband’s truck on the day that we bought the supplies for this project, so an 8 foot long trim board was out of the question.
Here are the wood stakes that we used:
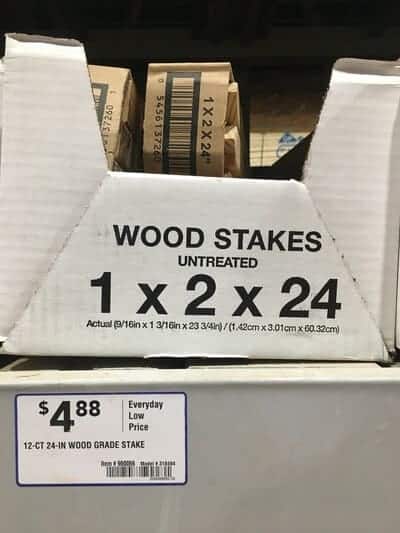
I LOVED working with these wood stakes because they were inexpensive and nice and short so they were easy to handle.
Each bundle costs less than $5 and includes 12 stakes. So you get 24 feet of board (less the pointed end that you have to cut off).
You can also use inexpensive 1″ x 2″ strip boards. These are the same boards that I used to create these Cheap and Easy DIY Farmhouse Wood Signs.
Here’s the shelf tag for the 1″ x 2″ boards:
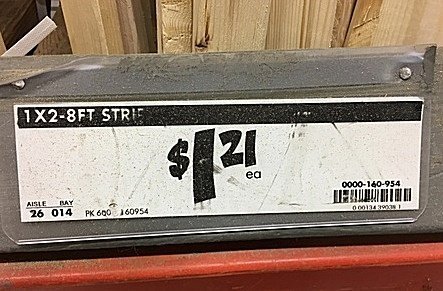
Both the wood stakes and the 1″ x 2″ strip boards work really well for making DIY sign frames, so the choice is yours.
Sand Paper
The thing about using cheap wood for DIY sign frames is that “cheap” usually means “rough” in terms of lumber, so you will definitely need to sand it down some first.
We used a 150 grit sandpaper and sanded by hand.
Wood Glue
We used this wood glue (affiliate) and it worked like a charm! Highly Recommended!
3″ Spring-loaded clamps
I HIGHLY recommend the spring-loaded clamps for this project! We only had one spring clamp when we made our canvas sign, so we had to use the twisty type clamps and they were MUCH more difficult to clamp onto the canvas frame.
You will need at least 2 of the rubber-tipped spring clamps.
Acrylic or Latex Paint and Paintbrush
We used plain old white acrylic paint and it worked great!
DIY Sign Template
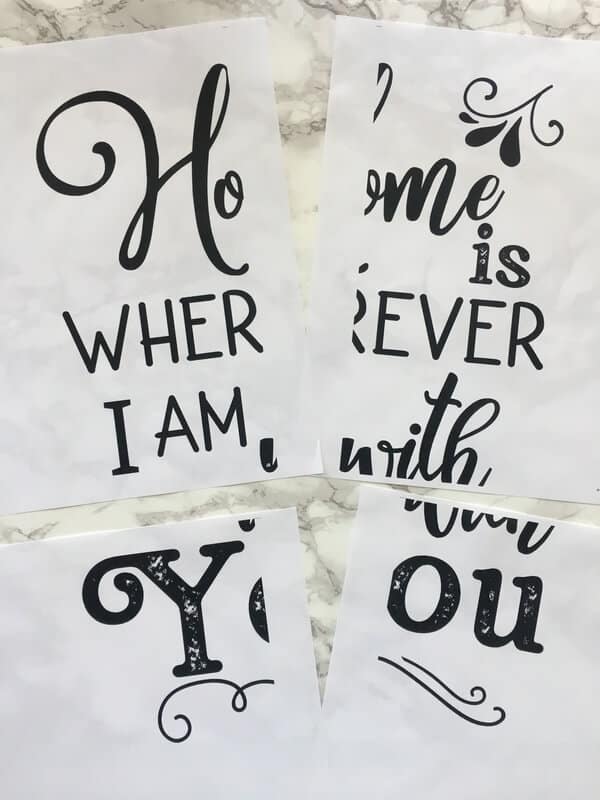
I used an easy DIY sign template to create my sign…
What the heck is that?
It’s basically just a print out on regular paper of the design for my DIY signs. The template looks like this, with part of the sign on each sheet of 8.5″ x 11″ paper…
This is exactly how it prints out, without you having to make any fancy changes in the printer settings:
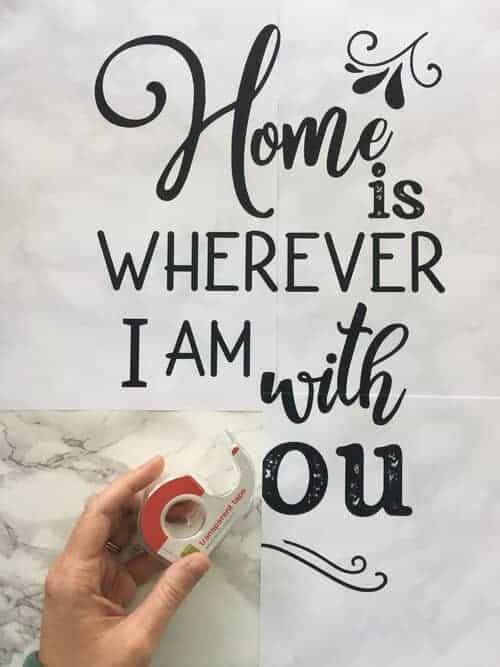
Then you can easily print it from your home printer and tape it together like this:
Want my “Home” template to make your own DIY signs on canvas (or wood)?
I’ll send it to you for FREE (plus the password to my FREEBIES library) as a gift for signing up for my FREE email newsletter. Just use the form below to join my email newsletter:
CLICK HERE TO SEE ALL OF MY DIY SIGN TEMPLATES!
Carbon Paper and (optional) Stylus
I used this carbon paper and stylus pack (affiliate) to create these DIY signs on canvas. The paper comes in a pack of 200 sheets, and you can get multiple signs out of just one sheet of paper, so it’s a great value!
And don’t worry about having a ton of carbon paper left over… my kids love to use it to trace drawings from coloring books… or you can use it to create other DIY signs like this totally awesome DIY scroll sign!
Black Permanent Marker
If you watched the video in my post on how to make DIY scroll signs on paper, then you know that I LOVE the Dollar Tree permanent markers!
I’ve tried to make multiple signs with both Sharpie brand markers AND Dollar Tree markers, and the Dollar Tree markers win by a landslide!
I find them to be much juicier and longer-lasting than the Sharpies, and they come in a 2 or 4 pack for just $1.
Step 2: Paint your art canvas white.
I know… it seems like a waste of time to actually paint a white canvas white, but I wanted the background for my sign to look hand-painted and to have a bit of character.
Plus, the paint acts as a barrier between the canvas so the permanent marker doesn’t bleed.
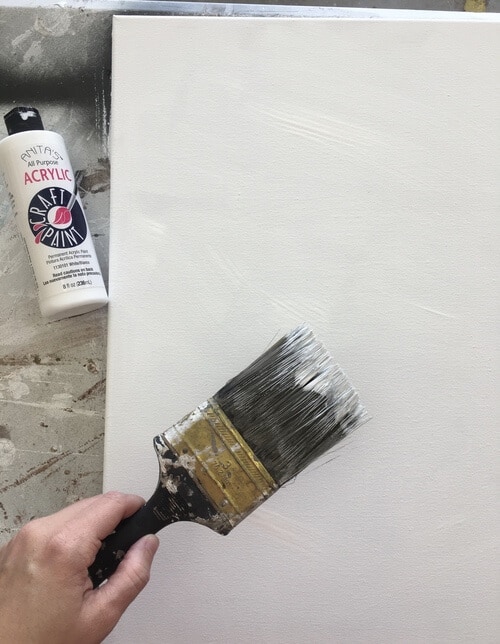
So I haphazardly painted the canvas white using regular old white acrylic paint… the kind that you can buy at the craft store for less than $1 for a 2 ounce little bottle.
I tried to leave the paint thicker in some spots to give the DIY signs some texture, and I made sure to use a variety of paint strokes, rather than just an up and down, uniform stroke.
The result is a very subtly textured background that I love! (You can see what I mean about the haphazard brush strokes in the video at the end of this post.)
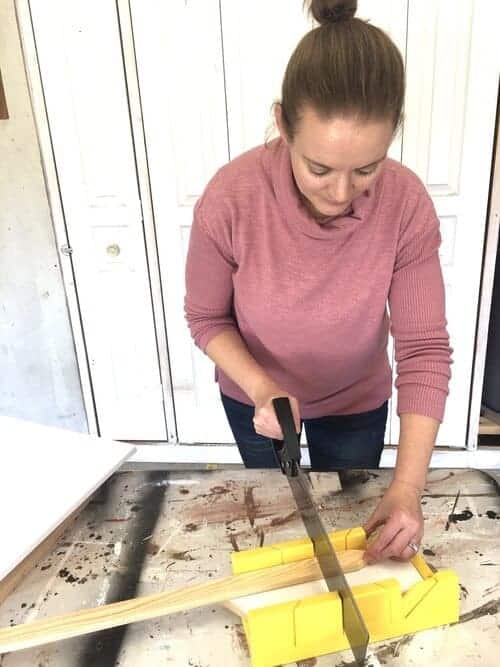
Step 3: While your canvas is drying, cut your wood for your DIY signs.
But how do you cut your wood frame without power tools, you ask.
You have two options:
- Have Home Depot or Lowe’s cut the boards for you. Since you only need 4 cuts, both stores will probably do this for no charge. Just be sure that you know the measurements of your canvas.
- Use a good hand saw to cut the boards yourself. Since the yard stakes and 1″ x 2″ trim boards are not too wide, you should be able to cut them with a good quality hand saw and miter box.
I left the ends straight rather than doing a fancy 45 degree angle for the corners of the frame because it’s just easier that way.
And make sure that you cut two of the parallel sides the same distance as the actual canvas. The other two parallel sides need to be long enough to hang over the other sides WITH the frame board.
See where I’m making the pen mark to cut the top of the frame:
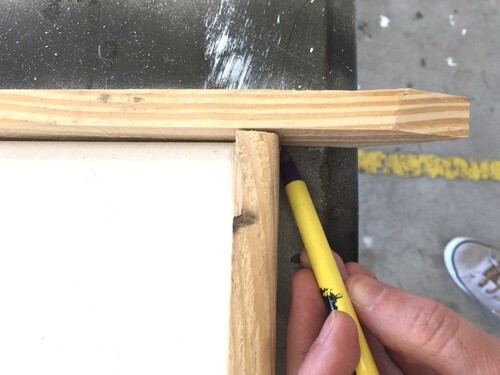
So if your frame boards are 3/4″ wide, you will need to add 1.5″ to the length of the canvas sides where the frame will extend past the edge of the canvas.
Step 4: Once canvas is dry, glue frame boards to sides of the canvas using wood glue. Clamp to hold in place while glue dries.
We used this wood glue (affiliate) and it worked really well!
And these rubber-tipped spring clamps were PERFECT for holding the frame in place while the glue dried:
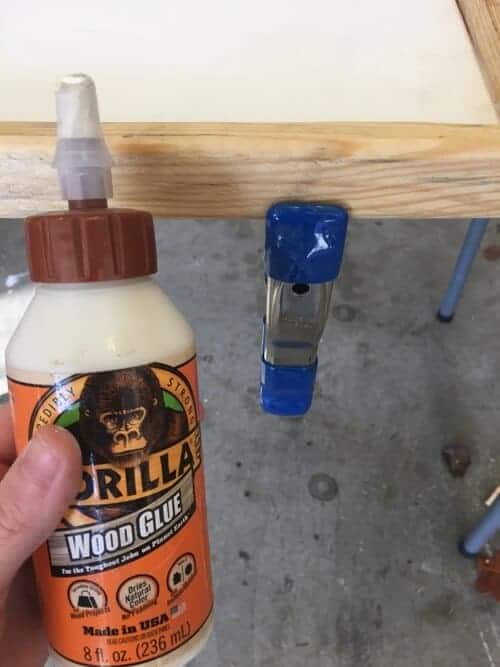
We wanted our DIY sign frame to extend past the front of the canvas, so we glued the frame so that the edge was flush with the back of the canvas.
Step 5: Print out your DIY sign template and tape it together like a puzzle.
Remember, you can sign up for my FREE email newsletter using the form above, and I’ll send you my “Home” sign template for FREE as a Thank You gift!
Then just print out the template, tape it together, and you’re ready to start tracing!
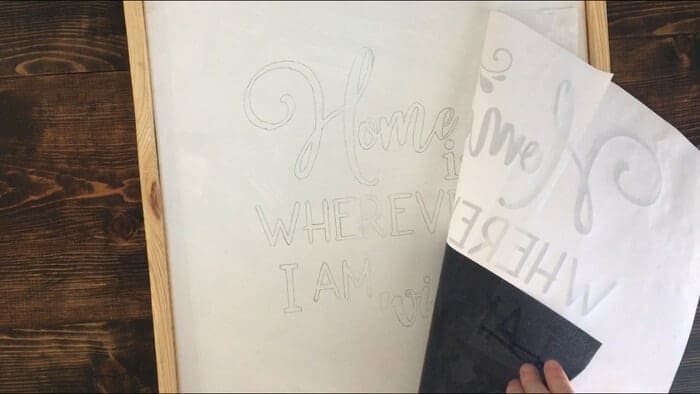
Step 6: Stencil the wording onto the DIY sign canvas using the template and carbon paper.
Place the carbon paper on top of the canvas, shiny side down. Then lay your sign template over the carbon paper.
Use a stylus or a ball point pen to trace over the lettering/design of the DIY signs template. Use nice and even pressure, but don’t press down too hard since you’re working on canvas.
With the carbon paper, the design will easily transfer to your white canvas like this:
CLICK HERE TO SEE ALL OF MY DIY SIGN TEMPLATES!
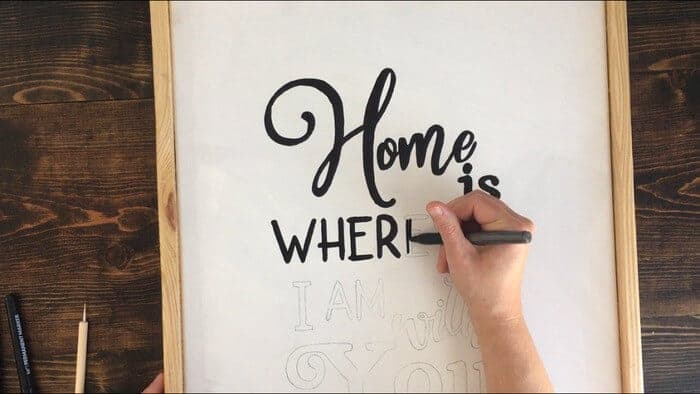
Step 7: Color in the outline using a black permanent marker.
Like I mentioned above, I LOVE the Dollar Tree markers… they say “Jot Permanent Marker” on the side.
Those markers lasted much longer and worked better on the canvas than a Sharpie.
Step 8: Display your DIY signs on canvas, and pat yourself on the back!
Woo hoo! You made an adorable DIY sign on canvas!
Now resist the urge to make about 32 more of them…
or don’t and get to sign making, Sister!
Visual learner? Check out this video for how to make DIY signs on canvas!
And be sure to check out my other DIY Sign Templates in my shop!
These sign templates can be used on wood, canvas, paper, or fabric using the same carbon paper tracing method, so you can go hog wild creating your own easy DIY signs!
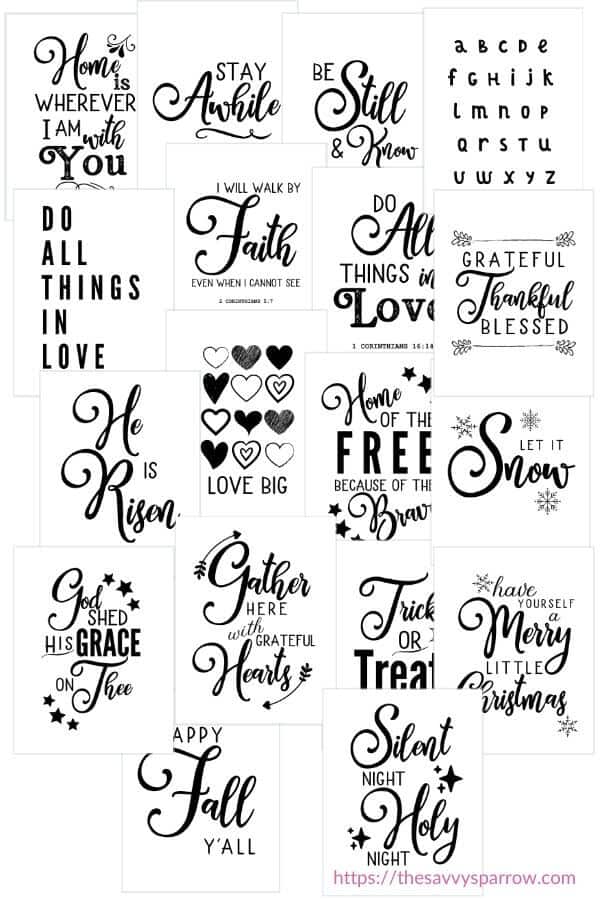
CLICK HERE TO SEE ALL OF MY DIY SIGN TEMPLATES!
And don’t forget to pin these easy DIY signs for later!


I am so glad I found your instructions to make words signs! I was wondering if you see the lines from coloring in the words with the sharpie? And have you ever painted in the words instead of using a sharpie? I’m asking because the sign I want to make is quite large and I wasn’t sure if the back and forth lines from coloring in the words would show up, especially since the words are bigger. Thank you so much again for sharing your tips and tricks! Rachel
Hi Rachel! I’ve never seen the lines from the black permanent markers, but the fonts that I’ve always used have been thinner so that I can fit more words on the signs… If you were to go with very large letters, then you may want to use paint instead. Personally, I prefer the marker method because I find that it’s much easier to control the marker for finer more detailed lettering. I would definitely recommend the black permanent markers from Dollar Tree though – I find that they’re much better for coloring on wood. You could always try the markers to start and then paint over it if you feel like it doesn’t work for your lettering. 🙂
I love your ideas! I’m pretty good at free hand painting, But I also have sucky handwriting unless I’m writing a letter. And I haven’t tried your idea, and it’s an awesome one too. I have several templates but I ALWAYS need letters of the alphabet in different fonts and different sizes and will go broke buying up templates. Lol.
Thank you so much for sharing the love we have for creative ideas of our favorite hobby 🎨🖌️📐🪚🖌️❤️🇱🇷
Hi JerriAnn! You can actually make your own templates pretty easily using a free online program called Canva… they have a TON of fonts for you to choose from, and then it’s just about arranging your words in a pretty way. Thanks so much for your comment! 🙂
I love this idea so much. I like a challenge so making my on stencils is great.
Hi Beverly! Yes, it’s nice to be able to make your own stencil, so that you can customize your sign any way you like… That’s why I love Canva! It makes it so easy! 🙂
Those carbon paper leave dark smudges on my white canvas 🙁
Hi Kate! Did you use the carbon paper that I recommended in my post? I’ve used it multiple times and have never had a problem. I actually just finished up a set of 12 mini 6″x6″ white canvases that I was working on for a collage project with the same technique, and they all came out perfectly. Hmmm… so odd! Maybe you can touch up with white acrylic paint. 🙂
If it’s carbon, it should erase with an eraser similar to a pencil mark. Saral makes transfer paper in lots of colors including graphite, but I prefer carbon paper. Their white is great when transferring lettering to wood or darker painted wood.
Thanks for the tip Aviva! I haven’t tried the Saral transfer paper, but I’ll have to check it out. I’m wanting to do a long DIY sign with a black background for my office, so the white transfer paper sounds perfect for that. 🙂
You’re right but I’ve definitely found the big white erasers from the office supply stores are better. =)