Looking for Christmas Rice Krispie treats to make this holiday? This cute and easy Rice Krispie treats Christmas tree is perfect for your kid-friendly Christmas dessert!
With the holidays quickly approaching, I have been racking my brain trying to come up with an easy, show-stopper dessert to share with you guys.
You all know that I’m all about making life EASY… but the holidays call for SPECIAL. And I love a good DIY or recipe that looks AMAZING, but is actually easy-peasy to make! Just like these Elegant Holiday Appetizers that are Actually Easy to Make.
And when I think of fancy, I think of French.
I’m not talking about french fries… I’m talking about croquembouche.
Yup, this cute and easy Rice Krispie treats Christmas tree was inspired by the French classic croquembouche. Or, cream puff tower for those of us that don’t speak French.
You know… the little cream puff balls that are stacked up in a tree shape and then topped with sugar that looks like thread?
Well, I wasn’t about to pull out my husband’s culinary textbooks and a French-English dictionary to try and make one of those…
So, I made the stress-free version with something that’s easy, tasty, and kid-friendly:
Rice Krispies Treats!

Isn’t my Rice Krispie Treats Christmas tree so stinkin’ cute?!
If you’re looking for a fun Christmas dessert to wow your guests, then this is it!
Here’s how to make this Christmas treat with Rice Krispie Treats:
How to Make a Rice Krispie Treats Christmas Tree
Step 1: Gather your supplies
To make this cute Rice Krispie Treats Christmas tree you will need:
- styrofoam cone (ours is 3.9″ x 11.8″, we got it at Michael’s)
- plastic wrap
- toothpicks
- colored Rice Krispie treats
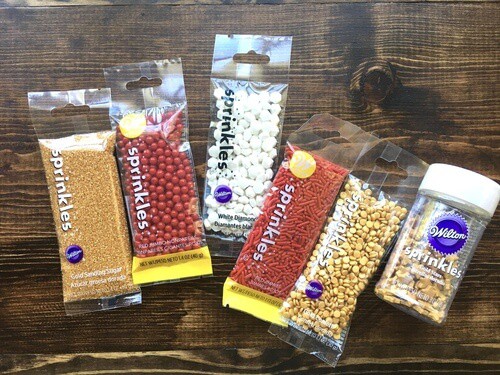
- assorted Christmas sprinkles
- candy melts
Step 2: Make colored Rice Krispie treats
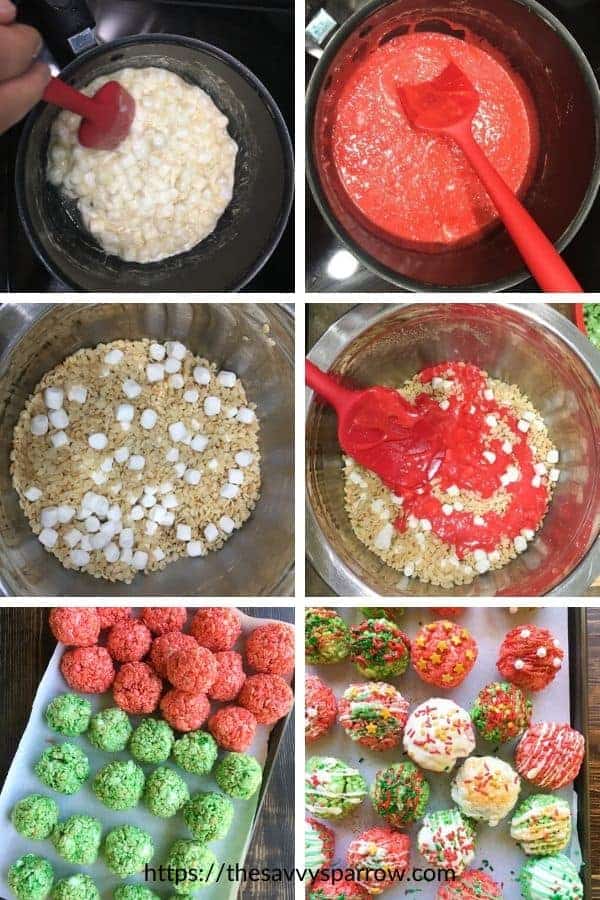
Head HERE for how to make colored Rice Krispie treats for this cute Christmas dessert!
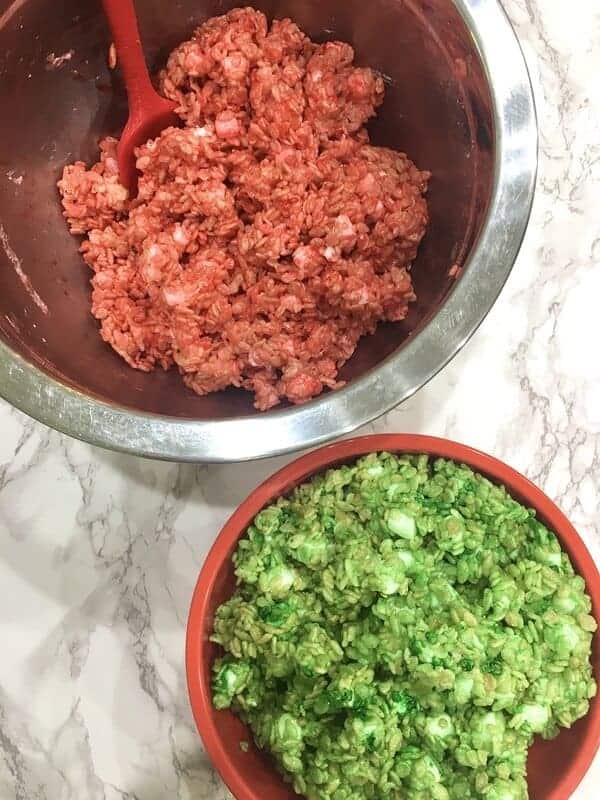
Step 3: Form colored Rice Krispie treats into balls and refrigerate
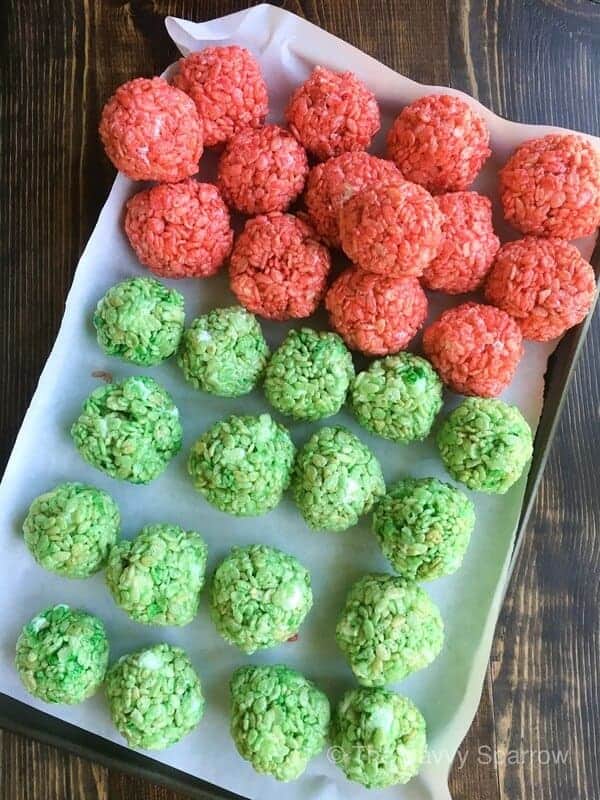
We used a 1/4 cup scoop to portion out our Rice Krispie treats before rolling them into balls.
If you’ve ever tried to make 3-D shapes out of Rice Krispies treats, then you know that they are STICKY! Especially if you’ve made yummy, ooey-gooey treats like we do!
The easiest way that we found to shape the Rice Krispies treats into balls was by spraying our hands with cooking spray first.
Yup, good ‘ol Pam… may feel gross, but it works really well!
Then, place your balls on a cookie sheet lined with parchment paper, and refrigerate for an hour or two before decorating.
Step 4: Wrap styrofoam cone in plastic wrap
While your Rice Krispie treats balls are cooling, wrap your styrofoam cone in plastic wrap. That way, the treats won’t actually be touching the styrofoam.

Step 5: Decorate Rice Krispie treats to look like ornaments
I wanted all of my Rice Krispie treats ornaments to look different, but without having to whip out a ton of icing bags and make 12 different colors of candy melts.
So, I decided to use different colors and shapes of sprinkles instead, and I stuck with red, white, and green candy melts.
You can find small bags of solid colored and shaped sprinkles by Wilton at Michael’s for just $1.00. I’ve got a WHOLE bin full of them… I usually buy a few little bags when I see them on sale for Buy One Get One 50% Off. 🙂

Step 6: Attach Rice Krispie treats balls to the styrofoam cone with toothpicks
I found it easiest to insert a toothpick about half way into the cone FIRST, and then press your “ornaments” onto the toothpick.
I started at the base of the cone and worked my way around and up.
Then, after my whole tree was full, I just used a gold bow that I had in my craft stash for a tree topper. You could also make a star shape out of leftover Rice Krispie treats and stick it in the top with a toothpick.
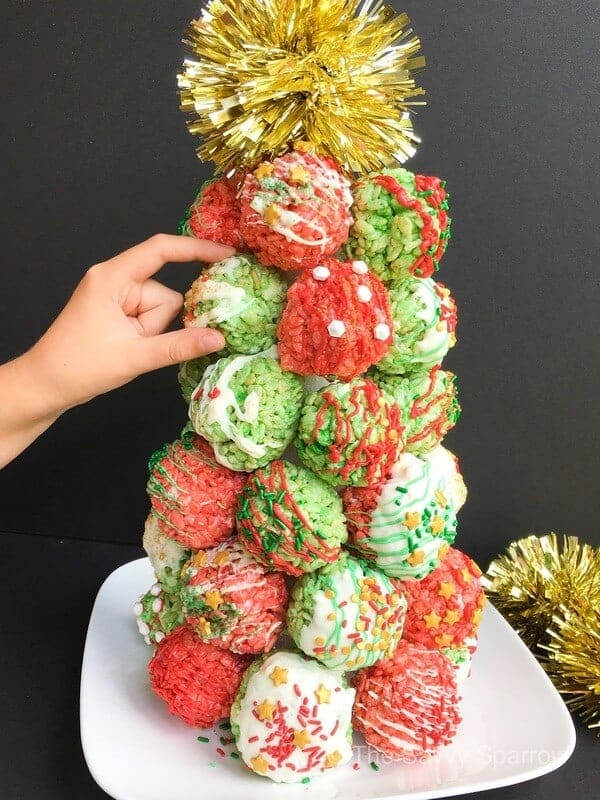
As you can see by the sneaky hand, my daughters loved these cute Christmas Rice Krispie treats. And I’m sure your holiday guests will, too!
Want another cute Christmas treats idea? Check out these adorable Chocolate Apple Christmas Treats for Kids!
And don’t forget to pin these cute Christmas Rice Krispie treats to Pinterest!

Leave A Reply!