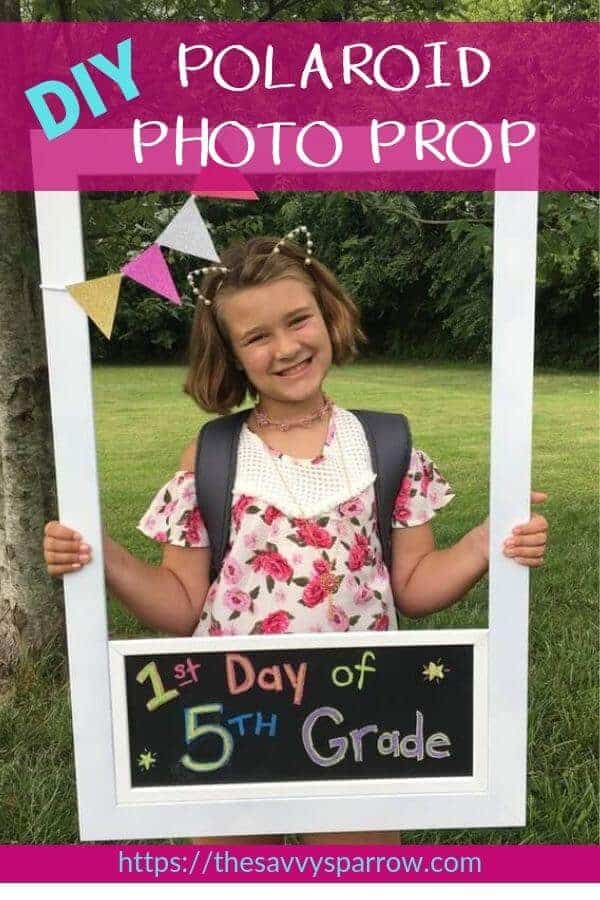
This DIY Polaroid Photo Booth Frame is an awesome photo prop to use for Back to School photos! Make this easy photo frame prop with an erasable chalkboard to use year after year to document your child’s first day of school!
Back to school time is upon us! And all the Mamas said… “Woo hoo!”
And with the arrival of the new school year comes the bombardment of “1st Day of ___ Grade” photos in your Facebook feed.
Back to school photos have gotten so popular that even the big box retail stores have gotten in on the action, selling pre-made chalkboard signs that you can personalize with your child’s name, grade, and the year.
*This post contains affiliate links, which means I may earn a small commission from these links at no additional cost to you. Read my full disclosure here.
Like these from Amazon…
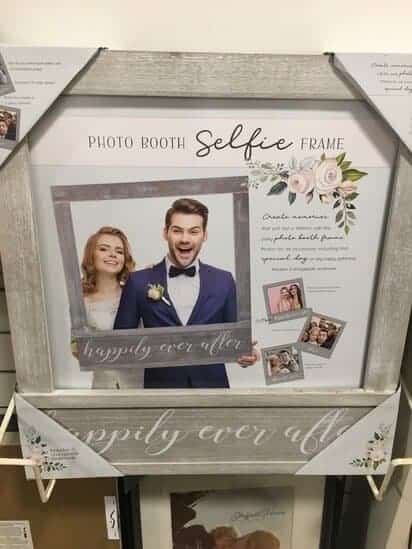
So when I was browsing Home Goods recently and stumbled across this super cute wedding polaroid photo frame prop, I immediately thought to make my own DIY version for back to school photos!
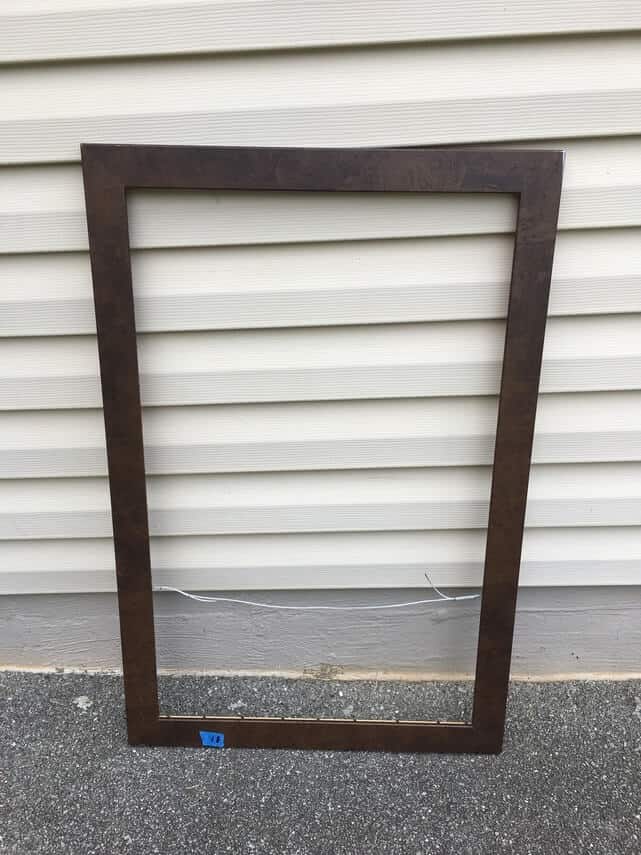
I had scored an AWESOME large picture frame for $1 from a garage sale just a few weeks before, and I knew that it would make the perfect frame to use for a cute polaroid photo prop.
I grabbed a few cans of spray paint, a piece of underlayment board (just like the one that I used to make my DIY wood signs), and some inexpensive plastic trim…
And this DIY Polaroid Photo Booth Frame for Back to School photos was born!
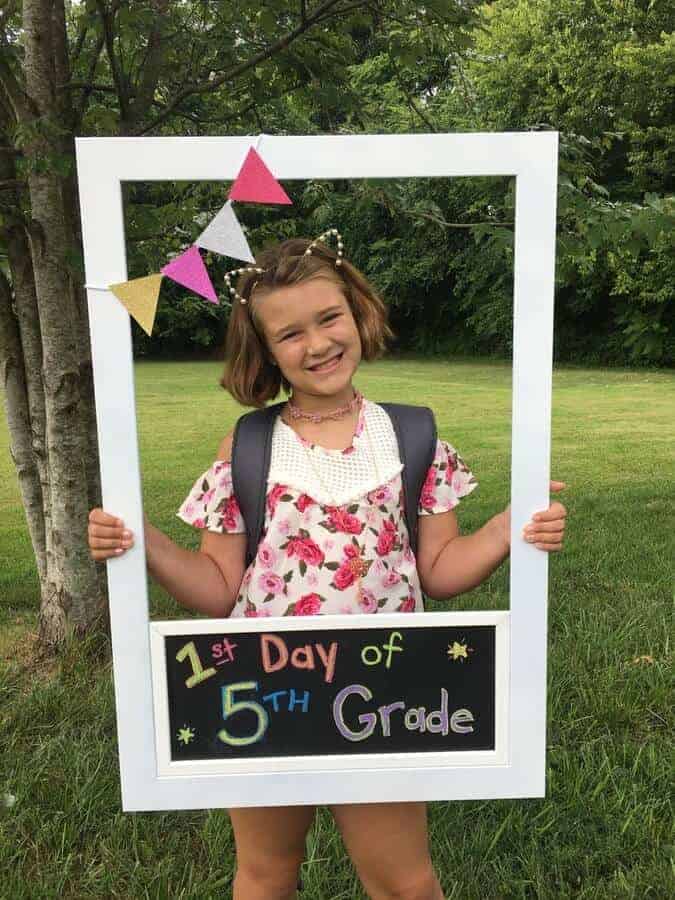
Isn’t it SO STINKIN’ CUTE!
I’ve got to be honest… this is one of my most favorite DIY projects that I have ever done! Like, I’m fighting back the urge to literally pat myself on the back right now. It’s just so nice when you have a vision and then your vision ends up not looking like poop. 🙂
Although I will admit, we actually tried to make this DIY photo booth prop with foam board first, and that did turn out looking like poop. Trust me, foam board will NOT work for this back to school photos project!
Want to try out this fun and easy DIY for yourself? Here’s how to make our super cute giant polaroid frame prop for your first day of school photos:
How to make a giant DIY polaroid photo booth frame prop:
Step 1: Gather Your Supplies
Picture frame – We lucked out and found this one at a garage sale for $1! But, you can also find these empty picture frames (without the glass) at Hobby Lobby or here on Amazon.
The opening on our frame measures 20″ by 32″.
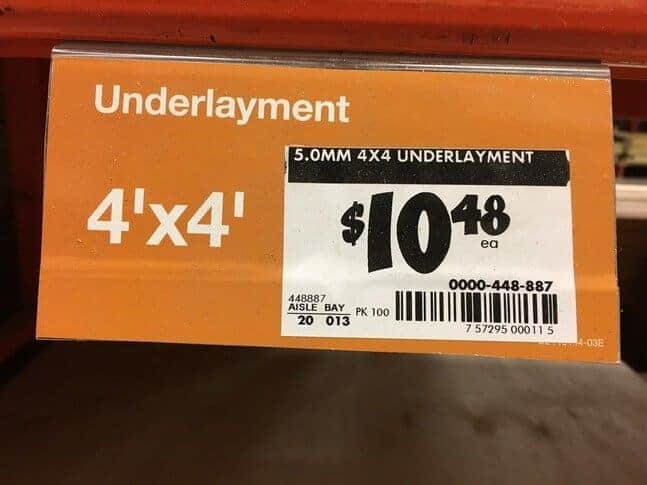
Underlayment board – Cut to the size of the inside of your picture frame.
Underlayment is my favorite type of board to use for wood signs (like these Cheap and Easy DIY Farmhouse Wood Signs) because it is lightweight but still sturdy. Also, underlayment is inexpensive and it has a relatively smooth surface, perfect for a wide variety of craft projects.
Here’s the shelf tag for the underlayment that we use from Home Depot:
White spray paint – This is the one we used
Chalkboard spray paint – This is the one we used
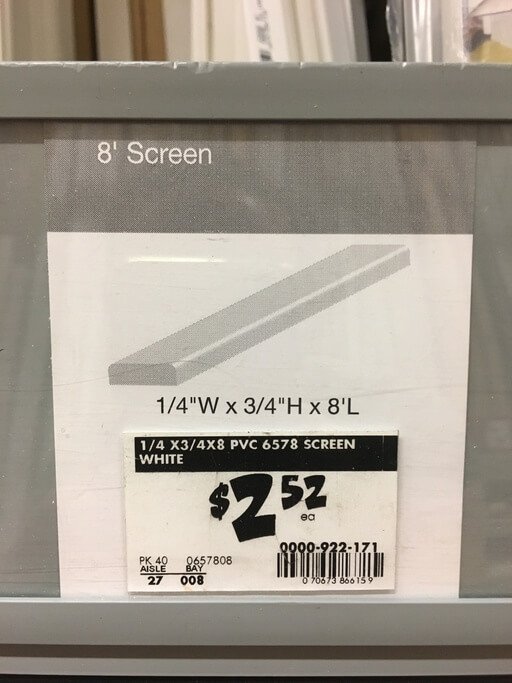
Inexpensive PVC screen trim – Here’s the shelf tag from Home Depot… Just $2.52 for an 8 foot piece:
Wood glue
Compound saw
Sander or sand paper
Colored chalk – I highly recommend the Crayola kind! Only use DRY CHALK. DO NOT USE Chalk Markers, because the wood chalkboard is porous! Chalk markers are NOT erasable on porous surfaces.
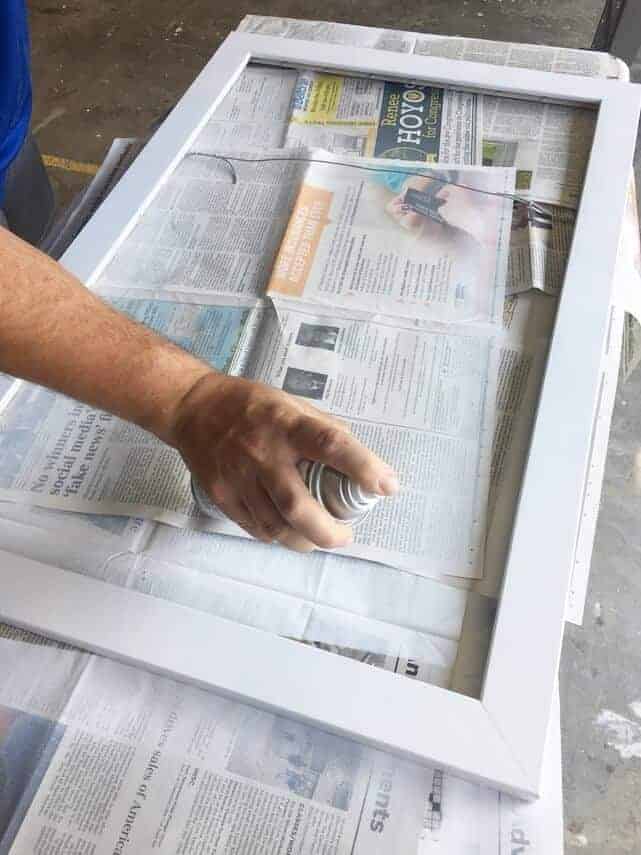
Step 2: Spray paint your picture frame white.
Spray paint your picture frame white, being sure to cover the inside and outside edges. Allow to dry completely before handling it.
Step 3: Cut your underlayment to fit your picture frame.
Our underlayment chalkboard measures 9″ x 20″, and I think it’s the perfect size to be able to write a lot of words and still have them legible in a photo. Remember to account for the size of the trim when you figure out your underlayment measurements.
If you want to save yourself some work, you can also have Home Depot cut the board for you. My Home Depot will make 2 cuts for free!
Step 4: Sand underlayment board.
Yes, the underlayment is pretty smooth as is, but we still decided to give it a good sanding so that we could write on it easily with chalk.
Life as a DIYer is about trial and error sometimes, and we didn’t sand the underlayment at first. We just skipped straight to spray painting it, thinking that the chalkboard paint would give it a smoother finish…. It didn’t.
So we ended up sanding the board after we had spray painted it, and then we had to spray paint it again. You can learn from our mistake!
Step 5: Spray paint your underlayment board using chalkboard paint.
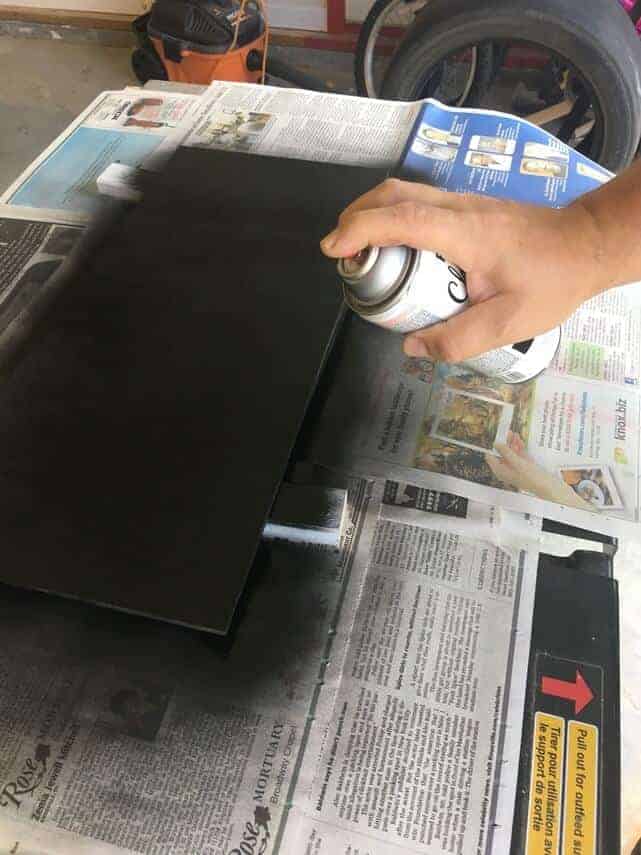
Be sure to spray the edges also, and let it dry completely before handling it.
Step 6: Attach chalkboard underlayment to picture frame.
Our picture frame had metal tabs all the way around it, which made this step incredibly easy. We just inserted the chalkboard underlayment piece into the frame just like we would a picture.
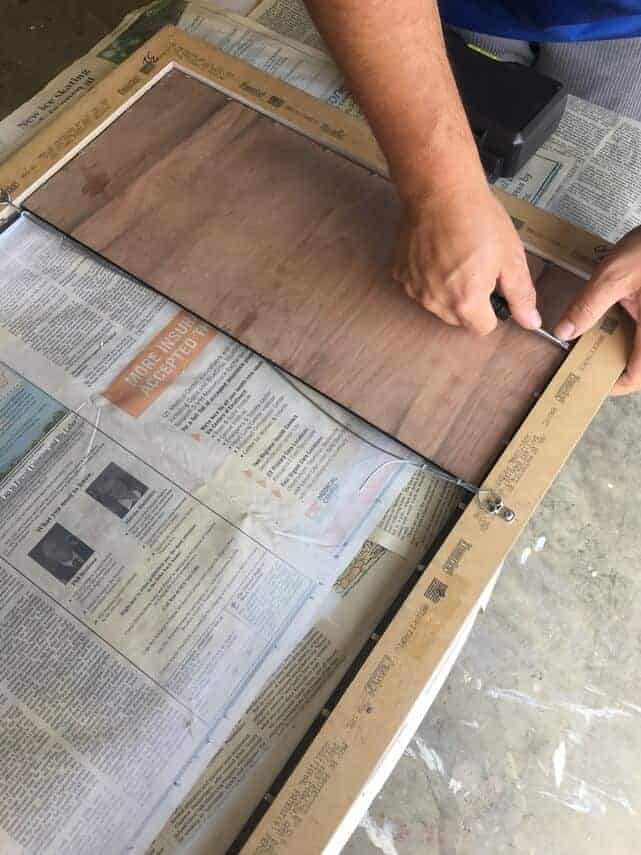
If your picture frame doesn’t have tabs, then use wood glue to secure your chalkboard to your frame.
Step 7: Cut trim to size.
Using a compound saw on a 45 degree angle, cut your PVC trim to the correct size to frame out the chalkboard.
If you don’t have a compound saw, you could skip this step and frame out your chalkboard with hot glue and wood dowels, ribbon, etc.
Step 8: Glue trim to chalkboard.
Glue the trim to the edge of the chalkboard using wood glue. Allow to dry completely before handling.
Step 9: Decorate your DIY Polaroid Photo Booth Frame!
Use DRY CHALK (not chalk markers!) to decorate the chalkboard on your DIY polaroid photo frame. Since the wood of the chalkboard is porous, it will not be erasable if you use chalk markers.
To decorate my polaroid photo prop for back to school photos, I used Crayola colored chalk, and I made a simple pennant banner with glitter card stock and yarn to add a little pizzazz to the corner of the frame.
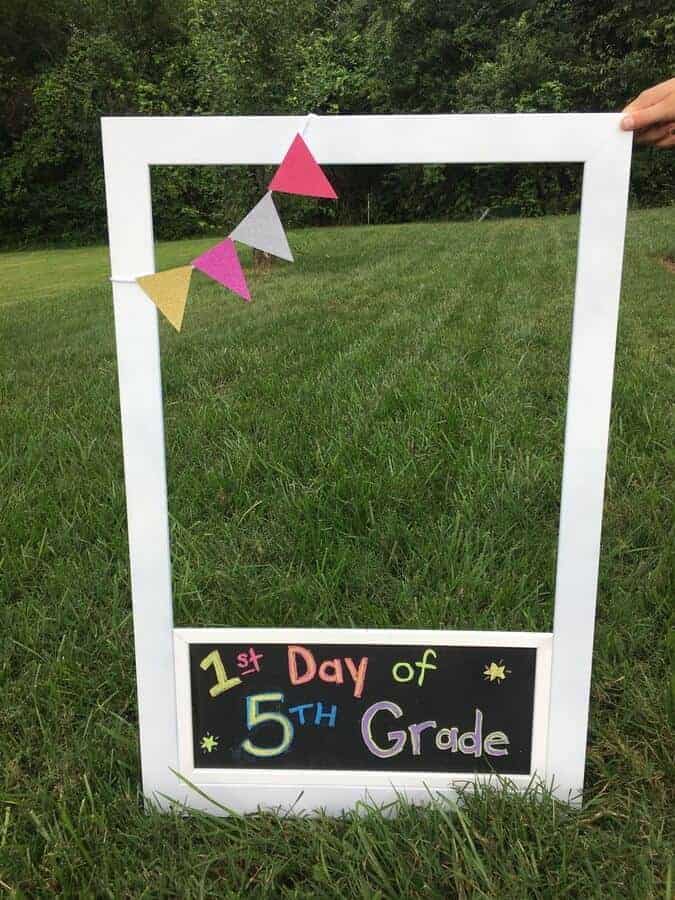
You can also write your child’s name, the year, their teacher’s name, etc on the chalkboard to use for back to school photos. That’s the beauty of this DIY polaroid photo booth frame… you can personalize it anyway that you like!
Other ways to use your DIY Polaroid Photo Booth Frame:
The great thing about this DIY polaroid photo prop is that it can easily be customized for year-round photo ops. Just add an evergreen garland around the top and use it for your Christmas card photos, or string on some fake spider webs and take pictures of your kids in their Halloween costumes!
Here are some great ways to use this fun DIY polaroid photo prop:
- Family Christmas card photos
- Easter photos
- Wedding photo booth prop
- Birthday party photo booth prop
- Halloween costume photos
- Pregnancy announcement photos
- Engagement announcement photos
Want to see this DIY in action? Check out my video tutorial for this DIY giant Polaroid Photo Prop!
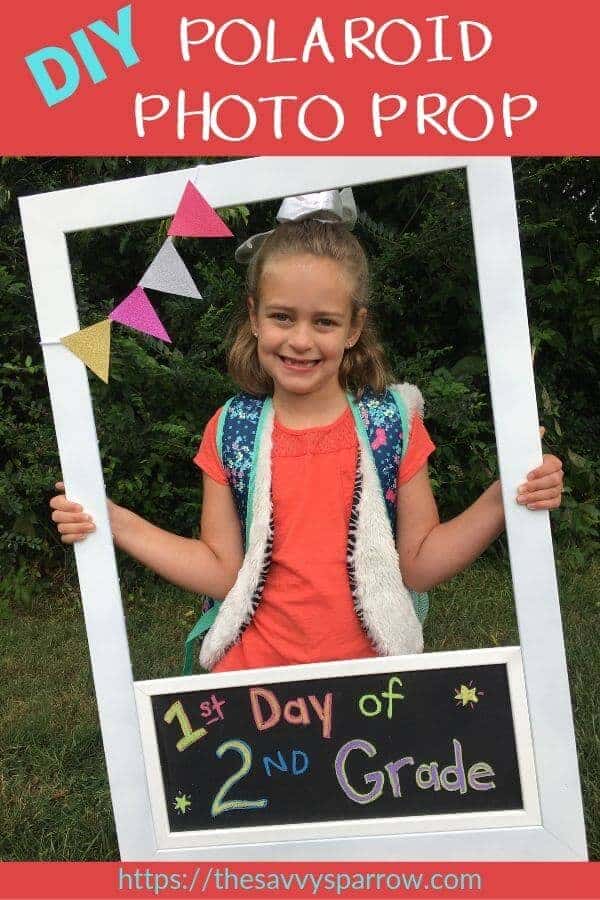
And be sure to PIN this Back to School Photo Idea for later!
LOVE this fun DIY for kids? Check out some of my other cute and easy ideas that your kids will LOVE:

