If you want an easy way to repurpose old kids’ clothes, then this DIY fabric tassel garland is the perfect DIY project for you! Learn how to make a tassel garland with fabric, and turn your kids’ outgrown clothes into a cute and sentimental garland to hang in their bedrooms!
UPDATED: June 4, 2020
I have two kids.
And I also have a BOATLOAD of clothes that they’ve outgrown.
And I also have a slight Pinterest obsession.
Put all that together and you get this easy DIY project using repurposed kids’ clothes…
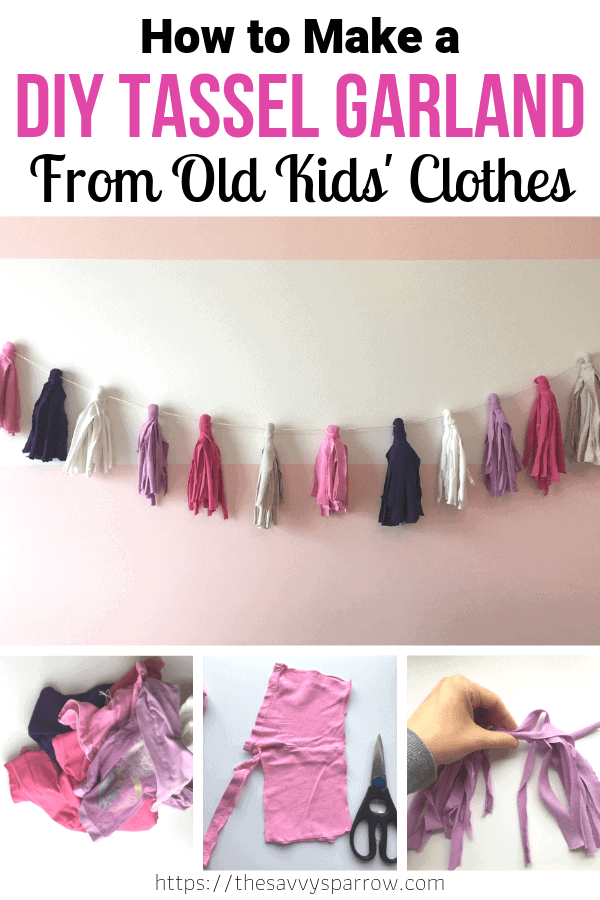
I had been longing to create a DIY Tassel Garland… I see all of the beautiful, colorful tassels hanging neatly in a row in Pinterest pictures. But then I click on the links and gawk at the price! Really?! You want me to pay $59 for this?
So, naturally I was determined to figure out how to make my own DIY Tassel Garland using something that I had PLENTY of… old kids’ clothes.
If you’ve got a ton of old clothes laying around too, then here’s how to turn them into super cute DIY Tassel Garlands:
Supplies Needed for DIY Tassel Garlands
You’ve probably already got all of the supplies that you need to make these cute garlands. Here’s the supply list:
Old Clothes or Other Fabric
I rounded up old shirts, leggings, and shorts in a variety of colors to match the color scheme in my youngest daughter’s room. I’ll show you how to turn each clothing type into cute tassels!
Fabric Scissors
I actually used my husband’s kitchen shears for this project (Sorry, Hubby!), because I couldn’t find my fabric scissors. But I don’t recommend that. 🙂
Baker’s Twine
Another kitchen staple, baker’s twine, served as the perfect neutral and sturdy string for hanging my DIY Fabric Tassel Garland.
I would only recommend using butcher’s twine that is intended for cooking. If you do an Amazon search for butcher’s twine it brings up a bunch of cute colored twines also, but in my opinion, they are not sturdy enough for this project.
Hot Glue Gun and Glue Sticks
And that’s it!
After you’ve got your supplies together, it’s time to start making your tassels.
Want more ways to use old kids’ clothes? Click here for 12 Things to Do with Old Kids Clothes!
How to Make a DIY Fabric Tassel Garland using Old Clothes
1. Gather Old Clothes.
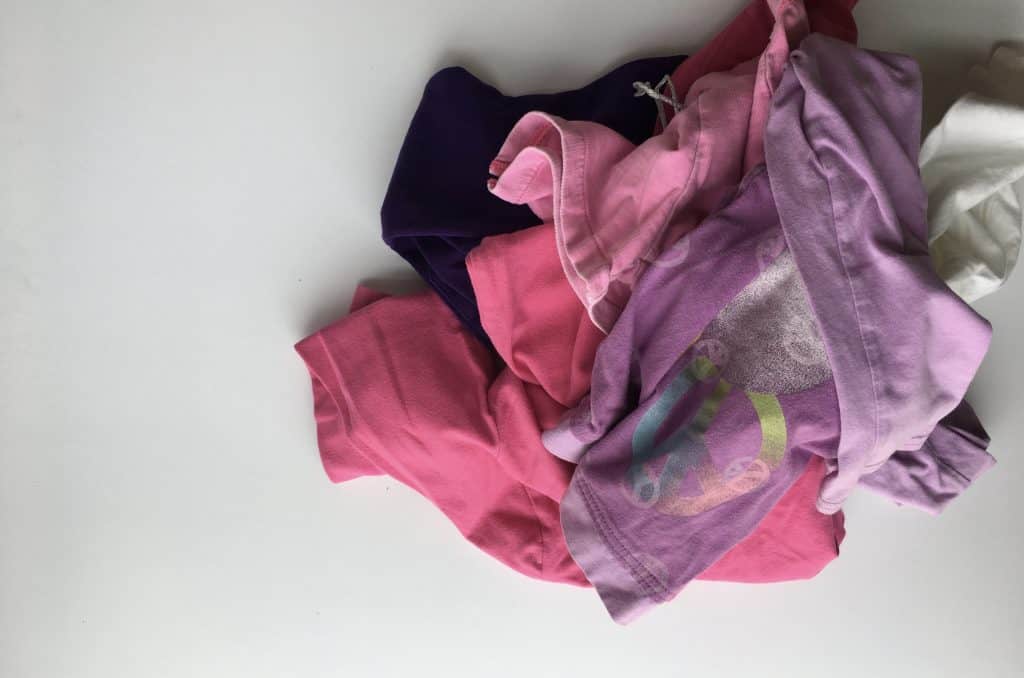
Gather up old clothes in the colors or patterns that you want for your finished garland.
I used one pair of shorts, three pairs of leggings, and two long-sleeve shirts for mine, but you could easily use fewer pieces of clothing. Or, if you want to make this easy fabric tassel garland using fabric scraps, then you can skip on down to step 4.
2. Cut on side seams for shorts or pants.
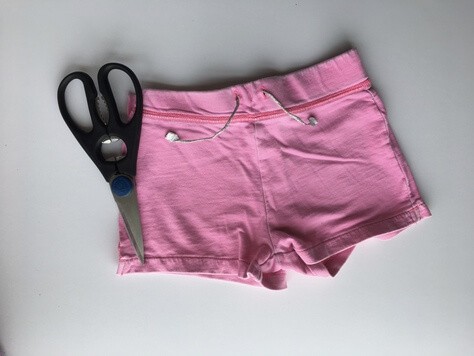
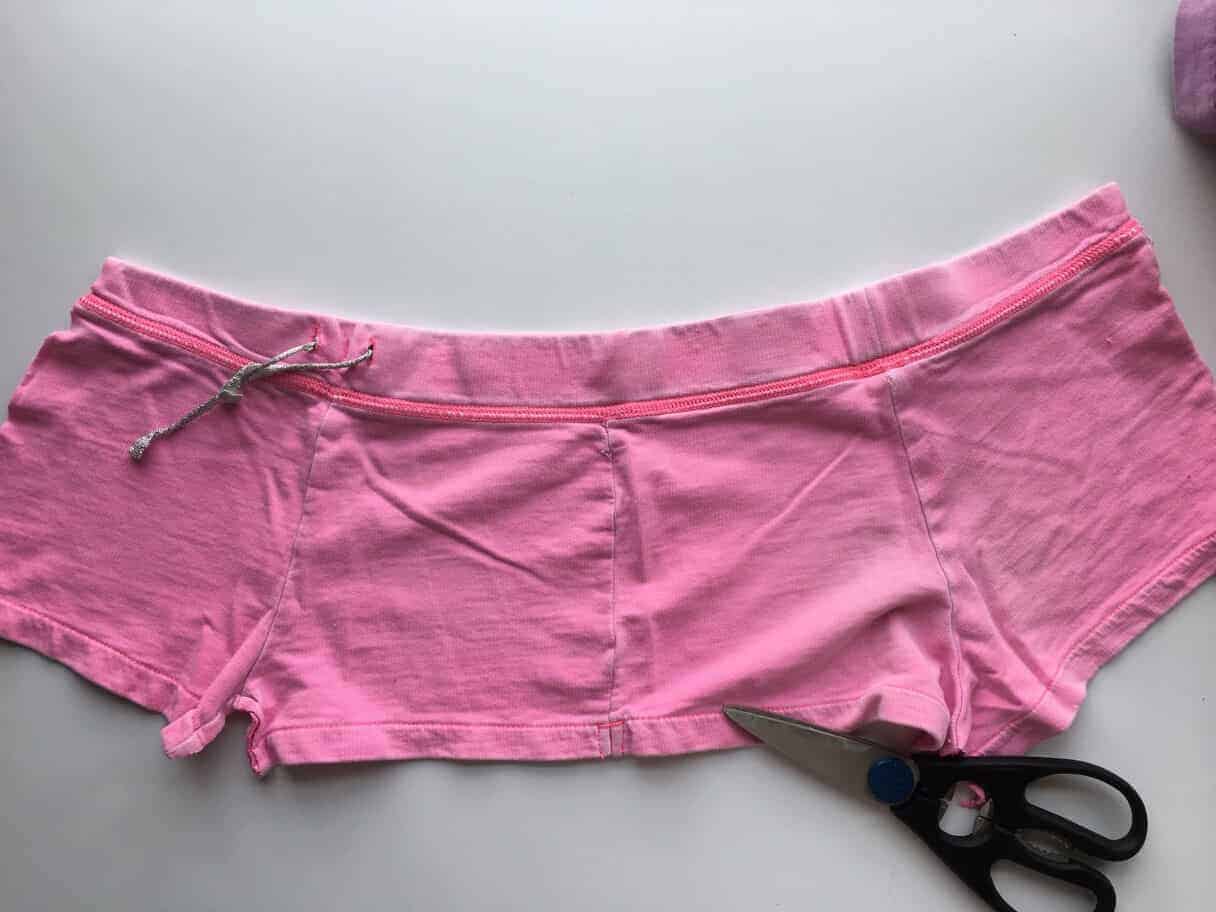
Cut up left side seam, from top to bottom. Repeat on right side seam. You should then have one piece of the front side of the shorts and one back piece.
*If you don’t have shorts to repurpose, then don’t worry! You can make this easy DIY tassel garland using shirts also… I’ll show you how down below!
3. Cut out the waist band, leg hems, and side seams of your shorts, saving them for later.
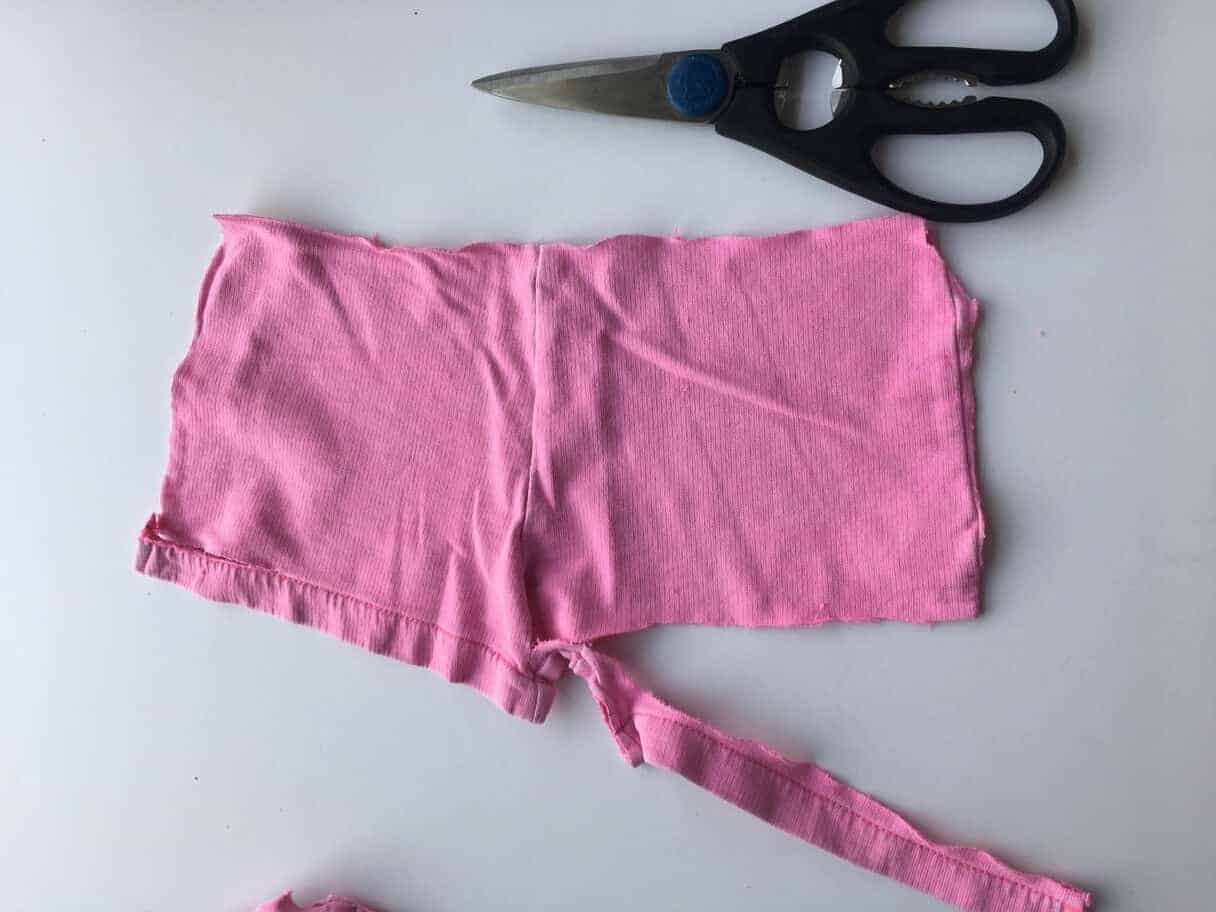
You should be left with a solid piece of fabric with only the front and back middle seams. Now you’re ready to start cutting your tassels!
4. Cut strips for your fabric tassels.
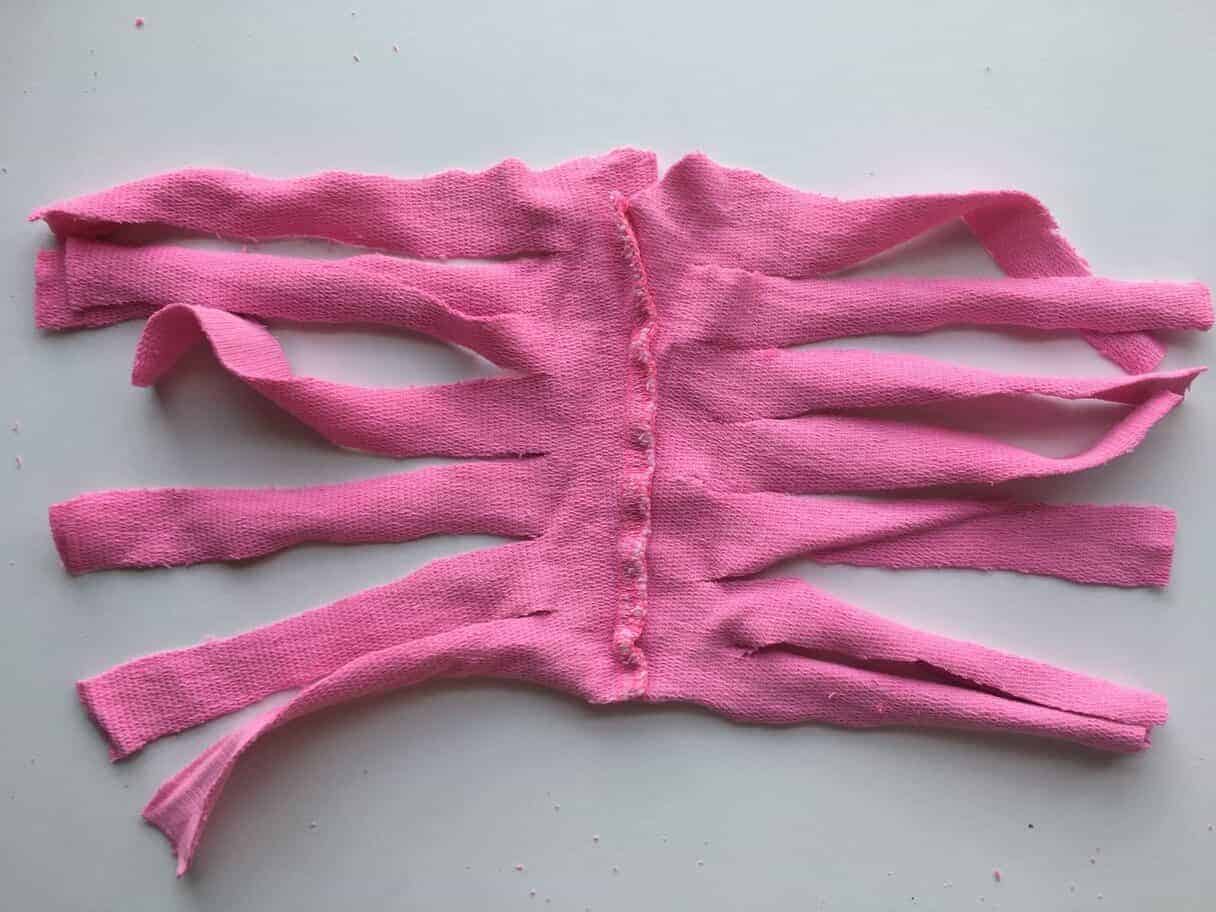
Cut long strips of fabric about 1/2″ to 3/4″ wide on each side of the seam, leaving about 1 1/2″ to 2″ of uncut fabric in the middle. This is what your fabric should look like when you are finished cutting.
*This post contains affiliate links, which means if you click a link and make a purchase, I earn a commission at no additional cost to you. Read my full disclosure here.
Prefer to Buy instead of DIY? Check out these super cute fabric tassel garlands (affiliate)!
5. Form the tassels for your DIY Tassel Garland.
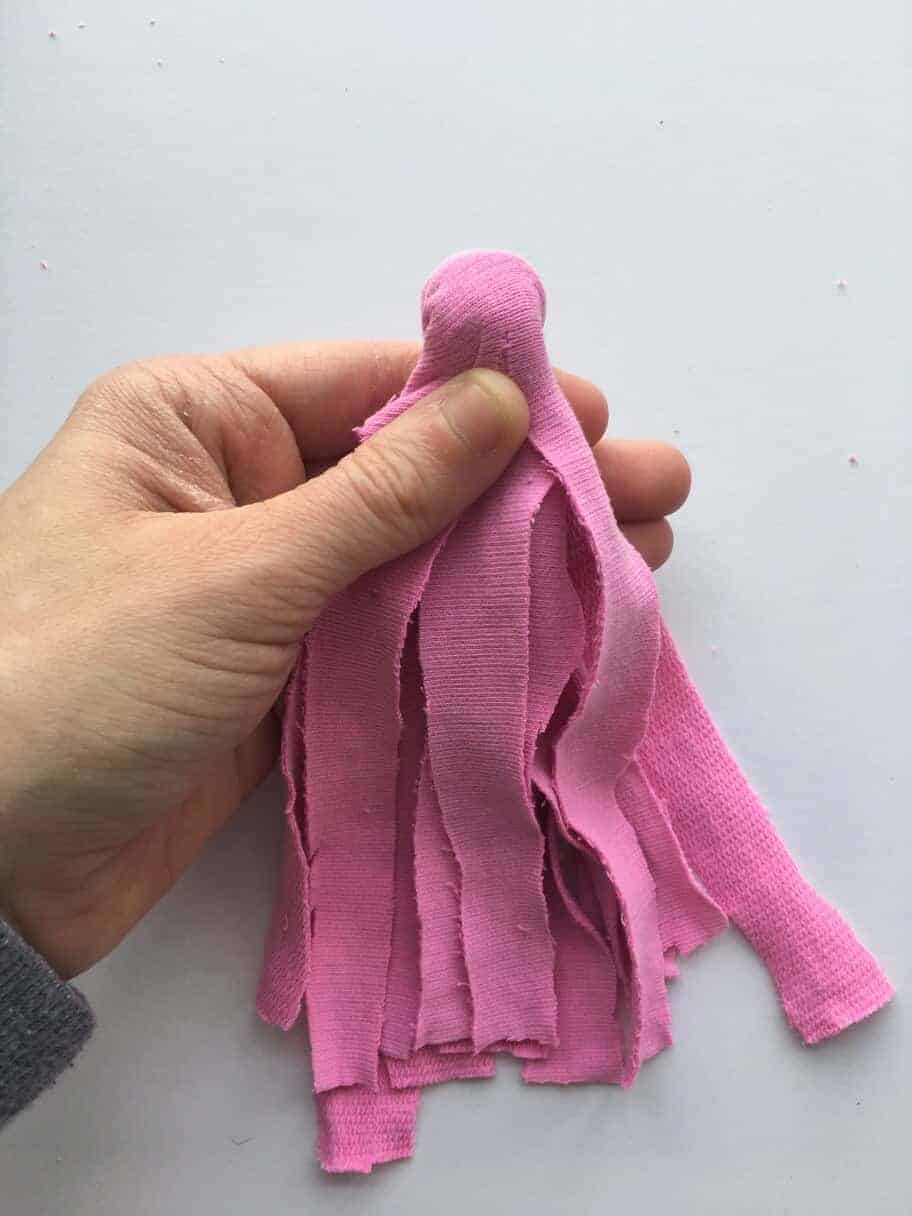
Starting at the bottom middle, roll fabric tightly. Then fold in half so that your tassel looks like this.
6. Tie the top of your tassel around your garland using twine.
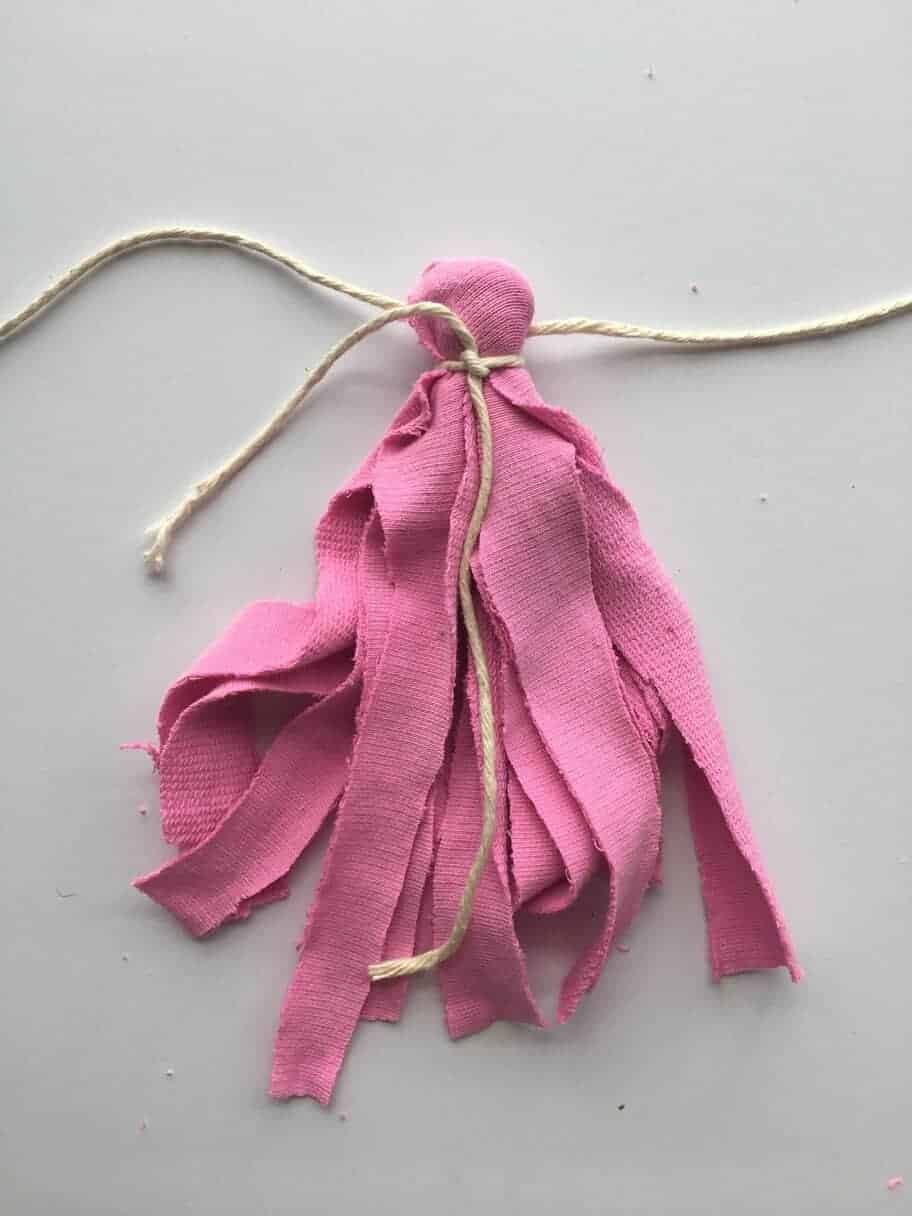
Cut baker’s twine to the length that you want your finished garland.
Fold your first tassel over the baker’s twine. Using another piece of baker’s twine about 6″ long, tie a tight double knot around the folded tassel about 3/4″ from the top.
You now have your first tassel attached to your garland! Don’t worry about the long pieces of twine hanging down from your tassel – we’ll deal with that later.
7. Cut along all seams to repurpose shirts into tassels.
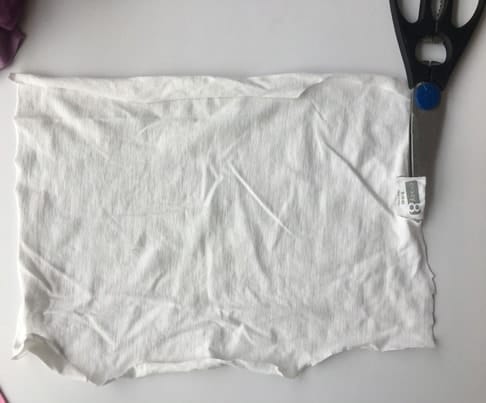
You can use the sleeves or the bodice part of the shirt. I used both for my garland. The white one is a long-sleeve shirt from Crazy8.
Cut along all seams until you are left with just the front or back solid piece of your shirt. I used the back of the shirt, and saved the cute gold star on the front of the shirt for another DIY craft project.
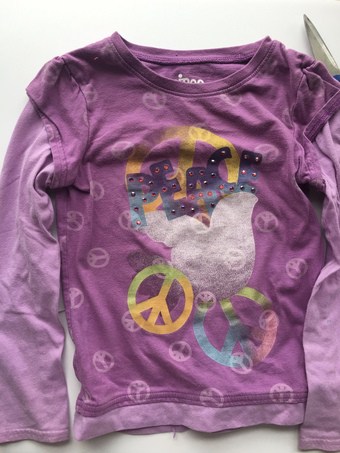
The light purple tassels from my garland are from the sleeves of this shirt. Cut the sleeves off at the shoulder, and then cut up the seam of the sleeve until you have one long, flat piece of fabric. Again, be sure to save the seam pieces for later.
8. Repeat steps 4-6.
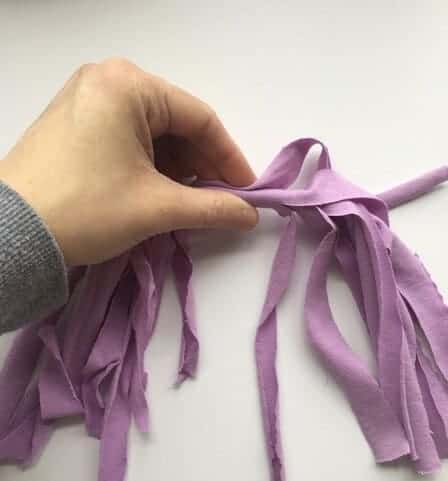
After you’ve prepped the fabric from your old shirts, continue making your tassels by cutting thin strips of fabric, rolling the tassels, folding them in half over your garland twine piece, and tying closed.
9. Turn your leggings into fabric tassels.
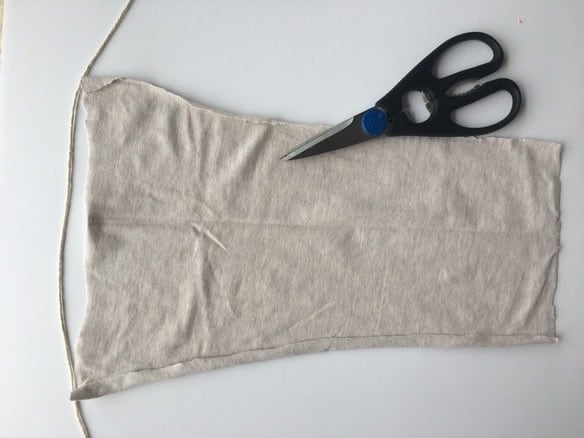
Cut legs off of leggings at the thigh area, then cut hem off of leg. Cut straight up seam of leg from top to bottom. Go back and remove entire seam from the piece of fabric, keeping it intact to use later.
Once you have a solid piece of fabric, repeat steps 4-6.
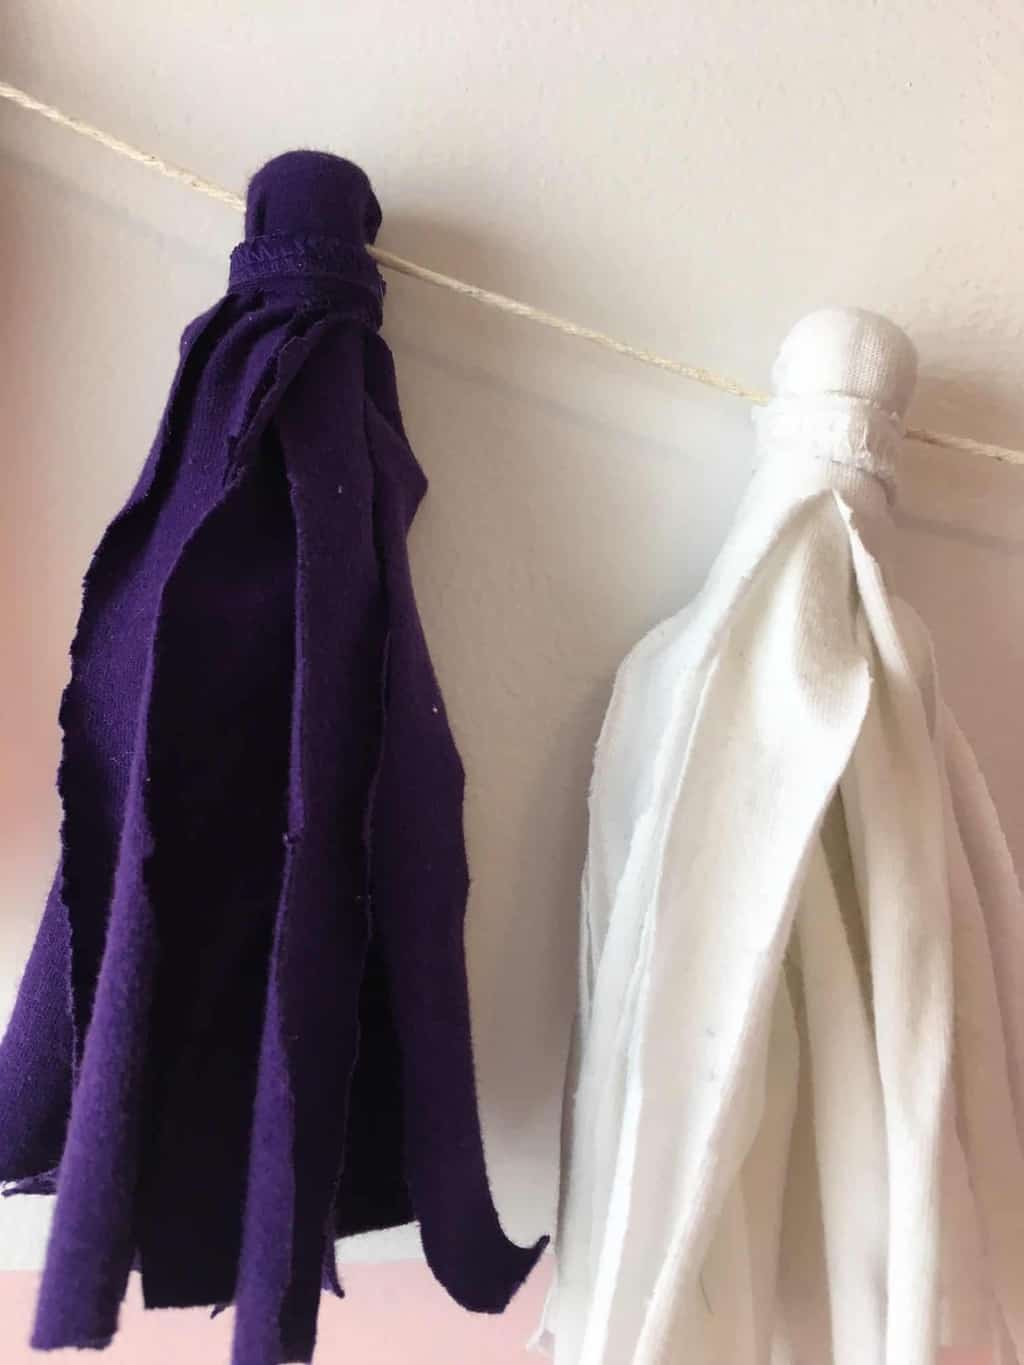
10. Hide the baker’s twine ties.
Once all of your tassels are attached to your DIY Tassel Garland, trim all excess baker’s twine from the “neck” of your tassels. Then, use hot glue gun to cover baker’s twine tie with seam pieces in coordinating colors.
If you look closely in the photo above, you can see that I’ve glued the strip of fabric with the sewn seam around the top of the tassels, covering up the baker’s twine.
11. Trim your tassels
At this point your fabric tassels will probably be different lengths because some of them were made with shirts and some were made from pants. Just give each tassel a little “haircut” so that each tassel is the same length.
12. Hang your fabric tassel garland in your child’s bedroom or use for party decor!
To hang your DIY tassel garland, simply tie each end of the butcher’s twine to a picture hanger and nail into the wall. Or, you can also hang your new garland using command hooks to minimize damage to your walls.
This super cute tassel garland is perfect to hang on the wall of your little girl’s room, to decorate a party table, or to hang across your mantle! And, it would be cute with patterned fabrics also.
If you make your own, I’d love to see a photo! Tag me on Facebook or Instagram, or leave me a comment down below letting me know how your garland turned out!
And don’t miss my BEST tips for decorating your kids’ small bedrooms, and why my daughter’s Zipper Bedding is my ABSOLUTE favorite thing in her room!
Love this DIY Tassel Garland goodness?! Share the love and pin me!

Leave A Reply!