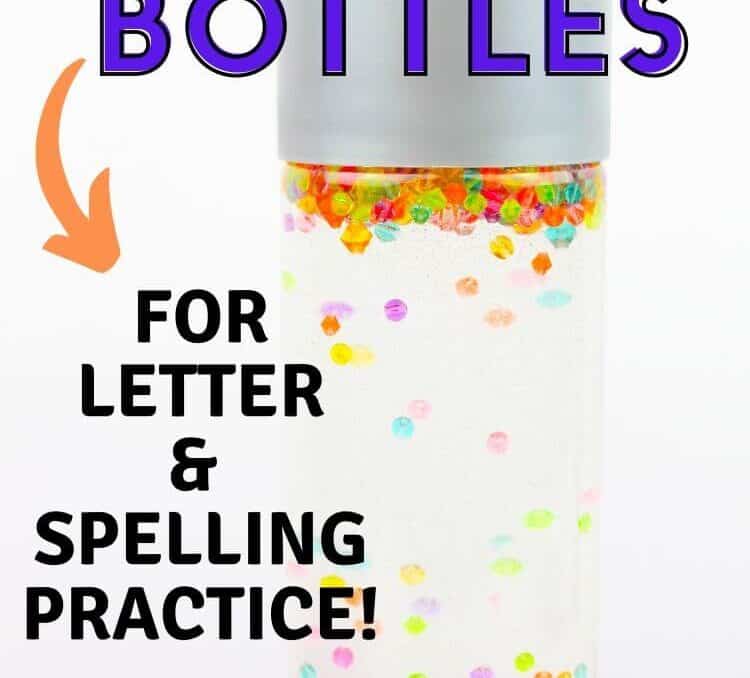
These DIY Sensory Bottles are filled with alphabet beads for kids to practice letter recognition and spelling words. Learn how to make sensory bottles for toddlers and preschoolers using just a few basic supplies, and keep your little ones entertained in the car or at restaurants!
I don’t know if you’ve ever made a name bracelet with alphabet beads, but if you have, you know that it can take quite a while to dig through a bottomless bin of letters to find the bead that you need… which is great for Moms of bored kids that seem to speed through all of your craft ideas, but somehow take 4 hours to put away two pairs of shoes.
And if your Mom bag of tricks is running on empty, then these sensory bottles are an easy little DIY project to take up a bit of time in your kids’ day. By the way… check out my FREE Printable Neighborhood Scavenger Hunts and my 2 Ingredient Edible Finger Paint for more fun kids activities!
But back to the alphabet beads…
Alphabet beads can be GREAT learning tools and boredom busters for kids, so why not stick them in DIY Sensory Bottles?!
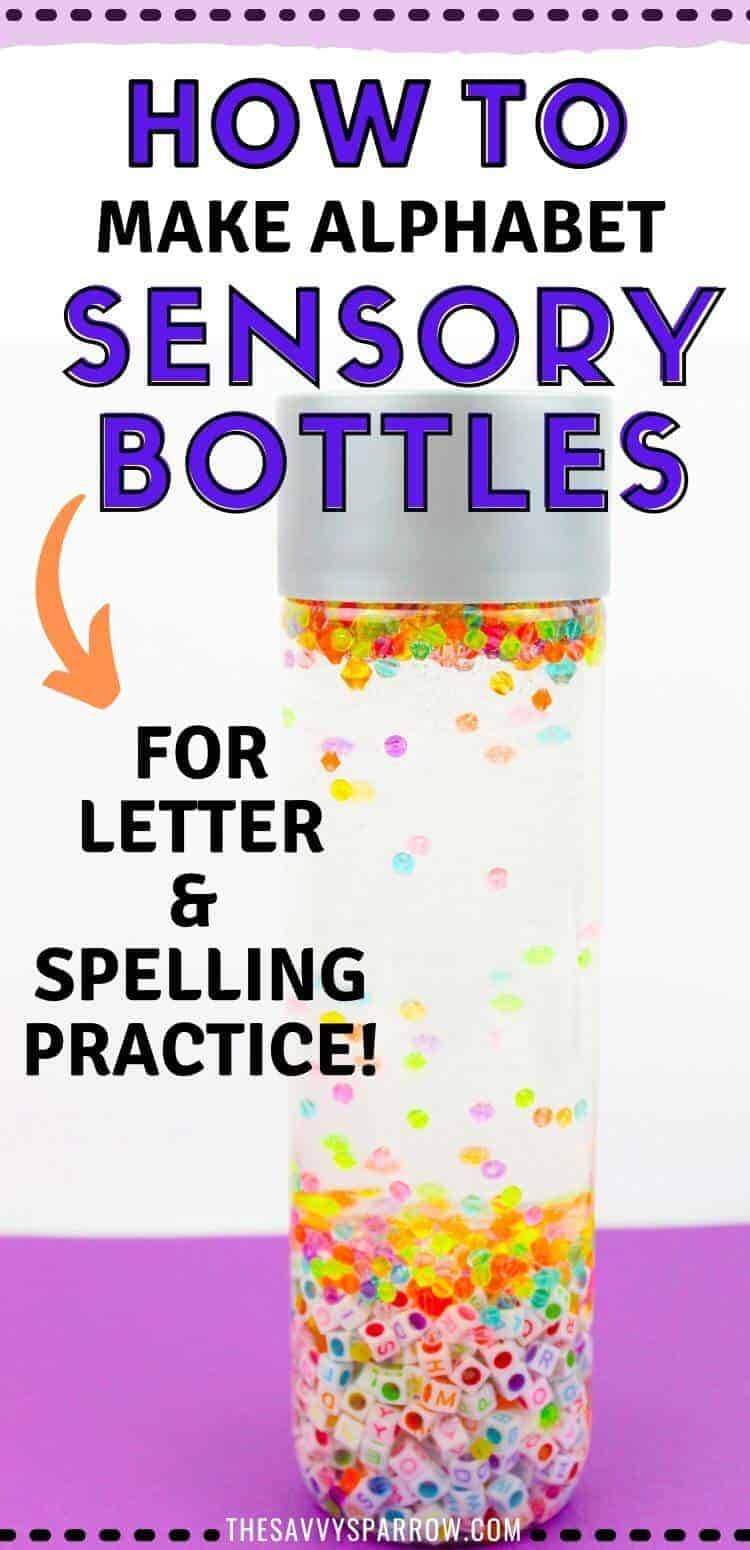
These DIY sensory bottles for toddlers and preschoolers are a GREAT way to keep your kids entertained in the car or at a restaurant. Here’s how to make them:
*This post contains affiliate links, which means if you click a link and make a purchase, I earn a commission at no additional cost to you. Read my full disclosure here.
How to Make DIY Sensory Bottles
Supplies Needed for DIY Sensory Bottles
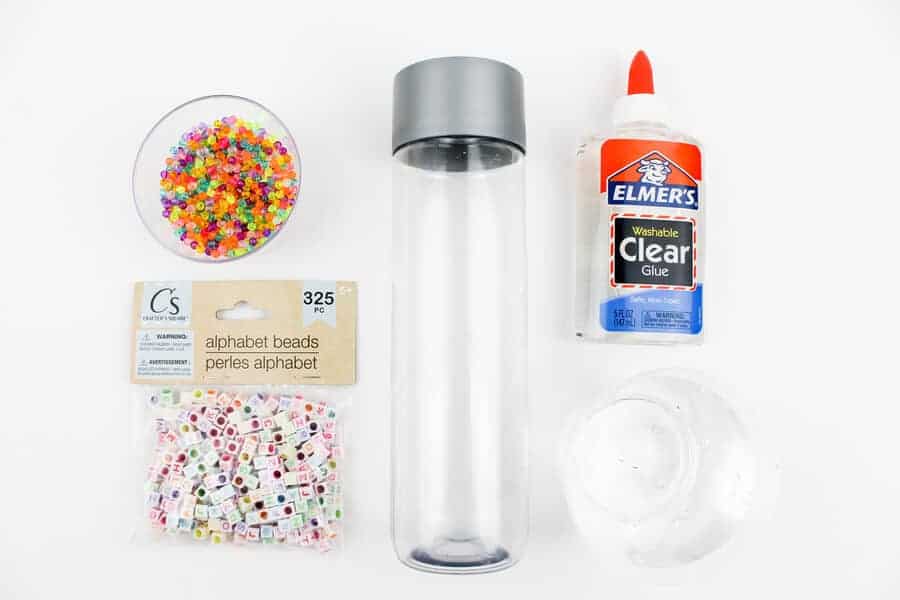
You can make these DIY Sensory Bottles with just a few basic supplies:
- Empty 16.9oz Bottle with label removed – I used a VOSS water bottle for mine.
- 5oz bottle of Elmer’s clear glue
- Alphabet beads – I used a pack of 325 beads like these (affiliate)
- Colorful beads
- Water
- Optional: tape or glue to secure lid – If you want to secure the lid, then I recommend putting a line of hot glue around the threading where the lid goes, and then screw the lid on while the glue is still hot.
Step 1: Pour the glue into the bottle.
Pour the entire 5 oz bottle of clear glue into your DIY sensory bottle.
Step 2: Add the beads.
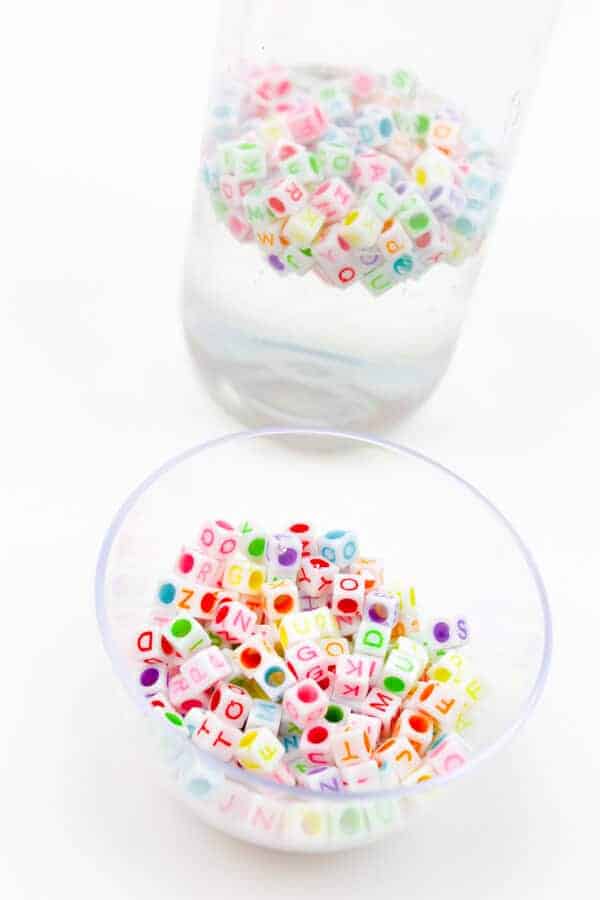
Add the alphabet beads and the small colorful beads on top of the glue. You can also add glitter or metallic confetti at this point if you want.
Step 3: Fill the remainder of the sensory bottle with water.
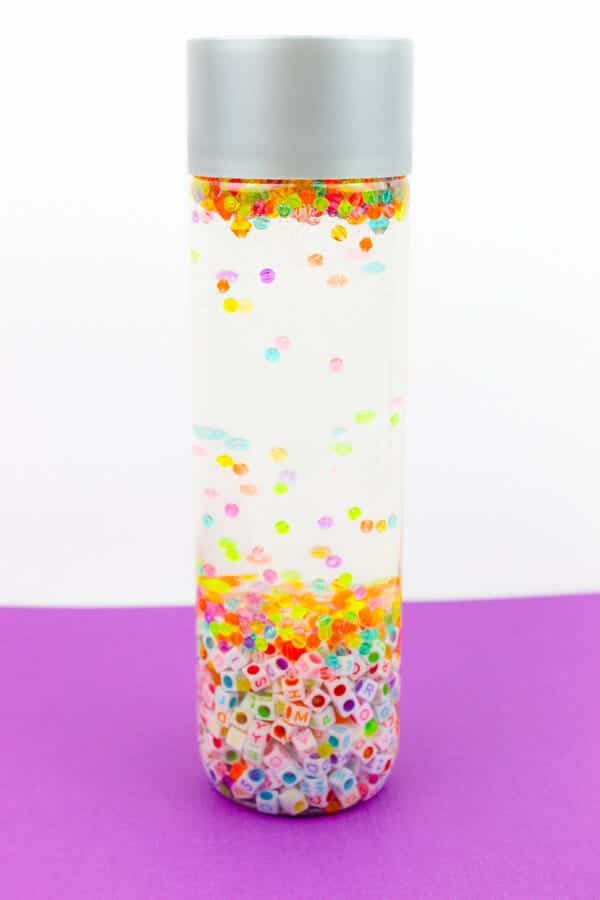
Step 4: Shake your DIY Sensory Bottle well to get the beads moving freely around the bottle.
And now your easy DIY Sensory Bottles are done! Now do a little incognito letter practice with some of these fun sensory bottle games:
Letter Games to Play with these DIY Sensory Bottles
The great thing about these DIY Sensory Bottles is that they can offer extra letter recognition and spelling practice while also keeping your kids busy. Here are some easy learning games that your toddlers can play with their new Alphabet Sensory Bottles:
Simple Spelling Game
Your kids can use their sensory bottles in conjunction with spelling word flash cards or with their weekly spelling lists for school. Just give your kids a word to spell, and have them find all of the letters in order for that word.
Rather than having your kids write each spelling word five times each (boring!), use the alphabet sensory bottles to practice words!
I Spy Letter ____
Give your toddlers a random letter to search for in their sensory bottles, or have them draw a letter flash card from a pile and then search for that letter.
Sight Word Search
Have your kids practice their sight words by finding the letters to spell age-appropriate words. You can find a list of sight words for grades preschool through 3rd grade here! Talk about a fun spelling test! 🙂
Capital and Lower Case Letter Match Up
Grab a pack of lower case letter flash cards to play this easy letter recognition game for toddlers. Just have them draw a card out of the deck and find the capital letter to match.
Colors & Letters
If you use colored alphabet beads for your Sensory Bottles for Toddlers, then you can challenge your little ones to find certain colored letters. For instance, ask your child to find a yellow “M”. This activity could be perfect to keep your kindergarteners occupied, too!
Other Things to Put in Your DIY Sensory Bottles
The possibilities are pretty much endless (or at least limited to the size of your bottle opening), when it comes to making your own sensory bottles. Here are some other fun items that you can add to sensory bottles for toddlers and preschoolers:
- Glitter
- Metallic confetti
- Sequins
- Small plastic animals from Dollar Tree
- Small bouncy balls
- Colorful loom rubberbands
- Buttons
- Glow sticks
Hope your little ones enjoy their new sensory bottles, and I hope you get to enjoy a few more minutes of peace while your kids are occupied!
And be sure to check out some of these other great ideas for boredom busters for kids:
- Edible Finger Paint – Make it in just 5 minutes with 2 ingredients!
- Printable Neighborhood Scavenger Hunts – Get out of the house for this fun and easy outdoor activity! Plus, there’s a TEEN version too!
- Free Printable Roll and Cover Dice Games – For fun math practice for preschoolers and kindergarteners!

Leave A Reply!