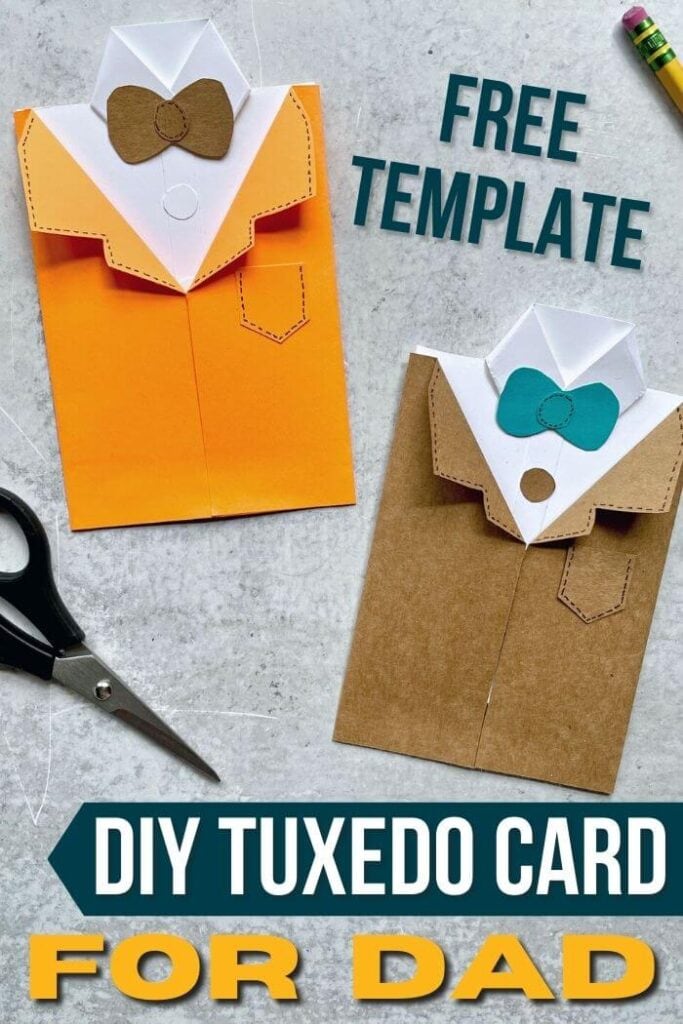
Need a cute DIY Father’s Day card or handmade birthday card for your kids to make this year? Try this fun folded tuxedo card for Dad!
Father’s Day is right around the corner, and if you’re not the type to stand in the card aisle for 45 minutes and pick out the perfect store bought greeting card (or if you’ve waited until the last possible minute and now the stores are closed), then try this cute DIY tuxedo card for Dad!
Your kids will have a blast making this easy folded tuxedo card, and you’ll save a trip to the store (and about 6 bucks!). Here’s how to do it:
Supplies for DIY Father’s Day Card Tuxedo
You only need a few basic supplies for this easy folded card for Dad, most of which are probably already in your kids’ craft drawers. You will need:
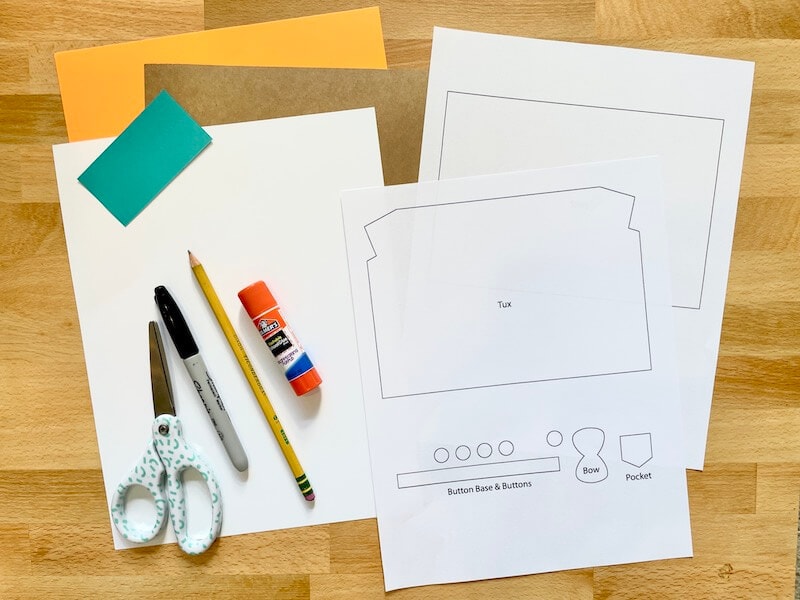
- colored craft paper or construction paper – I used 65 lb. colored card stock for my DIY tuxedo card.
- glue – Elmer’s school glue or a glue stick is fine
- scissors
- thin black marker
- pencil
- free printable tuxedo card template – Download the free template down below!
How to Make a Folded Tuxedo Card for Him
This DIY tuxedo card for Dad is easy to make and your kids will have a blast picking out Dad’s favorite colors and decorating the card. Depending on the ages of your kids, you may need to help them to ensure that the card is folded properly.
Here’s how to make this cute DIY Father’s Day or birthday card for him:
Step 1: Use the tuxedo card template to cut the shapes for the card.
Download and print the tuxedo template on regular printer paper. Just click the link below for the free tuxedo card template!
Free Printable Tuxedo Template for Card
Then, cut out all of the pieces in the template and trace each piece onto the correct colored craft papers. So, if you would like for the inner shirt piece to be light blue, trace that piece onto light blue paper.
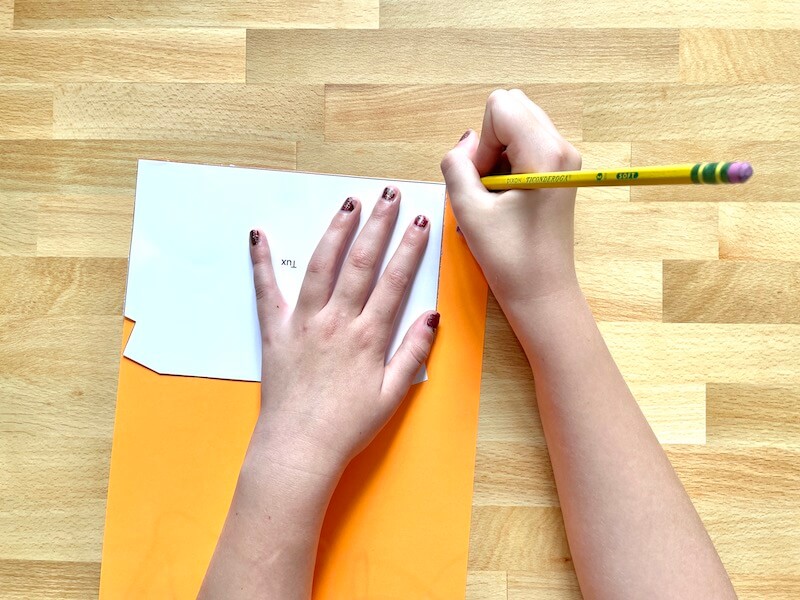
When all of your template pieces are traced on the correct colored papers, cut them out.
Step 2: Fold the shirt piece for the tuxedo card.
Next, it’s time to fold the shirt template piece. This paper piece will be both the shirt and the actual card part of your finished tuxedo card for him. Here’s how to fold the shirt for your card:
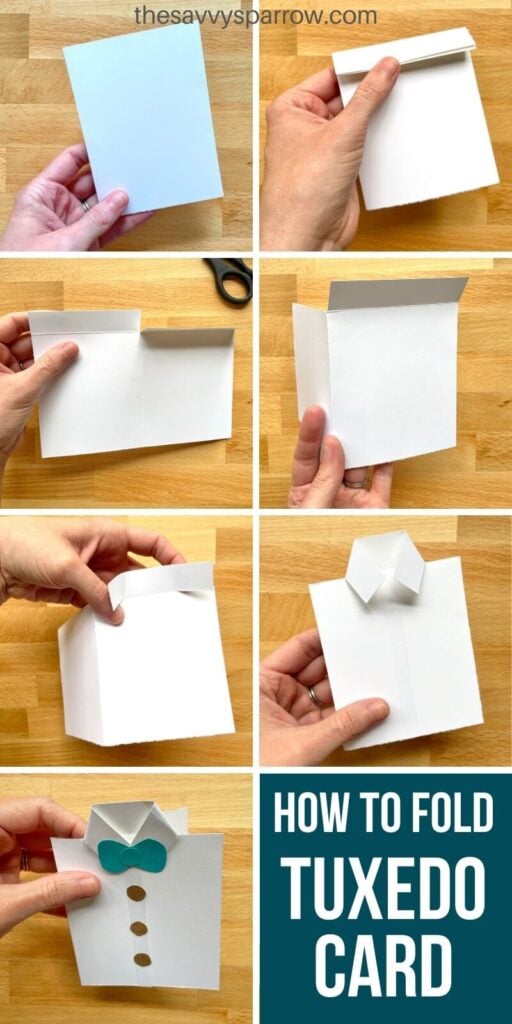
- Fold the shirt piece in half to form the base of the DIY card for Dad.
- Create a crease about 3/4″ down on the top of the folded card and fold it over towards the front (see the picture above for more details).
- Unfold the card, and cut a slit about 3/4″ down on the center fold of the card. Your slit should go down to where the folded crease is.
- Cut the folded rectangle that would be on the back side of the folded card out completely, but keep the other half attached to the card (see picture above). So the back side of the card is now about 3/4″ shorter than the front side. This taller front piece will be the collar of the shirt.
- Cut slits on both sides of the collar piece along the crease you made in step 2. The slits should be about 3/4″ to 1″ long. Be sure not to cut all the way across, or you will completely cut the shirt collar off.
- Fold one side of the slit diagonally inwards. Then fold the other side the same way to form your shirt collar.
Step 3: Glue the buttons and bow to the folded shirt piece.
After you have the shirt card folded, it’s time to decorate it. Simply glue the button base strip piece to the center of the front of the shirt card. Then, glue on the bow tie and the buttons.
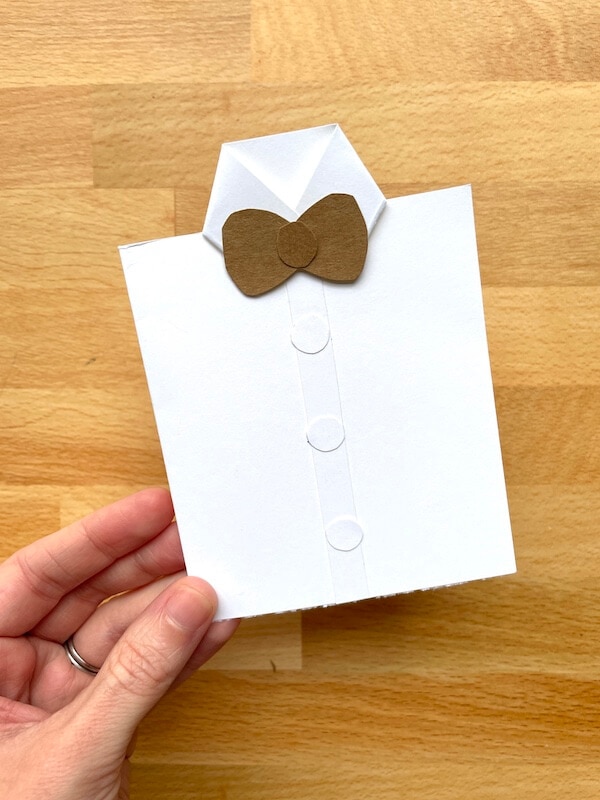
When the shirt part of your handmade card is done, it should open like a normal card for your child to write “Happy Father’s Day” or “Happy Birthday” inside. The actual shirt design is on the front of the card. Then it’s time to make the tuxedo “sleeve” of the card.
Step 4: Fold the tuxedo paper piece.
Next, fold the tuxedo template piece to form the outer sleeve for the shirt card to slide into. Fold both sides of the tuxedo pattern evenly so that they meet in the middle of the tuxedo jacket. Then, fold the side zig zag edge parts outward diagonally to form the collar of the tuxedo jacket.

Step 5: Glue the tuxedo at the bottom to form a sleeve for the DIY card.
This part is optional, but I found that adding a bit of glue along the bottom edge of the tuxedo jacket sleeve helped it to stay together. If you use regular construction paper for your DIY tuxedo card you may not need to do this, but since I used a thicker card stock, I found that my jacket wouldn’t lay flat like I wanted.
Here’s where I applied glue to hold the jacket together:
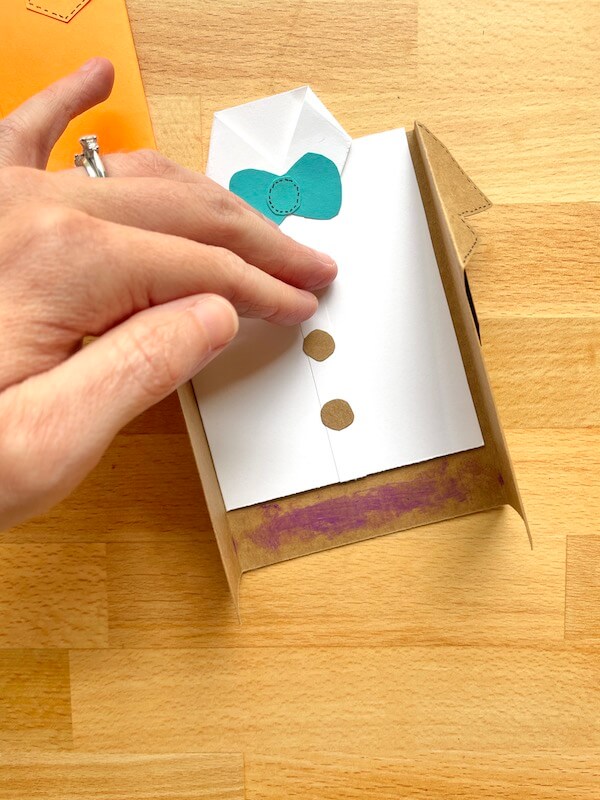
Just be sure that you don’t glue the actual shirt card to the tuxedo jacket, because then Dad won’t be able to remove the card.
Step 6: Insert the folded shirt paper into the tuxedo card and decorate.
To finish your DIY card for Father’s Day or Dad’s birthday, just insert the shirt card into the tuxedo sleeve piece. Glue the pocket piece onto the tuxedo jacket.
Then, using a thin black marker or pen, add a small dotted line around the pocket piece and around the outside edge of the tuxedo jacket collar. You can also add some small dots to the center of your buttons or add a seam around your bow tie. Feel free to be creative!
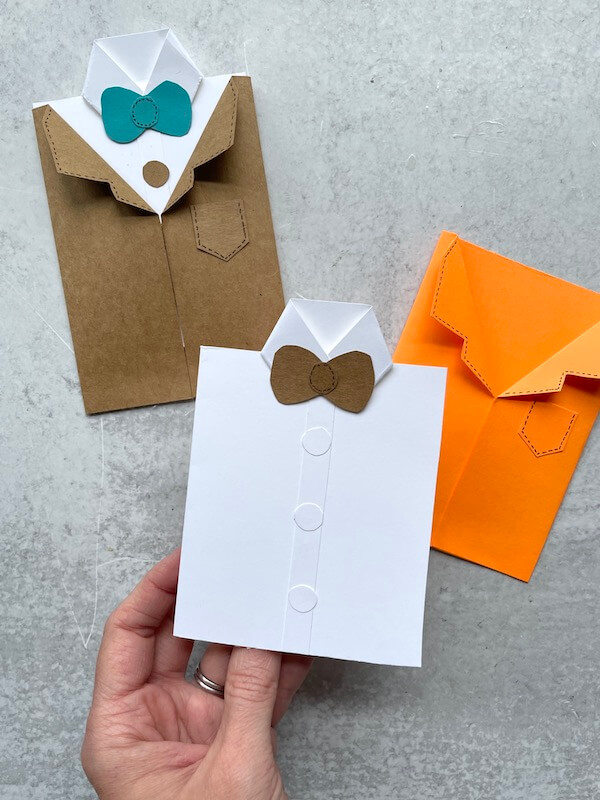
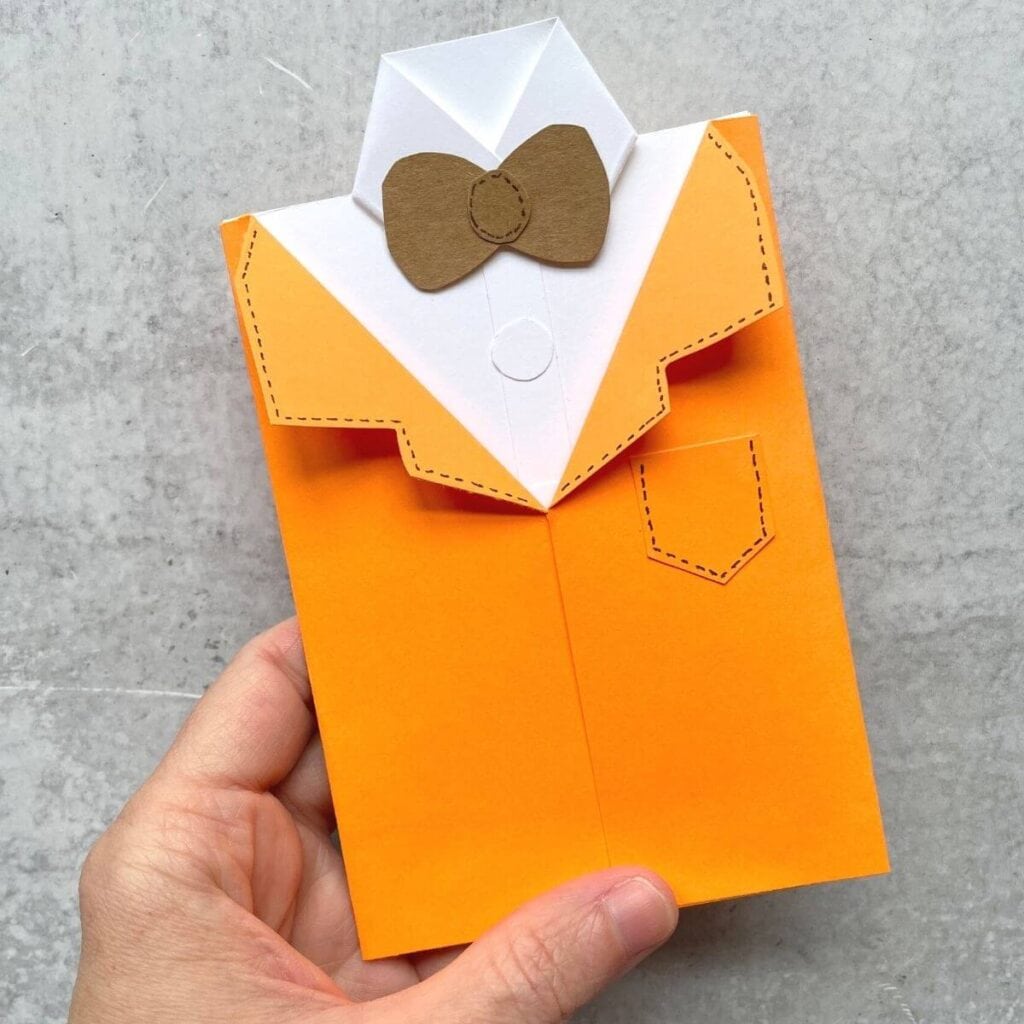
Then your cute handmade tuxedo card is done and ready to give Dad on his birthday or Father’s Day! So cute, right?!
I hope your kids love making this fun DIY Father’s Day card! And if you want an extra special way for your girls to spend Father’s Day with their Dad, then be sure to check out this post for Fun Daddy Daughter Date Ideas!
And don’t forget to PIN this post for later, when you need ideas for last minute cards for Dad:
And check out more handmade Father’s Day cards for kids to make here!