With only 4 ingredients and no baking required, these 4th of July Oreo Balls are the perfect fun and festive dessert to bring to your Fourth of July party!
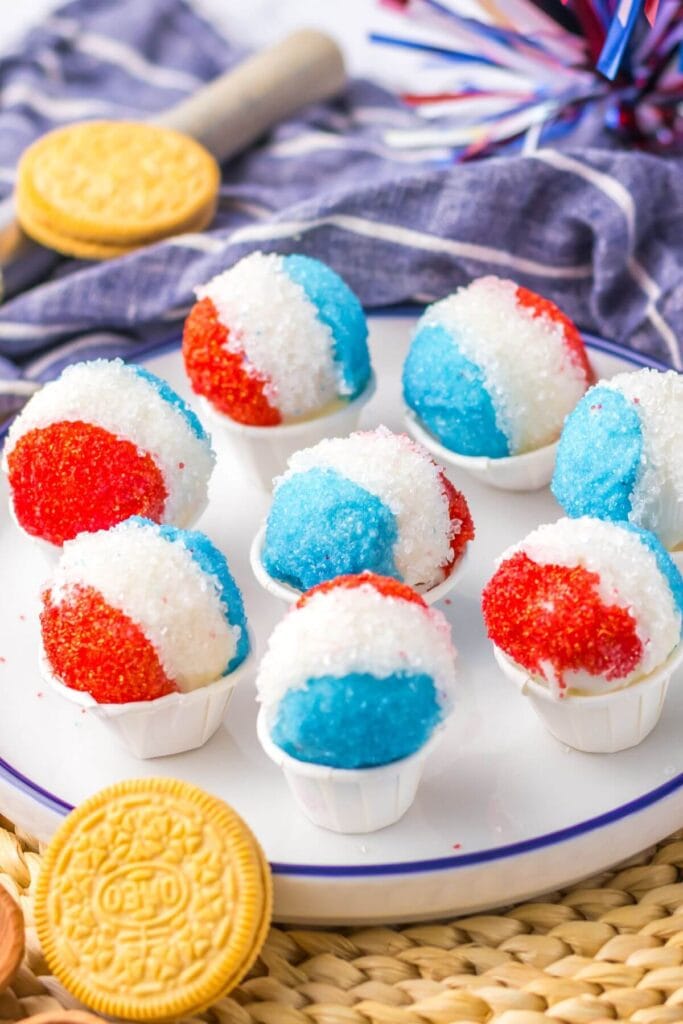
These adorable bite-sized treats not only look like miniature snow cones, but they taste absolutely delicious too! The combination of vanilla Oreos and cream cheese, coated in almond bark and decorated with patriotic red, white, and blue sanding sugar, makes for an irresistible dessert that is perfect for the 4th of July, Memorial Day, or any other patriotic holidays.
Kids will have a blast helping with this Oreo truffle recipe by rolling the Oreo and cream cheese mixture into balls, dipping them in almond bark, and decorating them with colorful sprinkles. Serve these red white and blue truffles alongside other Fourth of July favorites like our No-Bake Flag Dessert at your Epic Backyard BBQ for a truly memorable holiday celebration!
*If you’re looking for more patriotic dessert ideas, don’t forget to check out my post with tons of Red, White, and Blue Desserts!
Why You’ll Love These 4th of July Oreo Balls:
These patriotic Oreo Cookie Balls transform golden Oreo cookies into an adorable and delicious Fourth of July dessert that’s sure to impress. If you need more convincing, here are a few more reasons to love them:
- Perfect for parties. These sweet treats are easy to serve and share at any Fourth of July gathering or summer party.
- No-bake dessert. With no oven required, these truffles are perfect for hot summer days when you don’t want to turn on the oven.
- Kid-friendly. Get the kids involved in making this delicious recipe – they’ll love rolling the Oreo cream cheese balls and decorating them with colorful sprinkles!
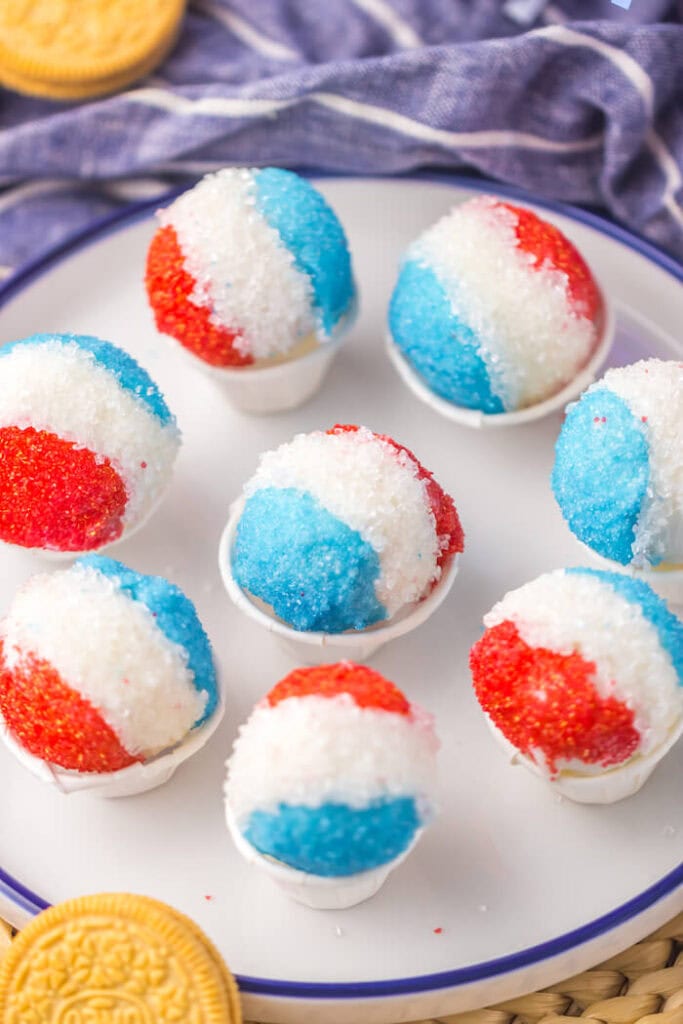
- Customizable. While the red, white, and blue sprinkles are perfect for the Fourth of July, you can easily customize the colors for any occasion or holiday… though I really love how the red and blue sprinkles make these look like snow cones!
- Crowd-pleaser. The combination of creamy Oreos, smooth cream cheese, and sweet almond bark is sure to be a hit with everyone who tries them!
Ingredients for 4th of July Oreo Balls
You only need 4 simple ingredients to make these 4th of July Truffles, and chances are, you might already have some of them in your pantry! Here’s what you’ll need:
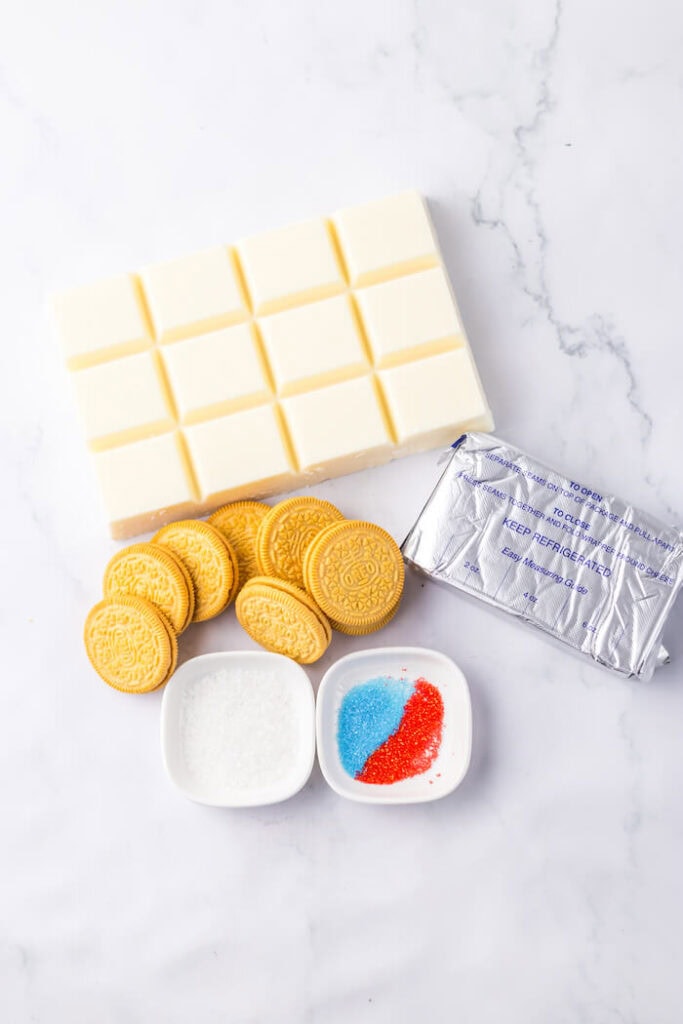
- Cream cheese – Softened to room temperature for easy mixing. The cream cheese helps bind the Oreo crumbs together and adds a delightful tangy flavor to the truffles.
- Oreos – You’ll need a 13 oz package of vanilla Oreos for this recipe. If you can’t find vanilla Oreos, you can use the classic chocolate variety instead.
- Almond bark – A 24 oz package of vanilla almond bark is used to coat the truffles and create a smooth, sweet outer layer. You could also use white melted chocolate chips or white melting wafers for the candy coating.
- Sanding sugar – To create the classic snowcone look, you’ll need red, white, and blue sanding sugar. Feel free to mix up the colors or use different decorative sprinkles for other occasions or holidays!
- Optional: Disposable paper soufflé cups – These tiny cups are the perfect size for displaying your Snowcone Oreo Truffles and making them look like real miniature snowcones!
How to Make 4th of July Oreo Balls
These adorable Fourth of July Oreo Truffles come together in just a few simple steps, with only 10-20 minutes of prep time! Here’s how to make them:
Step 1: Prepare the Oreo Mixture
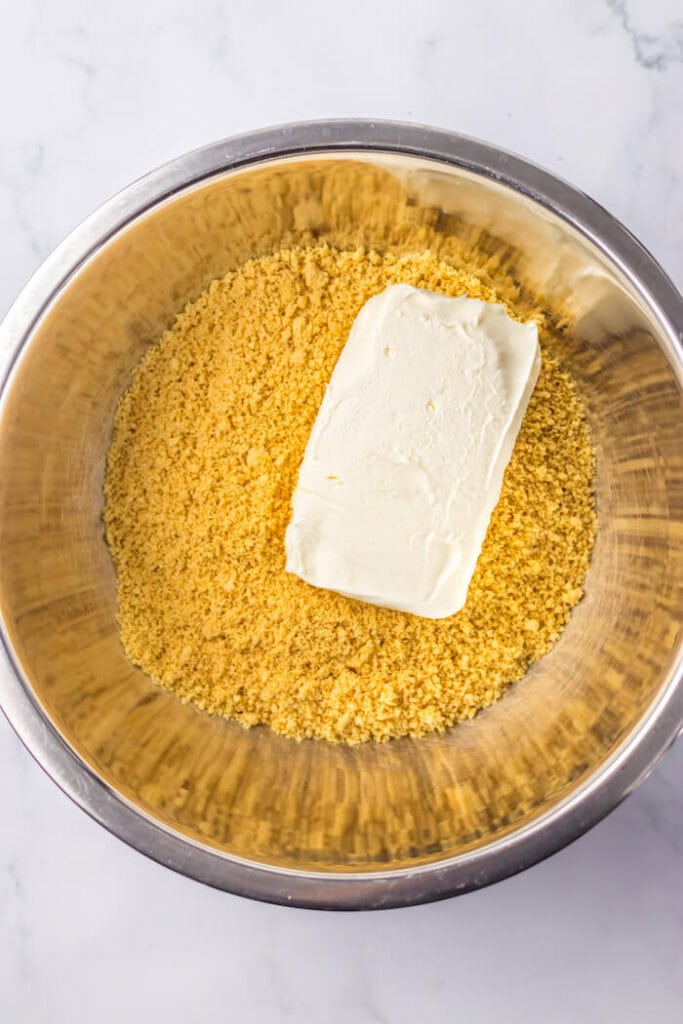
Pulse the golden Oreos in a food processor until they form fine crumbs. Transfer the cookie crumbs to a medium mixing bowl. Add the softened cream cheese to the Oreo crumbs and beat with a hand mixer until well combined and a wet dough forms.
Step 2: Form and Chill the Truffles
Roll the Oreo mixture into 1/2 inch balls using the palms of your hands and place them on a parchment paper or wax paper lined tray. Once all the balls are formed, place the tray in the freezer for 30 minutes to 1 hour to allow the truffles to firm up.
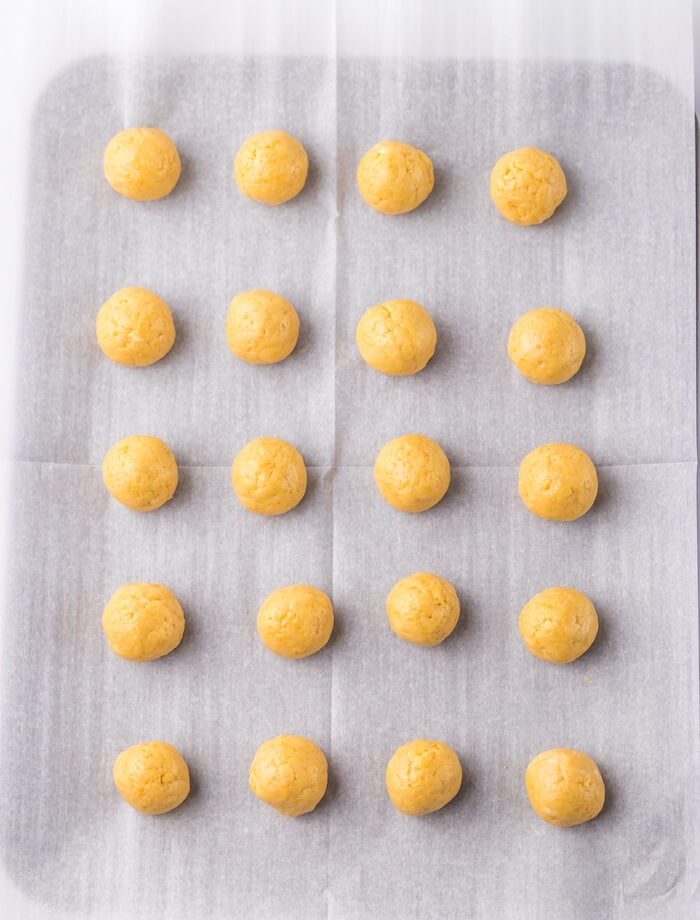
Step 3: Coat the Truffles in Almond Bark
After the truffles have chilled, melt half of the almond bark in a small microwave-safe bowl. Using a fork, dip each truffle into the melted almond bark, making sure it’s completely coated.
Tap the fork on the side of the bowl to remove excess almond bark, then gently slide the truffle back onto the parchment paper.
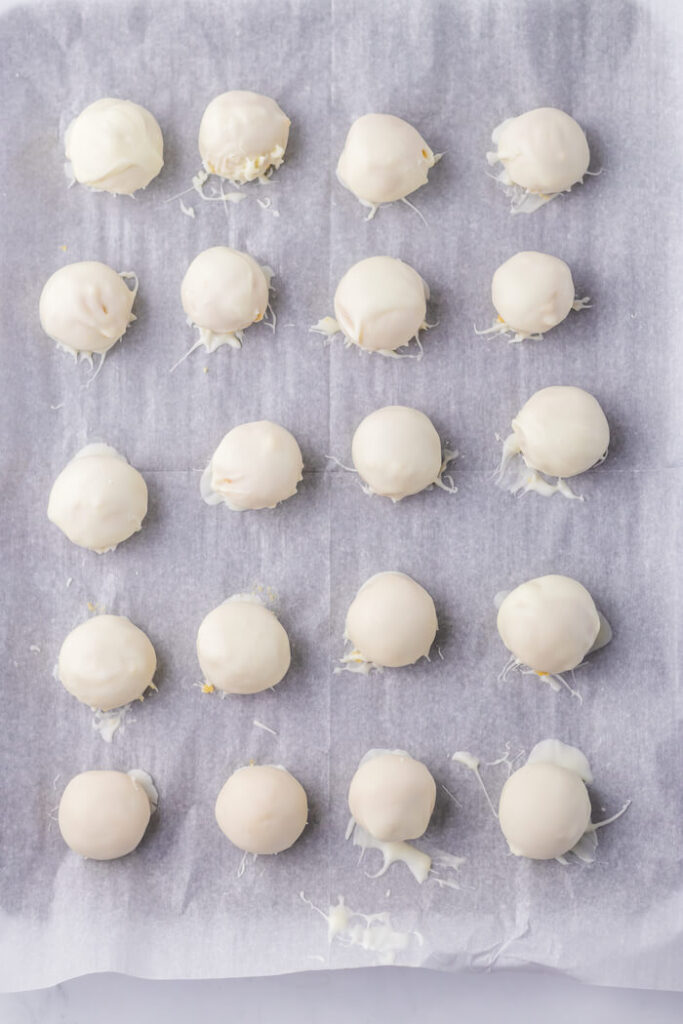
Step 4: Decorate the Truffles
Divide the sanding sugar into three separate bowls: one with red, one with white, and one with blue. Melt the remaining almond bark in a new microwave-safe bowl.
Using a small paintbrush or butter knife, paint a line of almond bark on one side of a truffle and immediately dip it into the red sanding sugar.
Repeat this process with the white sanding sugar down the middle of the truffle, and finally, the blue sanding sugar on the remaining side. Allow the almond bark and sprinkles to harden before moving on to the next truffle.
Tip: Work quickly when painting on the almond bark and adding the sprinkles, as the almond bark dries fast! For best results, make sure each section of sprinkles is hard and in place before starting the next step.
Step 5: Serve and Enjoy!
Optional: Place each decorated truffle in a small paper soufflé cup for an extra adorable snowcone look! Serve your patriotic Oreo Truffles immediately or store them in an airtight container in the fridge for 3-4 days.
Tip: If the truffles are slightly too big for the cups, you can carefully open up the cups a bit to make them a tiny bit bigger. To ensure the truffles are the perfect size, roll out a test ball and try it in one of the cups before forming the rest.

FAQs about Making 4th of July Oreo Balls
Can I use regular chocolate Oreos instead of vanilla?
Yes, you can use regular Oreos if you can’t find the vanilla variety. The flavor will be slightly different, but they will still taste delicious!
Is there a substitute for almond bark?
If you don’t have almond bark on hand, you can use white chocolate chips or candy melts instead. Just make sure to melt them according to the package instructions.
Can I use different colors of sanding sugar for other occasions?
Absolutely! Feel free to mix up the colors of sanding sugar to suit any holiday or occasion. For example, you could use orange, black, and white for Halloween, or red and green for Christmas.
How long will these Red White and Blue Oreo Balls last?
Store your 4th of July Truffles in an airtight container in the fridge for 3-4 days. The cream cheese in the filling requires refrigeration to stay fresh.
Can I make these truffles ahead of time?
Yes, you can make these truffles a day or two in advance. Just store them in the fridge until you’re ready to serve them. You can also freeze the undecorated truffles for up to a month. Just make sure to thaw them in the fridge and decorate them before serving.
What if I don’t have a food processor?
If you don’t have a food processor, you can place the Oreos in a large resealable plastic bag and crush them with a rolling pin until they form fine crumbs. Then, transfer the crumbs to a bowl and proceed with the recipe as instructed.
4th of July Oreo Balls
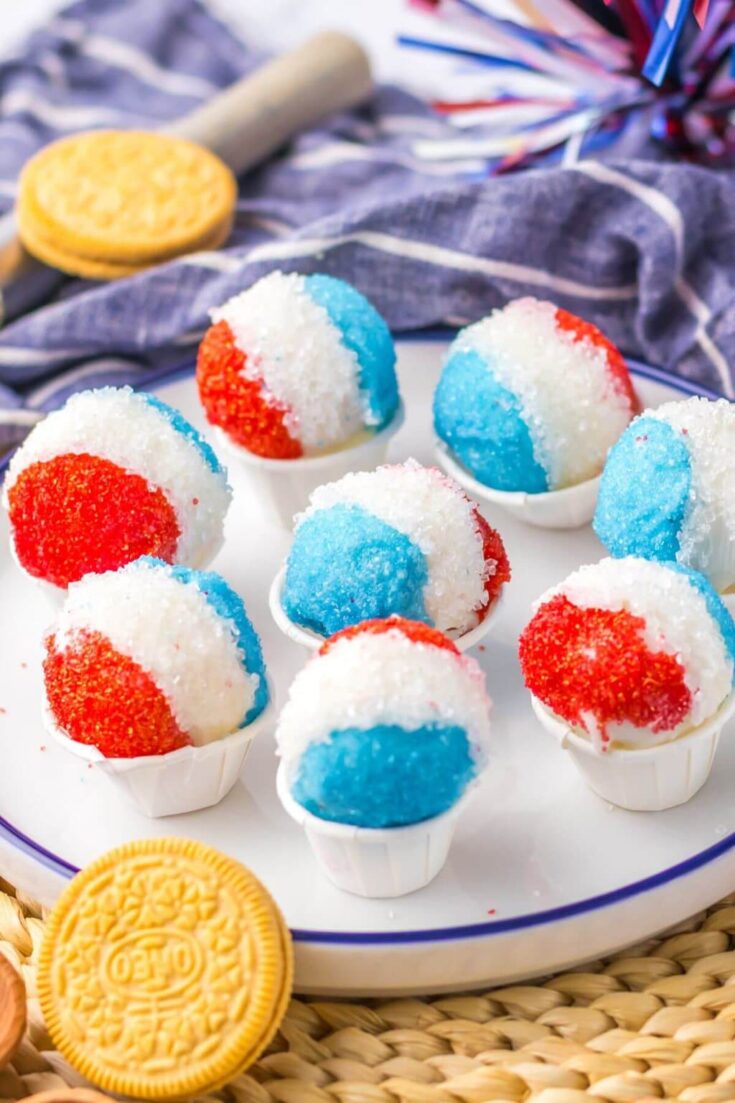
These 4th of July Oreo balls are cute patriotic desserts that are perfect for your July 4th party! Decorated with red, white, and blue sprinkles and served in mini paper cups, these Oreo truffles look just like mini snow cones!
Ingredients
- 8 oz of cream cheese (softened to room temp)
- 13 oz package of vanilla Oreos
- 24 oz package of vanilla almond bark
- 1/4 cup of red, white and blue sanding sugar (divided)
- 1/2 oz disposable paper soufflé cups (optional - to make the Oreo balls look like snow cones)
Instructions
- Add the Oreos to a food processor. Turn the food processor on until the Oreos are fine crumbs. (If you don’t have a food processor, you can place the Oreos in a large resealable plastic bag and crush them with a rolling pin until they form fine crumbs.)
- Add the Oreo crumbs to a large mixing bowl with the cream cheese. Use a hand mixer to beat the cookie crumbs and cream cheese together until well incorporated and a wet dough forms.
- Roll the mixture into 1/2 inch balls and place on a parchment paper lined baking sheet. When all of the balls are formed, place the baking sheet in the freezer for about 45 minutes to 1 hour.
- After the freezing time, heat half of the almond bark in the microwave according to package instructions. Microwave in short time increments, stirring the bark in between each time.
- Place one of the Oreo balls in the melted bark and use a fork to flip it around until completely coated. Lift the ball out with the fork, and wipe the bottom of the fork against the side of the bowl to remove excess. Use a second fork to gently slide the coated ball onto the parchment paper. Repeat until all of the Oreo balls are coated.
- Add each of the colors of sprinkles to a separate bowl - red sprinkles in one bowl, white in another, and blue in a 3rd bowl. Add the other half of the almond bark to a microwave-safe bowl and microwave per package instructions.
- For this step, I recommend that you use a small clean food-safe paintbrush. You can also use a small butter knife, but it will be messier. Dip a small paintbrush in the melted almond bark and paint onto the side of one ball. Immediately dip the ball in the red sprinkles. Next, paint a small line of almond bark down the middle of the ball, and immediately dip in the white sprinkles. Let the red and white strips harden (about 10 seconds) and then paint the last side with melted almond bark and dip into the blue sprinkles. Set the ball back on the parchment paper to harden. Repeat until all Oreo truffle balls are decorated.
- Optional - Once the decorations have hardened, set the Oreo balls in small paper cups to make them look like mini snowcones. Enjoy!
Notes
- Storage - The Oreo Balls can be stored in an airtight container in the refrigerator for up to 4 days.
- Make sure the sprinkles/almond bark for each stripe color have hardened before starting the next color of sprinkles (about 10-15 seconds).
- Work quickly when painting the almond bark on the truffles - it dries fast!
- To determine the best size for your Oreo balls, test roll one ball and place it in a cup. Adjust the sizing as needed.
Nutrition Information:
Yield:
20Serving Size:
1Amount Per Serving: Calories: 234Total Fat: 4gSaturated Fat: 2gTrans Fat: 0gUnsaturated Fat: 1gCholesterol: 12mgSodium: 46mgCarbohydrates: 18gFiber: 0gSugar: 17gProtein: 1g
Nutritional information is provided as a courtesy and is an estimate only. Different online calculators may calculate nutritional information differently. Also, the addition of optional ingredients and varying brands and products may change the information. For the most accurate data, you should calculate the nutritional information with the actual ingredients that you use.

Leave A Reply!