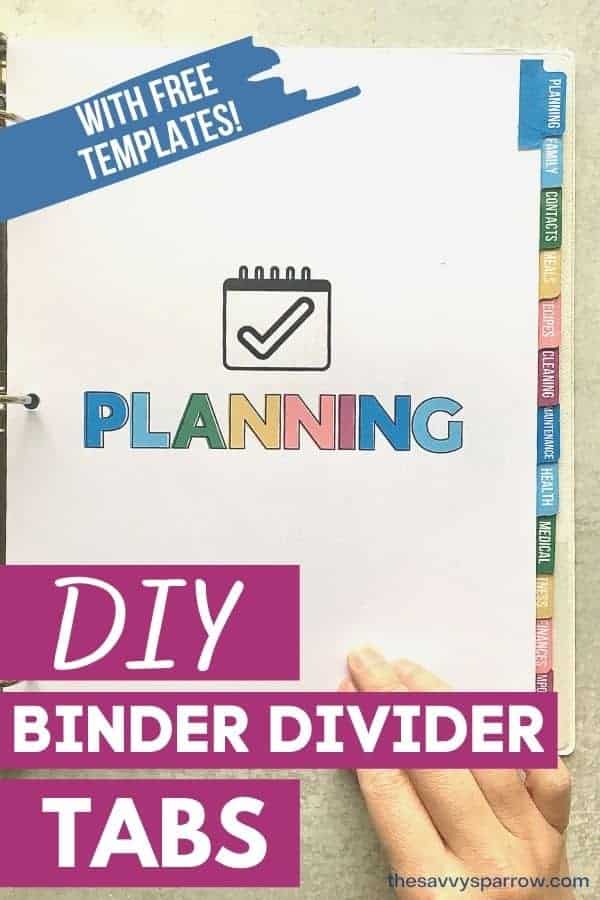
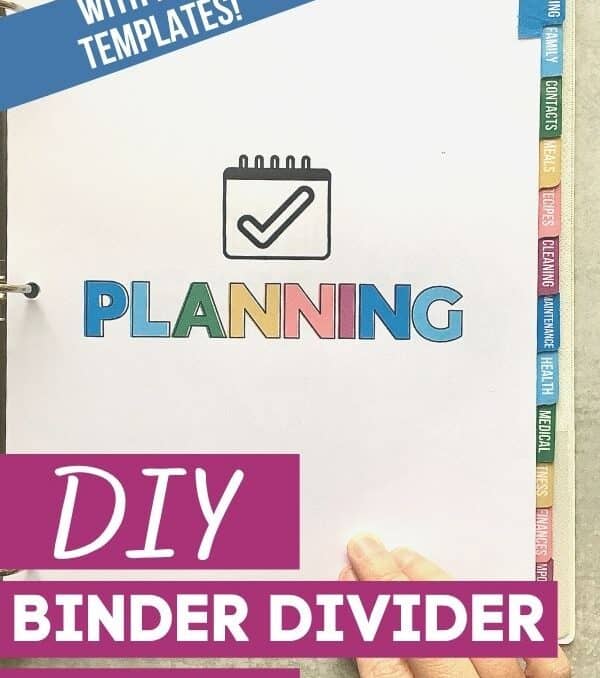
Want to learn how to make DIY Binder Dividers for your planner or 3 ring binder? Then you’re in the right place! Find out how to make your own binder tabs and grab a free printable divider tab template!
I’ve been on an organizing kick lately.
As life gets busier, and I keep piling more and more on my proverbial “plate”, I’m trying to steam line and organize some household management and work tasks.
And that means… BINDERS!
Yes, it’s hard to deny the paper organization perfection that can be achieved with a simple 3 ring binder. I have binders for everything… my business income and expenses, my internet passwords, my In Case of Death information… sounds morbid, but if you don’t have an Emergency Binder then you could be in trouble!
So naturally when I wanted to create a simple, all-in-one home management system, I reached for a fresh binder.
But here’s the thing… a binder full of hundreds of papers is useless if you don’t have organized sections with divider tabs.
And customizable binder divider tabs that you can type right on and print out at home are even better, right?! Well, today I’m going to show you how to do just that!
Here’s how to make your own super cute divider tabs for the ultimate binder organization:
*This post contains affiliate links, which means if you click a link and make a purchase, I earn a commission at no additional cost to you. Read my full disclosure here.
Supplies Needed for DIY Binder Dividers
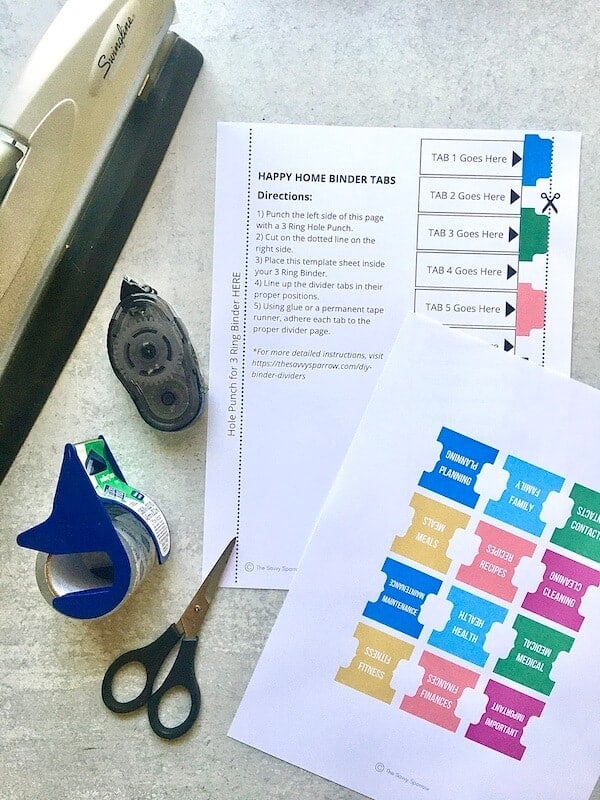
- Printable tab divider template – You can grab my free printable binder tab templates down below!
- Card stock or heavier weight printer paper – I have made DIY binder tabs with both card stock and 32 lb. printer paper (this is what I use!), and both work well. However, I would not use regular copy paper (20 lb. weight), because the divider tabs will be more flimsy and prone to wrinkling.
- Packing tape
- Scissors – Precision scissors work best when making your own binder tabs.
- Paper trimmer – (Optional) – You can cut your DIY binder dividers using regular scissors, but I prefer to use a paper trimmer because it is faster and the cuts are straighter than scissor cutting.
- Permanent tape runner or glue – I used my handy Stampin’ Up! tape runner, but these tape runners are great also! You can also use glue to make binder tabs, but I prefer the no-mess, no-fuss tape runners.
How to Make DIY Binder Divider Tabs
For this example, I’m going to be showing you how I created the DIY divider tabs in my Happy Home Binder… but the process works the same no matter how many tabs you are making.
Here’s how to make your own dividers for binders:
1. Print your Divider Tab Templates.
You can grab a set of 12 printable divider tab templates as a gift when you subscribe to my free newsletter! And you can even type directly on to the divider tabs to customize them to your liking!
*Note – You will need to have Adobe Acrobat Reader installed on your device to type on to the tabs. You can download Acrobat Reader for FREE online!
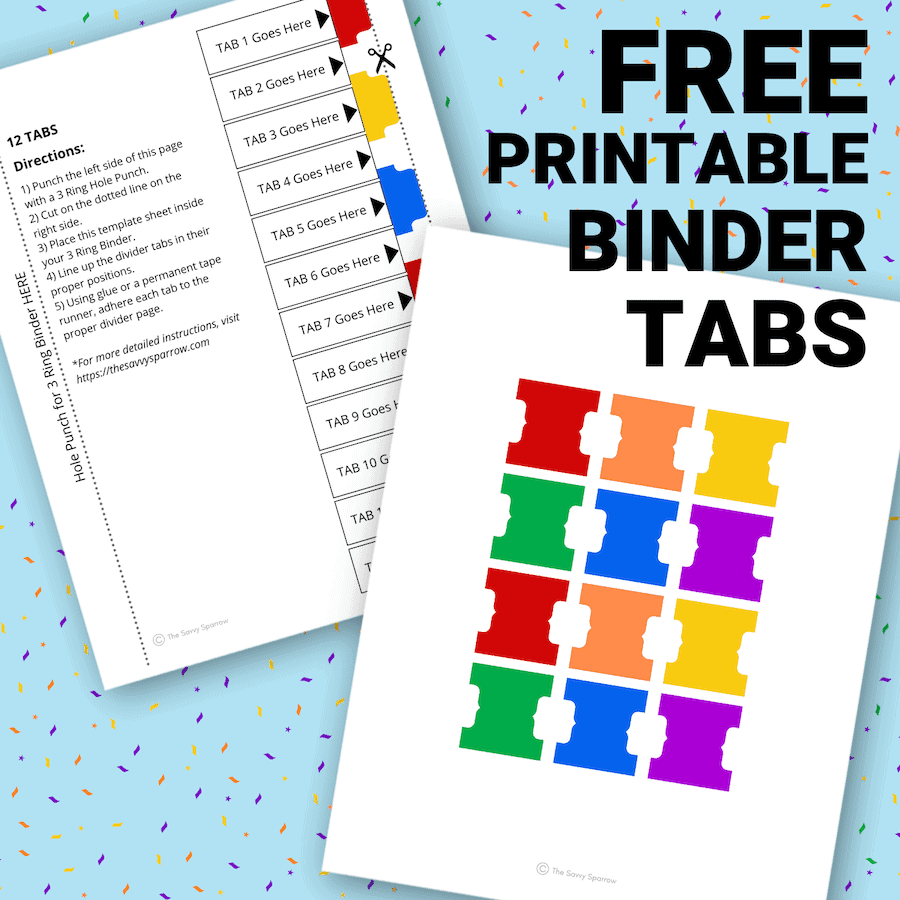
Just use the form at the end of this post to subscribe to my free email newsletter, and I’ll send your printable binder tabs template as a Welcome Gift! Plus, you’ll get the password to my entire freebies library!
2. Cut the binder tabs into square shapes.
Here’s where a paper trimmer comes in handy! You can see in the photo down below that I used my Stampin’ Up! paper trimmer, but of course you can just cut the tabs by hand if you prefer.
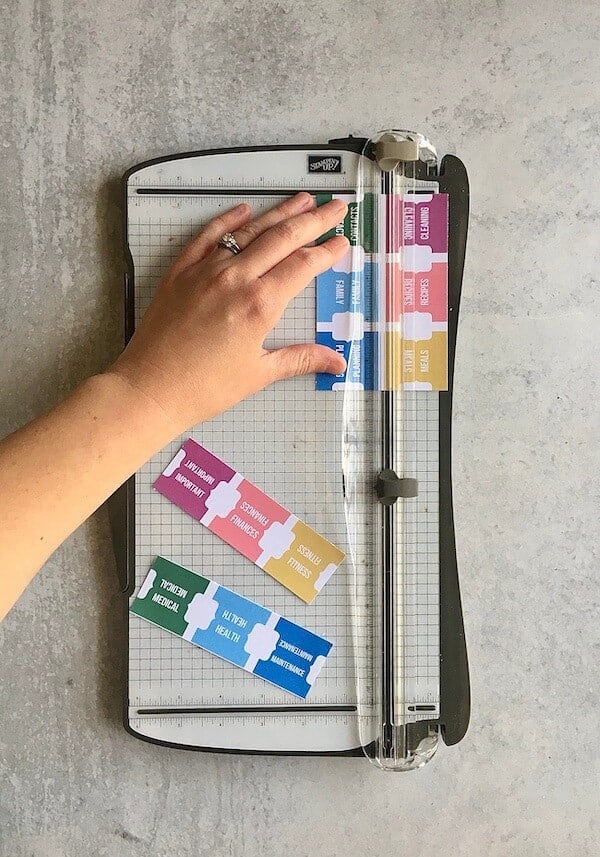
Just ignore the decorative detail of the binder tabs for now. It’s much easier to cut that part out later. (See the photo below for how to cut the divider tabs into squares.)
3. Fold the divider tabs in half.
Here’s a photo of how to fold your printable tabs:
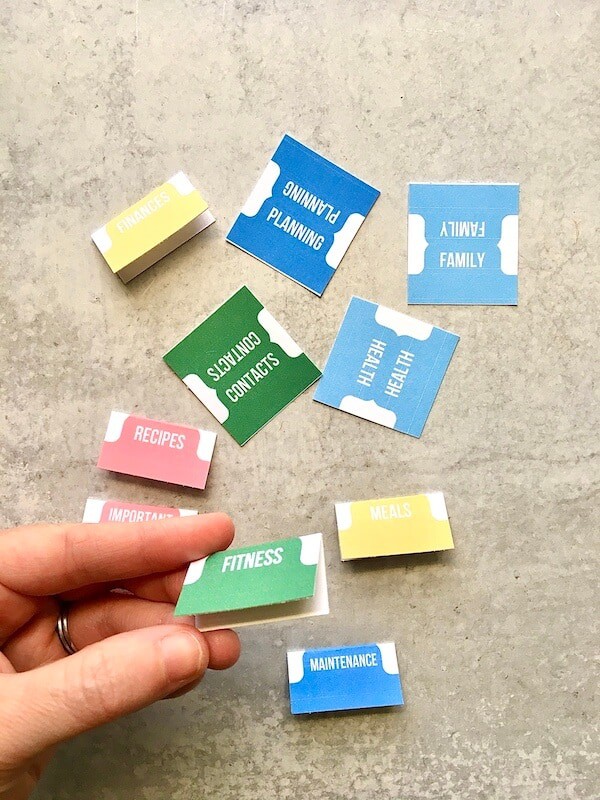
Once you’re sure that the fold is lined up perfectly, press down hard on the seam to make a good crease.
*Just for reference, the tabs in the photo above were printed on card stock, which is why they look nice and sturdy.
4. Place packing tape over the DIY binder dividers.
Taping over your DIY binder dividers will help waterproof them and prevent them from tearing. The tape also adds a little extra thickness to the tabs, which is important if you are not using card stock.
After some trial and error, this is the easiest way that I found to apply the packing tape to the tabs:
- Tear off a piece of packing tape that is a little bit longer than the width of your binder tab.
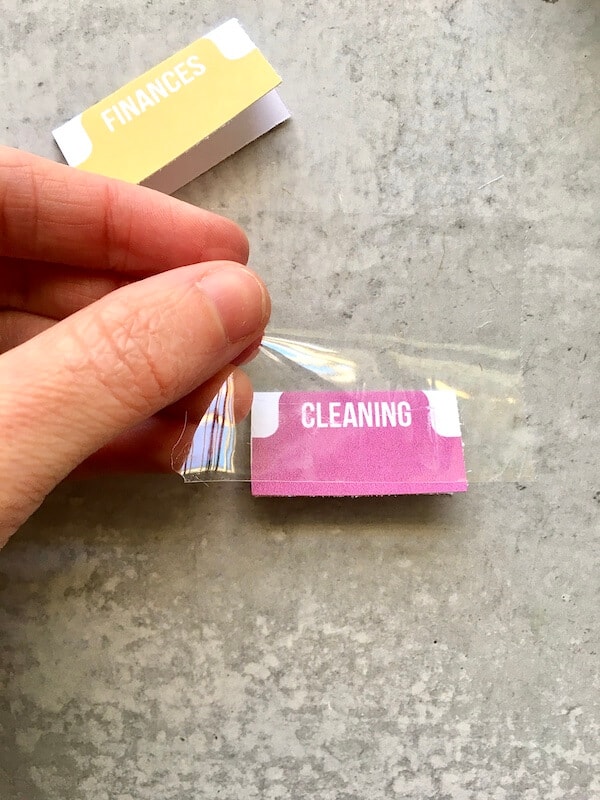
- Line up one straight edge of the tape with the bottom flat edge of a folded binder tab. Once the tape is flush with the bottom of the tab, press down on the tape, taking care to not let the tape wrinkle. Here’s a photo for reference:
- Once the tape is nice and smooth on one folded side of the tab, fold the tape over the top of the tab to the other side. Then, make sure there are no wrinkles in the tape, and smooth it down over the back side of the tab. Here’s what your DIY binder dividers should look like now:
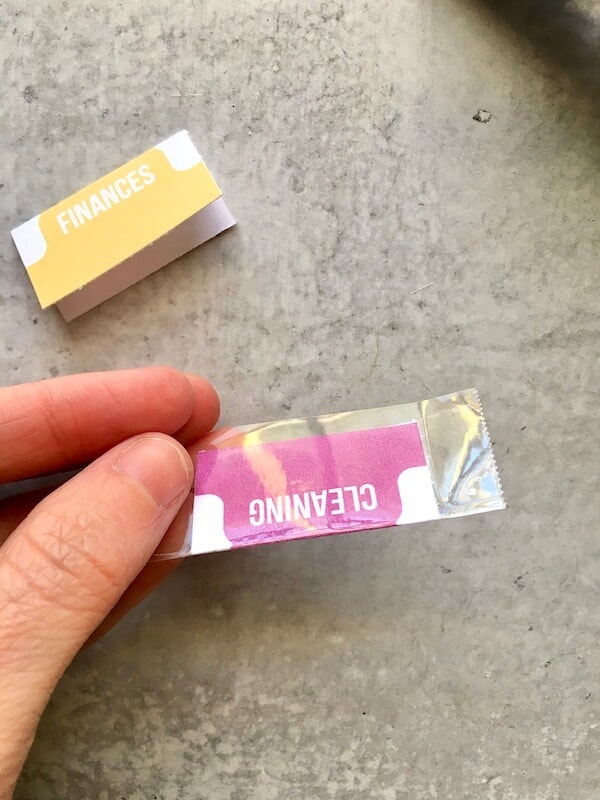
So, the fold of the tape should be on the same side as the fold of the binder tab.
5. Cut out the taped divider tabs.
Next, take scissors and cut around the colored part of the divider tab. Smaller, precision scissors work best for this step.
Once all of your tabs are taped and cut, you may need to gently “open” the tabs if any of them are sticking closed. You will need to be able to slide your divider pages in to the tabs in later steps.
6. Use the printable binder tab template to determine the proper placing for your tabs.
After you’ve cut the free printable binder tab template on the right side dotted line and punched the holes on the left, place the template in your 3 ring binder.
You will also need divider pages to tape your tabs to. Go ahead and punch holes in those pages now also.
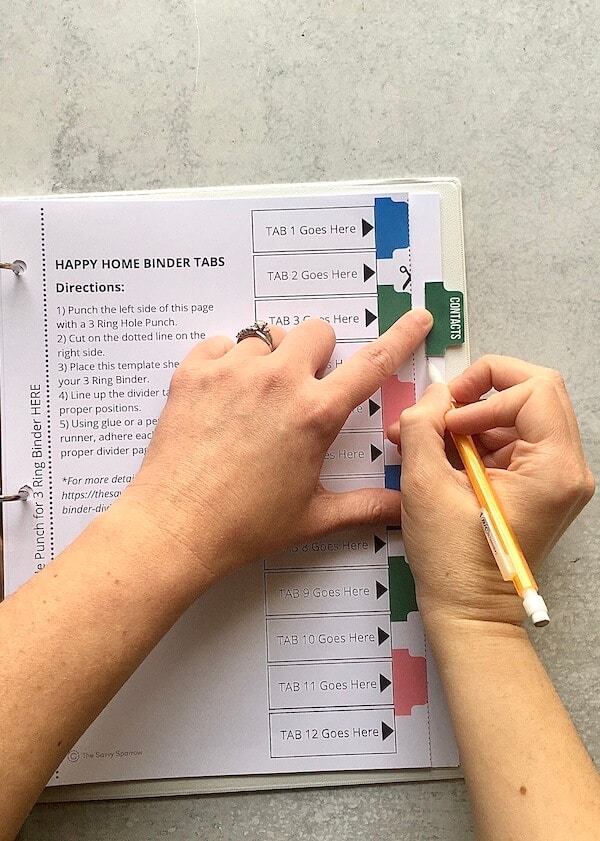
Then, line up the binder dividers template on top of the first divider page that you will be doing, and use a pencil to make a light mark showing where the first binder tab should go.
Here’s a photo of my third binder divider tab:
7. Tape or glue the binder tabs to their appropriate divider page.
After you’ve marked the position of the tab, it’s time to tape or glue it in place.
Use your permanent tape runner and put one strip of tape down the bottom edge of one side of the tab. You can also use glue for this step. If you look carefully, you can see the tape runner tape on the inside of the tab in this photo:
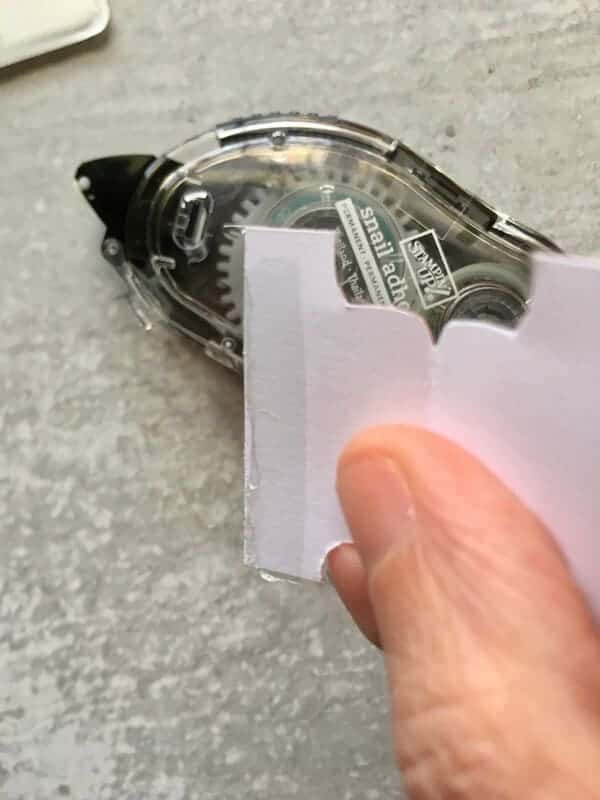
Then, apply that side of your tab just over the edge of your pencil mark. The lines where your tabs curve out at the bottom should line up with the straight edge of your paper like this:
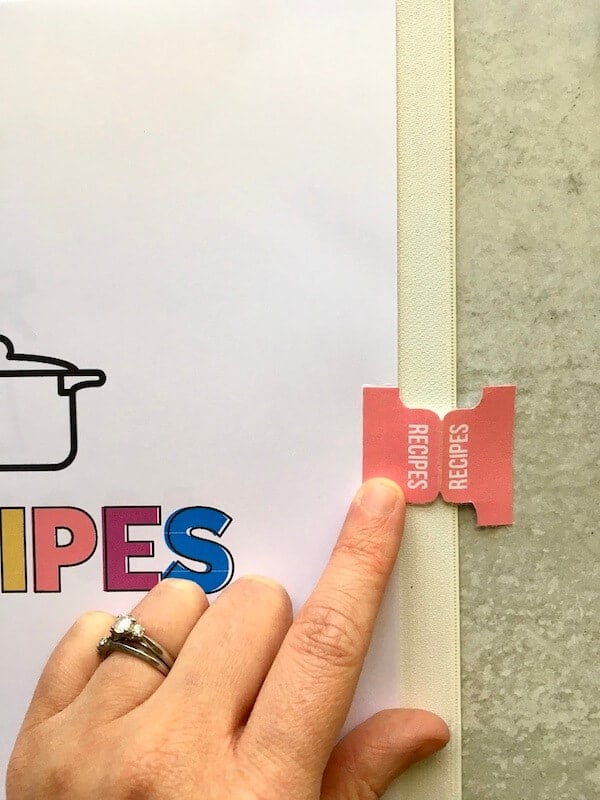
Then, apply tape or glue to the back side of your tab, and fold it over to the back side of the divider page, pressing down firmly.
*Note – Be careful that your divider pages don’t stick together in this process… Two of my pages stuck to the tape when I was completing my first set of DIY binder dividers, and I ended up taping the tab around 2 pages without realizing it!
8. Repeat steps 6 and 7 for the remaining DIY binder dividers.
Continue to tape/glue the binder tabs on to each of your divider pages. Once you get a few done, you’ll get into the swing of things and it will seem much easier.
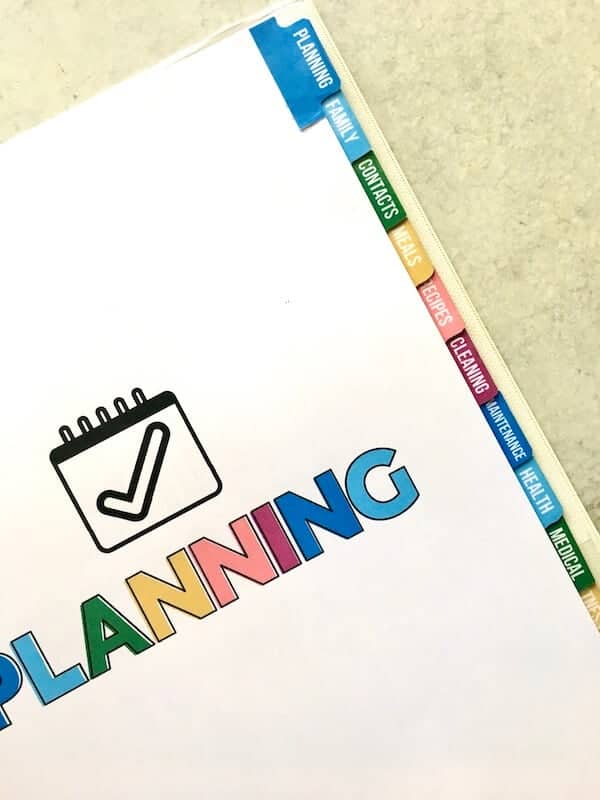
*Note – The tabs are designed to overlap slightly on the sides, especially in the case of the Happy Home Binder tabs, because there are 12 of them to fit down the side. I don’t want you thinking that you’ve done something wrong!
Then you can enjoy your cute and perfectly organized new binder!
Get My Free Printable Dividers for Binders
So… I made you something…
Learning how to make your own dividers is pretty useless without a binder divider template! So you can swipe mine!
Just use this form to subscribe to my free email newsletter, and I ‘ll send the tabs over as a free gift! Then, you can open the file in Adobe Acrobat Reader and type directly on the tabs!
And, if you’re more of a visual learner, be sure to watch this video! I’ll show you EXACTLY how I made these DIY binder dividers:
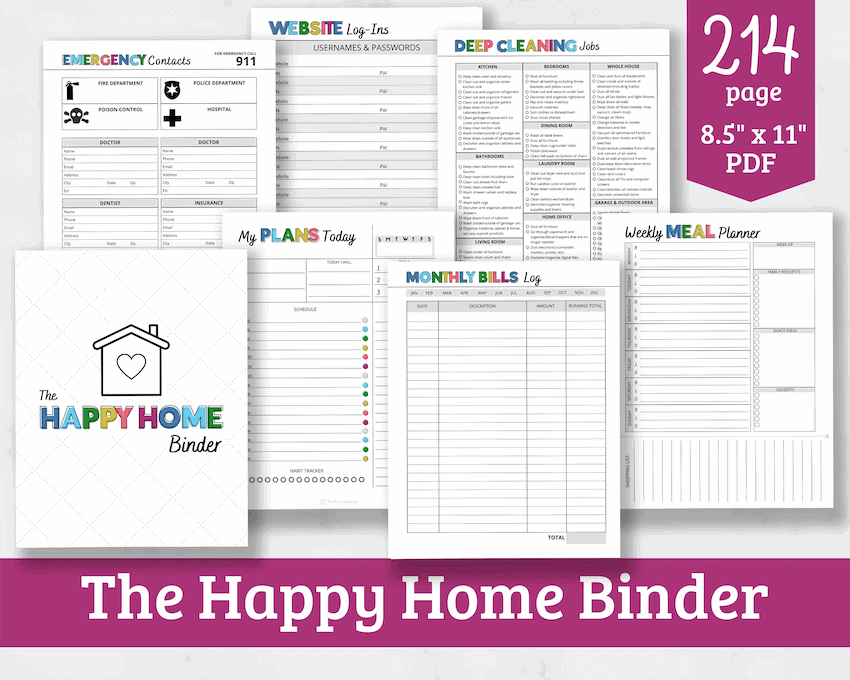
Check out my Happy Home Binder HERE! The ULTIMATE home management binder, packed with 216 pages of templates, worksheets, trackers, and logs to help you organize your whole life!
Want even more binder and planner ideas? Check out these posts:
- Emergency Binder – Why You Need One, Plus Documents Checklist
- The Best Pens for Planners – And I Tried Them All!
- The Home Management Binder to Get You Super Organized!
- The Home Maintenance Planner: Why You Need One and What to Include
Or head to The Order Expert for tips on how to organize a binder.
And happy nesting!

Comments & Reviews
Would it work if you ran the paper through a laminator
Yes, I think that it would work… I’ve laminated many things with my home laminator and I love it! Just be sure to leave enough of a lamination border when you cut them out so that the seal doesn’t come undone.
thankyou, this’ll help me save money cuz Binders in my country are hella expensive:D and I’m just a senior high school student:D
Thanks Moiselle! I was just looking at binder divider tabs when I was taking my daughter back to school shopping, and some of them were super expensive here too.
Thank you for sharing your talent with me.
Tabs
Thank you so much for this download! I am trying to save as much money as I can and I don’t want to waste it on dividers for my students!
great ideas!
Thanks so much Kristin! The DIY binder dividers are really easy to make too. 🙂