This easy burlap wreath is made by cutting burlap fabric into strips and then tying them around a wreath form. If you’re looking for cute wreaths to make for any season, then it doesn’t get much easier than this DIY burlap wreath!
Fun fact – I used to live on a cattle ranch, so we had a TON of burlap feed sacks laying around. And since people actually use their hard-earned money to buy burlap from craft stores, I could never bring myself to just throw away all of those burlap bags.
So I decided to get creative and turn the burlap into beautiful wreaths to hang on my front door… without spending a fortune or a whole weekend’s worth of time.
But my favorite thing about this DIY burlap wreath is that once you have the wreath base made, you can easily swap out the embellishments for multiple holidays. Just take off the fall elements and colored ribbon and replace them with other seasonal items (like pinecones and red and white ribbons). Here’s how to make it:

Supplies Needed
- 18 inch wire wreath form – The type that has 3 large wire circles as the base. You can find this wreath form at most craft stores.
- burlap fabric or feed bags – You will need to cut your burlap into 1.5″ x 7″ strips. For more of a “shaggy” look, use a burlap with a looser weave like I did.
- ribbon or fabric in your choice of color
- other wreath decorations – Like cotton stems, silk flowers, pumpkins, Christmas ornaments, floral picks, etc. I used a metal “Hi” sign that I found at Hobby Lobby.
- floral wire – To attach your decorations to the wreath. By using wire instead of hot glue, you can change out the decorations for different seasons and holidays by simply untwisting the wire.

How to Make Shaggy Burlap Wreath
Step 1: Tie the burlap strips around the wire wreath
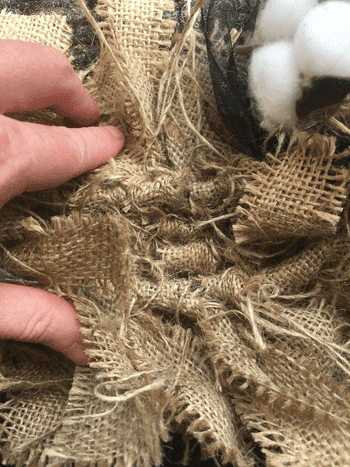
The first step is to tie each individual burlap strip in a knot around the wire wreath form. My wreath form had 3 separate wire circles as the base, so I tied strips of burlap fabric around all three. Just start in one section, tie on the fabric scraps, and scrunch them together so that the wreath looks full.
This is what the inside looks like… rows and rows of burlap knots:
Step 2: Add decorations to the wreath
Once the wreath is full of burlap scraps, it’s time to add the embellishments. I prefer to use floral picks and wide wire ribbon when decorating my DIY wreaths, because you can easily place the picks where you want them. I got my picks from Michael’s, but Hobby Lobby also has a TON of cute options.
The great thing about using picks is that you don’t need to fire up the glue gun. Just stick the pick part down into the knots of your burlap strips. Easy peasy! Plus, since the embellishments aren’t glued down, you can easily switch them out for each season. One easy DIY burlap wreath = lots of different wreaths for the whole year!

This is the exact same wreath as the Fall wreath pictured at the beginning of this post. It only took me 10 minutes to remove the fall elements and change it up for a completely different look!
For this farmhouse version of my easy DIY burlap wreath, I cut gray and black fabric strips into 1-1/2″ x 6″ strips and tied them around random wires on the wreath frame. Be sure to tie your ribbons in a loose knot to make it easier to change them out for the next season.
For the Fall version of this wreath, I used burnt orange wired ribbon and wove it through random sections of the wire wreath frame. Since I wove the ribbon on the fall version rather than tying fabric strips, the ribbon will be super easy to switch out for Christmas. Just pull out your ribbon strip and replace it for winter time.
Step 3: Hang and enjoy!
I couldn’t be happier with the finished product! Who knew that a few burlap horse feed sacks could look so good?!

Working with real burlap…
If you use real-deal burlap like I did, then you’ll probably need to give your DIY burlap wreath a quick refresh every other month. Burlap unravels easily after you cut it, so to get rid of all of the stray strings, I just grab a pair of scissors and quickly cut them off. Or, if you want a more rustic look you can just leave them.
I also recommend giving the wreath a good shake to fluff up the fabric strips. I usually give my handmade burlap wreath a little refresh every time that I change the picks and ribbons out for the next season.
And that’s it! I told you it was a short tutorial! If you’re short on holiday decor space, this easy DIY shag wreath is perfect for you, because you never have to pack it away in storage. Just switch out the embellishments for a new wreath season after season.
Which version do you prefer? I kind of love them both, but I’m bias. 🙂
Love this easy DIY Burlap Wreath?! Check out some of my other easy DIY projects:
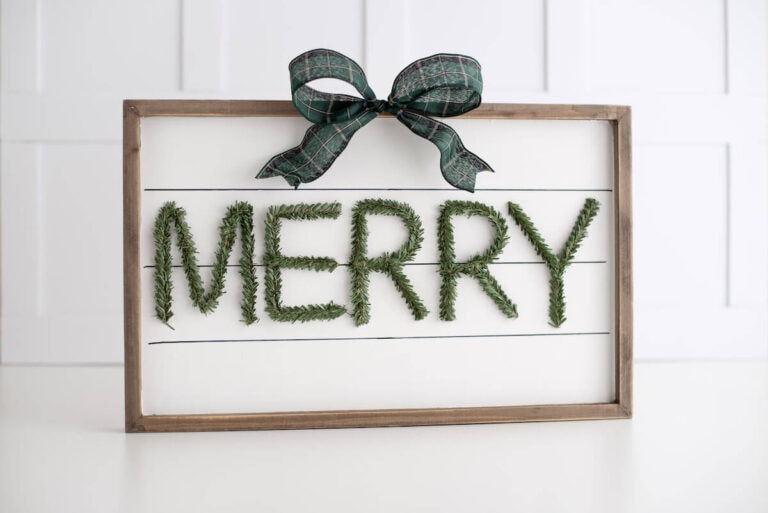
- Cheap and Easy DIY Farmhouse Wood Signs – A Step-by-Step DIY Tutorial!
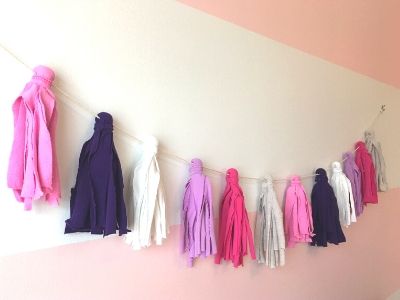
- DIY Tassel Garland Using Old Kids’ Clothes
- DIY: Turn a Blank Wall into a Mudroom