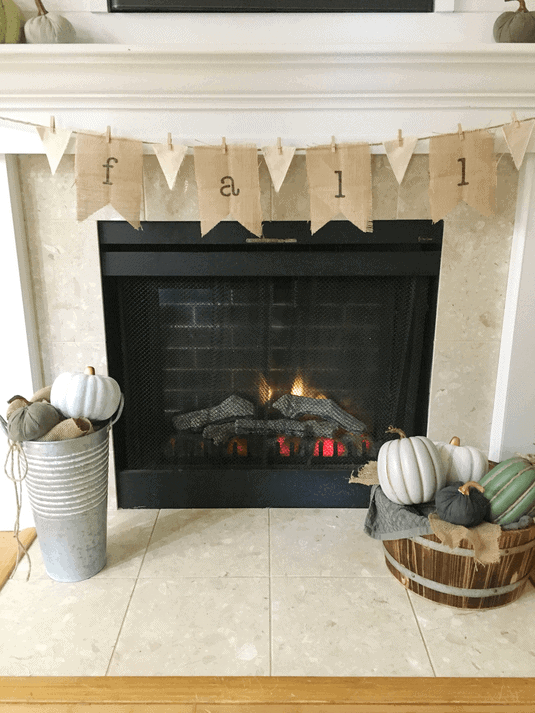
Looking for DIY fall garland ideas for your mantel? This DIY burlap banner for fall can be made in just 5 minutes with just a few supplies! Hang this cute fall garland with leaves on your mantel or hang it across your buffet table for Thanksgiving to add some rustic fall decor to your space.
If you’re one of those women that gawks over all of the cute DIY projects on Pinterest, but never actually tries to make any of them, then this easy project is for you!
You don’t have to have perfect handwriting (I sure don’t!) or any fancy crafting machines to make this DIY burlap banner for fall. You don’t even have to have a surplus of time… Just 5 minutes and you can have a super cute DIY fall garland hanging on your mantel!
Yes, this is a GREAT project to dip your toes into the crafting pool without just plunging in to the deep end.
In fact, this is probably one of the easiest DIY projects that I have ever done… Although these DIY Fall Signs with Dollar Store Supplies are a VERY close second.
So make a quick run to the craft store and get ready to make this easy DIY fall garland to proudly display with your fall decor…
*This post contains affiliate links which means I may earn a small commission from these links at no additional cost to you. Read my full disclosure here.
Supplies for DIY Burlap Banner for Fall
As you can tell from the photo, this DIY fall burlap banner has a very short supply list. Here’s what you need to get started:
Pre-cut burlap pennants
My burlap pennants are from an old Stampin’ Up kit. Yes, I used to be a Stampin’ Up salesperson in another crafty life. But then I had homemade cards coming out of my ears and I decided to hang up my ink pads. 🙂
Most craft stores sell burlap pennants, but you can also find them here and save a trip to the store.
Jute rope
Alphabet stencils
Every home decor DIY-er needs a good set of alphabet stencils in their arsenal. (See my DIY Farmhouse Canvas Wall Art for proof!)
My letter stencils are from Stampin’ Up, but unfortunately they are retired so you can’t purchase them anymore. And I LOVE mine so much that I will never part with them… not even if you offered me 5 times what I paid for them.
You may luck out and find these Stampin’ Up stencils on ebay… or find some nice 3 inch letter stencils here.
Sharpie marker
I just used a classic black Sharpie marker and it worked very well. However, be careful because on some types of burlap with a tighter weave the Sharpie marker may bleed a bit.
Faux leaves
I had my loose faux leaves left over from this easy DIY fall wall hanging.
You can also use mini pennants in between the larger pennants like I did last year. This look would be great if your home has more monochromatic, neutral decor for Fall:
I’ve also seen DIY fall burlap banners that use leaf cutouts made from old book pages. You can easily layer the faux colored fall leaves with smaller book page leaf cutouts to switch it up a bit.
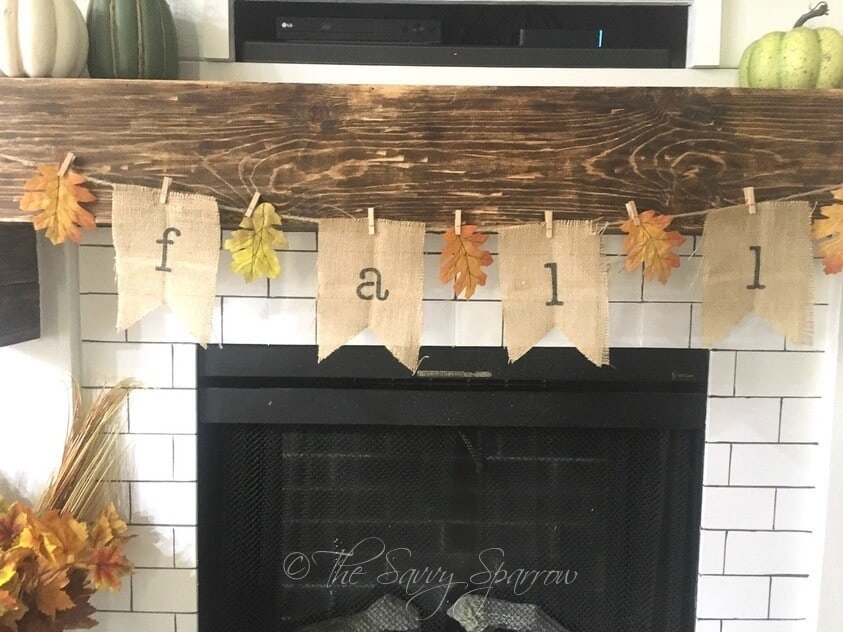
By the way… if my fireplace looks different now than it did last year, it’s because I painted my old beige and boring tiles to look like faux subway tiles! This simple and cheap DIY hack shot my fireplace straight out of the 90s and into this modern-farmhouse-loving decade!
And the great thing about this easy burlap fall banner is that the pennants and leaves are just pinned on so you can easily swap them out for a completely different look.
Mini clothespins
My clothespins measure 1 – 3/8 inches, and they are the perfect size for this burlap fall banner. Here are some that would work perfectly for this project, and they come with jute twine also.
How to Make a DIY Burlap Banner for Fall
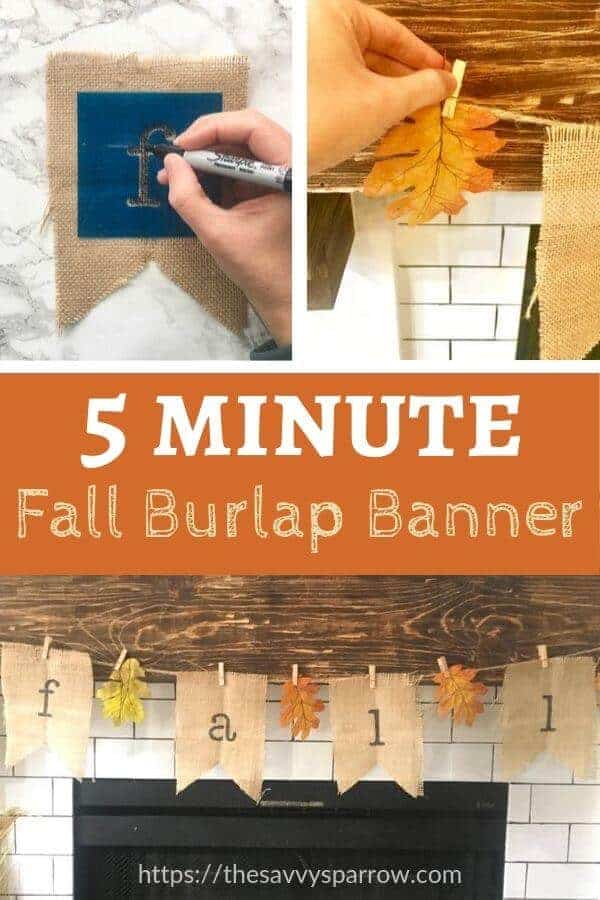
Step 1: Stencil letters onto your burlap pennants
Position your letter stencil where you want it on your burlap pennant and then just use your Sharpie marker to color in the stencil.
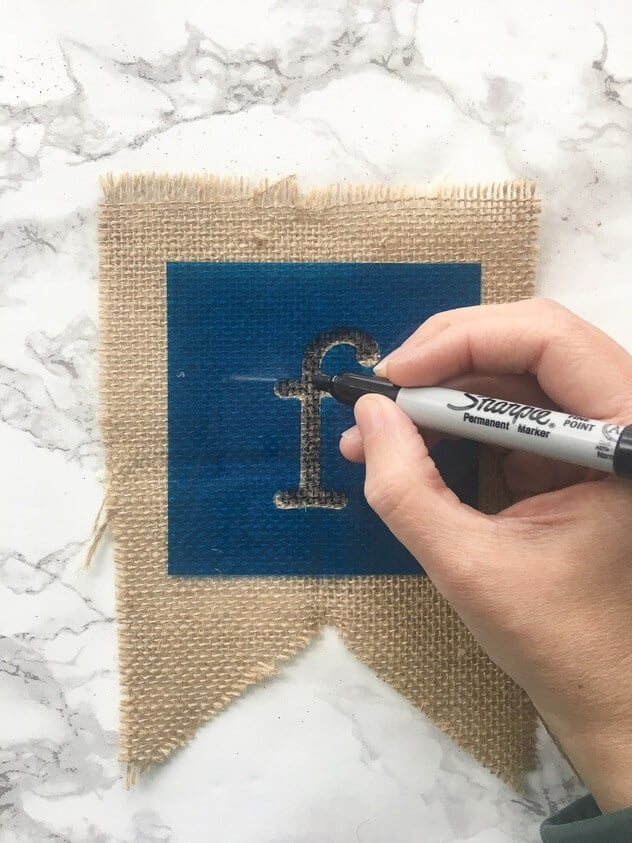
If your pennants have a tighter weave, then be sure to use a very light touch when coloring with the Sharpie. Or better yet, test the Sharpie marker on a small section of a spare pennant first.
The permanent marker may bleed just a little bit, depending on the fabric that you are using. But in the past (like when I made this Giant DIY Farmhouse Wall Art with Drop Cloths), I’ve found that applying very light pressure seems to solve this problem.
Step 2: Attach the burlap pennants to jute rope with clothespins
Just clip your stenciled pennants onto your jute rope. Couldn’t be easier!
At first I was trying to figure out how to cut two small holes in the top of each pennant and thread the jute rope through and still get the burlap fall banner to hang straight. After about 45 minutes and 3 failed attempts, I just decided to go with this clothespin option which is WAY easier!
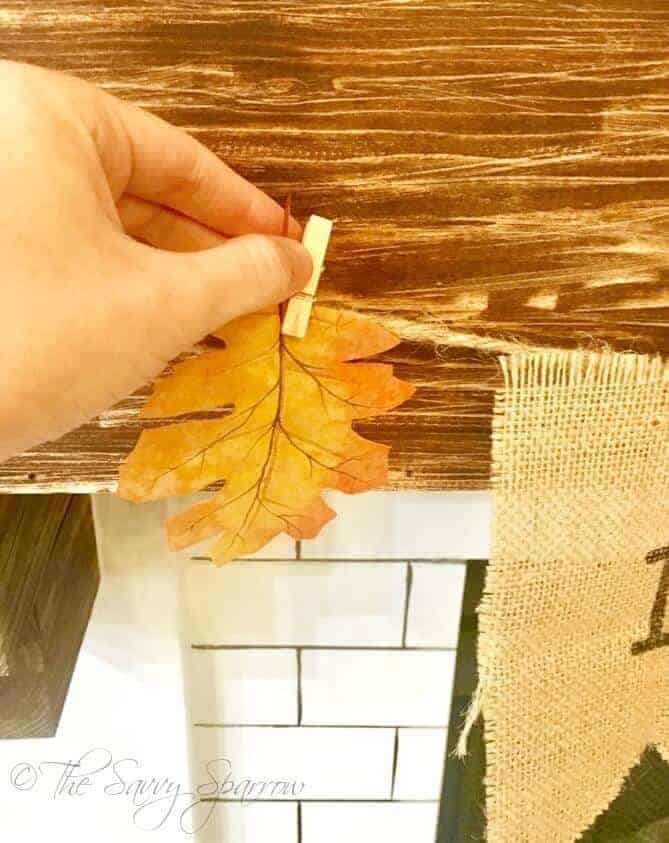
Step 3: Attach leaves to your DIY Burlap Banner for Fall
You’re in the home stretch now! Just use the mini clothespins to clip your faux leaves to the jute rope to finish your garland.
You could also use felt pumpkin cut-outs in between the pennants, or for even more color, tie ribbon pieces in fall colors around the jute rope.
The possibilities are endless!
And once December comes, just swap your leaves out for Christmas ornaments or snowflakes, and stencil a few more pennants with “NOEL” or “MERRY”. Then you’ll have a completely new DIY burlap banner for just a few dollars.
See, I told you this DIY burlap banner for Fall was easy-peasy!
And, isn’t it super cute with the rest of my easy DIY fall decor?!
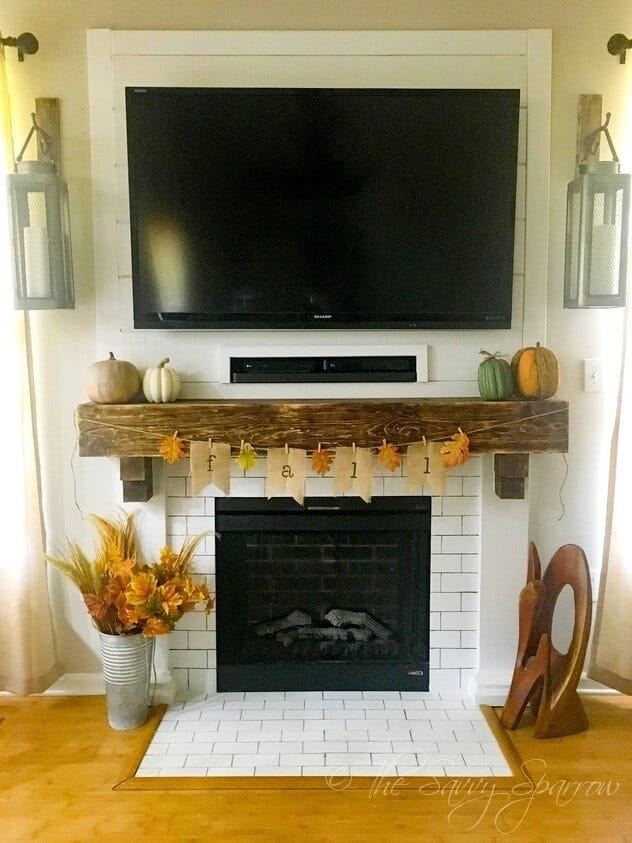
By the way… here’s a BONUS Farmhouse decor hack for ya…
See my farmhouse lanterns on the sides of my TV… well, those aren’t $40 white candles in there… NOPE… I put $1 Bounty paper towels into my farmhouse lanterns!
You can’t even tell the difference because my lanterns have wire mesh sides and they’re hanging up high. Genius, huh?!
Have any home decor hacks of your own? I’d LOVE for you to share them with me! Leave me a comment below…
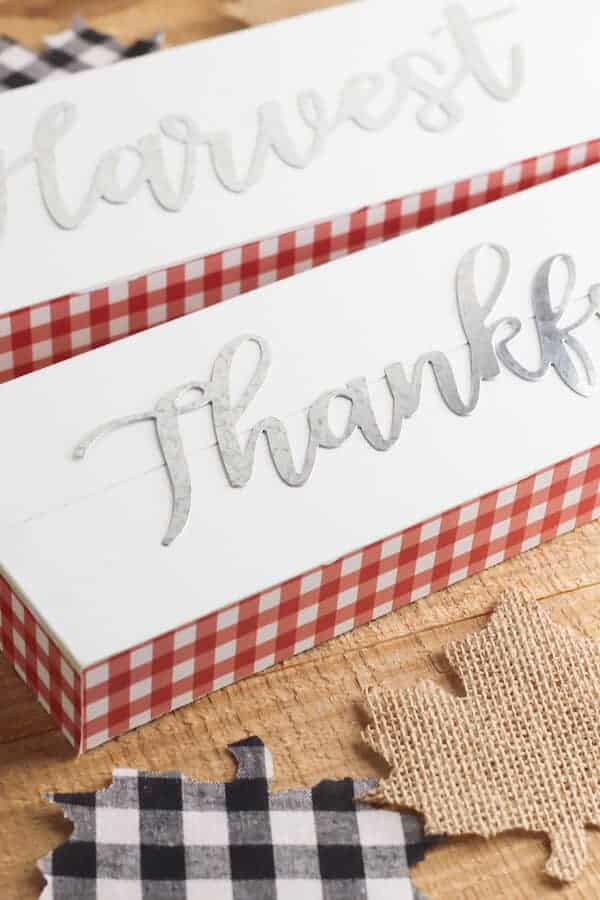
And if you want another super EASY DIY Fall decor craft, check out these DIY Fall Signs made with Dollar Tree Supplies. These cute fall signs would look awesome displayed on your mantel with the fall leaf banner, don’t you think?!
Or visit Country Living… they have some adorable DIY ideas for fall!
And happy nesting!