These cute DIY Fall signs are one of my absolute favorite EASY DIY decor ideas! These Dollar Tree fall crafts are SO easy to make with just a few cheap supplies, that you’ll be wanting to make even more of them with different seasonal phrases.
Decorating for the holidays can get expensive, and time consuming! But don’t worry… even if you’re on a budget, you can make these cute DIY Fall signs with Dollar Tree supplies.
Yes, these cute signs may take a bit longer than this 5 Minute DIY Fall Burlap Banner (another one of my favorite easy DIY ideas!), but not by much. You should be able to complete this project while your kids nap, or while they’re painting the craft sticks for these Witch Hat Crafts.
Then display these cute fall signs on your mantel or a buffet table, and get ready to field questions from your guests about where you bought your cute signs.
Here’s how to make your own Fall signs with stuff from Dollar Tree:
Dollar Tree Supplies for Fall Signs
Here are the supplies that you need to make these cute DIY Fall Signs… all of which are available at your local Dollar Tree!
Small Block Signs
Dollar Tree typically has different seasonal wood block signs available year round. It doesn’t matter what they say, because you will be painting over them.
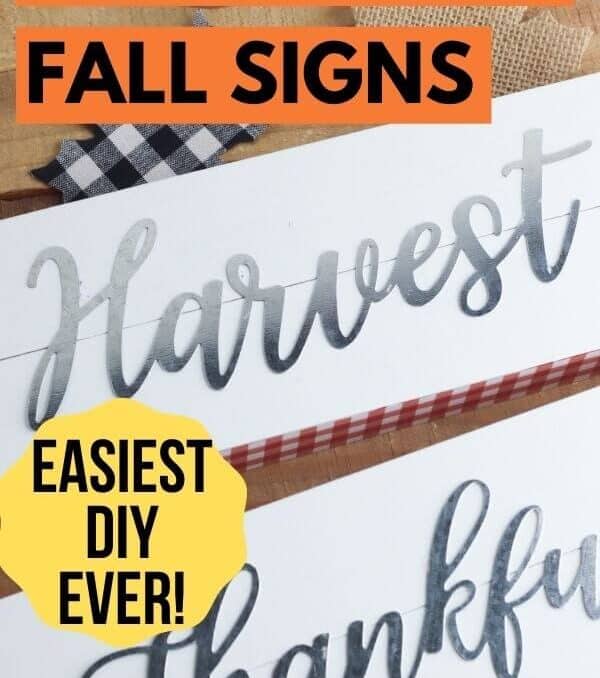
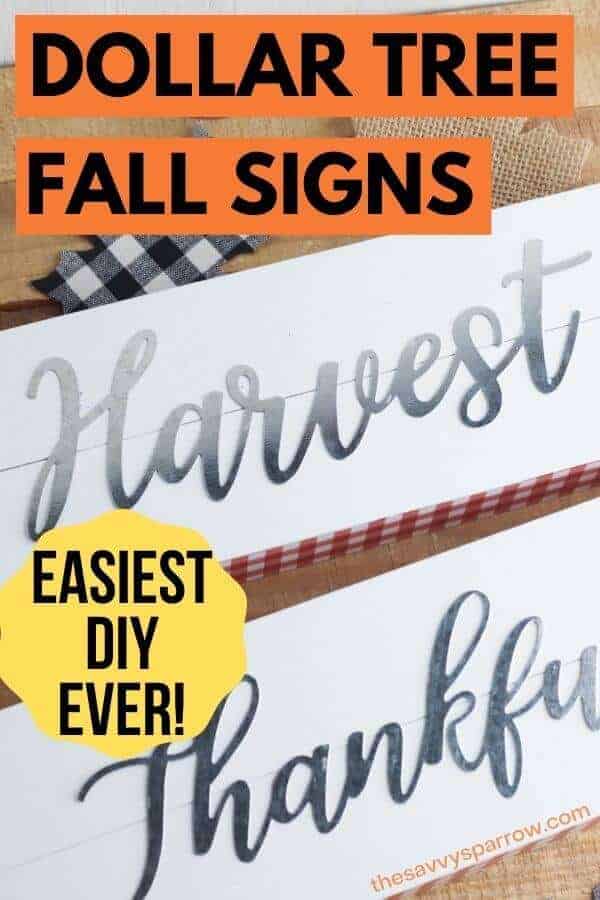
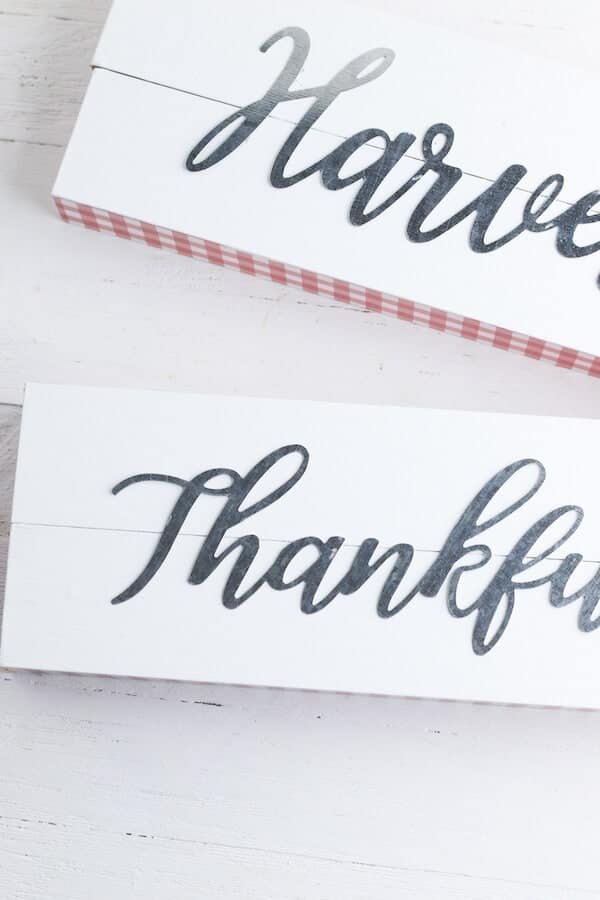
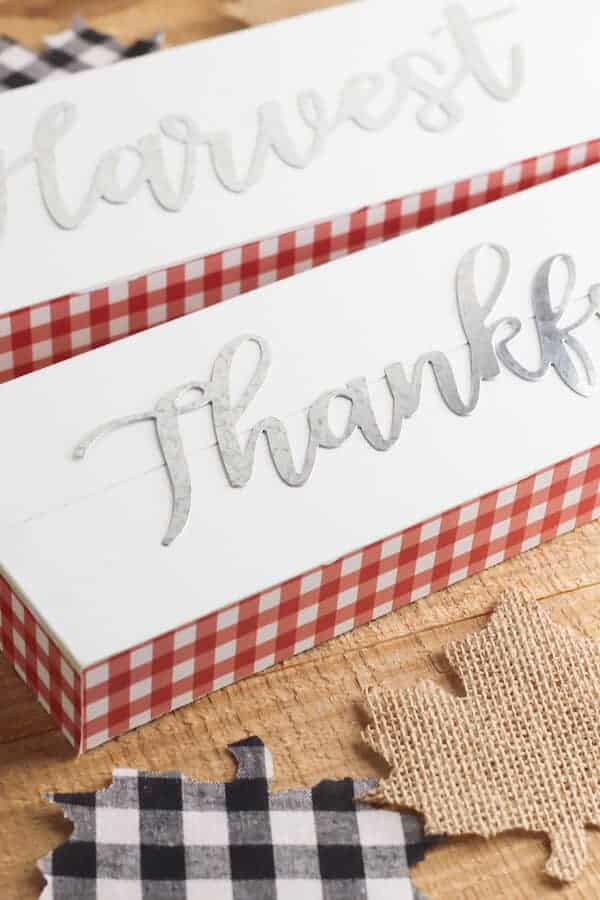
For these DIY Fall Signs, I used two long and skinny signs for each one sign that I made, because the metal “Thankful” and “Harvest” words were too wide to put on one block.
Metal “Thankful” and “Harvest” Words
These metal script words just scream “Farmhouse Decor”! You can use these inexpensive Dollar Tree craft supplies to make a TON of different DIY fall decor items, like Fall wreaths. I’ve even seen people use the “Thankful” metal sign as a stencil to make a t-shirt!
White Paint
If your local Dollar Tree happens to be one of the special stores that has loads of craft supplies, then you can find the white acrylic paint there. If not, you can use the mini bottles of acrylic paint that you can find at craft stores (usually for LESS than a dollar!).
Super Glue
Clamps or Clips
These don’t need to be anything fancy… You will just be using them to hold the signs together while the glue dries. Even chip bag clips will work!
How to make these DIY Fall Signs
Okay, now that you’ve got all of the supplies for your Dollar Tree Fall crafts, you’re ready to do the EASIEST DIY ever!
Step 1: Paint the front of each of the small block signs.
You want to completely cover the words/designs that are on top of the sign, so you may need to do 2 coats of paint. If you don’t like the design on the sides of your wood blocks, you can paint over that also, but I think the dark orange buffalo check on the sides of these signs adds a nice pop of Fall color.
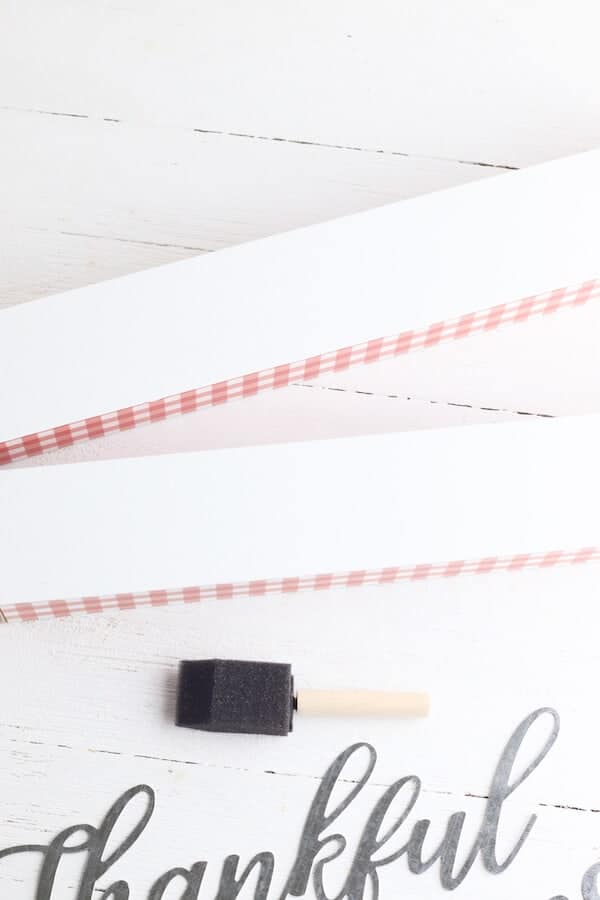
Step 2: Glue two wood block signs together.
After your white paint is dry, it’s time to glue two signs together to form one larger sign. Just place a few drops of super glue on the top of one of the wood block signs, and press a second sign on top of the glue.
Clip the two signs together until the glue dries, like this:
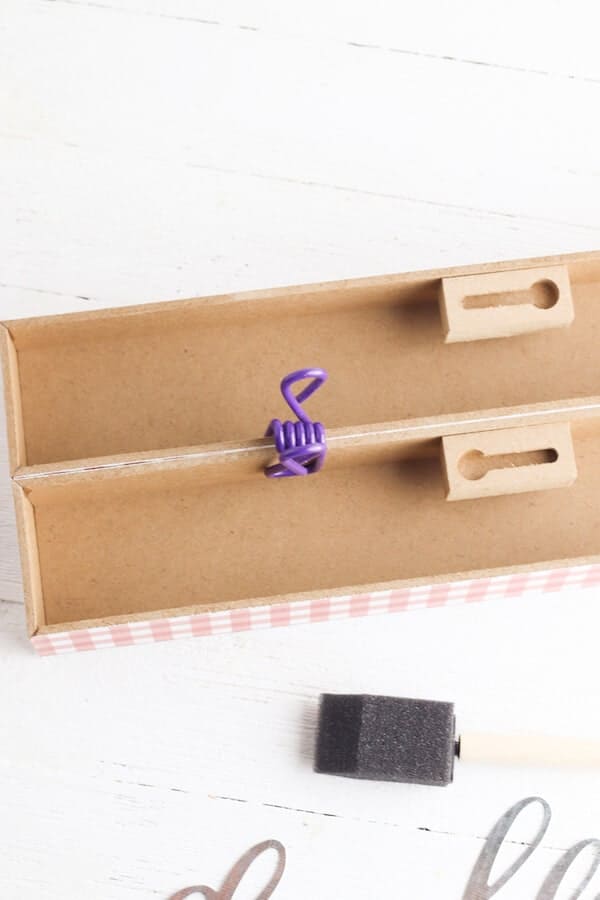
Repeat the gluing process for your second DIY Fall Sign. *And be sure to wear gloves since you are working with super glue… or you’ll be picking glue off your fingers for a week!
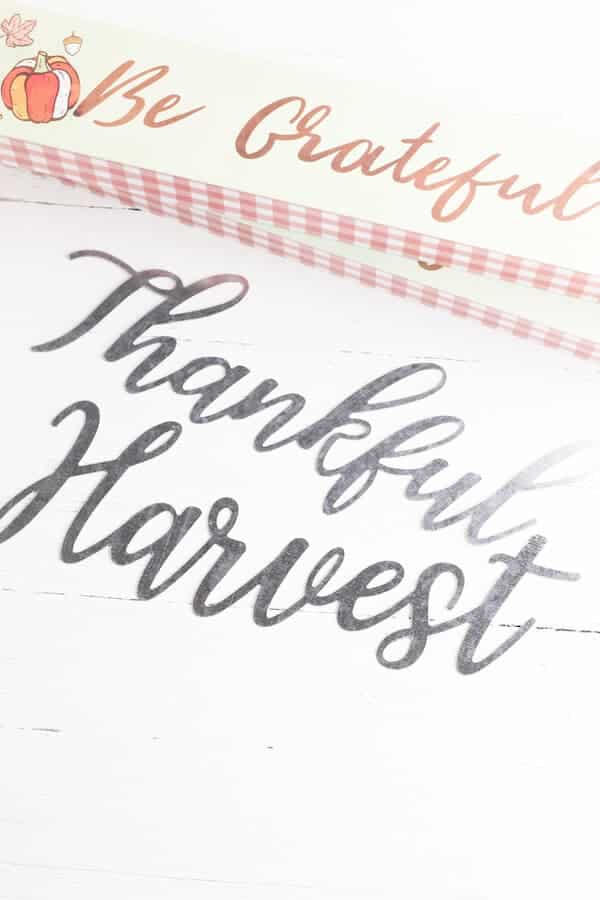
Step 3: Glue the metal words to your DIY Fall Signs.
Once the glue has dried and your signs are nice and secure, place a few more drops of glue on the back of the metal word. Then glue the word to the white side of the sign. Be sure that you get it perfectly straight, and press and hold the metal word until the glue dries.
Repeat for your second DIY Fall Sign.
And you’re done! See, I told you this was pretty much the easiest DIY project ever! And since these cute signs are made with all Dollar Tree supplies, it’s a super inexpensive project too!
These DIY Fall Signs would be great to make and sell at craft fairs, because you can make them so quickly. Or add them to a cute Fall gift basket for your neighbor.
And I LOVE how the orange plaid sides of these cute DIY Dollar Tree signs add just a little bit of Fall color and pattern, don’t you?
And you can customize them anyway that you want! You could use Mod Podge to put a pretty Fall patterned scrapbook paper on top (instead of the white paint), or paint them a deep orange to bring some color into your DIY fall decor!
How will you make yours?
And be sure to check out some of my other Fall posts:
- Easy Fall Leaf Wall Hanging
- Fall Tobacco Basket Wreath
- Fall Bucket List Ideas – Fun and Family-Friendly Activities for Fall
- Chocolate Apple Turkeys – Fun Thanksgiving Snacks for Kids!
Or head here for even more Dollar Tree Fall Decor Ideas!
Happy nesting!