
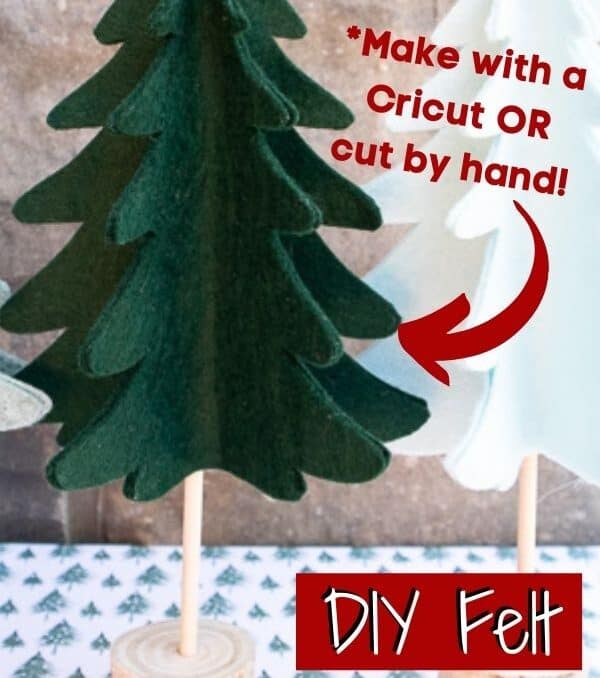
These DIY Felt Christmas Trees can be made with a Cricut machine OR cut by hand! Learn how to make these cute 3D felt trees to add to your DIY Christmas decor!
Does anyone else get major DIY inspiration by visiting Hobby Lobby or JoAnn’s? Whenever I’m in the mood to create something, I just visit the craft store and check out the home decor section, and the wheels in my brain instantly start turning.
I like the challenge of taking a photo of store-bought decor and then trying to recreate that item at home. Just like these DIY Wood Block Houses that I did recently!
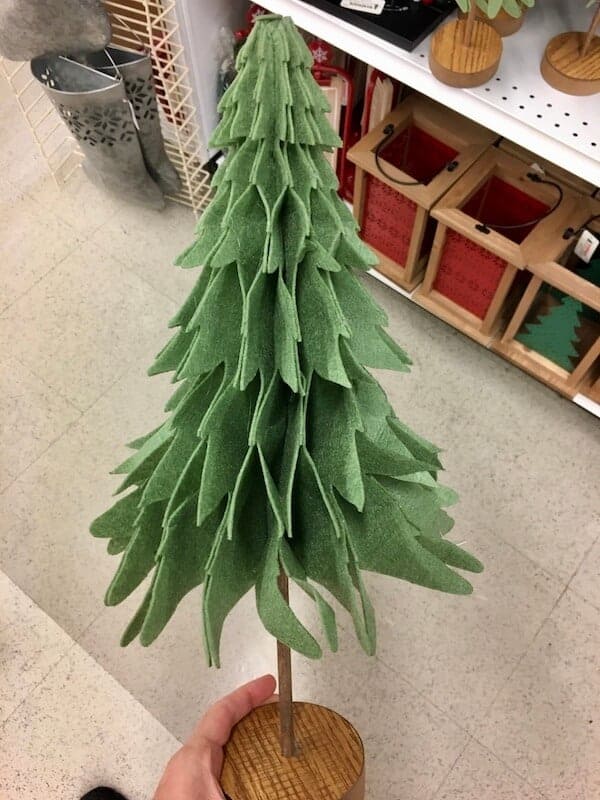
So of course when I was at JoAnn’s and spotted this 3D felt Christmas tree decor, I knew it would make an awesome DIY Christmas project!
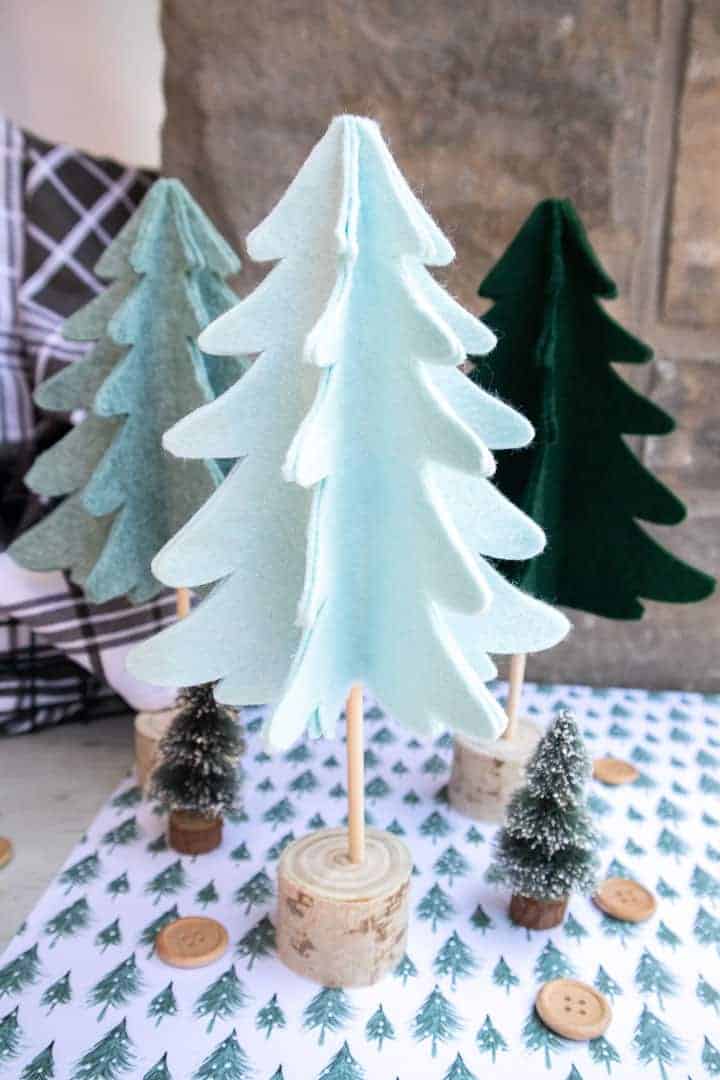
The picture above is the one that JoAnn’s was selling for $14.99, and here is my DIY version:
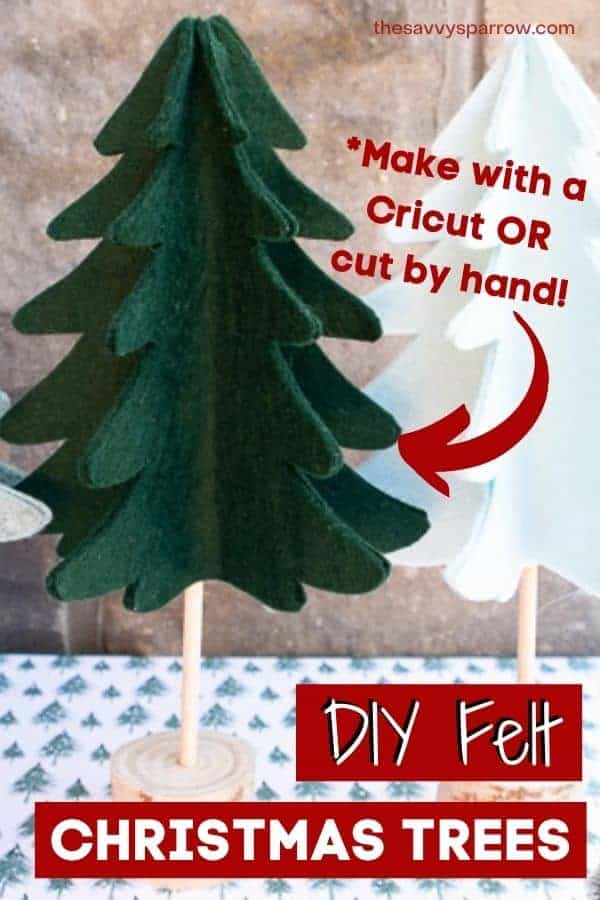
I have to admit… I actually like the DIY version better! The felt on the DIY looks like it is much better quality, and like it won’t wrinkle as much. Here’s how to make your own 3D felt Christmas trees to add to your DIY Christmas decor:
*This post contains affiliate links, which means if you click a link and make a purchase, I earn a commission at no additional cost to you. Read my full disclosure here.
Supplies to Make 3D DIY Felt Christmas Trees
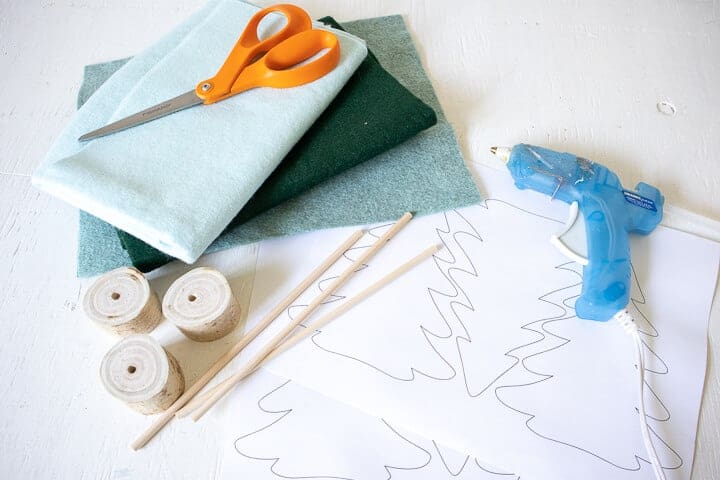
Here are the supplies you need to make your own cute felt tabletop Christmas tree crafts:
Printable Christmas Tree pattern or Christmas Tree SVG file for DIY Felt Christmas Trees
These easy 3D Christmas tree crafts can be done with or without a Cricut machine! Click the links below to download the PDF (if you’re going to cut your Christmas tree pieces out by hand) or the SVG (if you’ve got a Cricut).
Grab the free Printable Christmas Tree Template HERE!
Grab the free Christmas Tree SVG Cutting File HERE!
Felt in your choice of colors
These 3D Christmas tree crafts look so cute displayed in a set of 3, so you’ll want to use 3 different coordinating colors of felt. The great thing about these felt trees is that you can easily customize them to match your Christmas decor, just by switching out the felt colors.
The felt sheets I used are from BenzieDesigns on Etsy, in the colors Icicle, Rainstorm, and Evergreen. Grab the felt sheets I used here!
Fabric scissors
If you’re going to be using a Cricut machine to cut your Christmas tree templates, then you won’t need fabric scissors. But if you’re going to cut out your trees by hand, a good pair of fabric scissors make this step much easier.
Hot glue gun and glue sticks
Wooden dowel, 8” long
You can find wooden dowels at most craft stores, but in my experience, they are much cheaper at Lowe’s or Home Depot. When I made this DIY Letter Board recently, I was able to save $6 on my wooden dowels by getting them at a hardware store instead of a craft store!
Wood stump
You want your wood stump or wood slice to be about 1” diameter x 1.25” high. You can cut your own wood slice if you’ve got a wood pile in your backyard, or find some pre-cut at most craft stores.
How to Make DIY Felt Christmas Trees
After you’ve got your supplies together to make your DIY Felt Christmas Trees, here’s what to do next:
1. Drill a hole in your wood stump.
Your hole will need to be the same size diameter as your wooden dowel. This will be the base for your 3D felt Christmas tree.
2. Cut Christmas tree shapes out of your felt sheets.
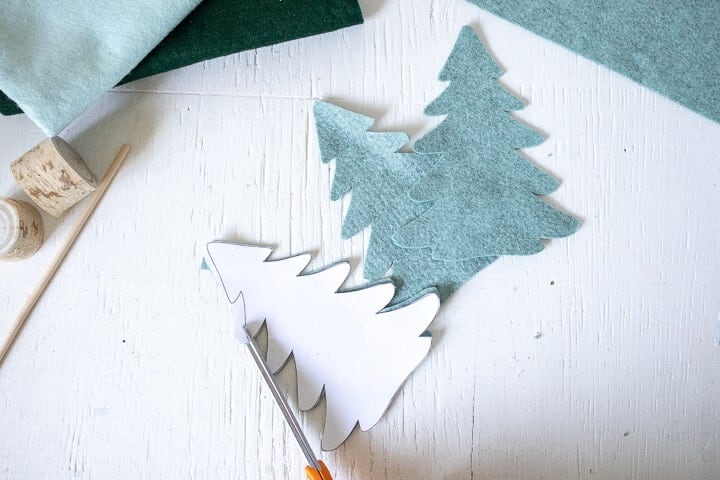
Here are the directions for cutting your felt by hand:
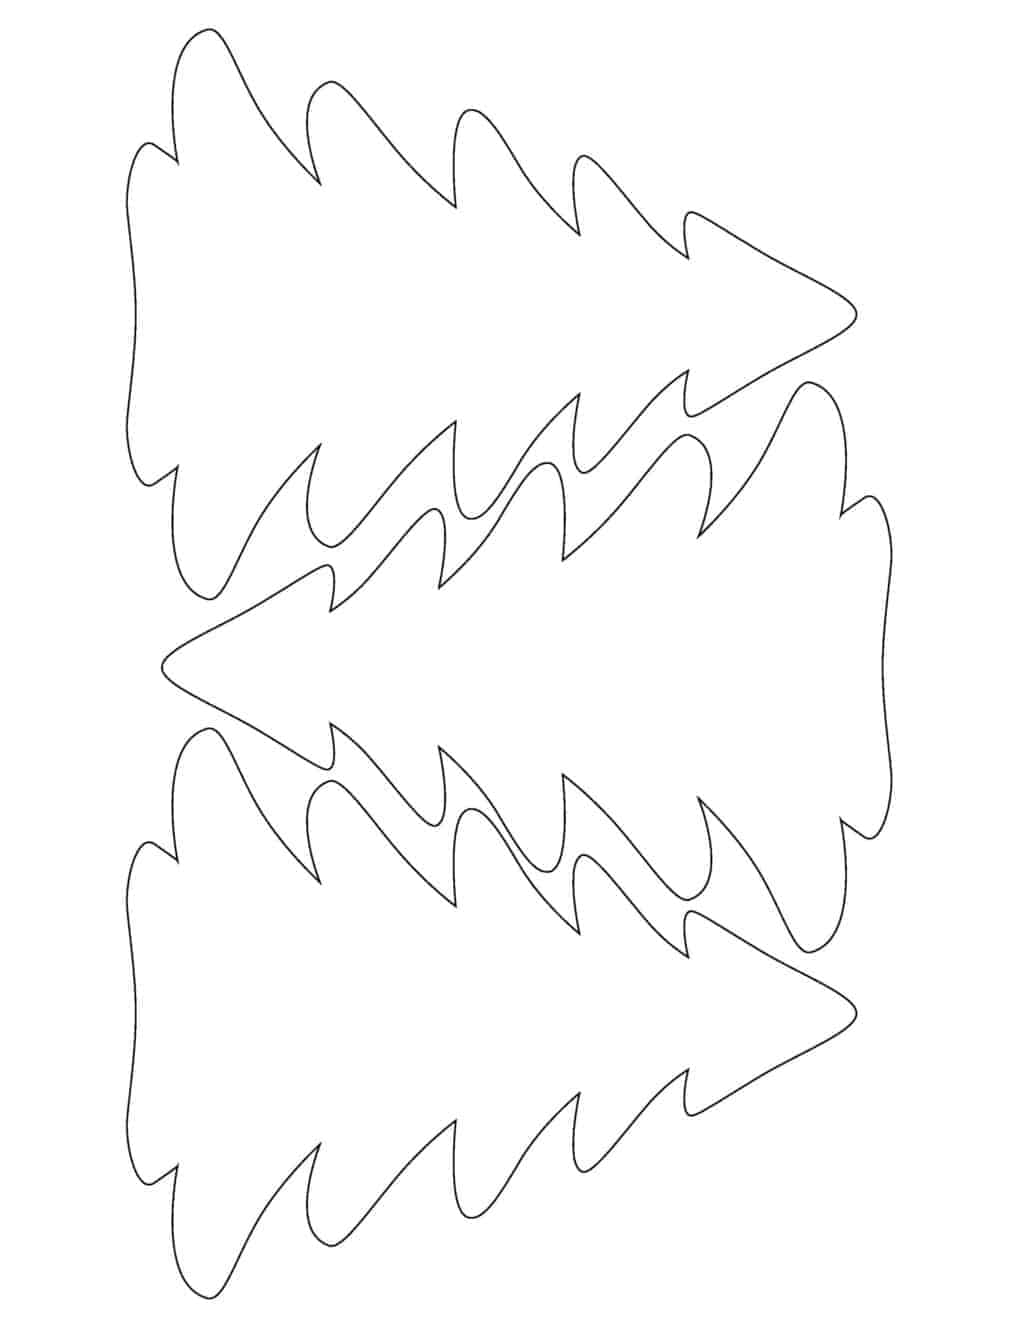
- Print off the Christmas tree pattern template on 8.5×11 sheet of paper.
- Cut each of the Christmas trees out of your printer paper, for a total of 6 trees.
- Place the Christmas tree pattern on top of one felt sheet, and cut out the tree shape along the solid line using a pair of fabric scissors.
- Each 3D Christmas tree that you make will need 6 felt tree pieces, so if you make 3 felt Christmas trees to display together, you will need a total of 18 Christmas tree pieces (6 in each color).
- Repeat for the remaining tree patterns.
If you’ve got a Cricut, then I absolutely recommend using it, because it will be much quicker to cut all of the Christmas tree pieces. Here’s how to cut felt pieces with a Cricut:
- Open a blank canvas in Cricut Design Space.
- Upload the Christmas Tree SVG File into Design Space.
- Select “Make It” in Design Space.
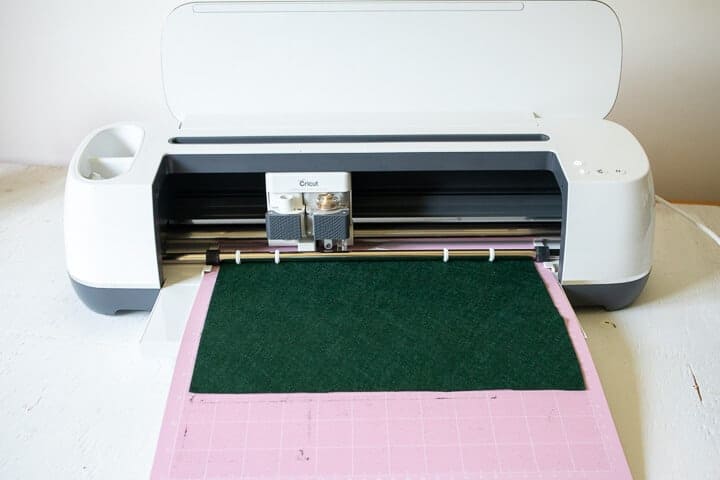
- Change the material type to “Felt”.
- Follow the prompts for loading the mat into the Cricut cutting machine and cutting your felt Christmas tree shapes.
- When prompted, unload the mat from the cutting machine and remove the excess felt around the Christmas tree shapes.
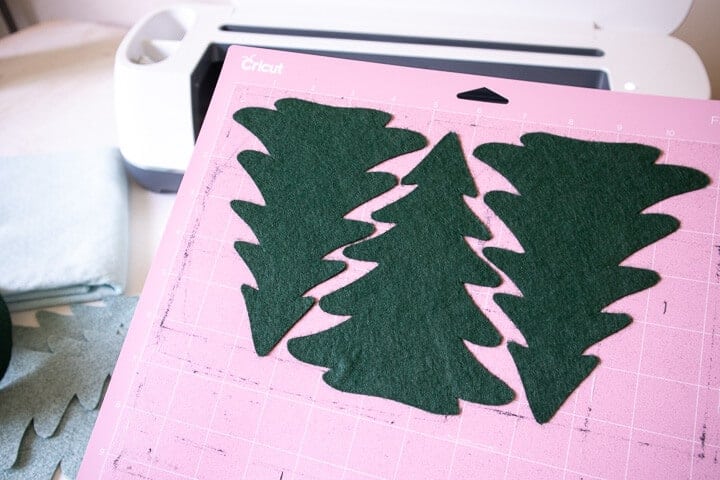
- Continue cutting until you have 6 pieces for each of your DIY Felt Christmas Trees.
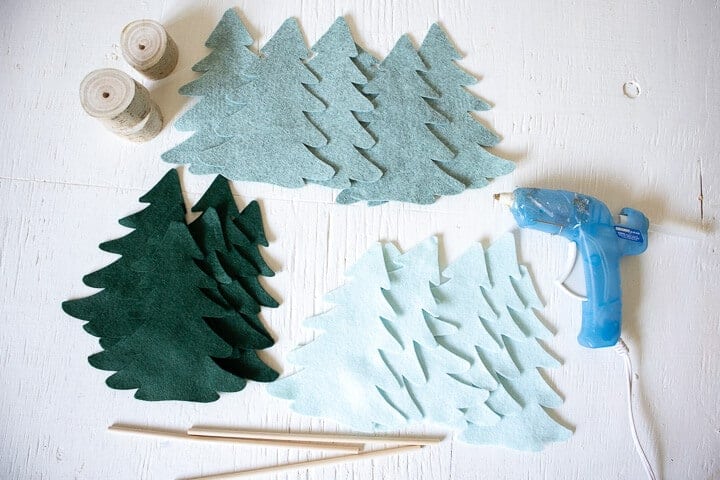
Here’s what your supplies should look like now:
3. Assemble your DIY Felt Christmas Trees.
Cutting out all of the Christmas tree pattern pieces is the hardest part of this DIY Christmas decor, so now you’re on the downhill slope! Next, it’s time to assemble your felt Christmas trees so they’ll stand up on your fireplace mantel, dining table centerpiece, or wherever else you decide to display them.
Here’s how to assemble the DIY Felt Christmas Trees:
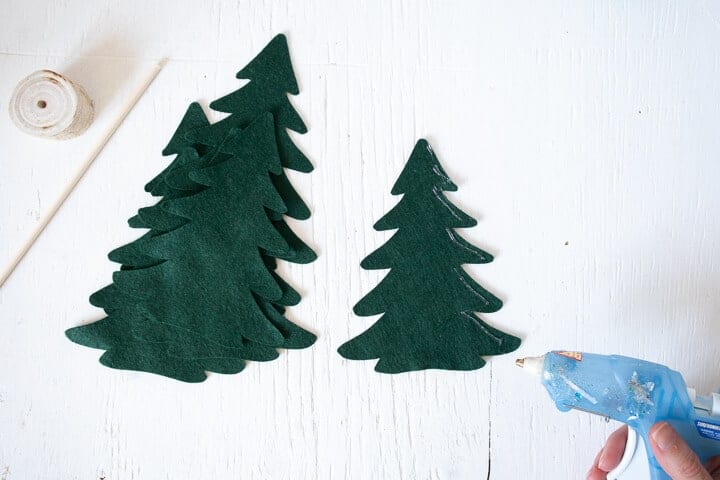
- Run a bead of hot glue along the outer edge of one side of one felt tree piece like this:
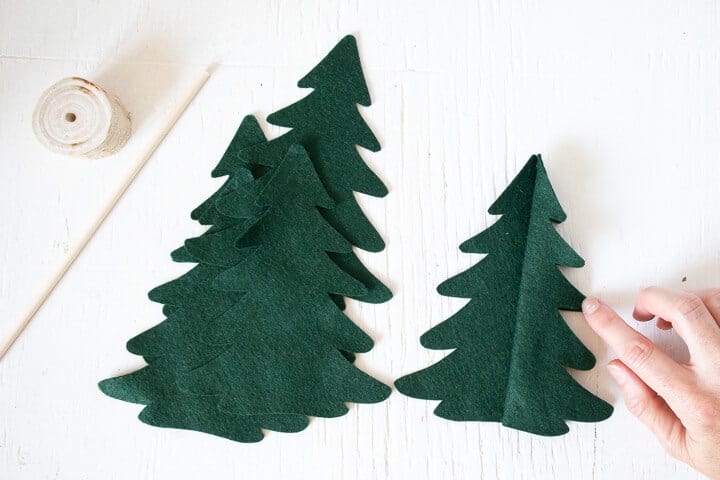
- Place another tree piece on top of the glue, lining up the edges of the two trees, and pressing the glued edges together. Lift and fold back the unglued side, like this:
- Then apply another bead of hot glue along the outer edge of the second felt Christmas tree piece, and glue the 3rd felt Christmas tree to the 2nd tree. Press down the outer glued edges again, just like you did before.
- Continue this process (gluing the outer edges of the felt Christmas trees together), until you’ve used all 6 pieces. Be sure to avoid gluing the center of the trees so you can put your wooden dowel in next.
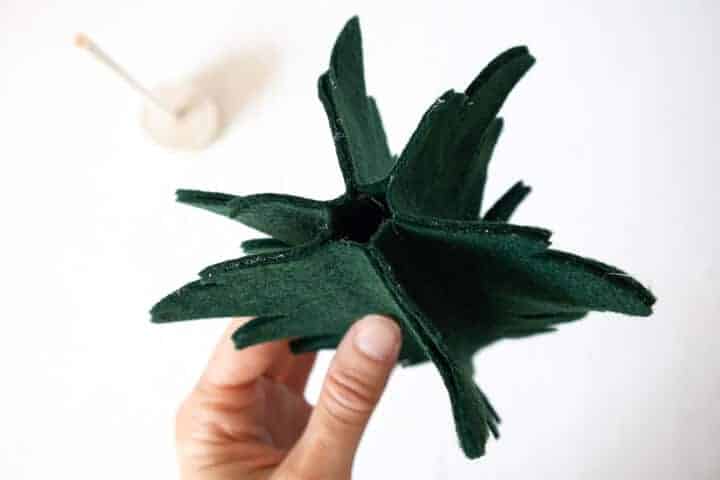
Here’s what your DIY Felt Christmas Trees should look like at this point:

The hot glue you see on the outer edge of the last tree will be pressed on to the outer edge of the first tree (the one on the left side of the photo) to form a 3D felt Christmas tree like this:
As you can see from this photo, the bottom of my felt Christmas tree was too large, so I had to apply more hot glue to make it smaller. You want the bottom opening to be just a bit larger than the diameter of your wooden dowel.
Here’s what it should look like before you insert the dowel:
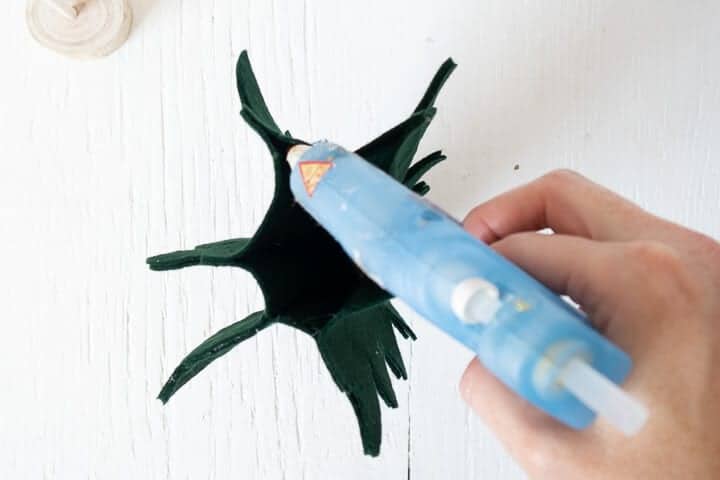
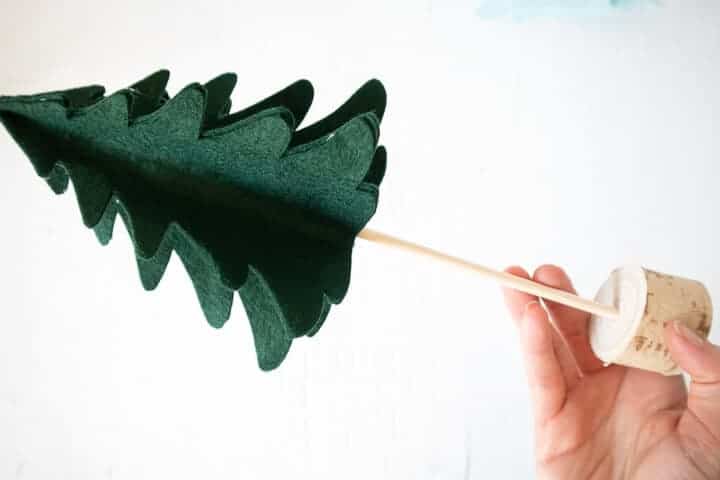
- Apply a drop of hot glue into the hole that you drilled in your wooden stump earlier. Then insert the dowel into the stump.
- Next insert the top end of the wooden dowel into the center opening of the felt Christmas tree, and push it all the way up to the top. Here’s what your felt tree should look like:
- Then repeat the steps to glue together the remaining two trees, and you’ll have yourself a cute felt Christmas tree forest!
Aren’t these Christmas crafts so adorable?!
I LOVE how these colors look together… great if you’ve got more rustic, farmhouse Christmas decor in your home!
If you try making your own felt trees, I’d LOVE to see pictures! Feel free to email me your finished Christmas tree crafts, or leave me a comment down below!
And be sure to head here if you want to see more Cricut Christmas crafts!
Happy nesting!


Thank you. Going to try them.