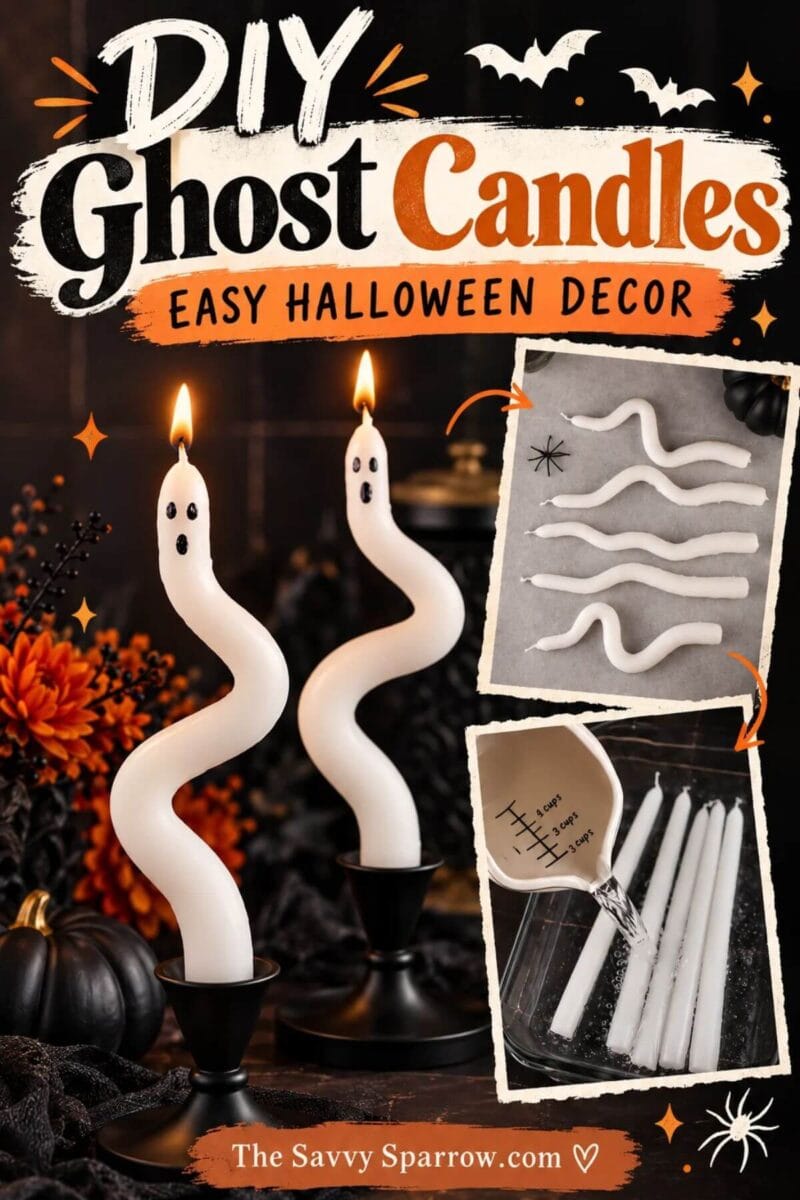
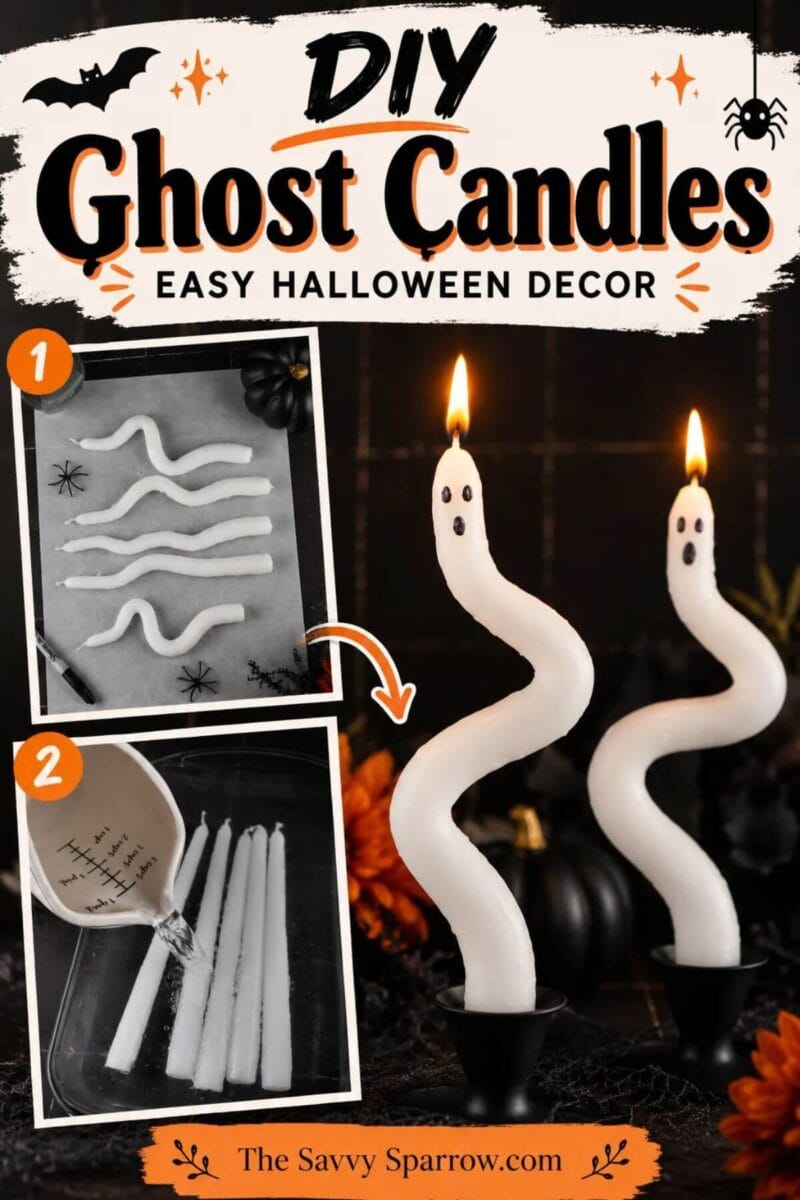
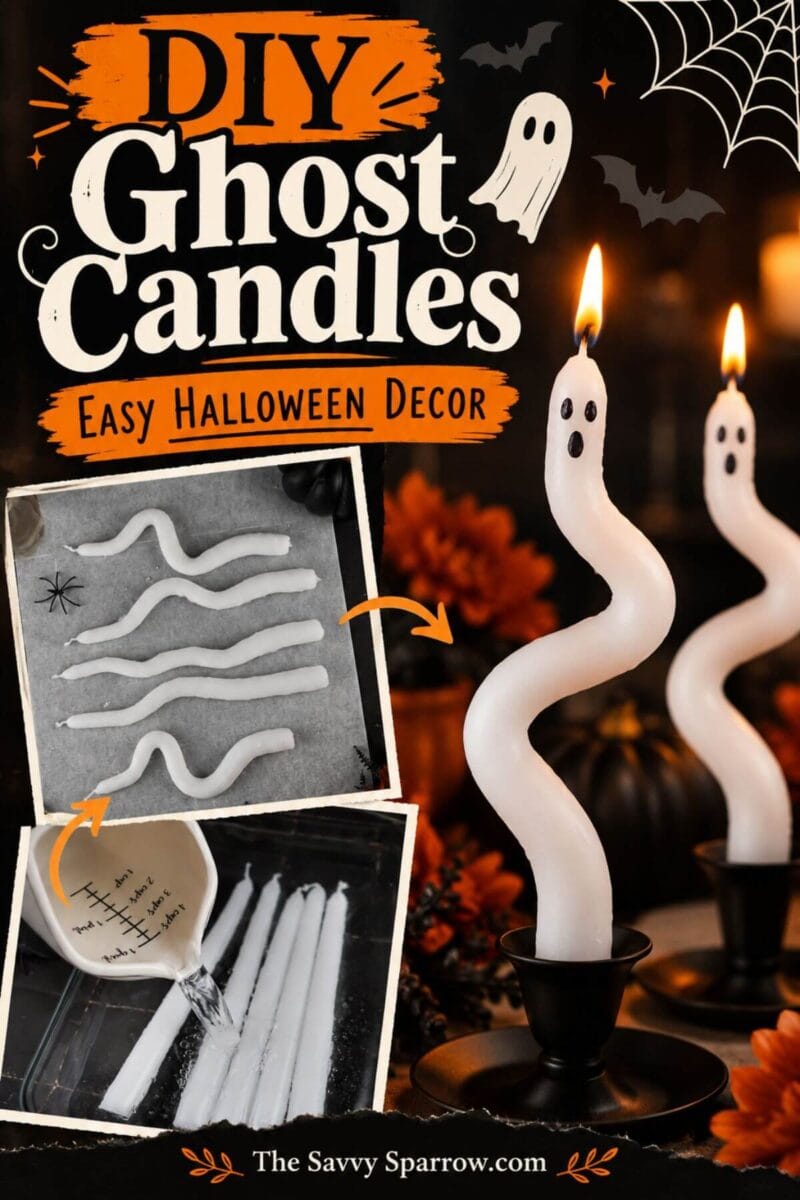
These DIY ghost candles are an easy Halloween craft that turns plain white taper candles into the cutest spooky decor! All you need is hot water, a baking dish, and a black marker.
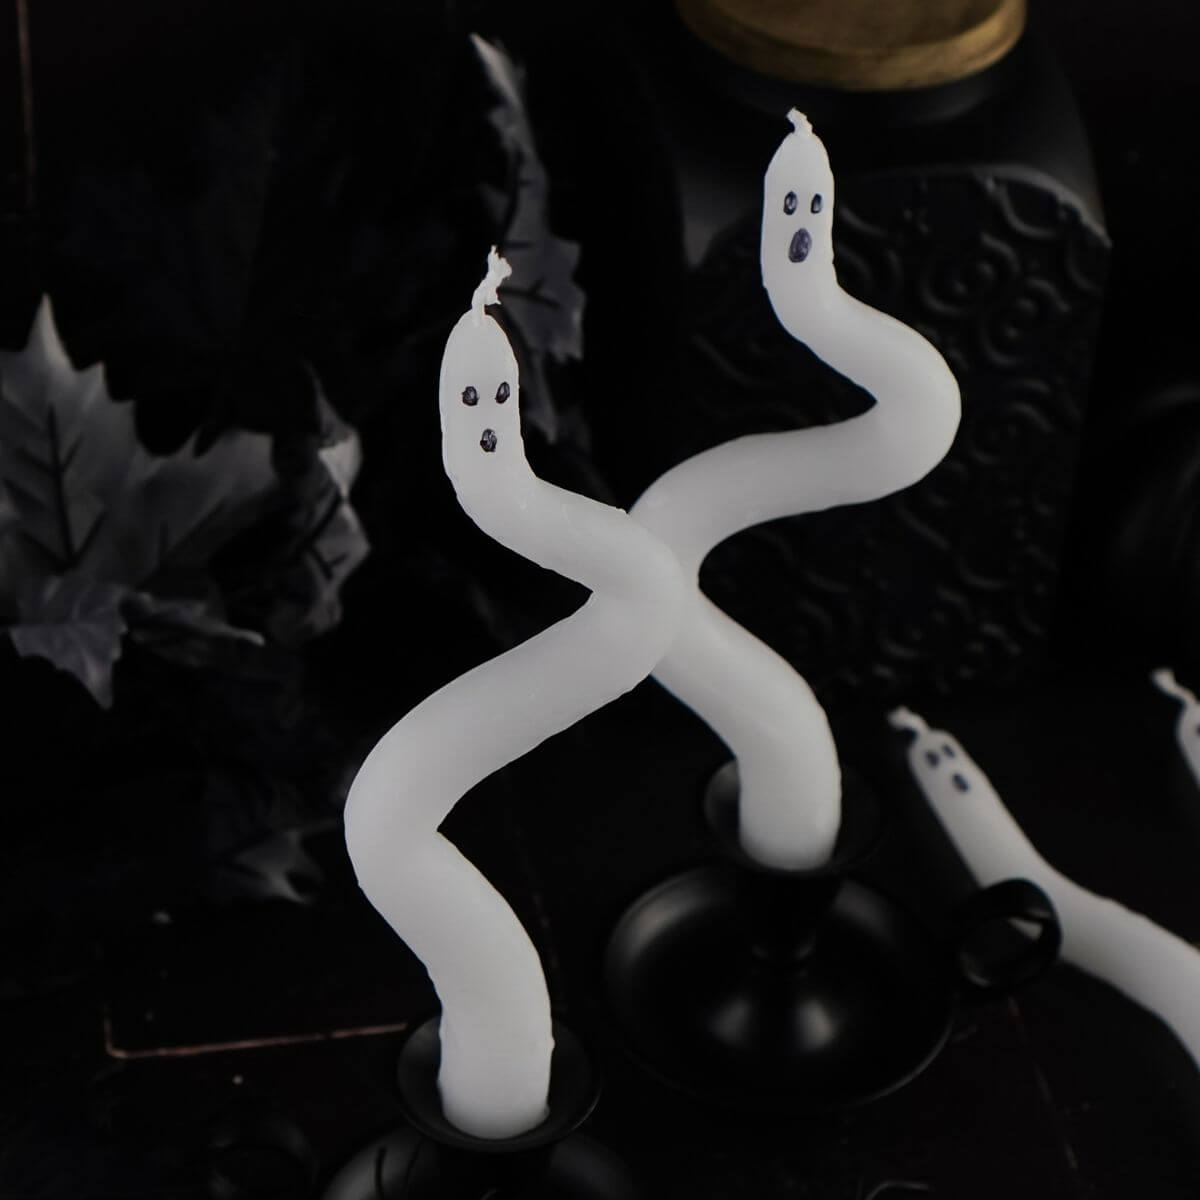
I love decorating for Halloween, but I’m not a fan of spending a ton of money on decor that only comes out once a year. Don’t get me wrong, I’ll grab a cute pumpkin or two when I see them! But I’m always on the lookout for easy DIY ideas that make a big impact without costing much.
That’s exactly why I fell in love with these DIY ghost candles! You take plain white taper candles, soften them in hot water, and then bend them into wavy, wiggly little ghosts. A few swipes of a Sharpie for the eyes and a surprised “boo” mouth, and you’ve got the most adorable spooky decor.
This is one of my favorite Halloween crafts for adults because it’s quick, relaxing, and the results look SO much fancier than the effort involved. Pop them into candlestick holders on your mantel, group them as a dining table centerpiece, or set a pair on a side table for a little spooky flair. (And if your kids want to help, let them draw the faces. That’s the fun part!)
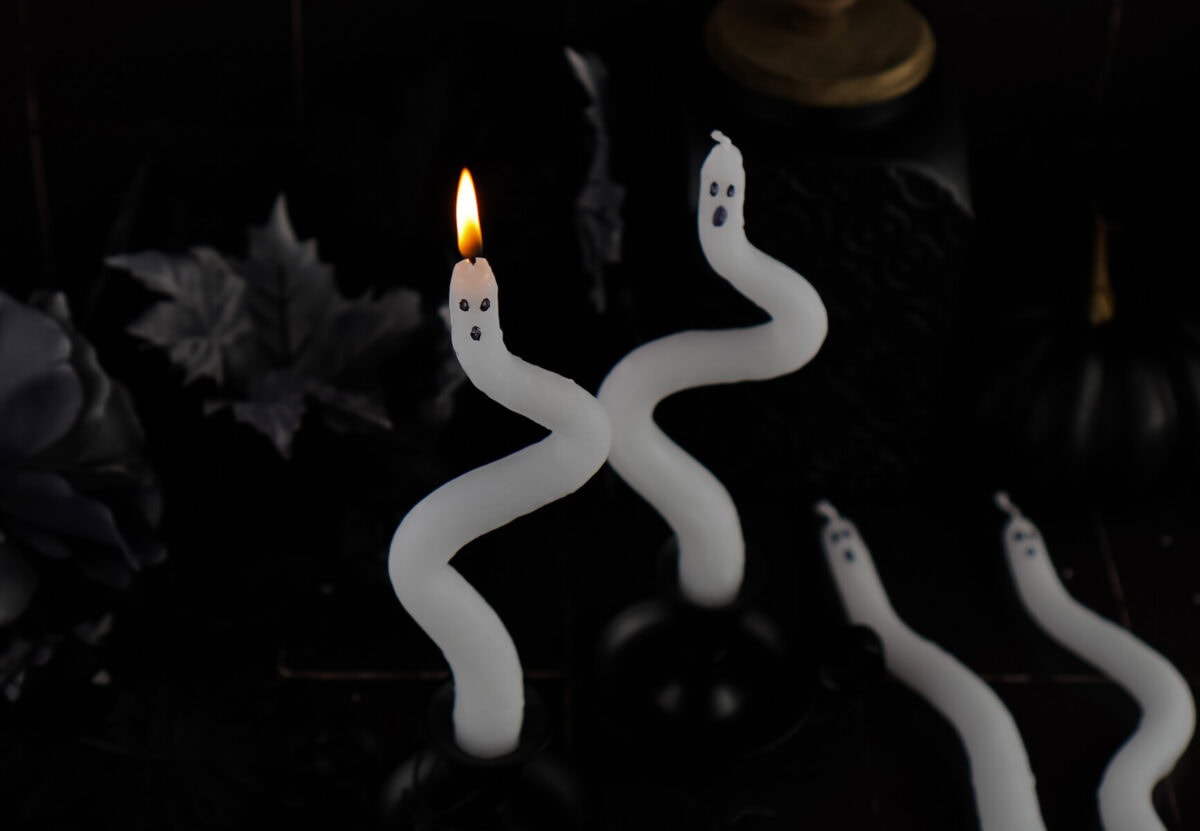
Supplies Needed for Ghost Candles
You probably have most of these supplies at home already!
- White taper candles – Any size works, but standard 10-inch tapers give you plenty of room for a nice wavy shape.
- 4 cups hot water – You’re aiming for right around 190°F.
- Kitchen thermometer – Optional, but it takes the guesswork out of getting the water temperature just right.
- 9×13 glass baking dish – I recommend glass because it cleans up so much easier than metal or plastic. Your normal Pyrex baking dish works great!
- Rubber gloves – Trust me, you don’t want to skip these!
- Parchment paper – For setting your candles on while they harden.
- Paper towels – For patting the candles dry.
- Black permanent marker – A Sharpie works best. I tried other markers, and they just didn’t show up well on the wax.
- Candlestick holders – Optional, for displaying your finished ghosts.
How to Make DIY Ghost Candles
Step 1: Heat your water
Heat 4 cups of water to about 190°F. You can do this on the stovetop or with an electric kettle. If you’re using a thermometer, check it before you pour. If not, you want the water very hot but not at a full rolling boil.
Step 2: Soak the candles
Lay your taper candles in the 9×13 glass baking dish and pour the hot water over them. (You can also pour the water in first and add the candles, it doesn’t really matter!)
Don’t worry if the water looks a little greasy. That’s just some of the excess wax from the outside of the candles mixing with the water, and it’s totally normal.
The candles will want to float together and stick to each other, so gently nudge them apart as they soak.
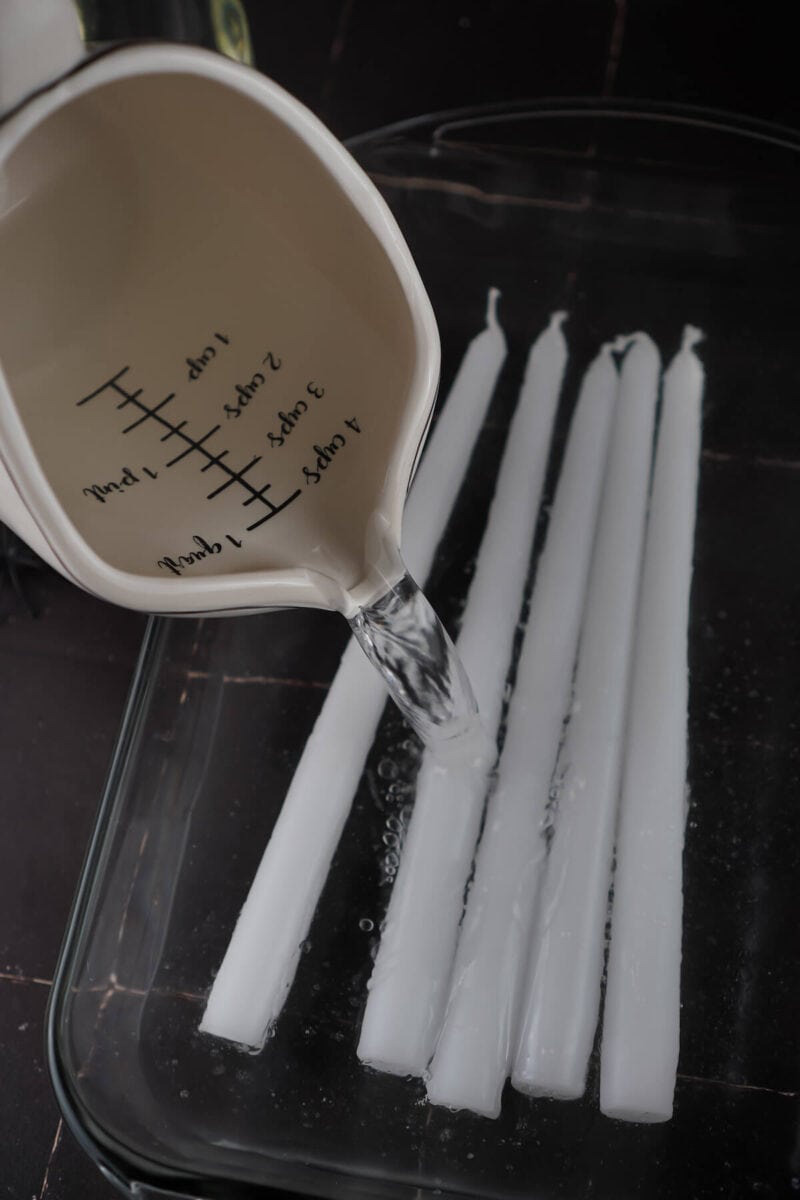
Step 3: Let them soften for 10 minutes
Let the candles soak for about 10 minutes. After that, carefully pick one up (with your gloves on!) and test it. It should bend easily without resistance.
If your candles aren’t bendable yet, the water probably wasn’t hot enough. Reheat the water and let the candles soak a little longer until they’re soft and pliable.
Step 4: Shape your ghosts
Once your candles are soft, put on your rubber gloves and start shaping! Gently bend each candle back and forth to create a wavy, S-curve design, like a ghost floating through the air.
As you shape them, use your gloved fingers to smooth out any finger marks or dents in the sides of the candle. Work gently and slowly. If a candle starts to stiffen before you’re happy with the shape, pop it back in the hot water for a minute or two.
*TIP – Leave the bottom inch or so of each candle straight so it still fits snugly in a candlestick holder!
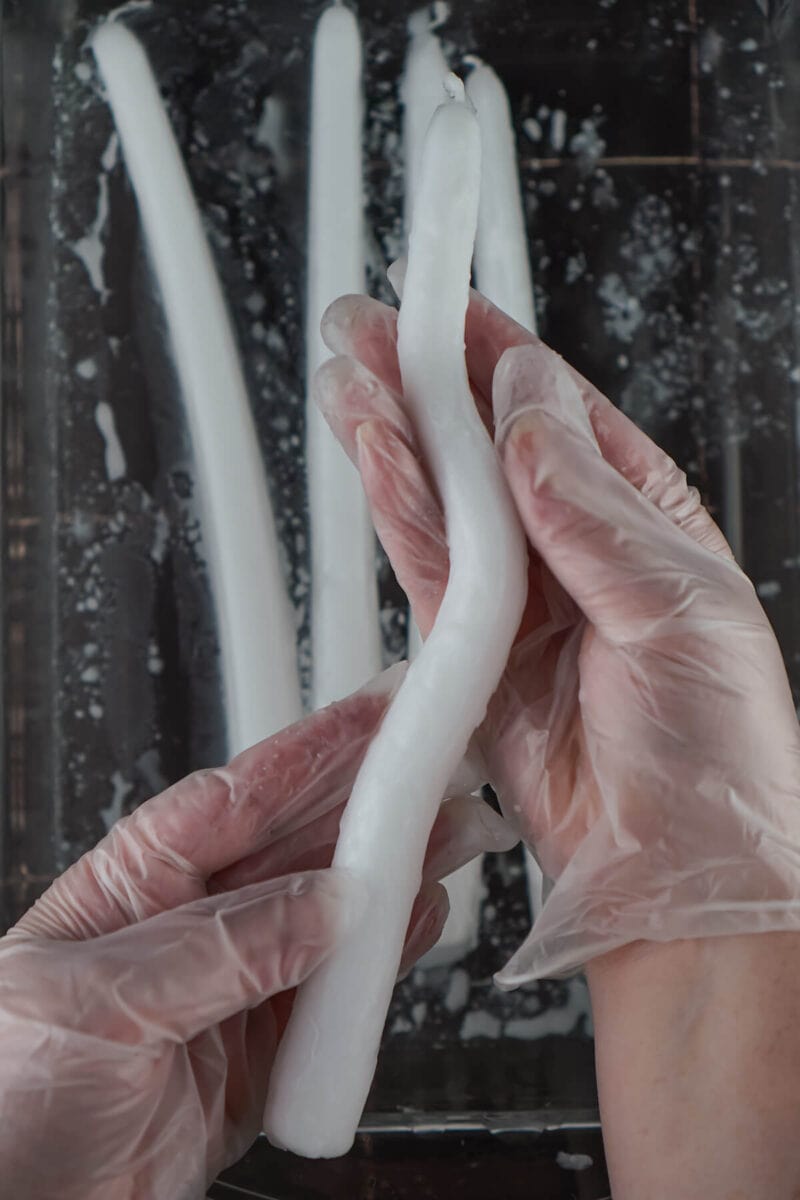
Step 5: Let them dry and harden
Lay your shaped candles on a sheet of parchment paper and gently pat them dry with paper towels. Let them sit for 20–30 minutes, or until they’ve completely solidified and hold their shape.
Step 6: Draw the ghost faces
Once the candles are hard and completely dry, grab your black permanent marker and draw on two eyes and a mouth. I love a classic oval “boo!” mouth, but you can make your ghosts as silly or as spooky as you like! Try a few different expressions for a fun, mismatched ghost family.
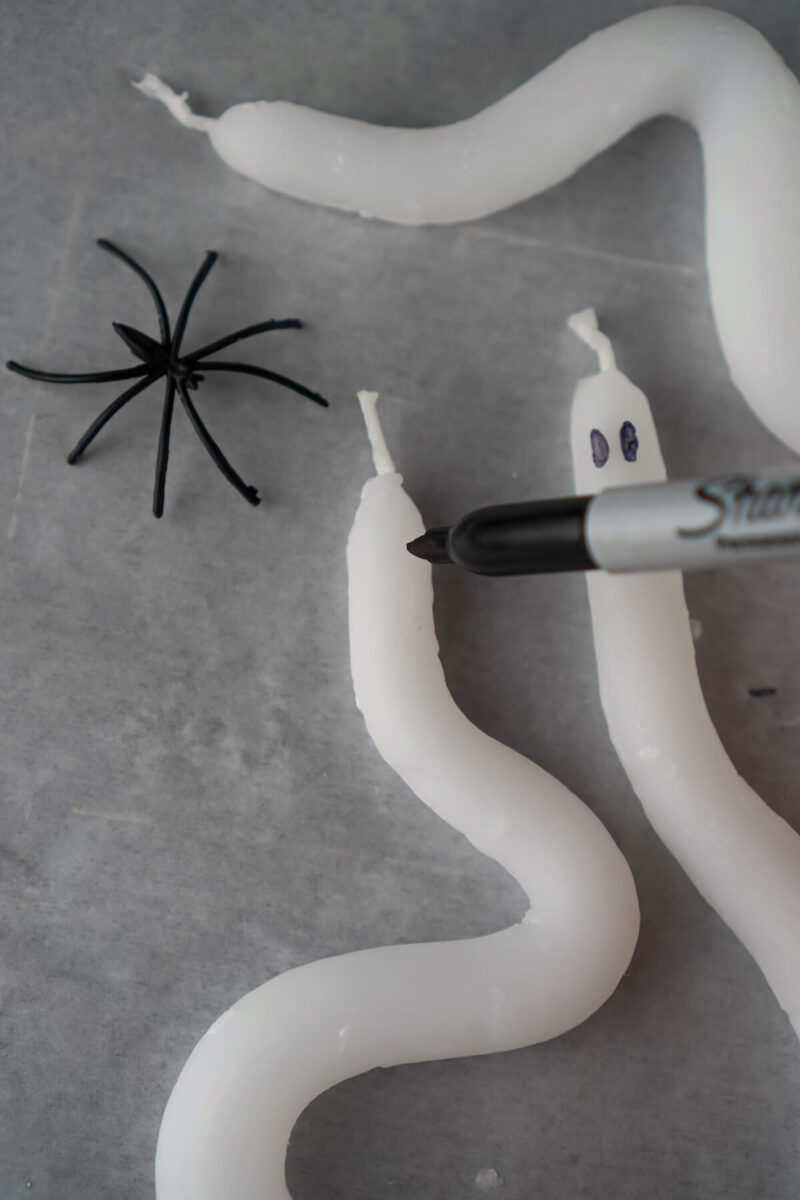
Step 7: Display and enjoy!
Place your ghost candles in candlestick holders and arrange them on your mantel, dining table, entryway table, or anywhere that needs a little Halloween charm!
Tips for Making Ghost Candles
- Get the water temperature just right – 190°F is the sweet spot! When I tried 200°F water, it was a little too hot and melted too much wax off the candles. If the water is too cool, the candles won’t soften enough to bend.
- Use a glass baking dish – Glass is so much easier to clean than other dishes. If you have leftover wax stuck to your dish when you’re done, just pour boiling water over it, and the wax should melt right off.
- Don’t force the bend – If your candles aren’t bending easily, don’t force them, or they’ll snap! Just put them back into the hot water to soak a little longer.
- Don’t panic if they stick together – If your candles stick together while they’re soaking, it’s okay! They should come apart easily enough, and you can smooth out the spots where they were connected while you’re shaping them.
- Try different candle sizes – Mix taller and shorter tapers for a fun, layered look on your mantel or table. A group of three or five ghosts in varying heights looks especially cute!
- Use them for decor not burning – These ghost candles are best used as decoration. The bends can make the candles drip unevenly, and you don’t want to burn off your cute ghost faces! If you do decide to light them, use a holder that will catch drips, and never leave them unattended.
More Easy Halloween Ideas
Looking for more ways to get into the spooky spirit? Check out more of my Halloween ideas for fun crafts, printables, and family activities!
DIY Ghost Candles
Ingredients
- 4 cups Hot Water
- White Taper Candles
- 9×13 Glass Baking Dish
- Parchment Paper
- Rubber Gloves
- Black Permanent Marker
Instructions
- Place your candles in a 9×13 baking dish and pour the water into it (or vice versa, doesn’t matter). The water might look a little greasy, and that’s ok, that’s just a bit of excess wax mixing with the water. The candles will want to stick together, so keep them apart.
- Allow the candles to soak for 10 minutes. After 10 minutes, if they’re not easily bendable, the water wasn’t hot enough. Try heating the water again, and continue to soak them until bendable.
- Once bendable, using rubber gloves, bend the candles back and forth to make a wavy design and smooth out any finger marks left in the sides of the candle.
- Place on parchment paper and pat dry with paper towels. Let dry for 20-30 Minutes or until solidified.
- Using a permanent marker, draw eyes and a mouth, in the spooky style you desire.
Notes
- Get the water temp just right – 190°F is the perfect temperature for the water. I used 200-degree water and it was a little too hot and melted a bit too much off the candles.
- I really wouldn’t skip the gloves, as they protect your hands from all the stray wax. Makes it a much easier cleanup.
- I used a glass dish because it cleaned up much more easily. If you have wax stuck on your dish, pour boiling water over it and it should melt right off.
- If your candles stick together while soaking, don’t worry. They should come apart easily enough and the areas where they were connected can be smoothed when you handle them for shaping.
- If the candles aren’t bending easily, don’t force them or they will just break.
The nutrition facts provided are calculated using a third-party tool and are estimates only. Actual nutritional content may vary based on the ingredients and brands you use, as well as portion sizes. For accurate results, please consult a registered dietitian or nutritionist.