Deep clean your bathroom the easy way! Step-by-step tips for the toilet, shower, vanity & more – plus the spots most people forget. Free checklist included!
I have two teenage daughters, and between the two of them, our bathroom sees more hair product than a salon. There’s a fine mist of dry shampoo dusting the counter, a sink rimmed in dried toothpaste like some kind of crusty modern art, and shower walls decorated with long strands of hair that seem to defy gravity and cling to the tile no matter how many times I peel them off. I’ve genuinely stood in that bathroom wondering how two people can generate that much chaos in one 5×8 room. If you just nodded along, welcome – you’re in the right place.
A quick wipe-down doesn’t cut it in a bathroom like ours. So a few times a year, I do a real, top-to-bottom deep clean – the kind where you tackle every corner, not just the parts you can see standing in the doorway.
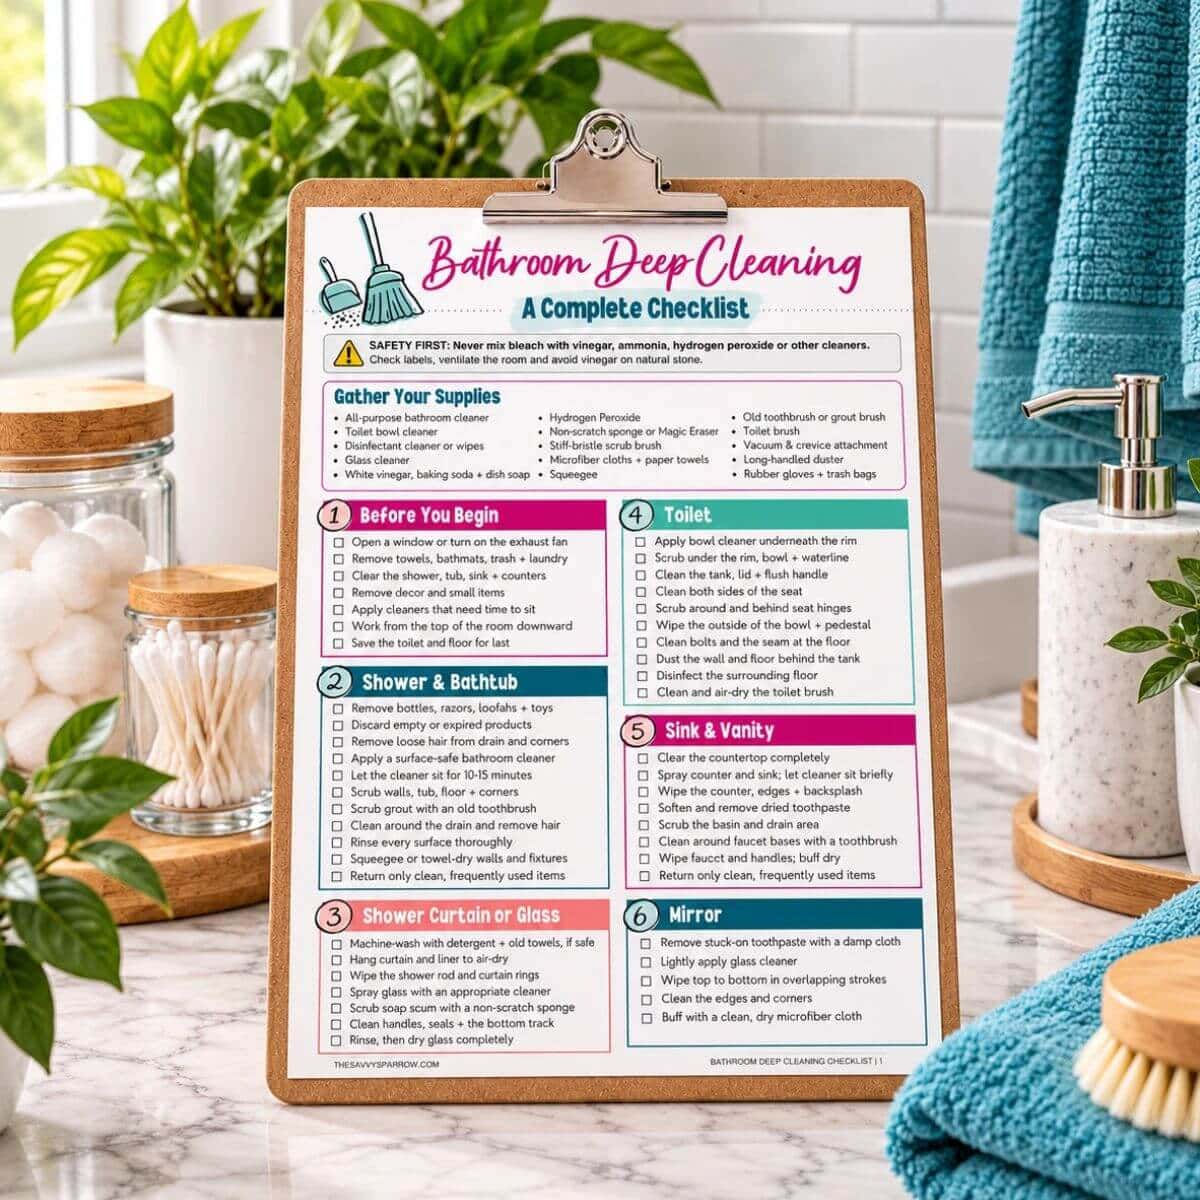
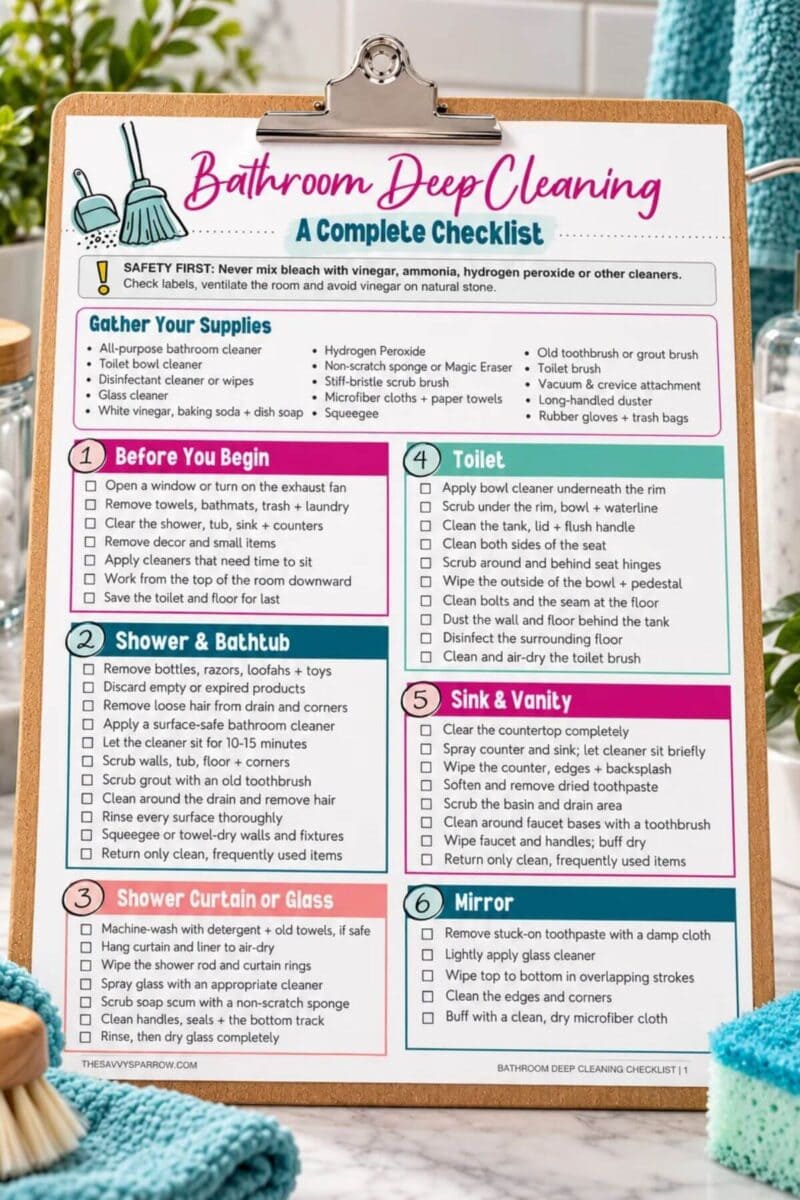
Below is exactly how I do it, area by area, with the tips and tricks (mine and the internet’s best) that actually make a difference. And since I’m a sucker for a good checklist, I’m turning this entire guide into a free printable cleaning checklist so you can just grab it, tape it to the inside of your cabinet door, and check off each area as you go. More on that at the end!
*And be sure to check out this post for even more free printable cleaning checklists!
What You’ll Need
You don’t need a cabinet full of fancy products for this. Here’s my go-to deep clean kit:
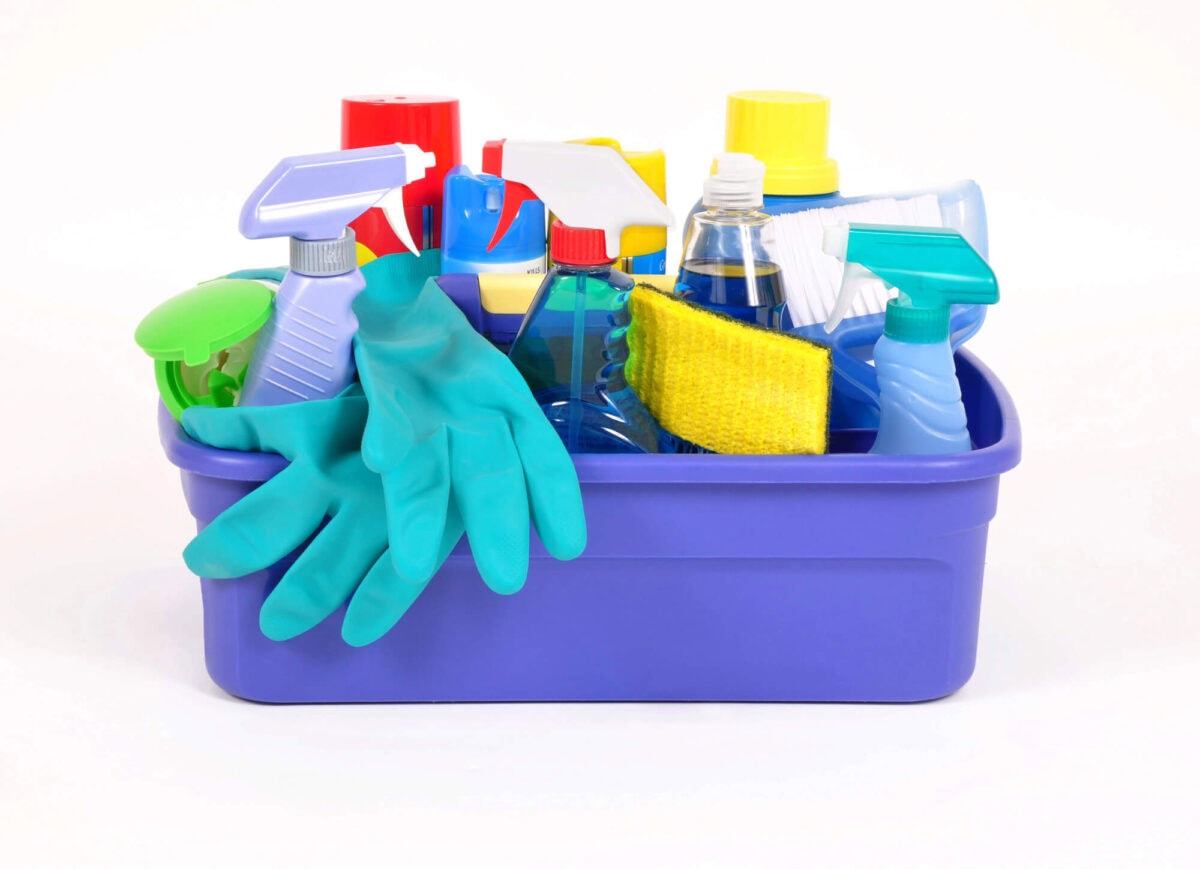
- All-purpose bathroom cleaner (or a DIY vinegar/dish soap spray)
- White vinegar
- Baking soda
- Dish soap (Dawn is a cleaning-world favorite for a reason)
- Magic eraser or non-scratch sponge
- Old toothbrush (for grout, hinges, and other tight spots)
- Microfiber cloths – buy more than you think you need
- Glass/window cleaner
- Disposable wipes or paper towels
- A squeegee
- A vacuum with a crevice attachment, or a broom
- Rubber gloves
The Toilet (Including the Spot Everyone Forgets)
Nobody loves cleaning the toilet, but it’s usually not even the germiest part of the job – it’s everything around it that gets neglected. The base, the bolts, the hinges, and the floor behind the tank collect dust, hair, and grime for months at a time because most of us only ever wipe the seat and call it done.
Inside the bowl:
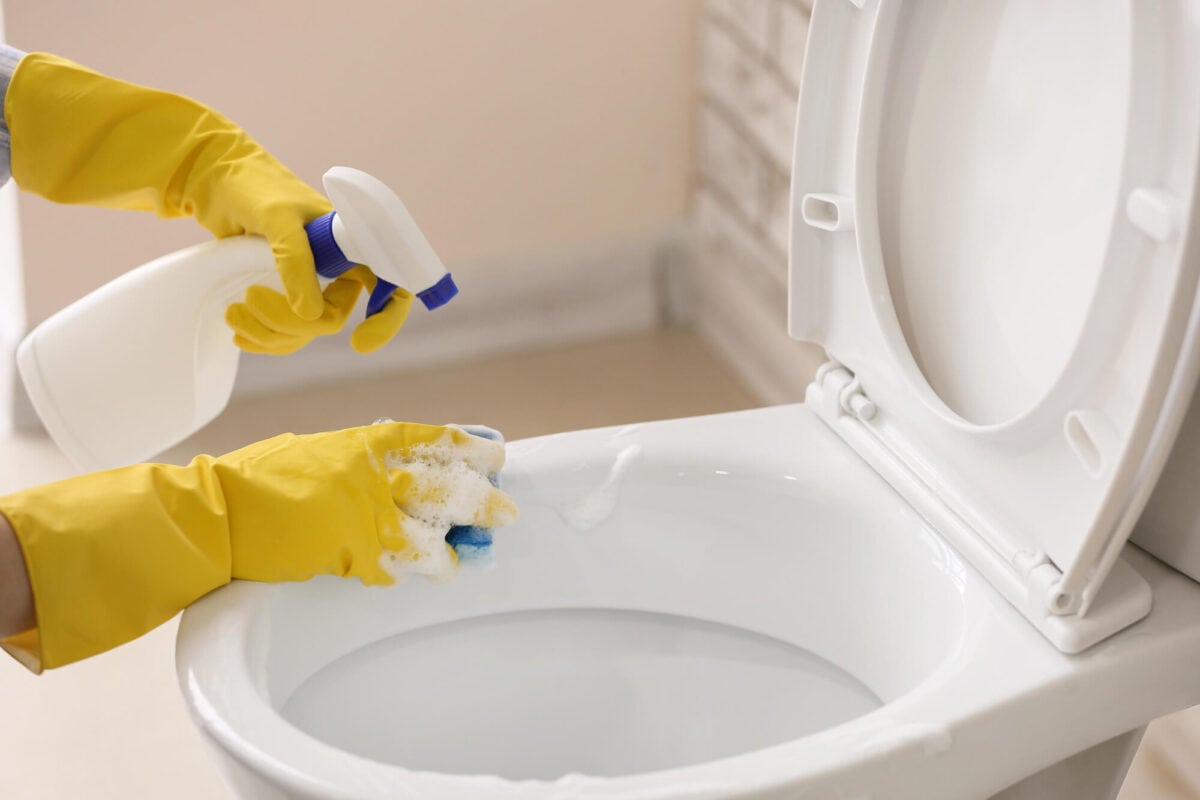
- Squirt toilet bowl cleaner generously under the rim and let it sit for a few minutes so it has time to break down grime.
- Scrub with a toilet brush, giving extra attention under the rim where mineral buildup and stains like to hide.
- Flush to rinse.
The seat and lid:
- Spray both sides of the seat and lid with disinfectant and wipe down, including the hinges – this is a hot spot for grime that most people skip entirely. If your toilet seat detaches (many newer ones do with a simple clip release), pop it off for a few minutes so you can actually get behind the hinges instead of fighting an old toothbrush around them.
The base, bolts, and the floor around it (the part everyone forgets!): This is the game-changer tip: skip the sponge or rag for this part. Grab a stack of paper napkins or disposable wipes instead. Spray the base, the floor around it, and the bolt covers with disinfectant cleaner, then wipe with the disposable napkin and toss it – no re-contaminating your sponge, no gross rag to wash afterward. For the actual bolts and the tight seam where the toilet meets the floor, an old toothbrush or a narrow grout brush gets into those grooves better than anything else.
- For dust that’s built up on the wall or floor right behind the toilet (we all have it), a long-handled duster or even a dry swiffer cloth wrapped around a paint stirrer works great to reach that awkward gap between the tank and the wall.
- Finish by wiping down the flush handle and tank – another spot that gets touched constantly and cleaned rarely.
The Shower and Tub
This is where soap scum, hard water spots, and body-wash residue build up fastest – especially with two teenagers taking twenty-minute showers with three different products each (no judgment, I promise).
- Clear everything out. Remove bottles, razors, and loofahs so you can actually see (and reach) every surface.
- Pre-treat with vinegar. Spray the walls and tub generously with white vinegar (warm it up in the microwave for 30 seconds first for extra grease-cutting power) and let it sit for 10–15 minutes to loosen soap scum and mineral deposits.
- Scrub with baking soda. Sprinkle baking soda over the vinegar-dampened areas and scrub with a non-scratch sponge or a magic eraser. This combo is the workhorse for cutting through built-up scum without scratching your tub or tile.
- Tackle the grout. Mix baking soda with a little hydrogen peroxide into a paste, apply it along grout lines with an old toothbrush, let it sit for 10–15 minutes, then scrub. You’ll actually see it bubble a little as it works.
- Don’t forget the tub floor and corners, where hair and grime tend to collect the most. A stiff bristle brush gets into those corners better than a sponge.
- Rinse everything thoroughly and towel-dry or squeegee to prevent new water spots from forming immediately.
*Maintenance tip: Keep a bottle of dish soap in the shower. On days you’re rinsing conditioner out anyway, a quick wipe-down of the walls with dish soap and a scrub brush keeps scum from building up between deep cleans.
Shower Curtain or Glass Door
If you have a fabric or plastic shower curtain and liner: Good news – most are machine washable. Toss the curtain and liner into the washing machine along with a couple of old towels (the towels add bulk so the machine doesn’t shake, and their texture actually helps scrub away grime). Add your regular detergent plus about ½ cup of baking soda. If you’re dealing with mildew and your curtain is white or clear, you can add ½ cup of bleach and cut back on detergent. Wash on a gentle cycle with warm water, and skip the spin cycle for a plastic curtain so it doesn’t wrinkle — just hang it back up to drip dry.
*Definitely DON’T put your fabric shower curtains in the dryer. I’ve made that mistake in the past, and shrunk our curtain to about 2 feet shorter.
If you have a glass shower door: Glass doors show every water spot and soap film, but they clean up beautifully with a few pantry staples:
- For everyday buildup: Mix equal parts white vinegar and water in a spray bottle, spray generously, let sit 5 minutes, then wipe with a microfiber cloth.
- For stubborn hard water stains and limescale: Let the vinegar solution sit longer (10+ minutes), then scrub with the scouring side of a non-scratch sponge, or make a baking soda paste and scrub in circular motions.
- Don’t forget the track at the bottom of the door – it’s a magnet for hair, soap scum, and standing water. An old toothbrush is the only tool small enough to really get in there.
- Finish by drying the glass completely with a microfiber cloth. Leftover moisture is exactly what causes new water spots to form, undoing all your hard work.
Vanity and Sink
This is ground zero for the toothpaste crime scene at our house. Between two girls brushing their teeth, doing skincare routines, and God knows what else, our counter and sink need real attention, not just a swipe with a hand towel.
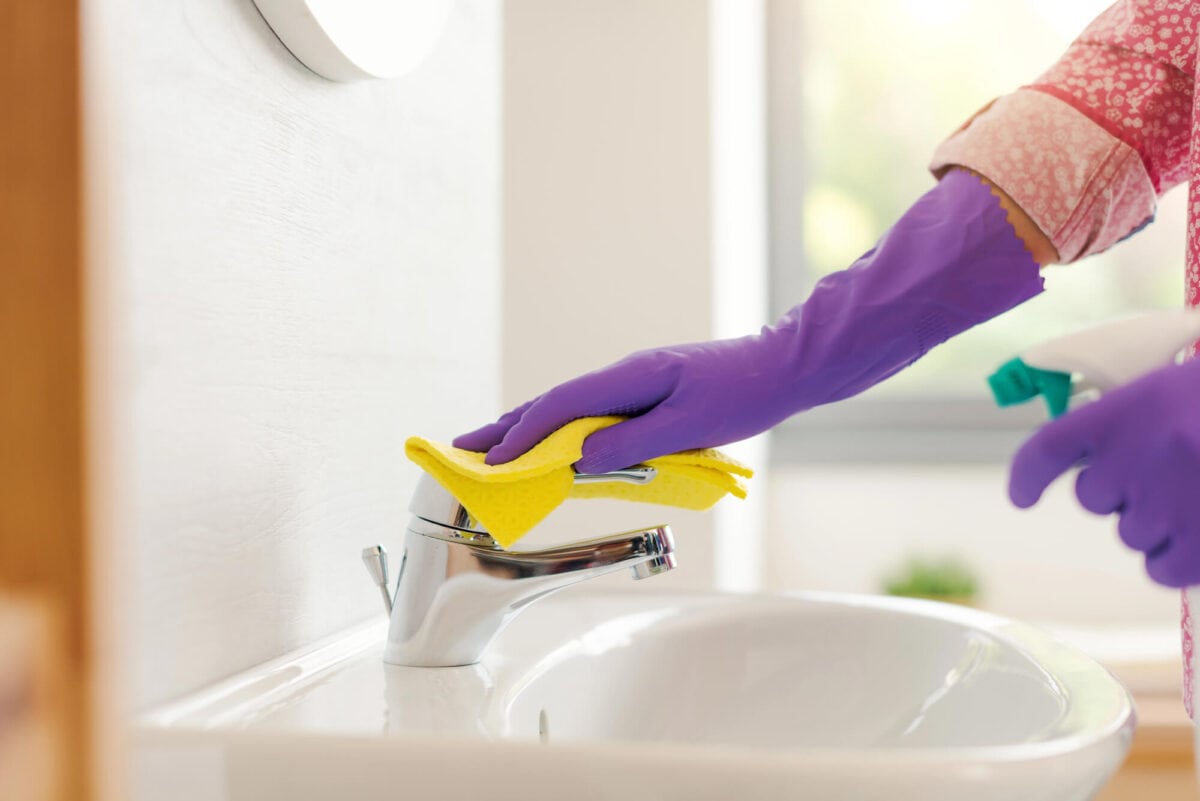
- Clear the counter completely – every bottle, every hair tie, every mystery cap with no bottle attached to it.
- Spray the entire counter and sink with an all-purpose cleaner or a vinegar-water solution and let it sit for a minute.
- Attack dried toothpaste with a damp microfiber cloth or an old toothbrush for stuck-on spots around the faucet and drain – dried toothpaste hardens fast, so a little extra scrubbing (or a re-spray and short soak) works better than trying to scrape it off dry.
- Clean the faucet and handles with a vinegar-soaked cloth wrapped around the base of the faucet for a few minutes to dissolve mineral buildup, then scrub with an old toothbrush and buff dry.
- Scrub the sink basin with a baking soda paste for stains and hard water rings, focusing on the drain area where gunk tends to collect.
- Wipe down the counter edges and backsplash, and don’t skip the spot where the counter meets the wall – grime loves to hide in that little seam.
Mirror
A streaky mirror can undo the look of an otherwise sparkling bathroom, and toothpaste splatter is enemy number one here too.
- Spray glass cleaner directly onto the mirror (not just your cloth) – this helps loosen any dried, stuck-on toothpaste splatter before you start wiping.
- Work top to bottom in straight, slightly overlapping strokes with a microfiber cloth or a squeegee. Don’t let the cleaner sit for more than 30 seconds or so before wiping, or it can dry and leave streaks behind.
- Buff with a dry microfiber cloth for a streak-free shine. If you’re still seeing streaks, it usually means too much product or a dirty cloth – switch to a clean section of cloth and use less spray. Or use some good quality paper towels that don’t leave behind a bunch of lint – we love the Kirkland brand of paper towels from Costco.
Baseboards
Baseboards are the most skipped surface in the whole bathroom, and dust and hair collect on them fast, especially with all that hair falling during blowouts and getting-ready routines.
- Vacuum first using the crevice attachment to pull up loose dust and hair.
- For sticky or grimy spots, wipe with a damp microfiber cloth and a little soapy water, then dry.
- The trick that changed my baseboard game: once they’re clean, wipe them down with a used dryer sheet. It picks up any remaining dust and leaves behind a light anti-static coating that actually repels dust going forward, so you’re not back down on your hands and knees again next week.
Vanity and Cabinet Fronts, Handles, and Pulls
Cabinet doors and drawer pulls get touched constantly with hands covered in lotion, hairspray, and who-knows-what, which means they build up a sticky film fast, even though it’s rarely visible until you actually look closely.
- Wipe down all cabinet fronts with a vinegar-water solution (diluted a bit more for wood finishes, about 1 part vinegar to 2 parts water) to cut through grime without damaging the finish.
- For sticky handles and pulls, make a baking soda paste and scrub gently with a soft cloth, focusing on the grooves and edges where grime accumulates. Or if your handles aren’t that bad, you can simple wipe them with a damp cloth.
- Rinse and dry thoroughly – leftover moisture on wood cabinet fronts can cause damage over time, so don’t skip the drying step.
Linen Closet
If your linen closet is anything like mine, it’s less “neatly folded towels” and more “avalanche waiting to happen.” A deep clean is the perfect time to reset it.
- Take everything out. Yes, everything. You’ll be shocked what’s hiding in the back.
- Wipe down the shelves with an all-purpose cleaner, paying attention to the corners where dust bunnies collect.
- Sort as you go – toss ragged washcloths, expired medications or half-empty travel toiletries, and anything you haven’t used in over a year.
- Put things back with a system, grouping like with like (towels together, sheets together, backstock toiletries on their own shelf) so it’s easier to keep tidy going forward instead of just cramming things back in.
* I created my own organizing labels for the baskets in my linen closet, and I love them! You can find the full tutorial and free printable storage basket labels here.

Or you can watch me organize my own linen closet on YouTube here:
Other Overlooked Areas
A few more spots worth hitting while you’re already elbow-deep in a deep clean:
- Toothbrush holder: This is genuinely one of the germiest items in the entire house – worse than your toilet seat, believe it or not. If it’s dishwasher-safe, toss it in weekly. Otherwise, fill it with warm water and a denture tablet (or mouthwash) and let it sit for a few minutes before rinsing and wiping out.
- Drains: Pour a mix of baking soda followed by hot vinegar down the drain to help break down soap scum and hair buildup, then flush with hot water.
- Light switch plates and door handles: These get touched with wet or product-covered hands multiple times a day and almost never get cleaned. A quick wipe with disinfectant handles it in seconds.
- Exhaust fan vent cover: Dust builds up here more than you’d expect. Pop the cover off if you can and vacuum or wipe it down to keep it working efficiently (and quietly).
- Trash can: Wipe down the inside and outside, and toss in a fresh liner.
Putting It All Together
Here’s the truth: deep cleaning a bathroom that two teenagers use every single day isn’t a one-and-done kind of job. But breaking it down area by area like this makes it feel a lot more manageable than staring at the whole room and sighing. Pick a day, put on a good podcast, and work your way through the list.
And since I know I’m not the only one who loves the satisfaction of checking a box, I’m turning this entire guide into a free printable bathroom deep-clean checklist – every single area above, broken into simple checkboxes you can print, stick inside a cabinet door, and use every time. Grab your copy below!
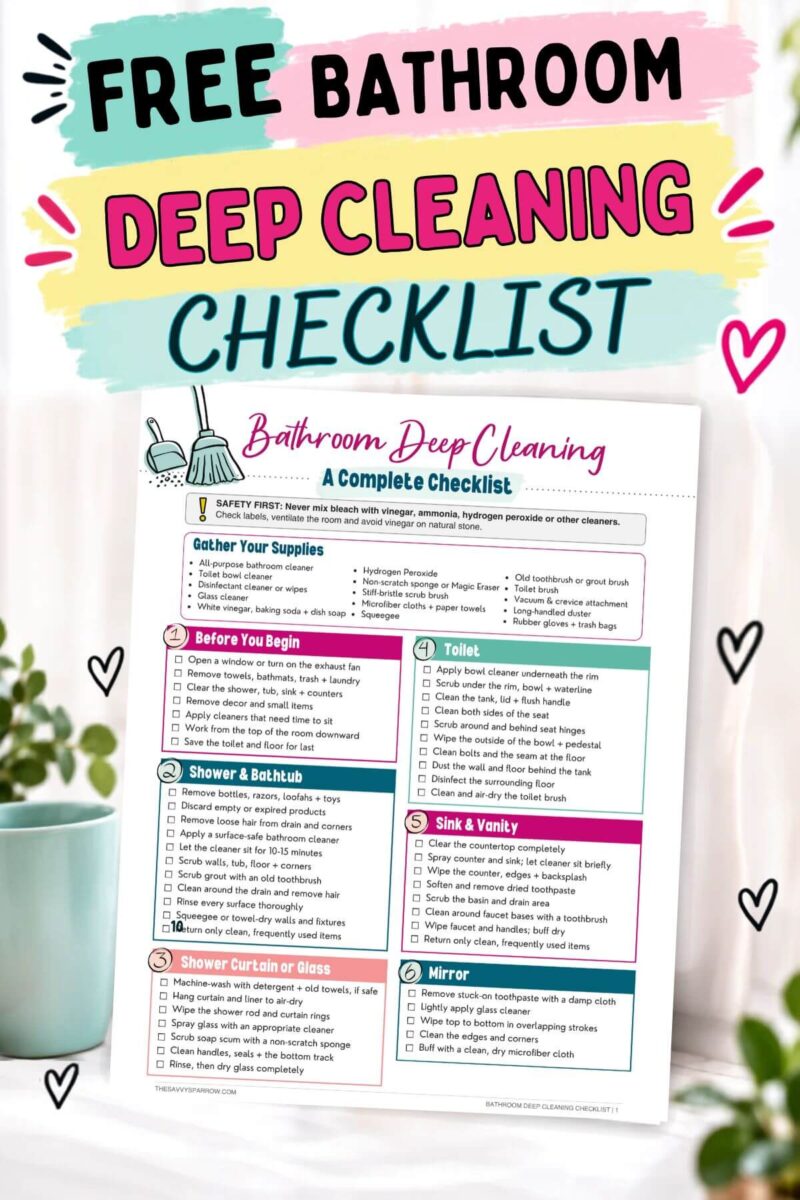
Download The Printable!
Click below to download your FREE Bathroom Checklist!