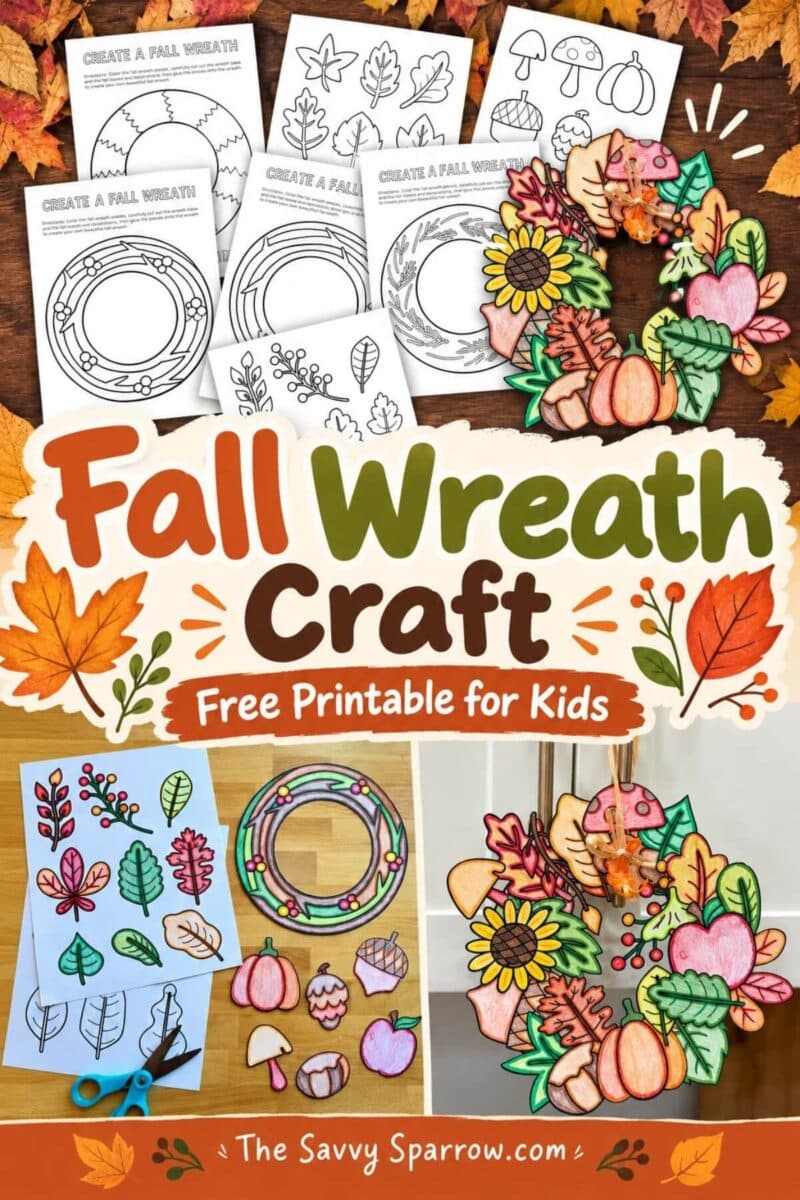
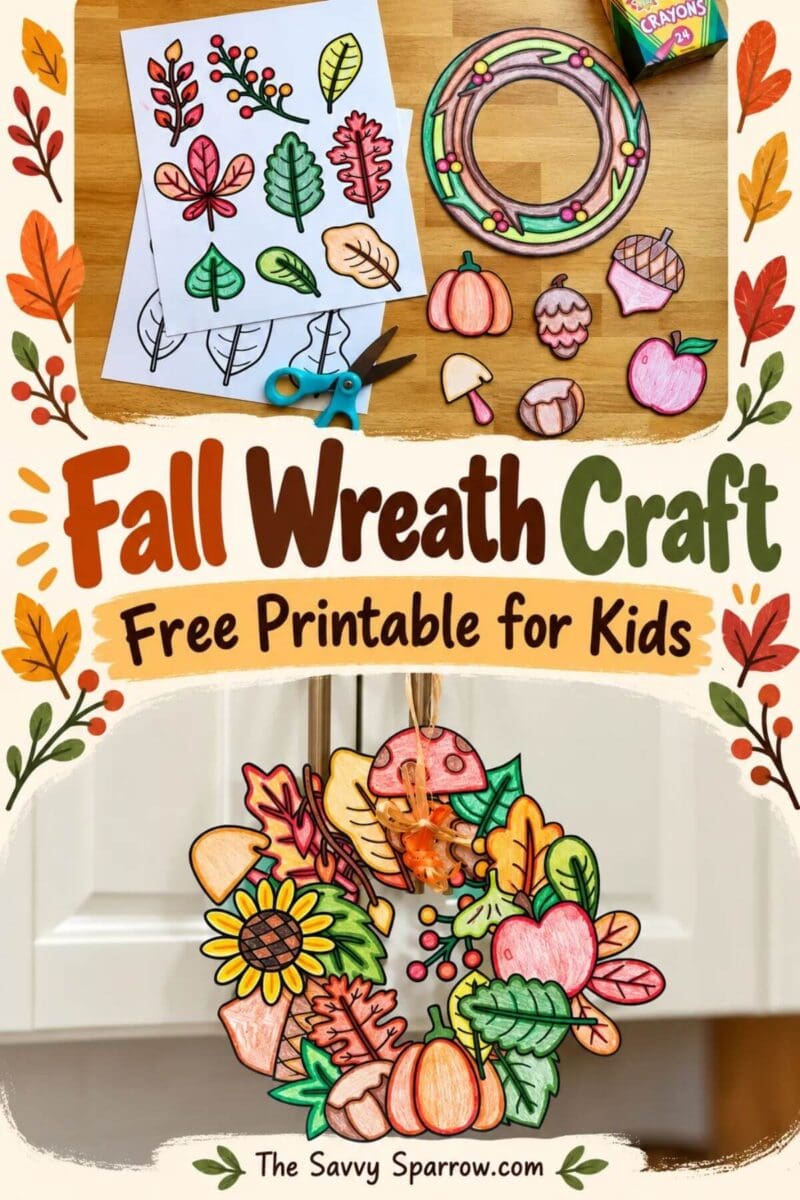
This free printable fall wreath craft is an easy color, cut, and paste activity kids will love! Choose a wreath base, decorate it with leaves, pumpkins, sunflowers, and more, then hang it up to celebrate the season.
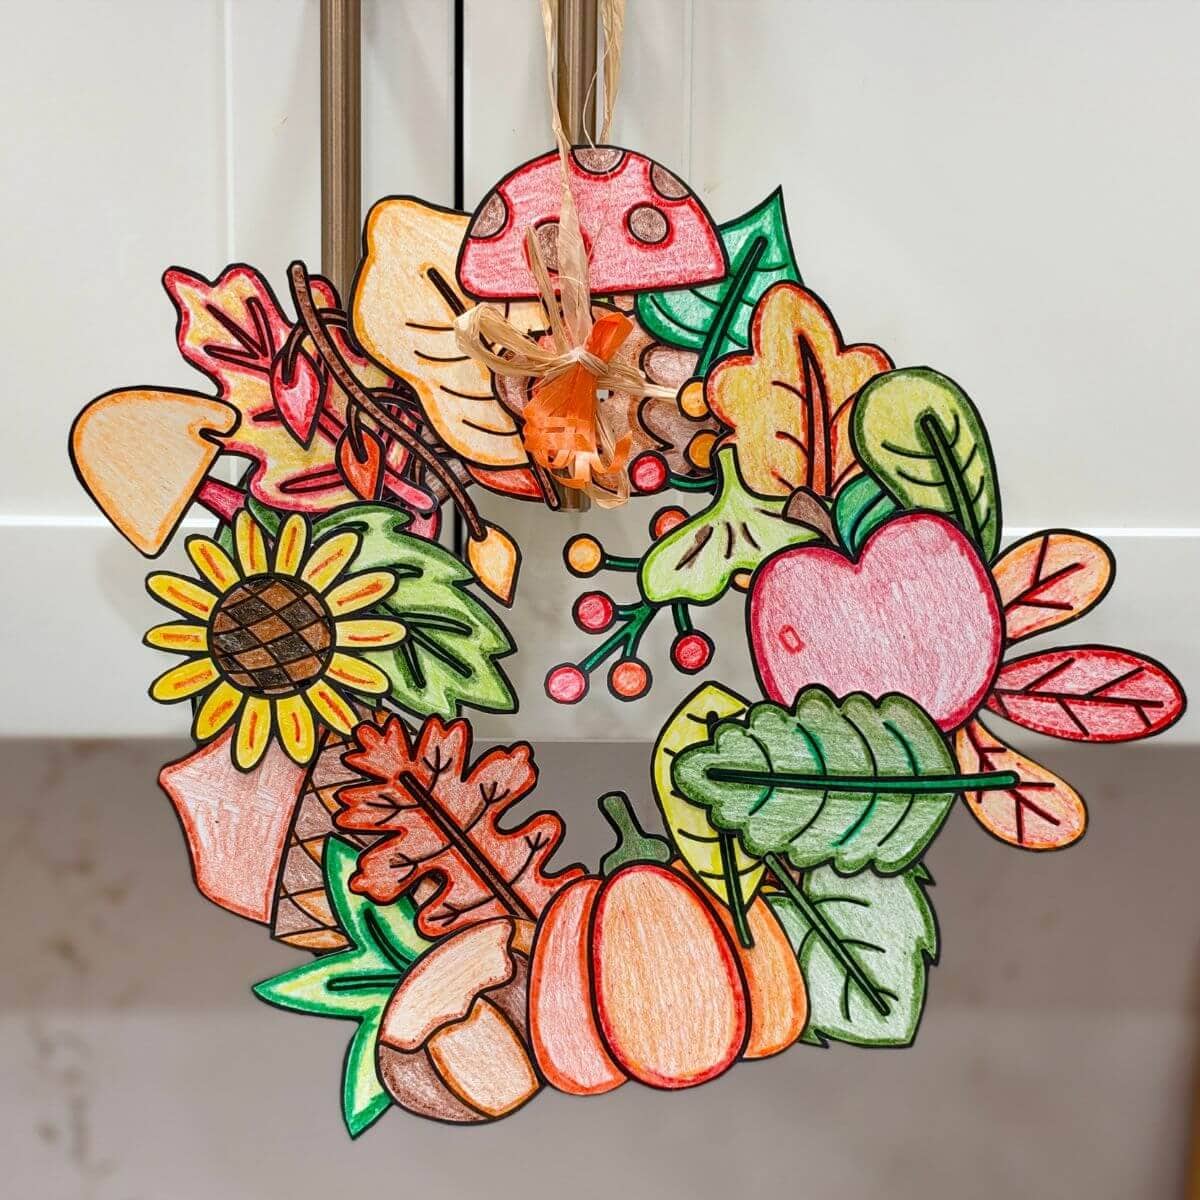
There’s just something about fall that makes me want to break out the crayons and get crafty with my girls. The leaves are changing, the air is (finally!) getting a little cooler, and everyone is ready for cozy afternoons at the kitchen table.
This year I wanted a fall craft that was simple to set up but still gave kids lots of room to be creative. So I designed a free printable fall wreath craft that kids can color, cut, and paste into their very own one-of-a-kind wreath!
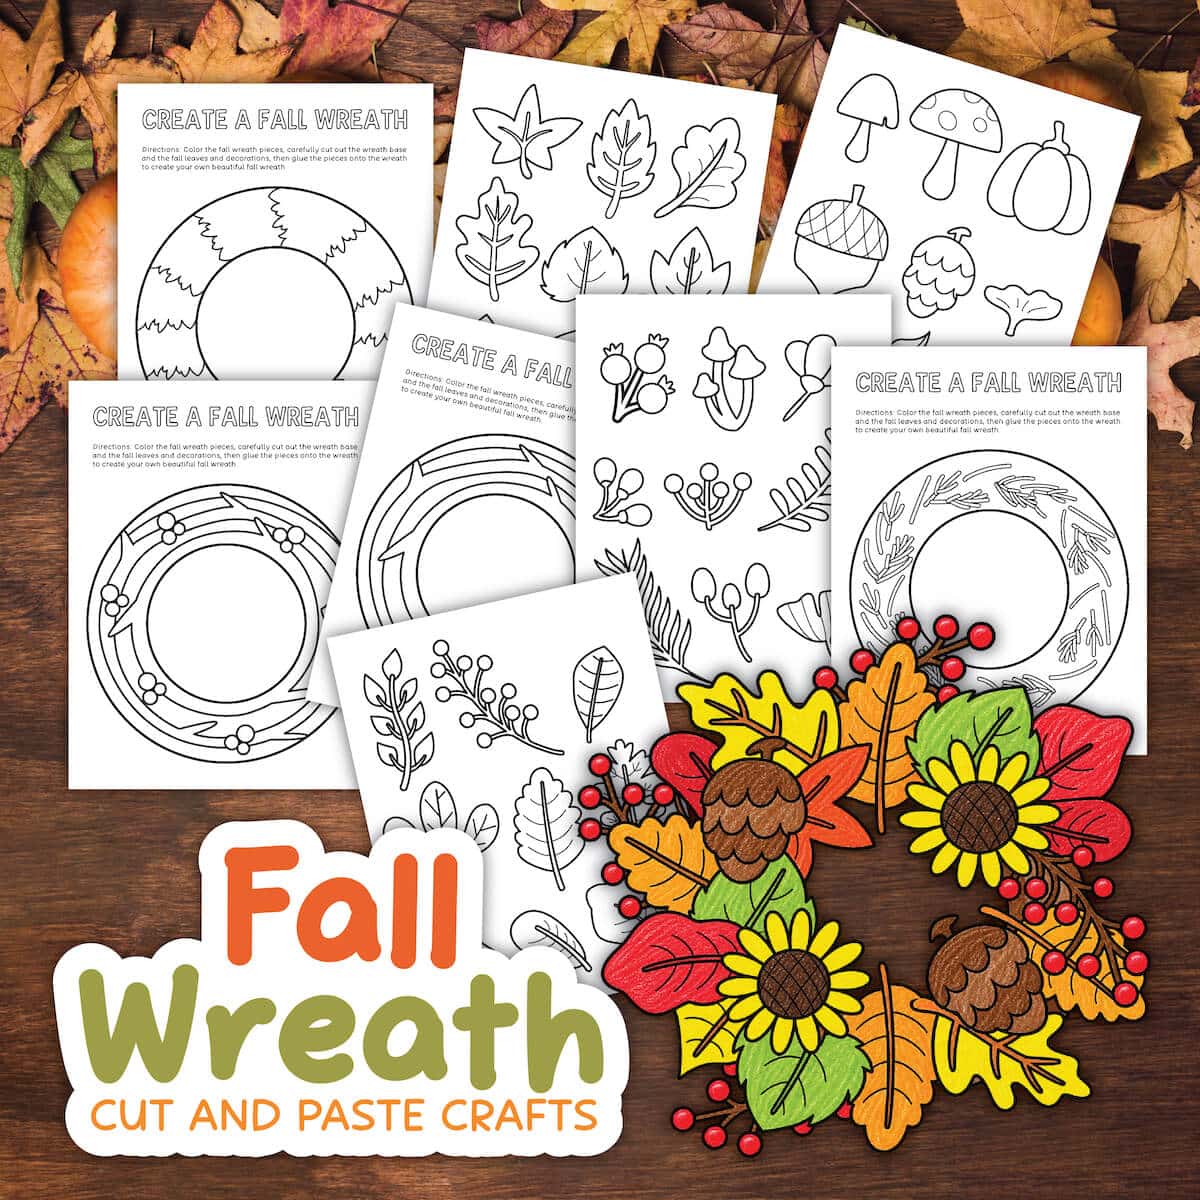
The printable includes several different wreath bases to choose from (plain sticks, berries, pine branches, and more), plus pages and pages of fall leaves, pumpkins, acorns, pinecones, mushrooms, sunflowers, apples, and berry sprigs. Kids get to decide which pieces to use and where to put them, so no two wreaths ever turn out the same!
This craft is perfect for preschool and elementary-aged kids. It works just as well for a rainy afternoon at home as it does for a classroom party or Sunday school lesson.
And if your school or church doesn’t celebrate Halloween, this is a great option! There are no pumpkins with faces, ghosts, or anything spooky. It’s just a sweet, harvest-themed craft that lets everyone celebrate fall together.
Supplies Needed for the Fall Wreath Craft
The best part about this craft? You probably already have everything you need at home! Here’s what you’ll need:
- Free printable fall wreath template (grab it at the end of this post!)
- White card stock or printer paper – card stock makes a sturdier wreath, but regular paper works too
- Crayons, colored pencils, or markers
- Kid-safe scissors
- Glue stick – I like glue sticks better than liquid glue for this craft because the paper doesn’t wrinkle
- Hole punch (optional)
- Ribbon, raffia, or yarn for hanging (optional)
*TIP – If you’re doing this craft with a large group, like a classroom or church group, print the wreath bases on card stock and the decoration pages on regular paper. Kids get a sturdy base, and you save a little on card stock!
How to Make the Paper Fall Wreath
Putting these fall wreaths together is super easy! Here’s how we did it:
1. Print the fall wreath template
Download the free printable and print the wreath base pages and decoration pages. Let each child pick their favorite wreath base. There are plain stick wreaths, wreaths with berries, pine branch wreaths, and more!
The decoration pages include all kinds of fall goodies: oak leaves, maple leaves, chestnut leaves, berry sprigs, pumpkins, acorns, pinecones, mushrooms, sunflowers, and apples. Print as many copies as you need so kids have plenty of pieces to choose from.
*TIP – If you’re going to print on regular printer paper instead of card stock to save money, then I suggest adding a round card stock backing to make the craft sturdier.
2. Color the wreath base and fall decorations
Now for the fun part! Let kids color their wreath base and all the fall pieces however they like. Traditional reds, oranges, and yellows look beautiful, but don’t be surprised if you end up with a purple pumpkin or a rainbow leaf, and that’s totally okay!
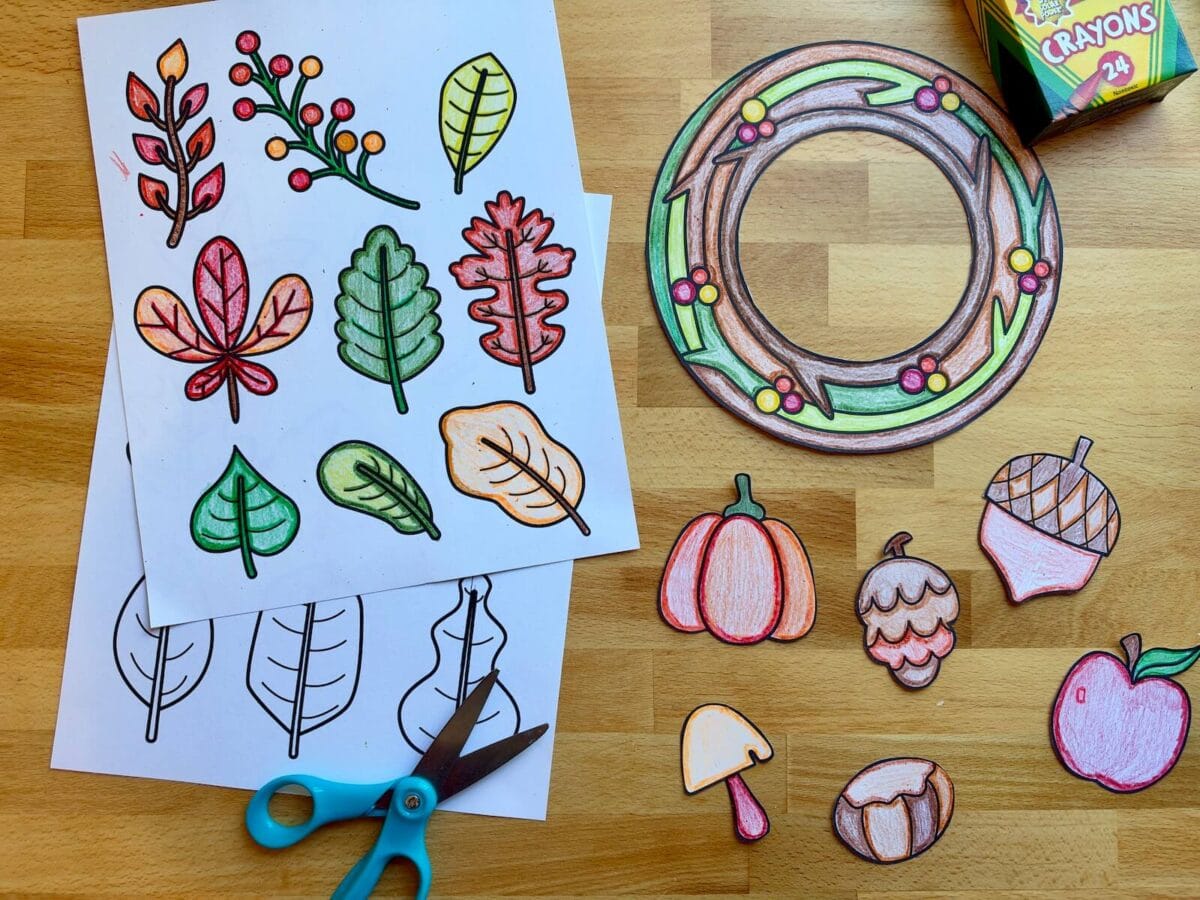
*TIP – Have kids color everything before they start cutting. It’s much easier to color the small pieces while they’re still attached to the page.
3. Cut out the wreath and fall pieces
Next, carefully cut out the wreath base (including the circle in the middle!) and each of the fall decorations. Older kids can usually cut everything out on their own.
For preschoolers, you may want to pre-cut the inner circle of the wreath base, since that part can be tricky for little hands. Cutting around the outside edges of the leaves and pumpkins is great scissor practice, though!
4. Arrange and glue the decorations onto the wreath
Before gluing, let kids lay out their pieces on the wreath base and move them around until they love how it looks. Overlapping the leaves and letting some pieces hang off the edges gives the wreath a full, layered look.
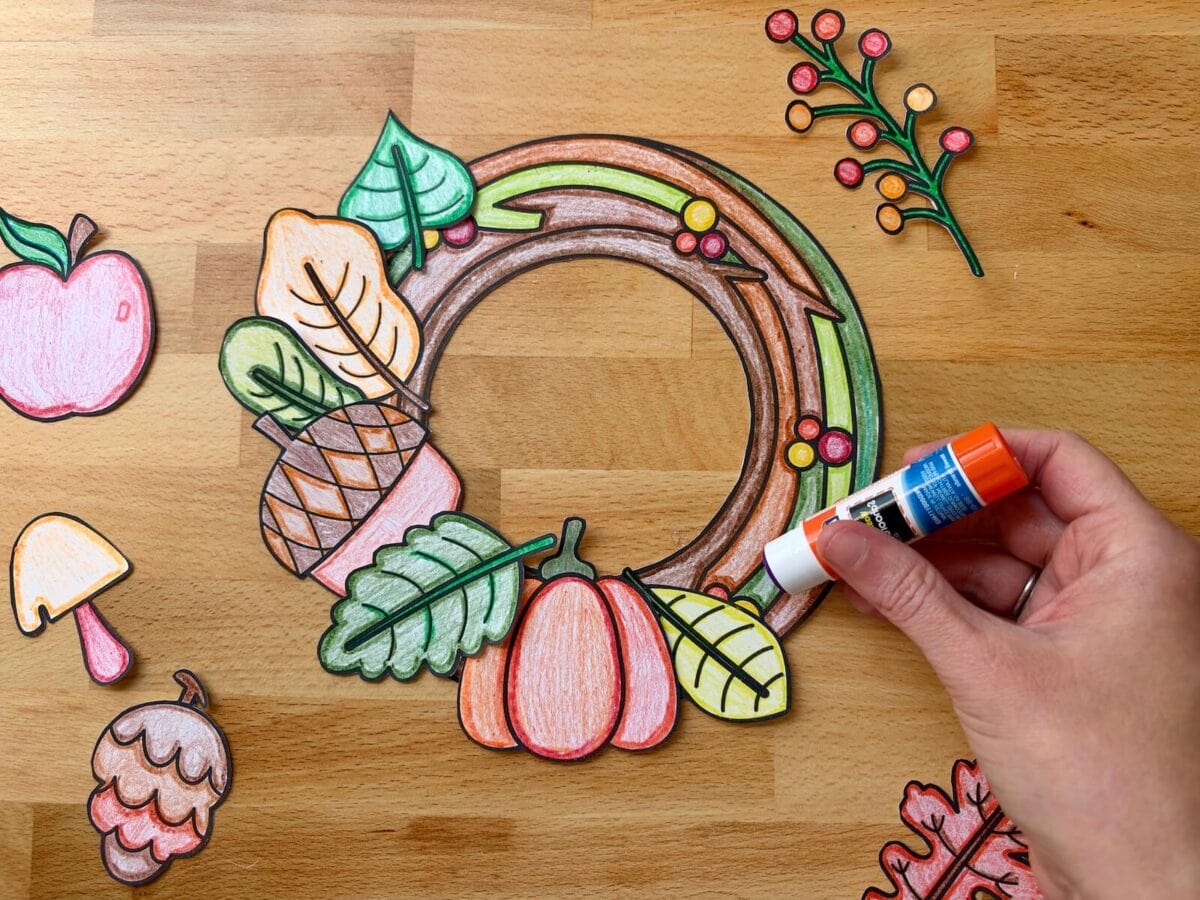
Once they’re happy with the design, add glue to the back of each piece and press it onto the wreath. Start with the bigger leaves on the bottom layer, then add pumpkins, sunflowers, acorns, and berries on top.
5. Add a ribbon and hang it up!
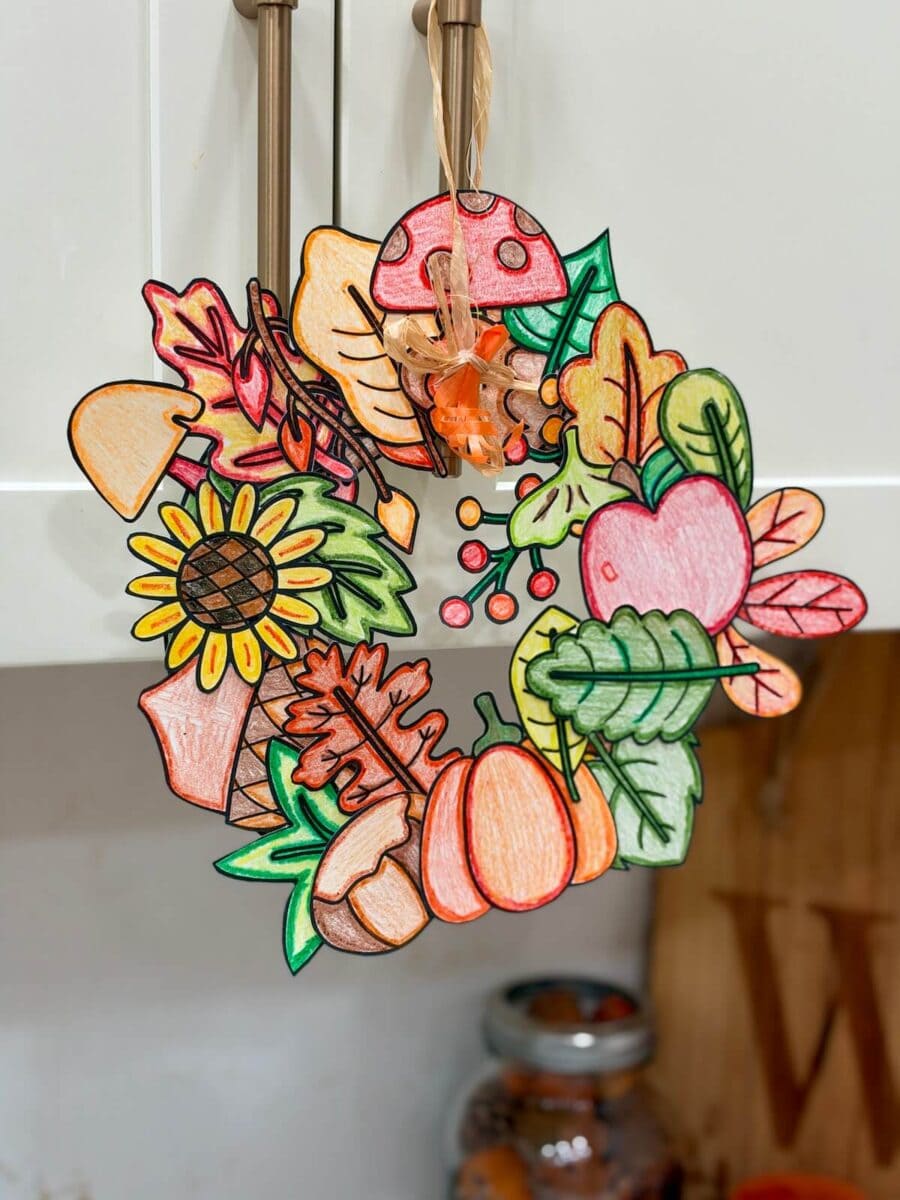
To hang the finished wreath, punch a hole near the top and thread a piece of ribbon, raffia, or yarn through it. You can also tie a little bow at the top for an extra special touch.
Hang your kids’ wreaths on a door, a cabinet, the fridge, or a classroom bulletin board. They make such a cheerful fall decoration!
Grab the Free Printable Fall Wreath Craft Template
Ready to make your own paper fall wreaths? Just click the link below to download:
Download The Printable!
Click below to download your FREE craft printables:
More Free Printable Fall Activities for Kids
If your kids loved making these paper fall wreaths, be sure to check out my other fun fall printables and activities!
- Easy Fall Number Matching Activity for Kids – This hands-on leaf counting activity is perfect for preschoolers! Kids match numbered clothespins to leaf cards, and it only takes a few simple supplies to put together.
- Fall Bucket List Ideas – Free Printable Fall Bucket Lists – Keep track of all your favorite fall family activities with these free printable fall bucket lists! There’s a done-for-you list with 40+ ideas, plus a blank version you can fill in with your own family traditions.
- “I am Thankful for” Printables – These free printable Fall writing crafts are the perfect activity for kids to do during November, when they’re focused on gratitude!
And don’t forget to PIN this fall wreath craft to your Pinterest board for later!