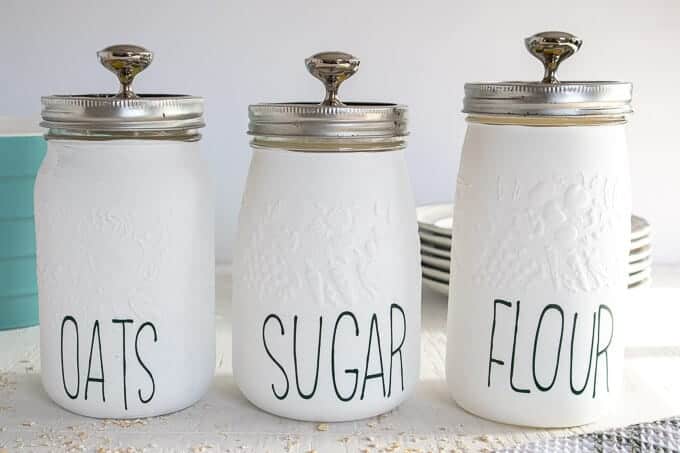
If you like Rae Dunn inspired crafts AND chalk painted mason jars, then I have a treat for you today! These DIY chalk painted mason jar kitchen canisters have Cricut labels with a farmhouse font that make them perfect for your farmhouse kitchen!
All you need to do is walk down the aisles of TJ Maxx or HomeGoods to see the HUGE popularity of Rae Dunn home accessories. From coffee mugs to jewelry stands to serving platters, it seems that the Rae Dunn font is plastered on EVERYTHING.
But, you don’t need to spend $30 on one plate to get the Rae Dunn inspired look at home. Why buy when you can DIY?!
These DIY mason jar kitchen canisters with chalk paint and a farmhouse font are a GREAT project for Cricut beginners. Make this easy craft to sell at craft fairs, or keep them for your own DIY farmhouse kitchen decor!
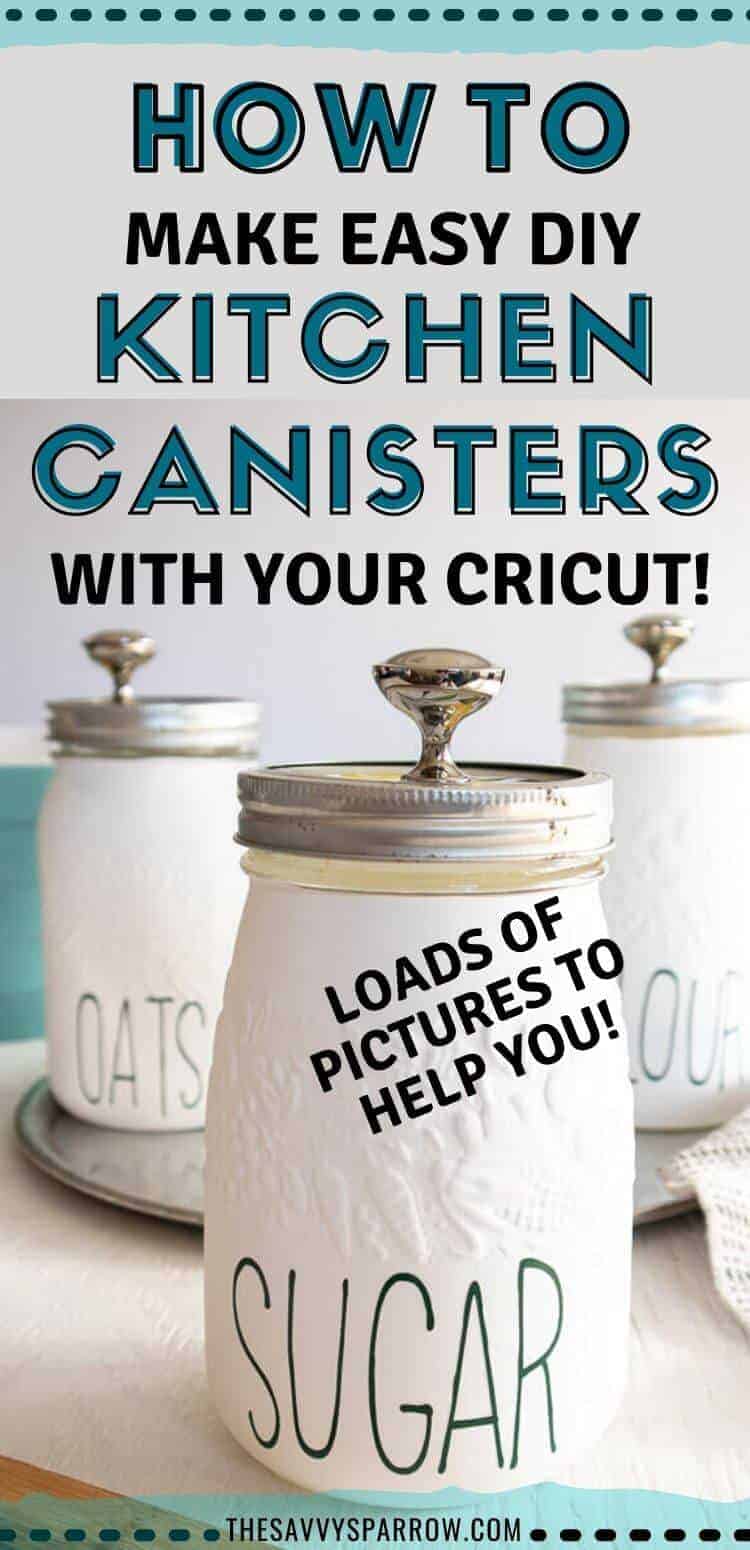
Here’s how to make these super cute DIY kitchen canisters to hold sugar, flour, oats, and everything in between:
Supplies for DIY Chalk Painted Mason Jar Kitchen Canisters
Materials Needed:
-Cricut Maker (or Cricut Joy) with Fine Point Blade
-Standard grip mat
-Cricut Premium Vinyl, Removable (Dark Green from Value Pack) or Permanent in color of your choice
-Adhesive-Backed Deluxe Paper, Natalie Maran in the Grove – This is the lemon patterned paper for the lids, but you can also use a solid paper or simply paint the mason jar lids.
-Mason Jars with lids, 16oz
-Scissors
-Weeder tool
-Americana Chalky Finish (for Glass) in Everlasting – Or your color of choice
-Paintbrush
-Hot glue gun with clear glue sticks
-Decorative knobs with screws and suitable sized washers
-Drill and drill bit
Preparing the Mason Jars
Before you begin creating your mason jar labels, you need to prep and paint the mason jars. Here’s how to chalk paint mason jars:

- Thoroughly wash jars with soap and hot water, and let them dry completely before using.
- Apply a thin coat of chalky finish paint to each of the mason jars leaving the neck of the jars unpainted.
- Put aside to dry fully, and repeat with additional coverage as needed.
Creating the Farmhouse Pantry Labels in Design Space
I’ve got a whole separate post on how to create the farmhouse pantry labels in Cricut Design Space! It’s LOADED with screenshots from Design Space and step-by-step directions.
Hop over there to check out that post, and then head back HERE to finish your DIY Chalk Painted Mason Jar Kitchen Canisters!
Creating the Mason Jar Lid Covers in Cricut Design Space
This step is totally optional… if you want to save some paper, you can also just paint the mason jar lid instead of doing a patterned lid for your kitchen canisters.
Here’s how to create the lids using your choice of patterned paper:
- Measure the size of your mason jar lid.
- In Cricut Design Space, insert a circle shape and adjust the size to match the lid size of your mason jar lid.
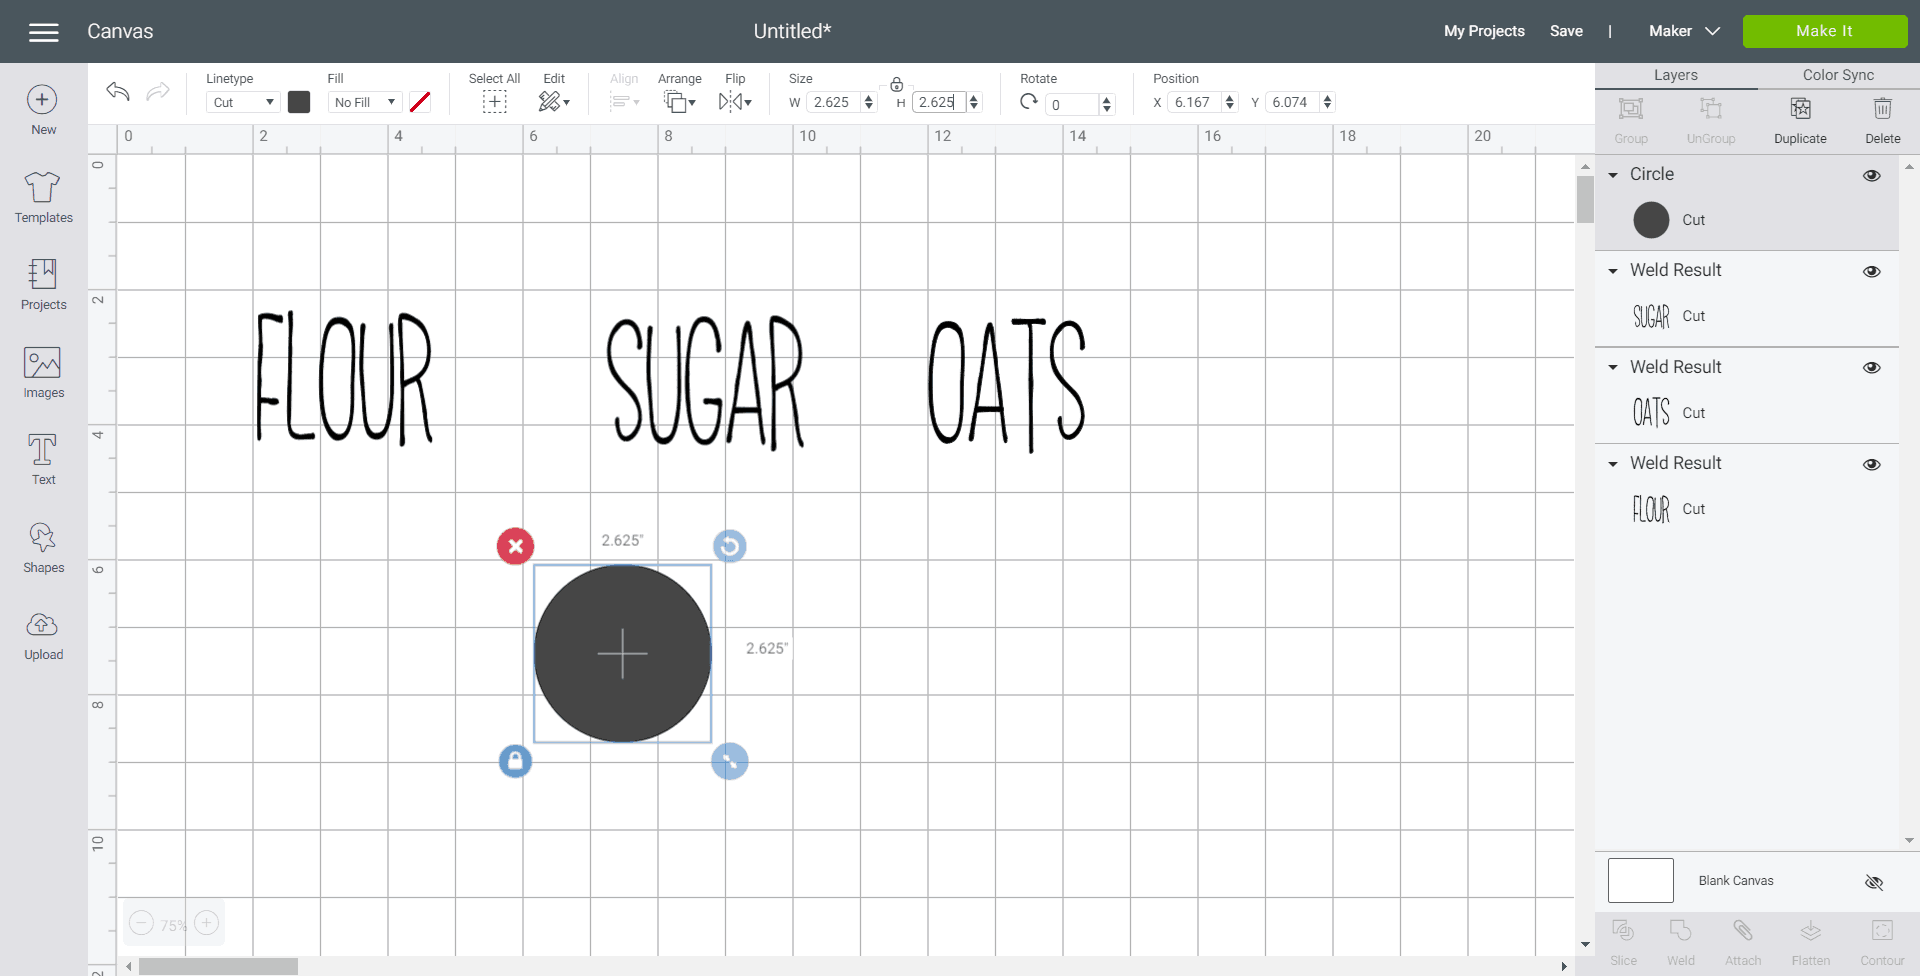
- Create another smaller sized circle with a 0.25” diameter and place it directly on to the center of the other larger circle.
- With both circles highlighted, click on the “Slice” button and discard the smaller circle shape.
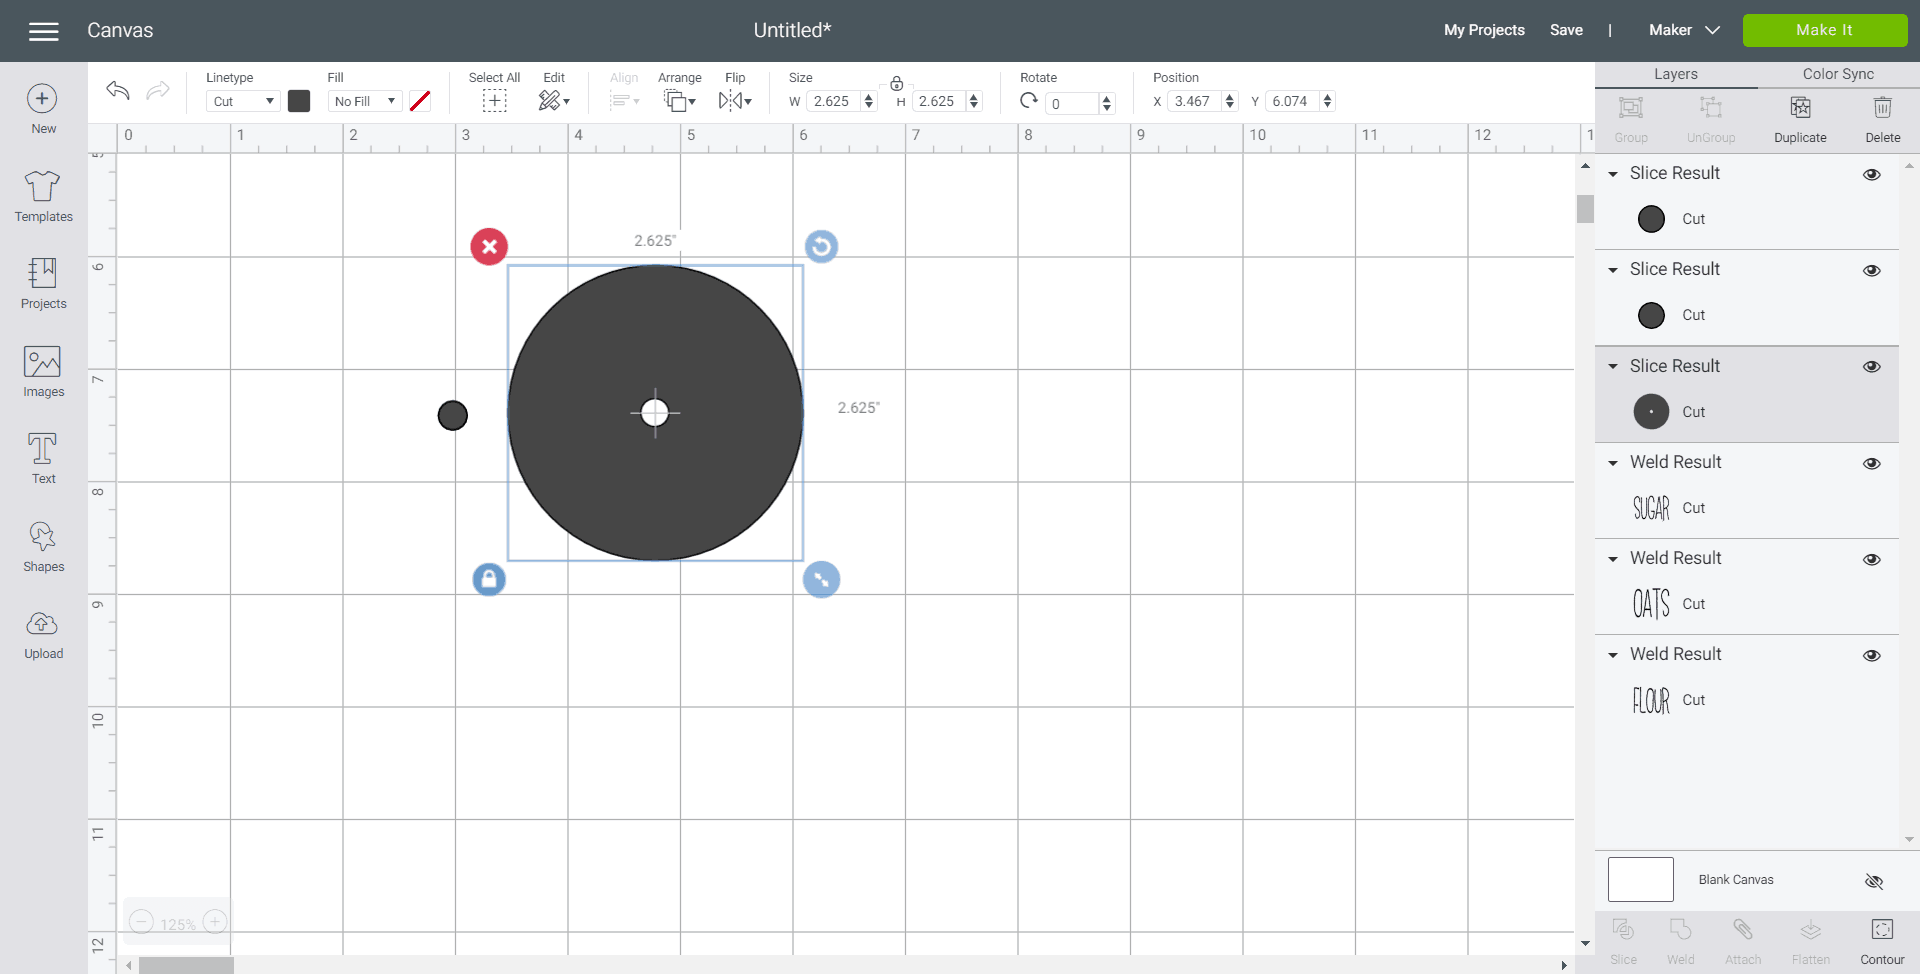
- Duplicate the circle shapes to cut one for each mason jar lid.
- Color sync the images if needed to match the materials color.
Cutting the Elements for the DIY Kitchen Canisters
Congratulations! Now you’ve finished designing all of the elements you’ll need to make your chalk painted mason jar kitchen canisters!
Now it’s time to cut:
- Select “Make It” in Design Space.
- For cutting the words, set the material type to Premium Vinyl.
- Follow prompts for loading the mat into the Cricut Maker or Cricut Joy and cutting the Premium Vinyl. When prompted, unload the mat from the cutting machine.
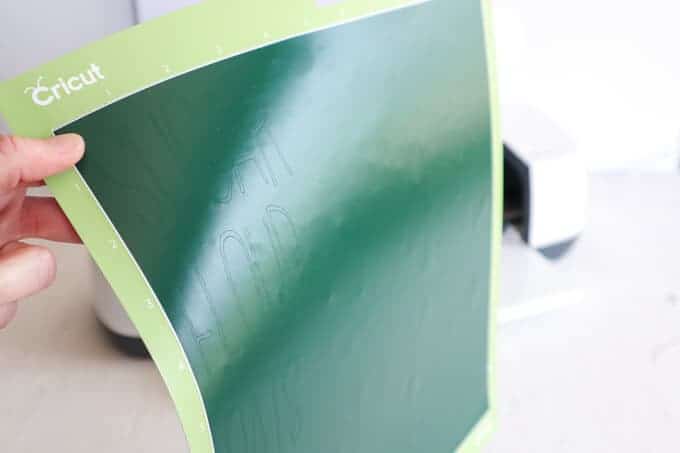
- Remove the Premium Vinyl from the mat.
- For cutting the lid toppers, set the material type to Cardstock with adhesive backing.
- Follow prompts for loading the mat into the Cricut Maker or Cricut Joy and cutting the toppers. When prompted, unload the mat from the cutting machine.
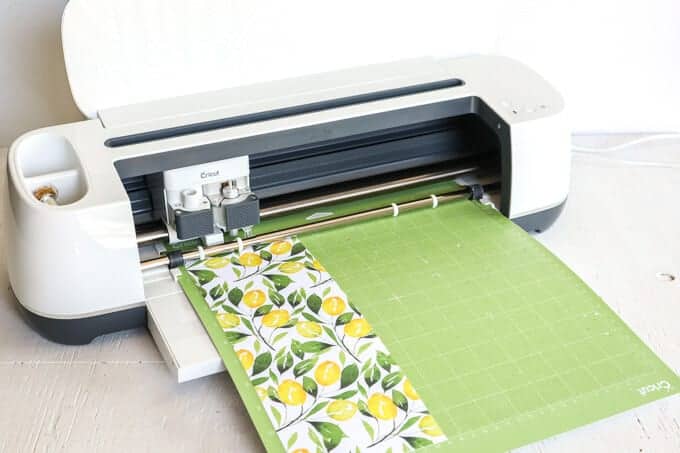
- Remove the adhesive backing cardstock from the mat.
How to Assemble the DIY Mason Jar Kitchen Canisters
Now that all of your materials have been cut, it’s time to assemble your Mason Jar Kitchen Canisters! Here’s how to do it:
- Cut around each image with a pair of scissors.
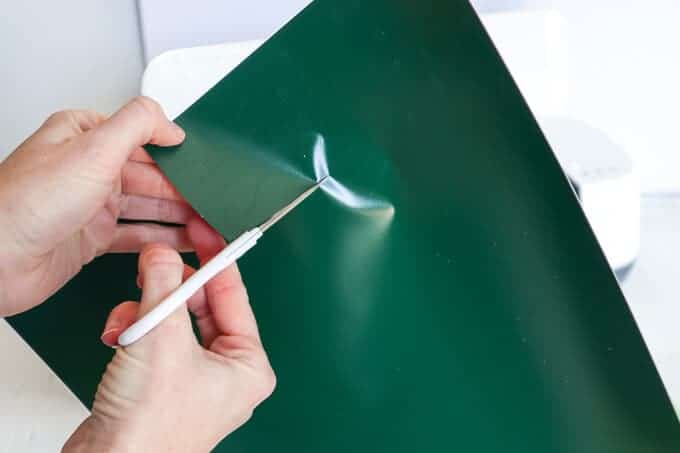
- Using the weeding tool, peel away the excess vinyl around the cut images and discard.
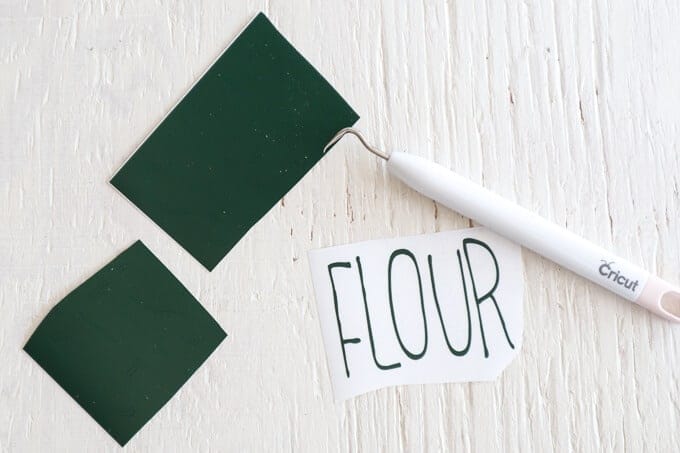
- Transfer one letter at a time by hand to the mason jar.
- Repeat for the other mason jars.
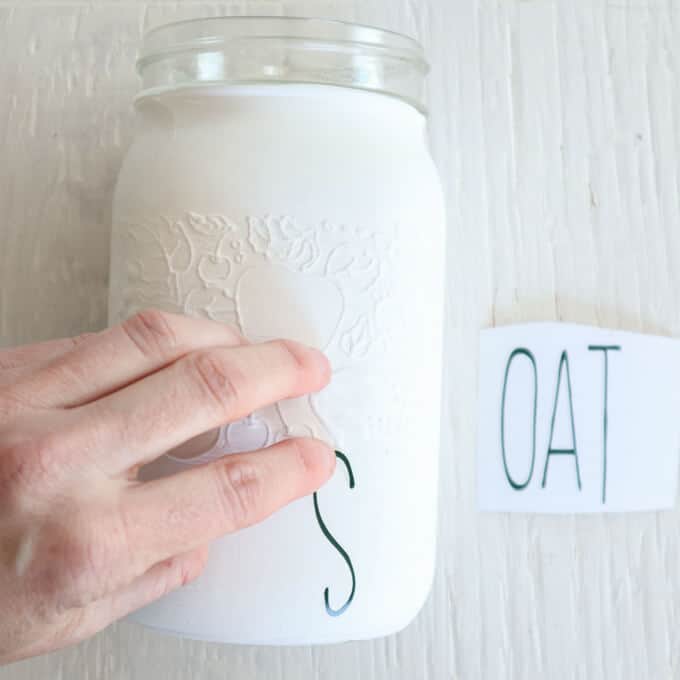
Alternate Instructions for Using Transfer Tape:
You can also apply the vinyl letters to your DIY Mason Jar Kitchen Canisters using transfer tape. Here’s how to do it:
- Cut a piece of transfer tape a bit larger than the size of the image.
- Peel away the transfer tape backing but ensure the transfer tape is not overly sticky. Place the transfer tape overtop of the cut image.
- Gently rub the vinyl to help it stick to the transfer tape.
- Peel away the vinyl backing, leaving just the image adhered to the transfer tape.

- Position the phrase with the transfer tape on to the smooth side of a jar and press in place. Press the vinyl phrase down with your fingers to help it to stick to the painted glass jar.
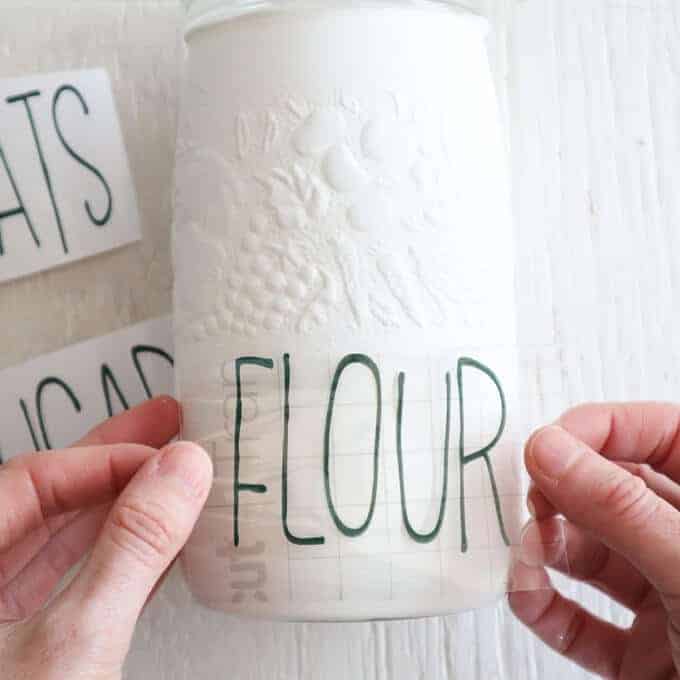
- Slowly and carefully remove the transfer tape leaving the vinyl image on the jar.
- Repeat for the other mason jars.
How to Assemble the Mason Jar Lids for Your DIY Chalk Painted Kitchen Canisters
Whew! The hard part is done! Now you’re in the home stretch, and your DIY Mason Jar Kitchen Canisters are almost complete!
Here’s how to finish them so they’re ready to store your dry pantry ingredients:
- Drill one hole the same size at the screw size for the knob through the center of the mason jar lid. Take extra care when handling sharp metal edges.
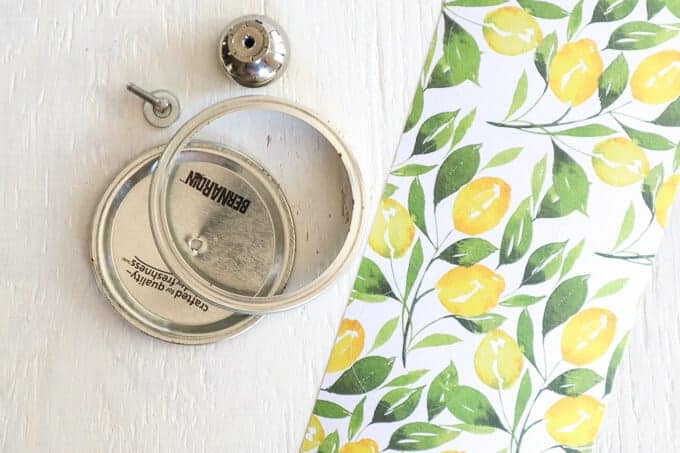
- Peel off one of the cardstock circles from the backing and place over top of the mason jar lid.
- If the lid is in two parts, glue them together using a hot glue gun with clear glue sticks.
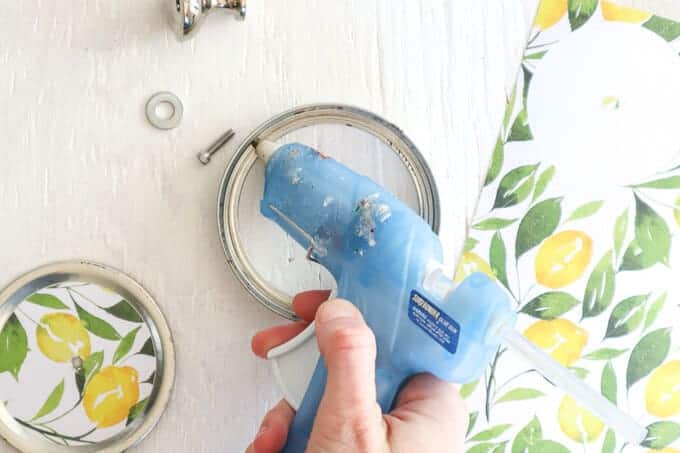
- Screw the decorative knob onto the mason jar lid.
- Repeat with the remaining lids.
- To finish, fill the containers with oats, sugar and flour.
And now you’re done! Your DIY Mason Jar Kitchen Canisters are ready to be displayed in your kitchen:
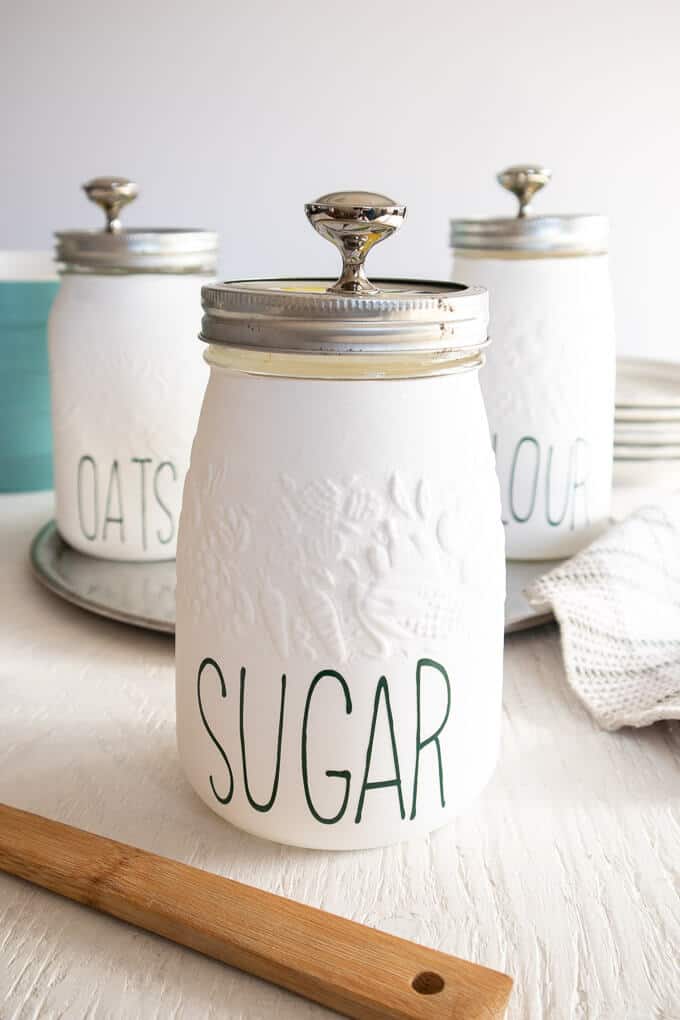
These DIY Mason Jar Kitchen Canisters will look awesome lined up on your kitchen counter OR in your pantry:
I hope that you’ve enjoyed this easy DIY farmhouse decor project!
And be sure to check out some of my other easy DIY farmhouse ideas to spruce up your home on a budget:
- DIY No-Sew Curtains Using Tablecloths
- Cheap and Easy DIY Wood Signs – NO vinyl needed!
- Easy DIY Decorative Wooden Houses from Scrap Wood
- How to Make Large DIY Wall Art Using Drop Cloths
Click here to see even more Easy Cricut Projects for Beginners over at Simple Made Pretty!
