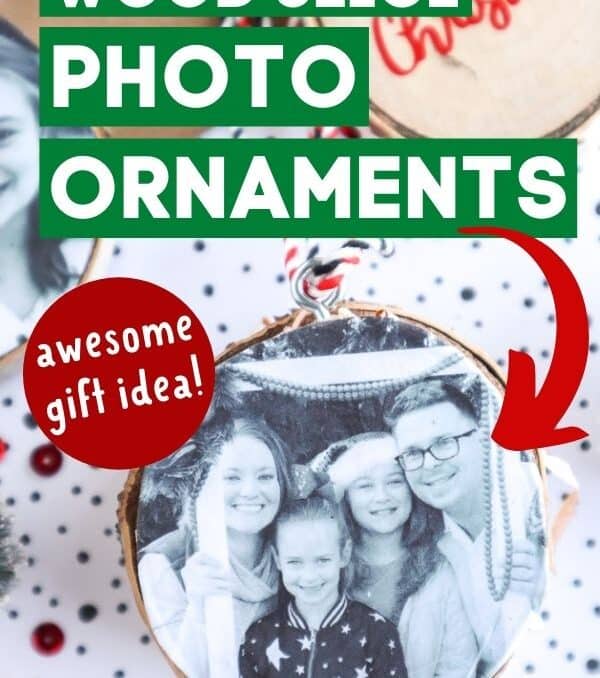
These DIY Wood Slice Photo Ornaments would make a great addition to your Christmas tree this year! Learn how to make these easy DIY photo ornaments to keep for yourself or give as homemade Christmas gifts!
Well, I never thought it would happen, but the DIY photo ornaments that my kids made in preschool are finally starting to show signs of wear and tear, so it’s the perfect time to add some new photo Christmas ornaments to our collection.
Plus, after YEARS of decorating our Christmas tree with bright, multicolored ornaments, I’m switching it up this year. I was at JoAnn’s recently and fell in love with their wood, silver, and white ornaments, so I decided it was time for a Christmas tree refresh.
And these black and white photo wood ornaments will be perfect for our new rustic and neutral Christmas decor!

If you’re looking for cute and easy DIY Christmas gift ideas, then these should be on your list of serious contenders, too.
These wood slice photo ornaments would make the PERFECT handmade Christmas gifts for grandparents, or you could even make these cute photo ornaments to sell on Facebook Marketplace or Etsy. Because who couldn’t use a little extra spending money for the holidays?!
Here’s how to make these easy DIY photo ornaments:
Supplies for DIY Wood Slice Photo Ornaments
These DIY Wood Slice Photo Ornaments can be made with or without a Cricut cutting machine. If you don’t have a Cricut, you can choose to make a two sided photo ornament (with photos on both sides), or hand paint or stencil a cute Christmas design or snowflake on the back side using the carbon paper tracing method like I did for this project.
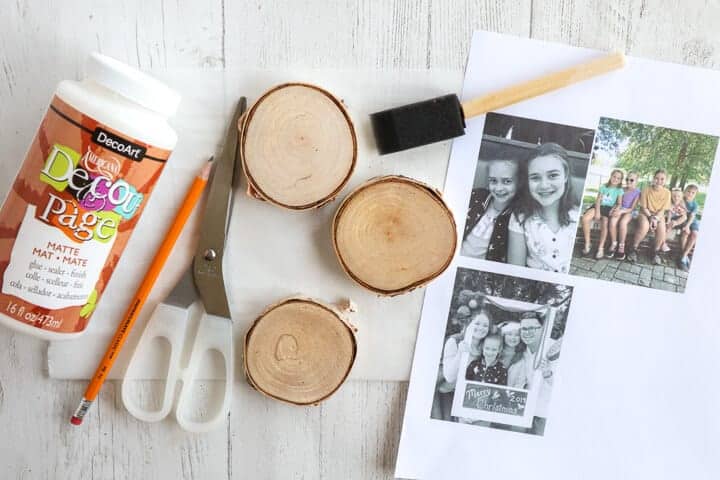
Here are the supplies needed to make your own wood slice photo ornaments:
- wood slice, about 2.25” in diameter – You can usually find these at craft stores like Hobby Lobby and JoAnn’s, or cut them yourself if you have access to a wood pile.
- photo printed on printer copy paper – You can print your photos in black and white or color. You will also need to adjust the scale of the photos before printing to be sure that they fit on your wood slices.
- scissors
- pencil
- Mod Podge, matte finish
- foam brush, 3/4”
- decorative ribbon or twine
- screw eye, 1/2″
Supplies needed to add “Merry Christmas” to the back of the wood slice ornaments:
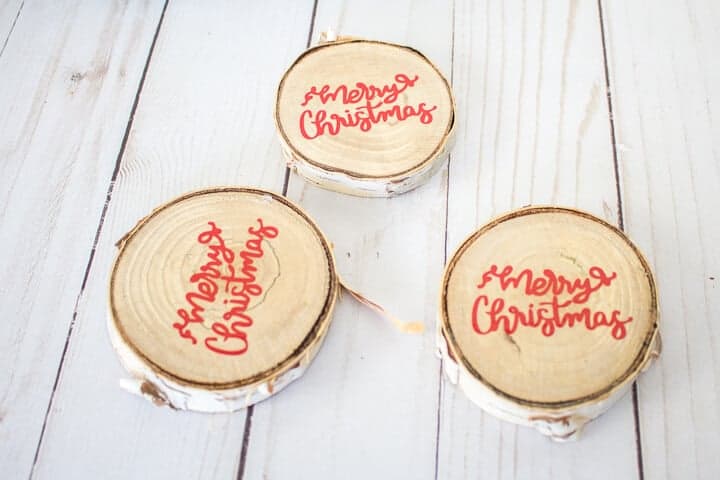
- Merry Christmas SVG – Click the link to download the FREE Christmas SVG!
- Cricut Joy
- Smart Vinyl, Permanent in red
- weeder
- Cricut transfer tape
How to Make Wood Slice Photo Ornaments
After you’ve got your supplies together, you’re ready to make these easy DIY photo ornaments! Here’s how to do it:
1. Cut photos to fit your wood slices.
Once your photos are printed, place one wood slice over one photo and line it up where you want it to be. Then use a pencil to trace along the outer edge of your wood slice, so you know where to cut the photo for your ornament.
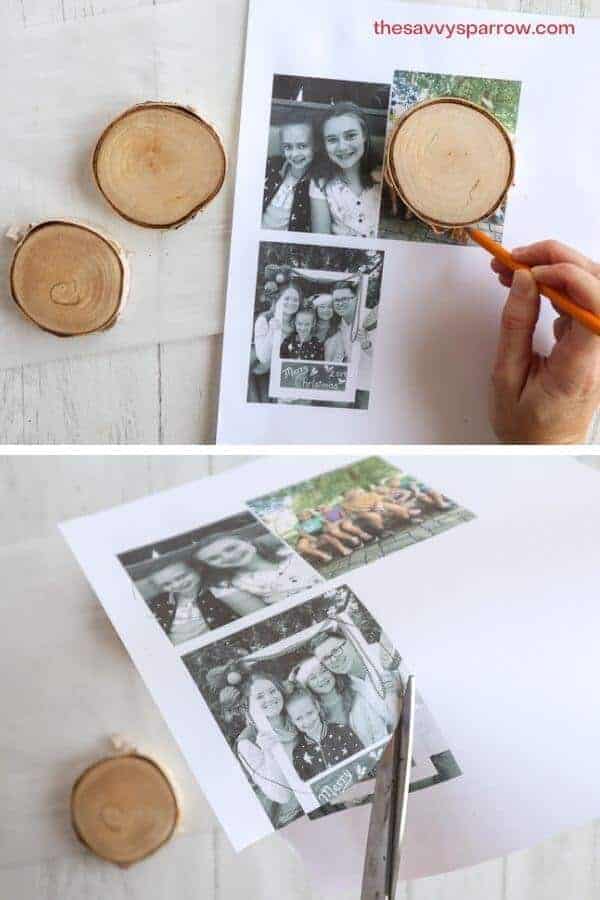
Next, cut out your photo along the pencil line, and position it over the top of the wood slice to ensure that it fits. If the photo is too big, trim off the edges a bit.
Repeat these steps for all of your photos and wood slices.
2. Attach the photos to the wood slices using Mod Podge.
Now you’re ready to attach the photos to the wood slice ornaments. First, brush on a layer of Mod Podge over the wood slice using a foam brush. Then, brush on a layer of Mod Podge on the back side of one of the cut out photos.
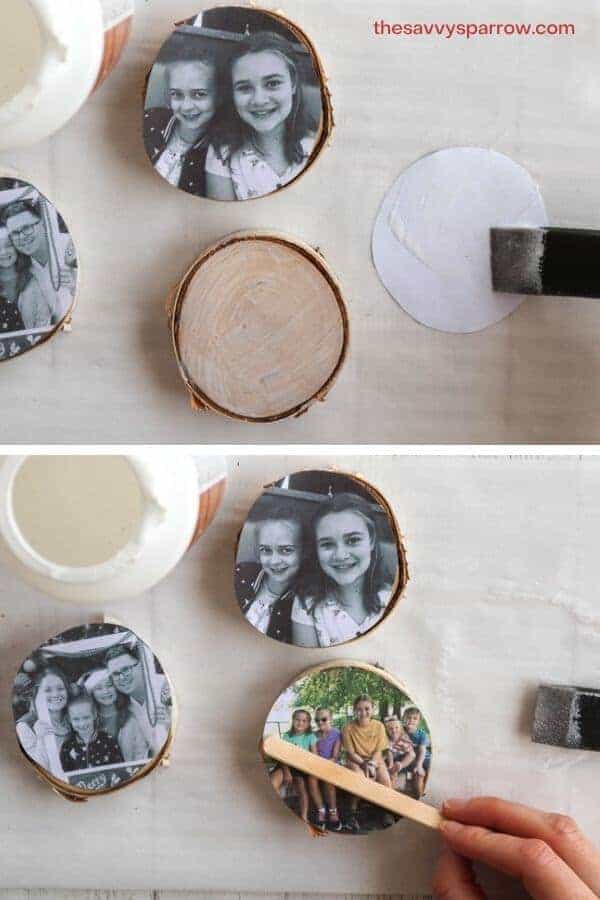
Press the photo on to the wood slice and press down gently with your fingers. You can also use a popsicle stick to help press the photo in to place.
Once the photo is attached, apply another thin layer of Mod Podge over top of the photo. Don’t worry, the Mod Podge will dry clear! Here is what your DIY wood slice photo ornaments should look like at this point:

Let the wood slices dry completely before assembling the ornaments.
3. Assemble your DIY wood slice photo ornaments.
After your wood slices are completely dry, you can finish assembling the ornaments.
Insert one screw eye in to the top of each wood slice. If needed, use a drill with a similar sized drill bit to make a pilot hole.
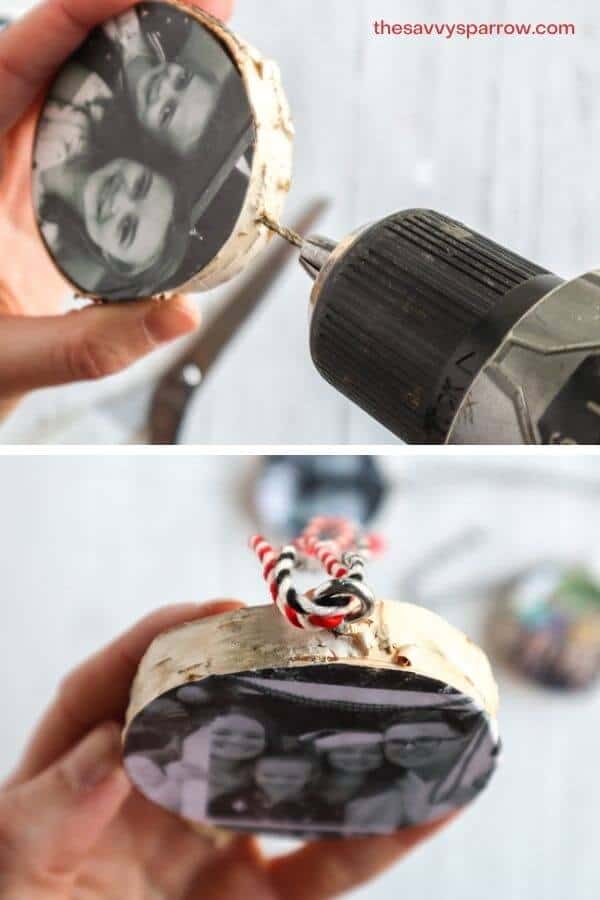
Then, cut your ribbon or twine into pieces that are 10″ long. Insert the end of the ribbon through the screw eye and tie ends together to form a hanger for your DIY wood slice photo ornaments.
You can stop at this point and just leave your DIY photo ornaments as is (because the ornaments are already super cute!), or you can add another photo or other embellishments to the back side of your ornaments.
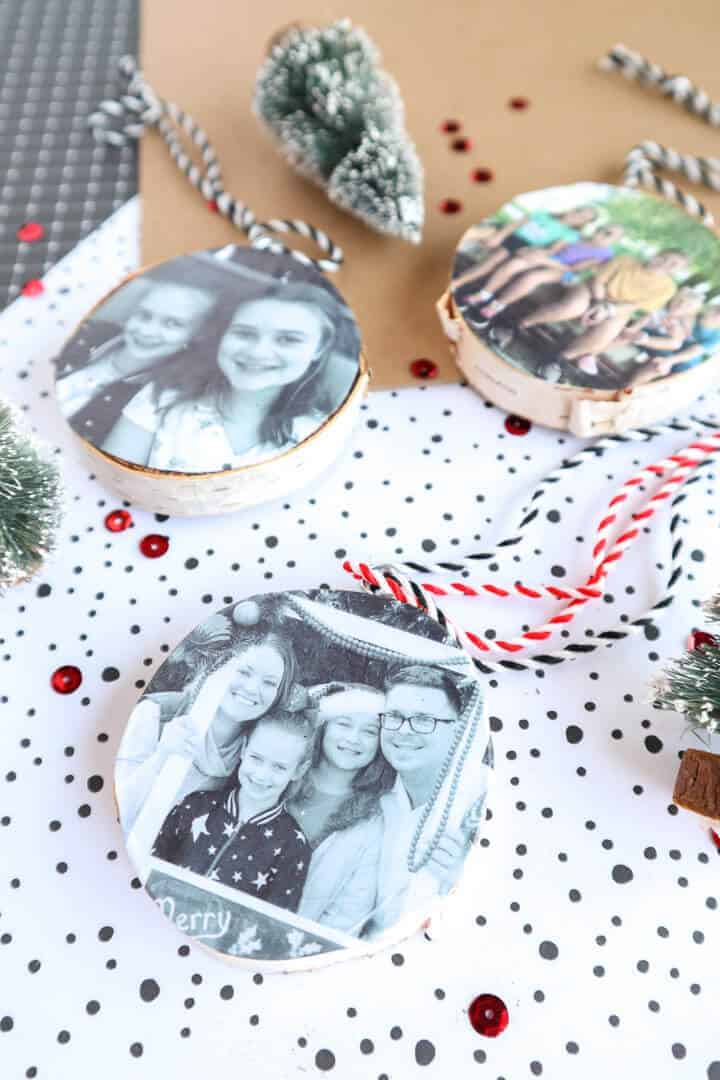
If you have a Cricut machine and want to add “Merry Christmas” using vinyl like we did, here are the instructions to do so:
How to add the “Merry Christmas” design to the back of your Wood Slice Photo Ornaments
If you have a Cricut, here are the instructions for adding the “Merry Christmas” cut vinyl to the back side of your DIY photo ornaments:
1. Upload the SVG to Cricut Design Space.
Click here to download the FREE Merry Christmas SVG, and upload it into Cricut Design Space.
2. Adjust the Free Christmas SVG in Design Space.
With the image highlighted, click on “Attach” to join the phrase for cutting. Then adjust the phrase and image sizes to fit your wood slices, or leave them as is at 2 inches.
Next, adjust the color of the lettering to match the material color.
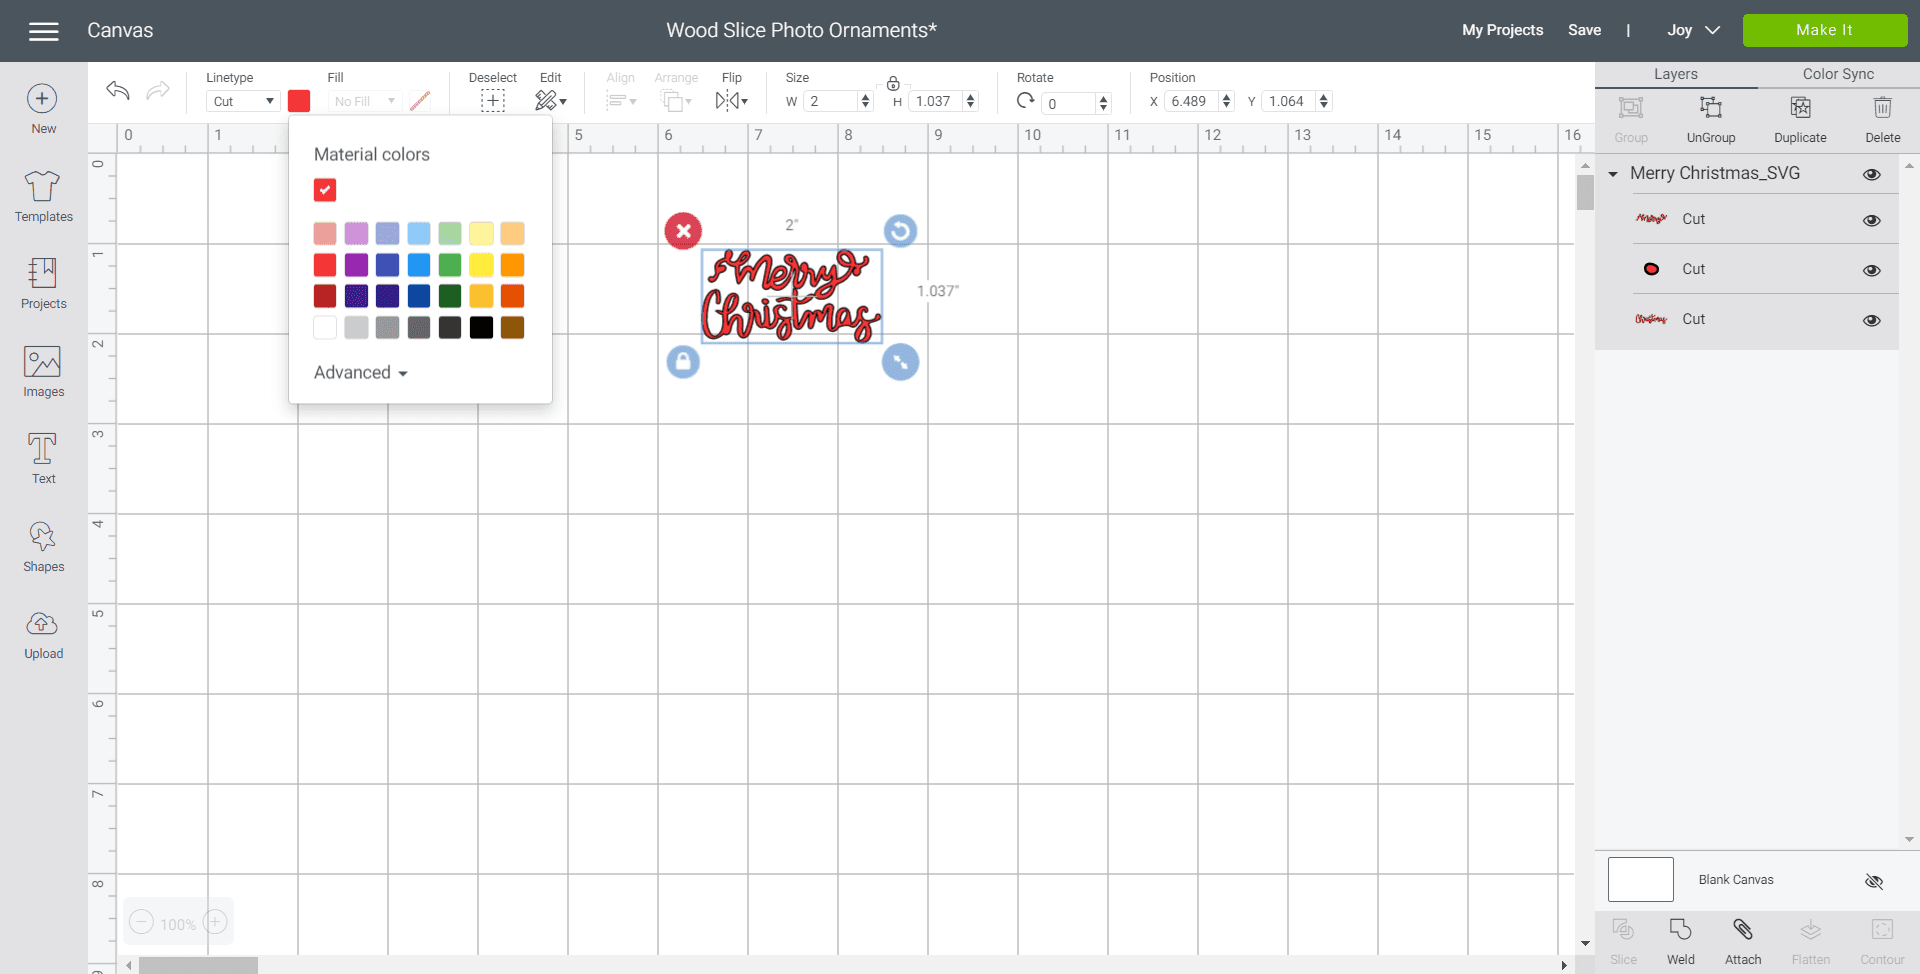
Duplicate the phrase as needed for the number of DIY wood slice photo ornaments that you are making.
3. Cut the “Merry Christmas” design out of vinyl.
To cut the vinyl, first make sure that the machine is set to Cricut Joy and select “Make It” in Design Space. If you’re using Smart Vinyl like we did, choose “Without Mat” as the option for cutting. Then set the material type to “Smart Vinyl”.
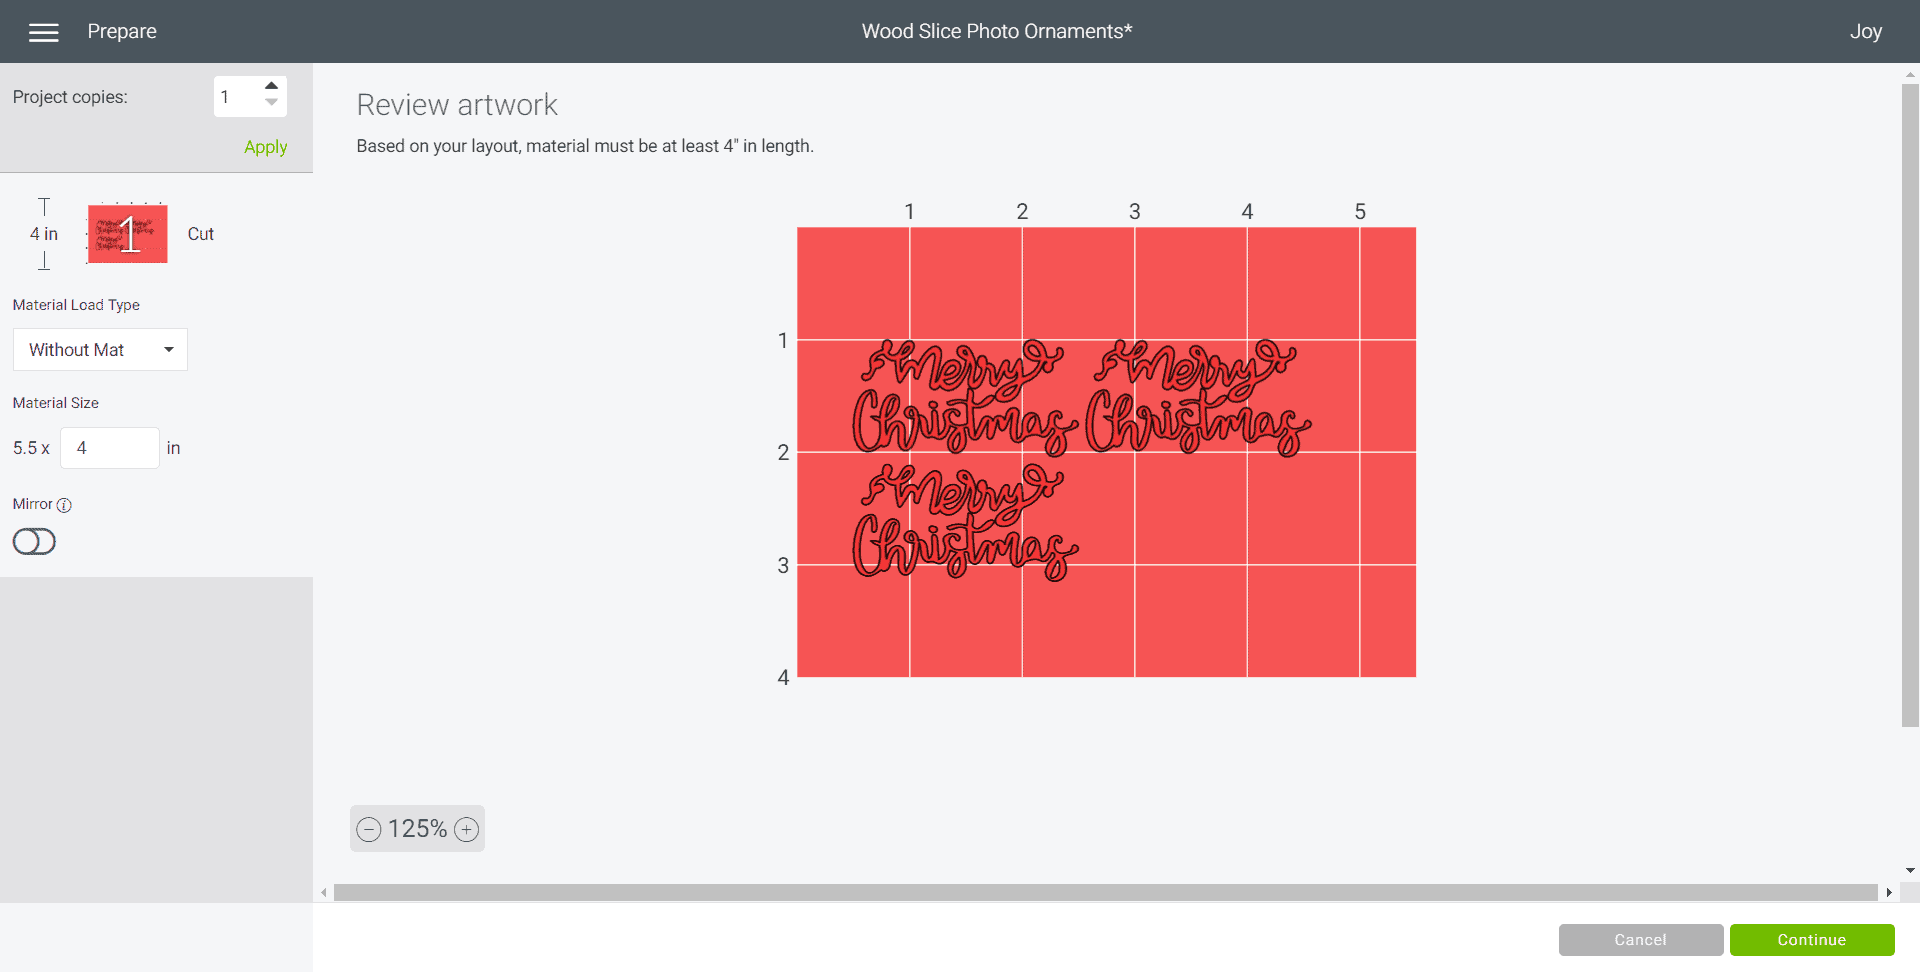
Follow the on screen prompts for loading the mat into the Cricut Joy and cutting the Smart Vinyl. When prompted, unload the vinyl from the cutting machine.
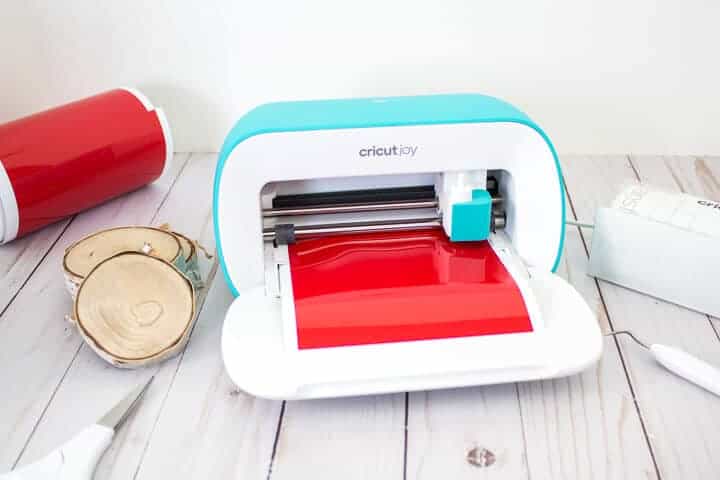
4. Apply the vinyl designs to the wood slice photo ornaments.
Now that your Christmas design is cut out, you’re ready to apply it to your DIY wood slice photo ornaments. First, cut around each phrase using scissors.
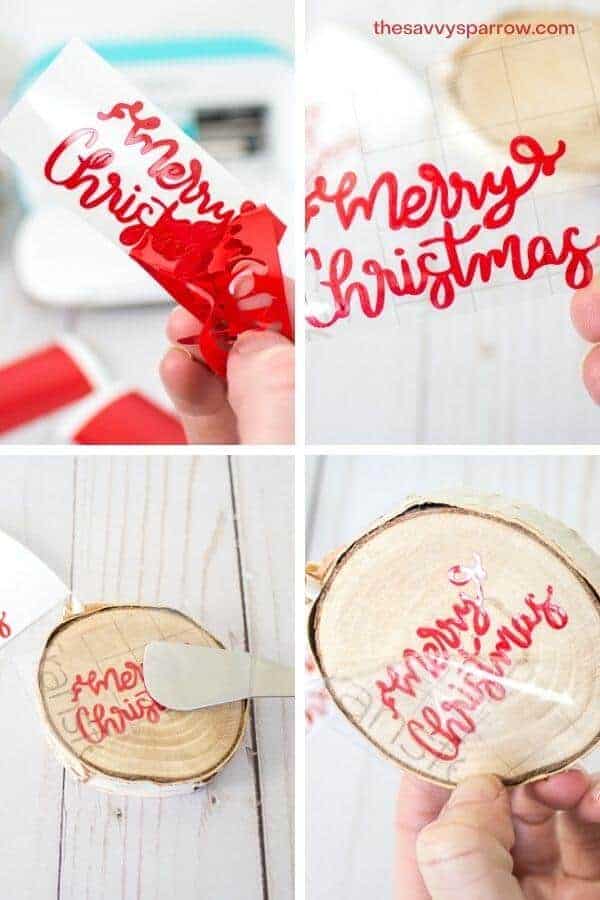
Then peel away the excess vinyl using your weeding tool. Be sure to weed the center of the enclosed letters (like “e” and “a”) also.
Next, cut a piece of transfer tape a bit larger than the size of one “Merry Christmas” vinyl design. Peel away the transfer tape backing and place the transfer tape overtop of the cut phrase. Gently rub the vinyl to help it stick to the transfer tape.
Peel away the vinyl backing and place the phrase on to the back side of one of your wood slice photo ornaments. Use a Cricut scraper tool to gently rub the vinyl to help it stick to the wood slice.
Then carefully and slowly peel away the transfer tape, and repeat these steps for each additional DIY photo ornament.
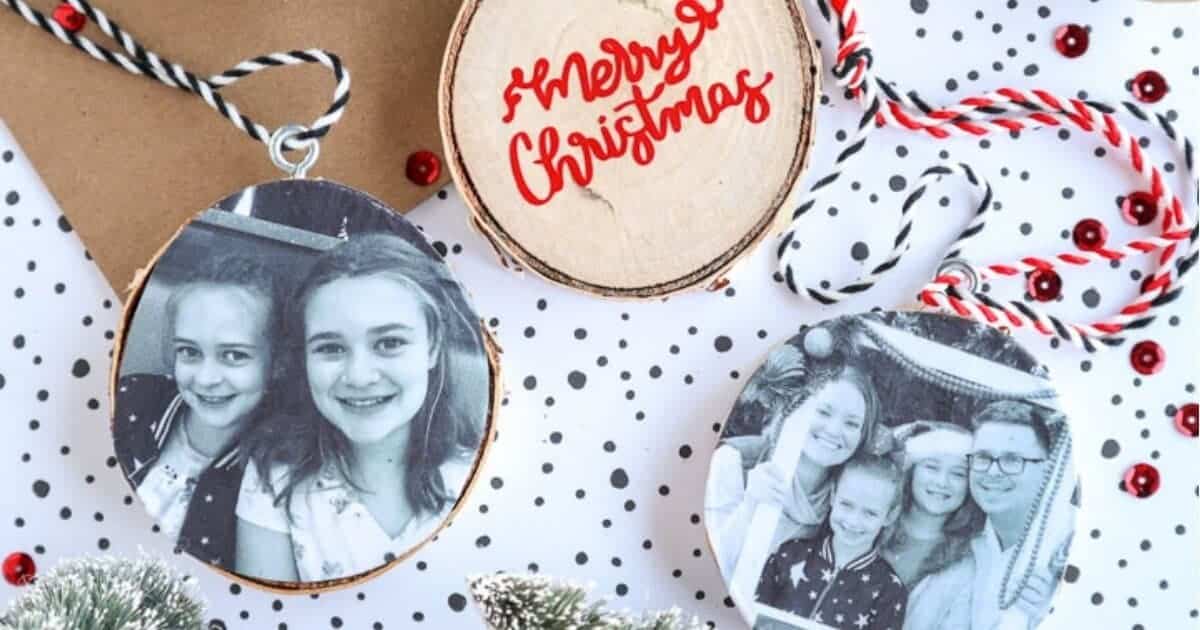
And your cute photo ornaments are done!
I LOVE how these DIY ornaments turned out! And they were SO easy to make!
I can’t wait to hang these easy DIY wood photo ornaments on my Christmas tree this year! And the 3rd wood slice ornament (the one with the color photo) is getting sent to my parents as an early Christmas gift!
You can check out this page for even more Easy DIY Photo Gift Ideas, and be sure to visit some of my other Christmas posts:
- DIY Felt Christmas Trees – Easy and Cute Christmas Decor!
- 25+ Tabletop Christmas Tree Crafts for Your DIY Christmas Decor
- Family Christmas Traditions Your Kids Will Love!
And happy nesting!

Comments & Reviews
I love this idea for my son’s winter class party, but we only have an hour. It won’t be enough time with drying to use the picture transfer mod podge. Can I use modge as a glue to secure the picture to the wood circle? I could get the picture laminated…
Do the pictures need to be printed on a laser printer or will inkjet printer be okay?
Just wanted to double check before doing a class set- when you say printer paper do you mean regular weight office paper? Like the kind you could photocopy on or heavier weight like car stock or what’s used for actual photographs?
Yup, regular old printer paper is fine! 🙂