This easy DIY fall centerpiece is perfect for your Thanksgiving table decor! And the best part is, you can reuse the wooden centerpiece box all year long. Just switch out the faux leaves and fall decor elements to dress up your table for any holiday.
My hubby made an easy wood box for me last year, and it has been one of my favorite DIY decor hacks!
It’s lived on my coffee table, on my buffet table, and on my dining table…
It’s been filled with Christmas ornaments and moss-covered rocks and pinecones and daisies…
And now it’s morphed into an easy DIY fall centerpiece for my Thanksgiving decor.
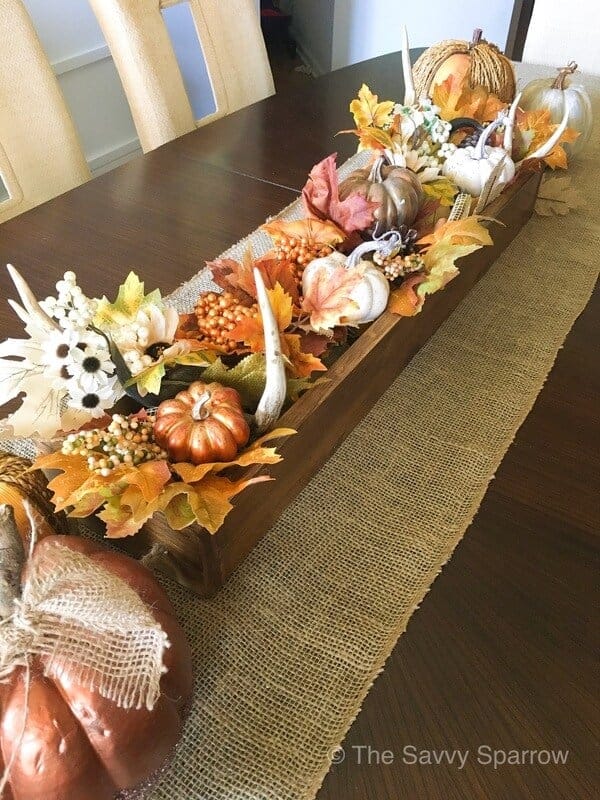
I don’t have a tutorial for how to make the box just yet, but that post is in the works… for your benefit and for mine! I want another one so that my dining table and coffee table don’t have to share custody of this cute wooden box for centerpieces.
Both my dining and coffee tables are LONG, and both need a centerpiece that doesn’t look teeny-tiny and out of place.
This box for my DIY fall centerpiece measures 32″ x 7″, which is perfect because it holds just enough fillers to look nice, but not too many that you have to spend a small fortune to decorate it.
Here’s how I used it to complete my easy DIY fall centerpiece for this year:
*This post contains affiliate links, which means I earn a commission from these links at no additional cost to you. Read my full disclosure here.
How to make an Easy DIY Fall Centerpiece:
Lay out a piece of burlap as a base
I used a roll of burlap that is 17″ wide. I found it at Hobby Lobby AND it was on sale! The entire roll was less than $6, so it was a much cheaper option than buying a table runner.
And when fall is over, I’ll just roll it back up and stash it in my craft supplies for another project.
If you don’t have a Hobby Lobby near by, then you can get a similar burlap roll here (affiliate).
Place a large wooden box on top of the burlap
Our wooden centerpiece box is made out of 1″x4″ lumber. We just built an easy box, stained it, and added some rustic rope handles on the ends.
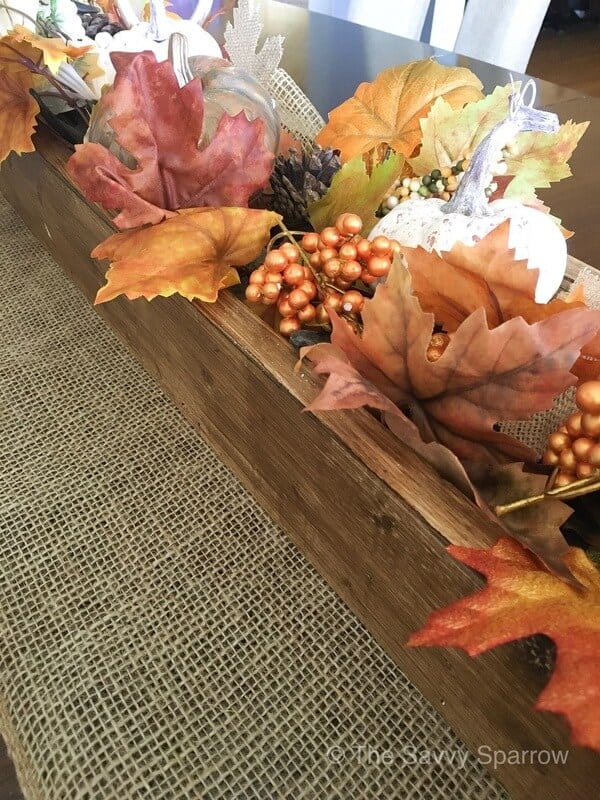
Here’s a great tutorial for how to build a wood box (until I can get my hubby to make another one so that I can give you the play-by-play in a post).
Fill the centerpiece box with fall decor items
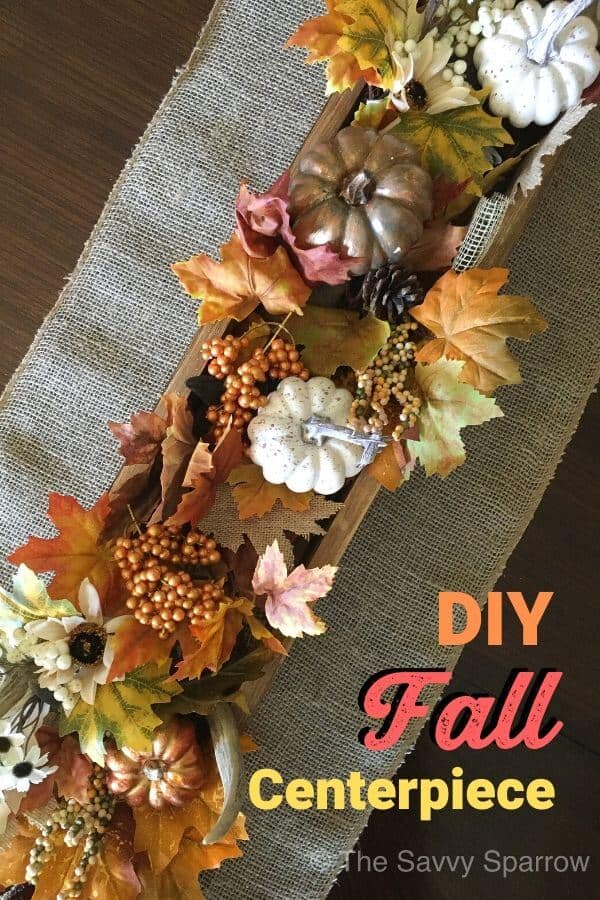
Our DIY fall centerpiece is filled with faux leaves, mini pumpkins, antlers, pinecones, and some faux fall floral items that I’ve collected over the years.
I just piled them in until I got the look that I wanted. I put the antlers at the bottom of the box so that they would stick up and give my centerpiece some height.
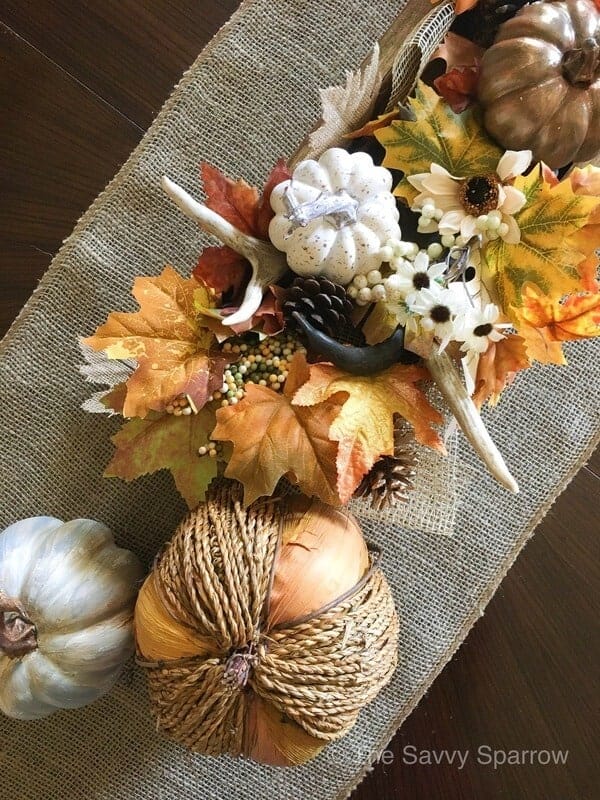
Then, just add leaves and floral items to the box. Top everything off with some mini pumpkins and you’re done. Easy peasy!
Add pumpkins and other fall items around your fall centerpiece box
After my centerpiece box was filled, I just set some larger painted pumpkins to the sides of the box.
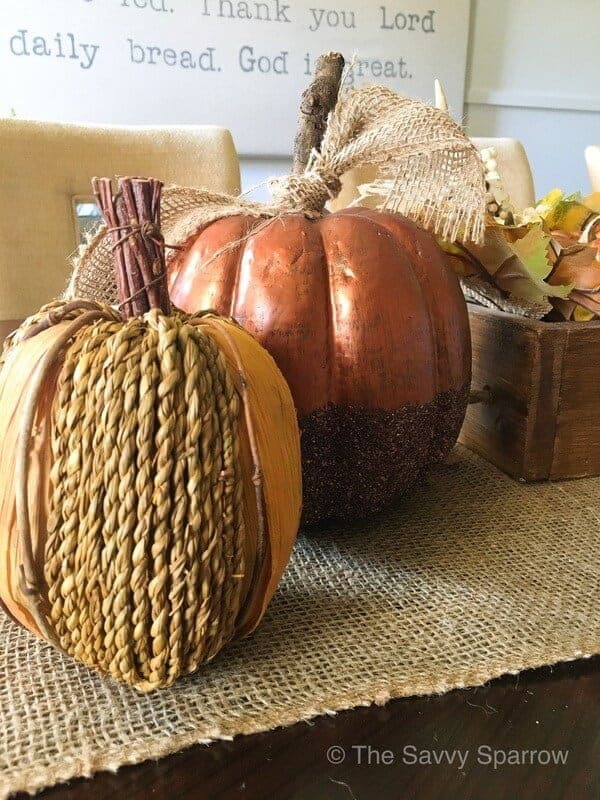
Both of my faux pumpkins were clearance finds. The bronze glitter-dipped pumpkin was actually on the damaged rack at Hobby Lobby because it was missing the stem. So I just grabbed a twig out of my backyard, stuck it in the top, and tied some burlap ribbon around it to cover up the damaged part. Voila!
I bought the other pumpkins last year AFTER Thanksgiving, when the craft stores put their leftover seasonal decor on sale for super cheap!
That’s a great way to slowly build up your seasonal decor stash on a budget. If you don’t mind buying something and then putting it in storage until next year, you can usually find some great stuff at 80-90% off!
Want to kick your Thanksgiving table decor up a notch? If you do a fancy holiday dinner, then try these easy DIY fall place card holders.
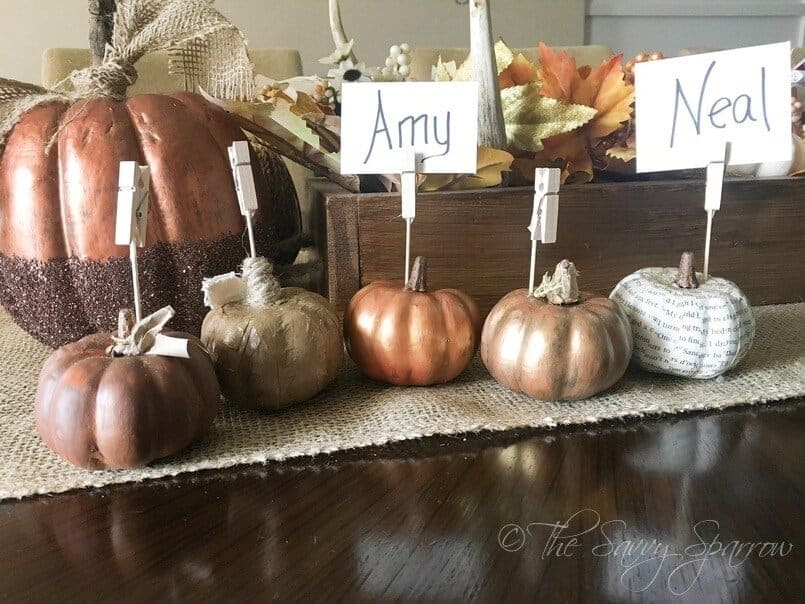
They are so adorable in person, and you can literally make them in 5 minutes!
Here’s some of my other easy DIY fall decor ideas:
- Burlap Fall Banner – A 5 Minute DIY Project!
- Easy DIY Fall Wall Hanging
- How to Make a DIY Front Porch Fall Sign
And be sure to PIN this post so you can come back to it!
Happy Fall!


Leave A Reply!