
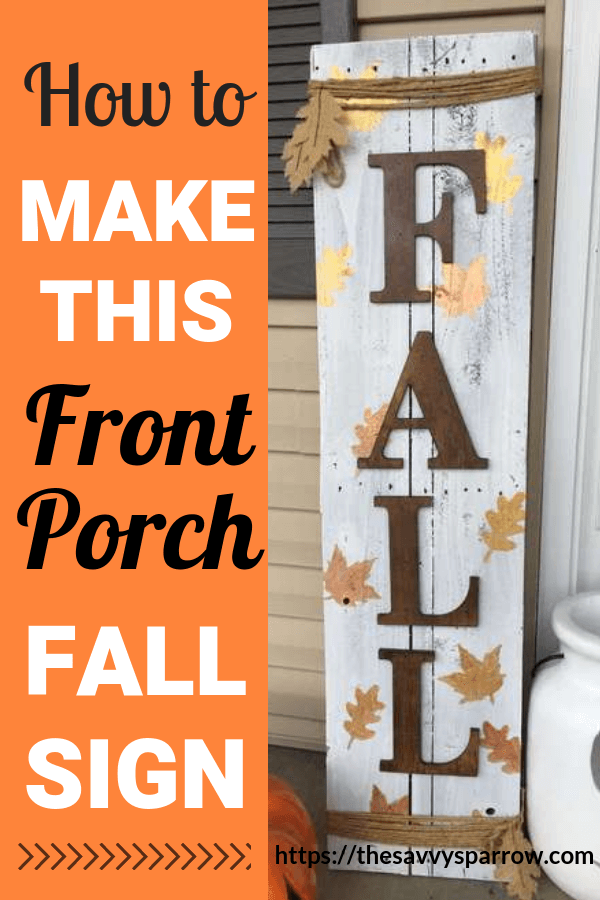
Yes, I’ve hopped on the front porch Fall sign bandwagon.
I just couldn’t help myself. Even my local grocery store is selling the uber-trendy vertical front porch “Fall” signs… and “Welcome” and “Snow” and “Noel” and pretty much any other short and sweet seasonal saying that you can think of. So, of course, we had to DIY our own version.
And you can, too, with this simple tutorial for how to make a front porch fall sign.
*This post contains affiliate links, which means if you click a link and make a purchase, I earn a commission at no additional cost to you. Read my full disclosure here.
1. Build your front porch Fall sign base.
You’ve got lots of options here. Pallet wood, 2 x 4s, 1 x 6s, or underlayment boards, just to name a few.
Underlayment boards are a favorite of mine for projects like this because they’re cheap. Plus, they are already nice and smooth and require very little prep work. *Bonus- Home Depot will actually cut them down for you for free (as long as you only need 1 or 2 cuts).
We used underlayment boards to make these Cheap and Easy DIY Farmhouse Signs that are GIANT and hanging in our living room. Another plus about these boards is that they’re pretty lightweight, so they’re super easy to hang.

We actually used a wood “screen” type thing that had been installed on the side of our house to block the view of the air conditioner. It was made of pallet wood, so we just disassembled it and nailed it together in the shape that we wanted for our front porch fall sign.
This is the back of our finished sign to show the wood that we used:
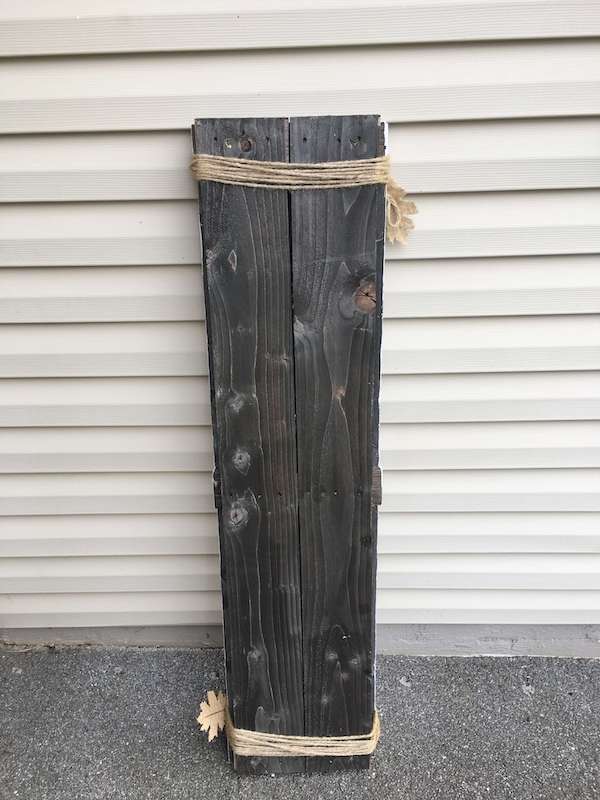
It’s a beautiful, naturally aged color as is, but we decided to paint it white so that the leaves on top would really POP.
To put the base of our front porch Fall Sign together, we just used two pieces of scrap wood cut to the same width as the sign, and nailed the two pieces of pallet wood to those.
2. Paint the base of your front porch Fall sign.
Here’s where the fun part starts. Choose any color you like, or leave the wood unpainted for a rustic look.
We used Behr Premium Plus Ultra paint in Frost, because that’s what we had left over from various other projects. You could use latex or acrylic paint for this step.
3. Stencil a background leaf design.
This front porch Fall sign is actually inspired by a Hobby Lobby Fall sign that I saw last year. It was just a small wall sign (about 2 feet square), but it left a BIG impression on me. That Fall sign was painted white and it had metallic leaves on it with the words “Happy Fall Y’all” printed on top. Maybe you saw it at Hobby Lobby, too.
Anyway, to make our leaves, I used the same tracing/stenciling method as I did for these DIY Farmhouse Wood Signs, these DIY Scroll Signs, and this DIY Sign on Canvas. Yes, once you’ve got that simple method down, you can create ANY type of sign, even if your handwriting stinks like mine!
Only instead of printing out words, I printed out a few different leaf shapes. You can find a TON of free printable leaf templates HERE!
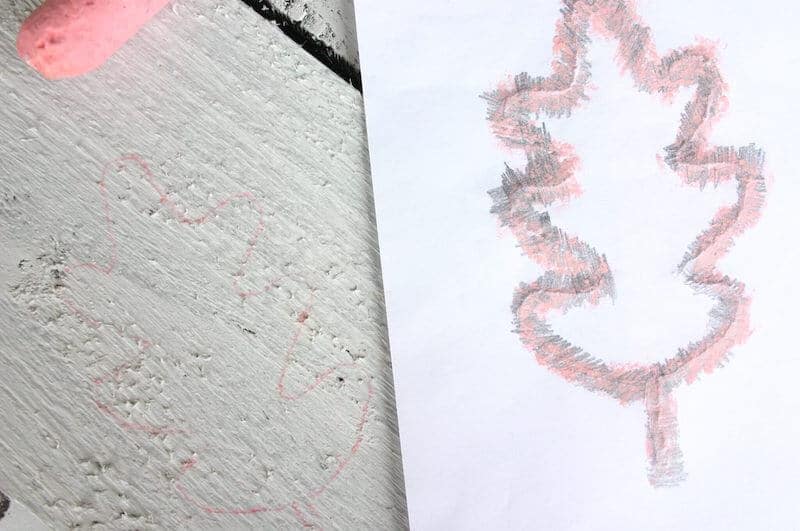
I used pink sidewalk chalk to make the imprint, because it showed up better on the rough white surface than the pencil. But since I’ve made this front porch sign, I’ve actually started using carbon paper, which would be a much easier option… See this post for DIY Scroll Signs to see how to use the carbon paper tracing method!
4. Paint the background design of your front porch sign.
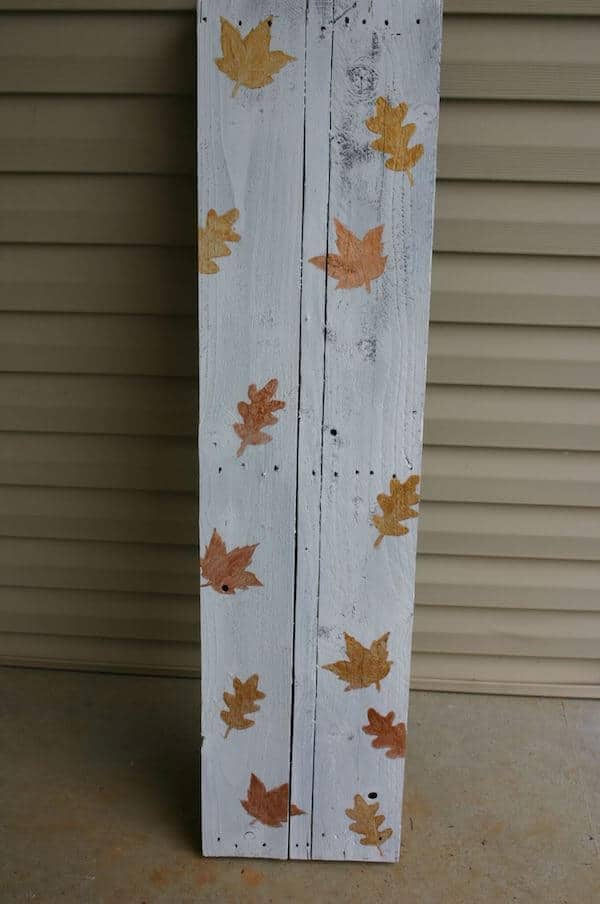
I used the mini bottles of acrylic paint that you can find at any craft store in gold, bronze, and copper. Just use a small paint brush to paint inside the lines of your traced leaves.
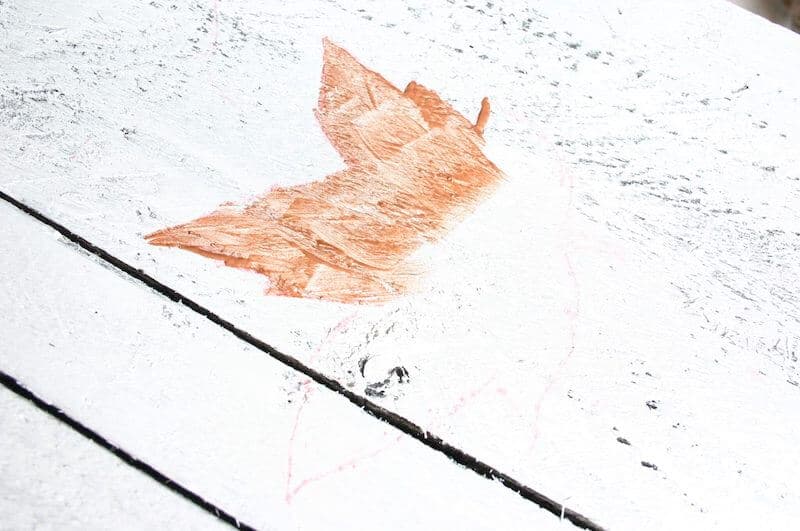
Here’s what our sign base looked like after we painted all of the leaves:
5. Stain your sign letters.
I found unfinished wood letters at Hobby Lobby and stained them with this stain. *Tip – Make sure you have latex gloves when staining… Stain is a pain to remove from your skin!
6. Attach letters to your sign.
We used a finishing nail gun to nail our letters in place, but a hammer and nails or even construction-grade adhesive like Liquid Nails would work well also.
Just be sure that you get your letters perfectly straight before nailing or gluing them to your sign.
7. Embellish your Front Porch Fall Sign.
We were going for a rustic look, so we wrapped some thick twine around the top and bottom of our front porch Fall sign. Next, we tied a few burlap leaves from Hobby Lobby to the twine.
The options are limitless here. Acorns, pumpkins, leaves, and any other fall-themed wreath picks would also work well.
And, that’s it! Easy peasy!
The hardest part of this entire front porch fall sign tutorial, in my opinion, is building the base. If you want to simplify this DIY even further, use a 1″ x 10″ board or a 2″ x 12″ board, and have Home Depot cut it down to the height that you want. Then, all you have to do is paint it and you’re good to go!

I love how this Fall sign compliments the rest of my front porch fall decor! And, did you notice my fall wreath? Go HERE for the tutorial – and see how this wreath can be easily changed up from season to season!
And be sure to check out some of my other easy DIY Fall home decor ideas:


where is the white pumpkin pottery vase from? love it!
Oh gosh… I don’t even remember, it’s so old!
Thank you for the great and simple instructions! I work with some super special adults with disabilities and these projects will be right in their wheelhouse. Loved the additional links too. You’re so creative. Gonna try our hands at this this year!
Have a great fall y’all!