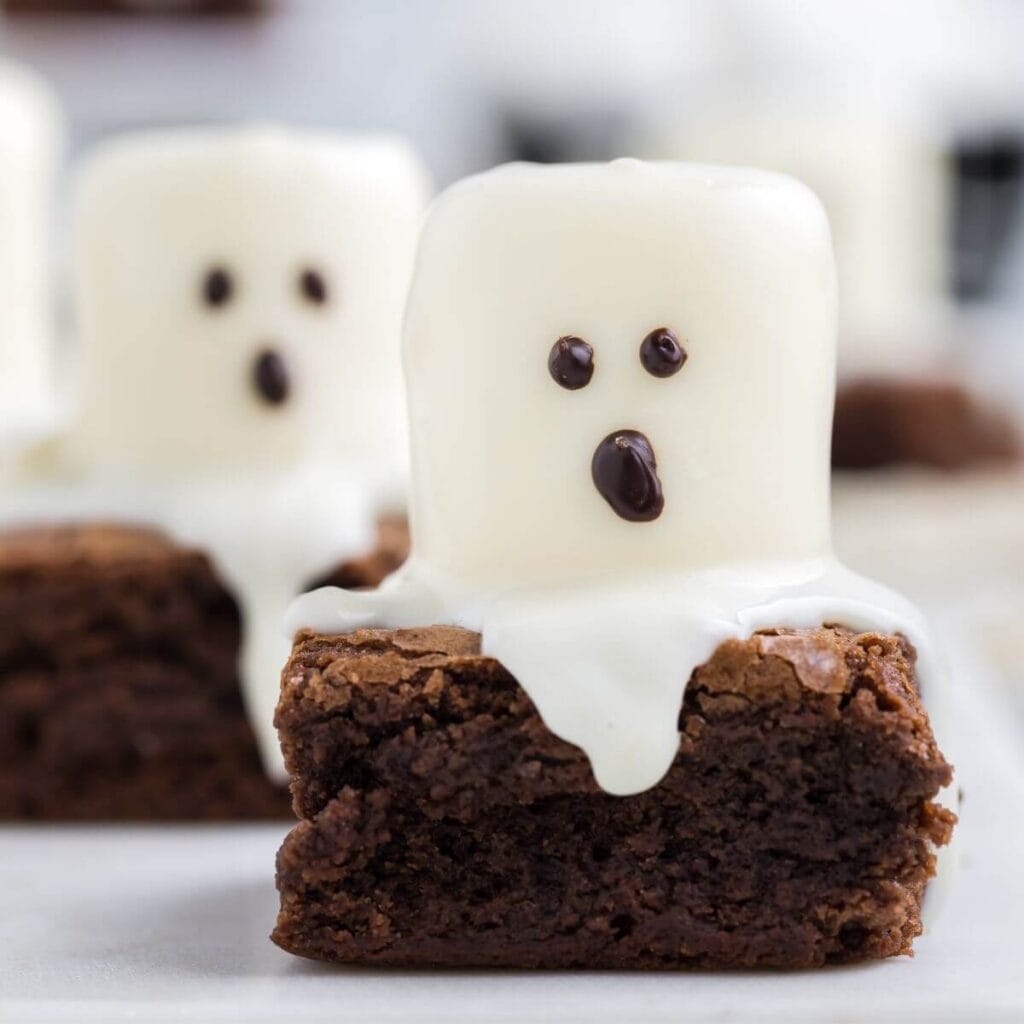
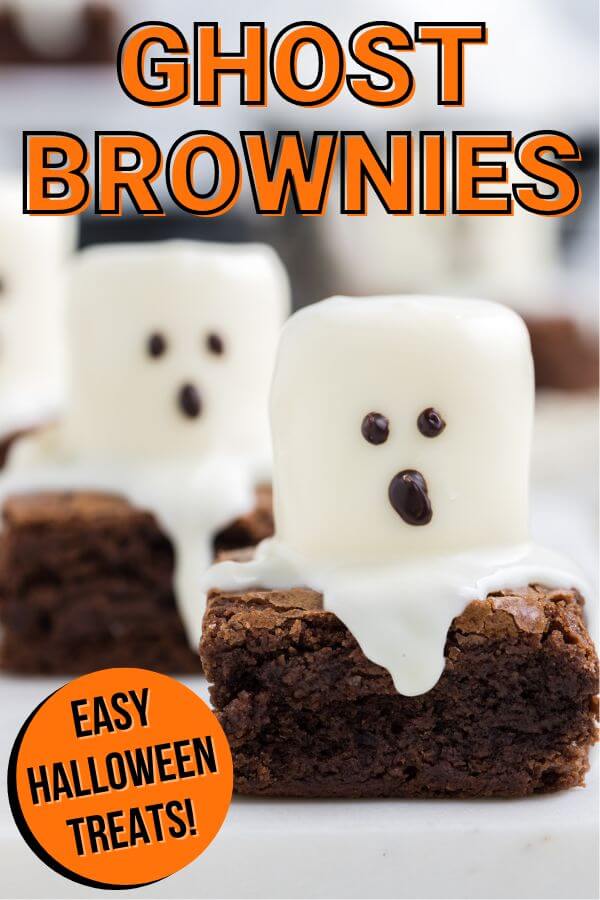
These ghost brownies are super easy to make with boxed brownie mix and marshmallows covered in white chocolate. Make these cute Halloween brownie treats for your kids’ school party or just for a fun spooky dessert!
One of my favorite things about the holidays is making cute treats and desserts with my kids. Especially when Fall sets in and the weather turns cooler, you can find us in the kitchen baking up some sweet treats. Sweater weather is definitely more forgiving than bikini season, after all!
But the arrival of Fall also means that we’re super busy with school sports and extracurricular activities, so sometimes all we have time for is some boxed brownies. But let’s face it, most of the time the brownie mix that comes from a box is better than homemade anyways!
So we like to cheat a little and “dress up” store-bought baking mixes with simple holiday-themed decorations. Just like these Spider Web Cake Mix Cookies. And of course, these easy ghost brownies!
If you’re looking for easy Halloween treats that your kids will have fun decorating (and even more fun eating!), then these spooky-cute Halloween brownies with marshmallow ghosts are for you! Here’s how to make them:
Ingredients for Marshmallow Ghost Brownies
These Halloween ghost brownies are super easy to make with a few basic ingredients. Here’s what you need for these kid-friendly, spooky treats:
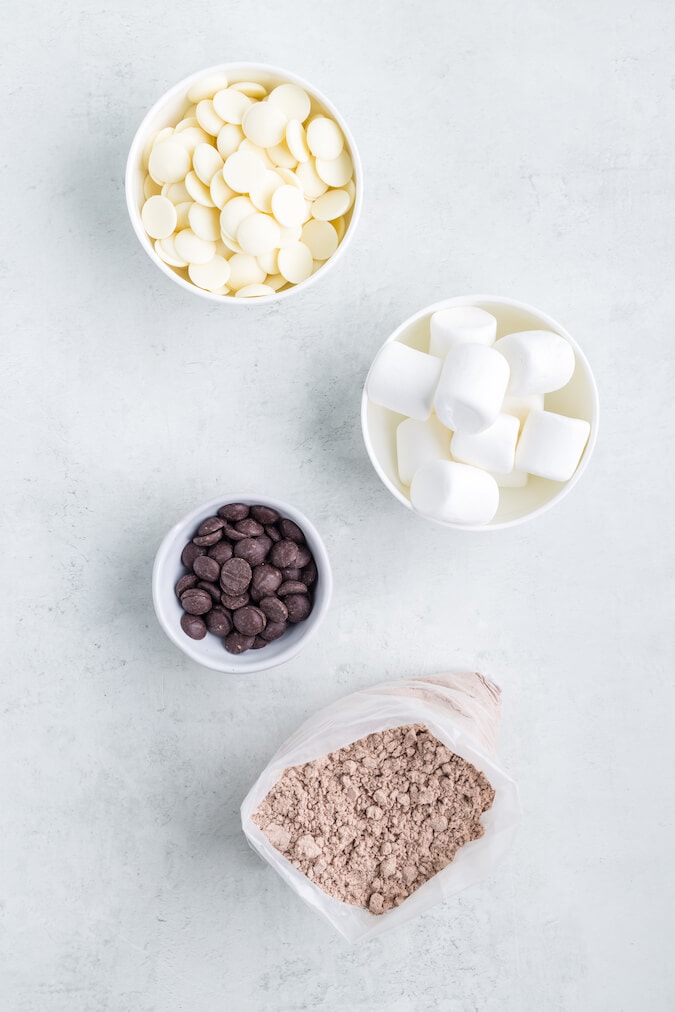
- Boxed brownie mix. These cute Halloween brownies will work with any type of brownie mix, so pick your favorite! You will also need the ingredients listed on the brownie box, like oil and eggs.
- Marshmallows. You’ll need the large size marshmallows to make your marshmallow ghosts.
- White melting wafers. If you can’t find these at your local grocery store, then check a craft store like Michael’s or Hobby Lobby.
- Semi-sweet chocolate chips. These are to melt down for the ghosts’ faces.
How to Make Ghost Brownies with Marshmallows
Just follow these simple instructions to make your cute Halloween brownies:
Step 1: Bake the boxed brownies and cut them into squares.
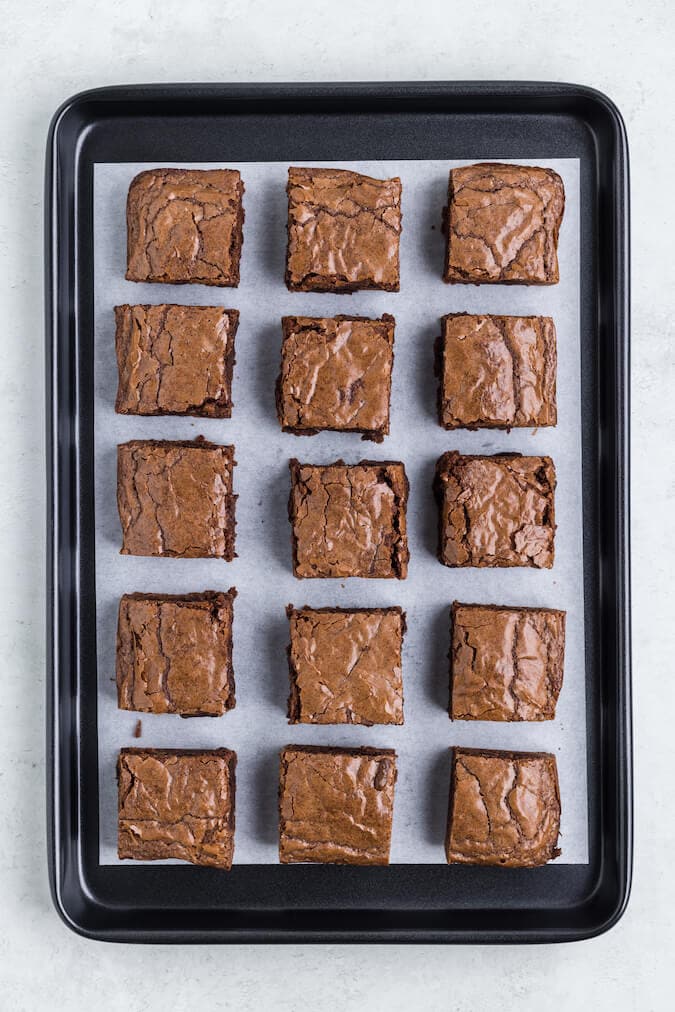
Start by preparing your box of brownies according to package instructions in a 9×9 pan. Then, when the brownies are completely cooled, cut them into 16 equally-sized squares.
Transfer the brownie squares to a baking sheet lined with parchment paper so that you’re ready to decorate them. Be sure to leave about one inch of space in between each brownie so that the white candy melts can flow freely down the sides to look more like the billowy shape of a ghost.
Your brownies should look like this at this point:
Step 2: Melt the white candy melts.
When the brownies are cooled and cut, it’s time to melt the candy wafers. Just follow the instructions on the white melting wafers package.
*You don’t want to melt the chocolate chips just yet, because they will just harden back up while you are building your ghosts.
Step 3: Decorate the brownies to look like Halloween ghosts.
To start decorating your ghost brownies, first dip the bottom of a large marshmallow in the melted white chocolate and place it in the middle of one brownie. This small bit of melted chocolate helps to act as a “glue” and hold the marshmallows in place.
Then, add a spoonful of the white melted wafers on top of each marshmallow, letting the chocolate run down the marshmallows and the sides of the brownies.
If needed, you can use your spoon to help the chocolate along and to fill in any gaps so that the marshmallow has a nice, even white coating.
Your Halloween brownies should look something like this:
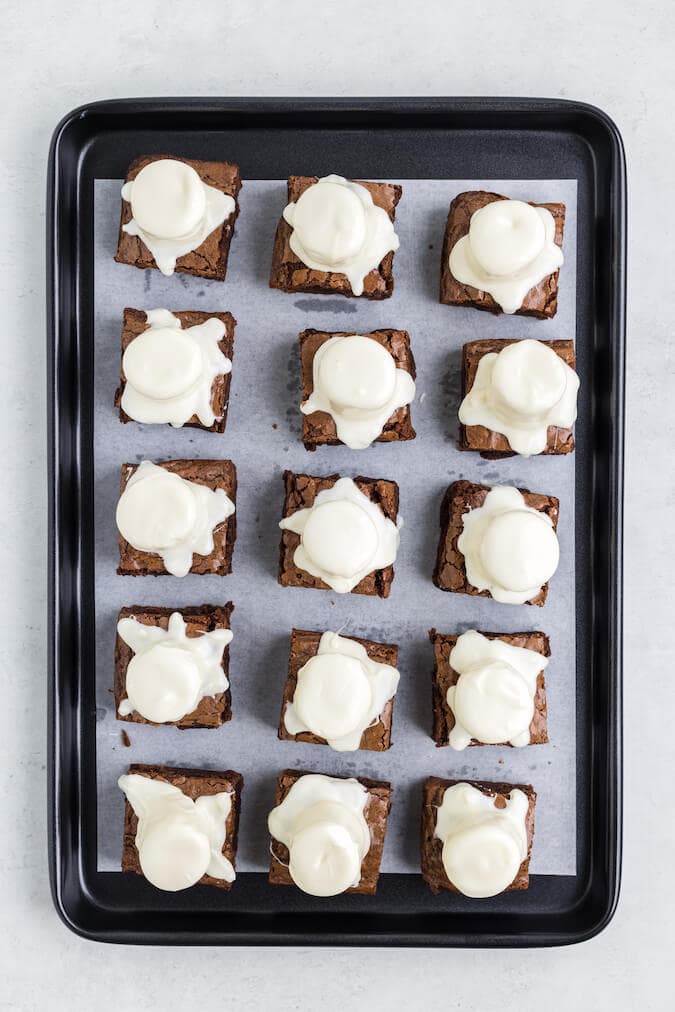
Notice how the white chocolate drips down the sides of some of the brownies? That’s what you want… but don’t force it. Your ghosts will look more spooky and real if the chocolate flows organically instead of having visible spoon marks.
Allow the white candy coating to set up completely, and then you’re ready to add the ghosts’ eyes and mouths.
Add the semisweet chocolate chips to a microwave-safe bowl and microwave for about 15 seconds at a time, stirring in between each interval, until the chocolate is melted and smooth. Then, transfer the melted chocolate to a small piping bag or use a zip-top sandwich bag with a small tip cut in the corner.
Lastly, pipe two small dots for the ghosts’ eyes and a sort of oblong, crooked oval shape for the mouths. I found that the more crooked oval shape looks more like a ghost’s mouth rather than a perfectly shaped oval, like this:
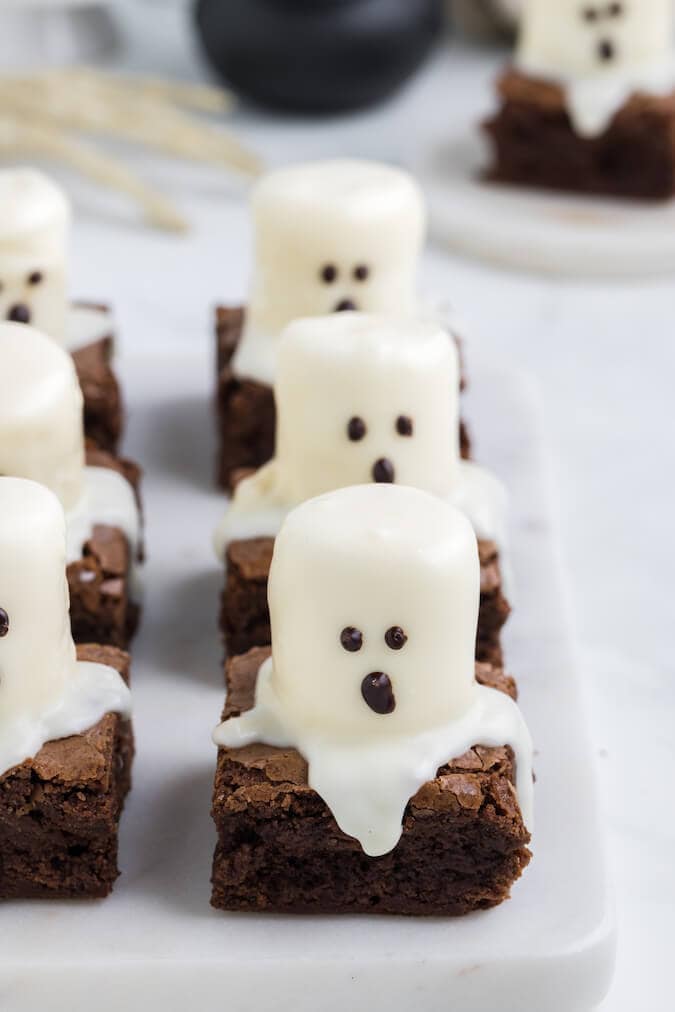
Once the ghost faces are completely dried and set up, your cute ghost brownies are ready to serve!
These easy Halloween treats would be perfect for your child’s classroom party, for your family’s Halloween costume party, or to make for your neighbor’s “You’ve Been Boo-ed” gift basket!
How to Store the Marshmallow Ghost Brownies
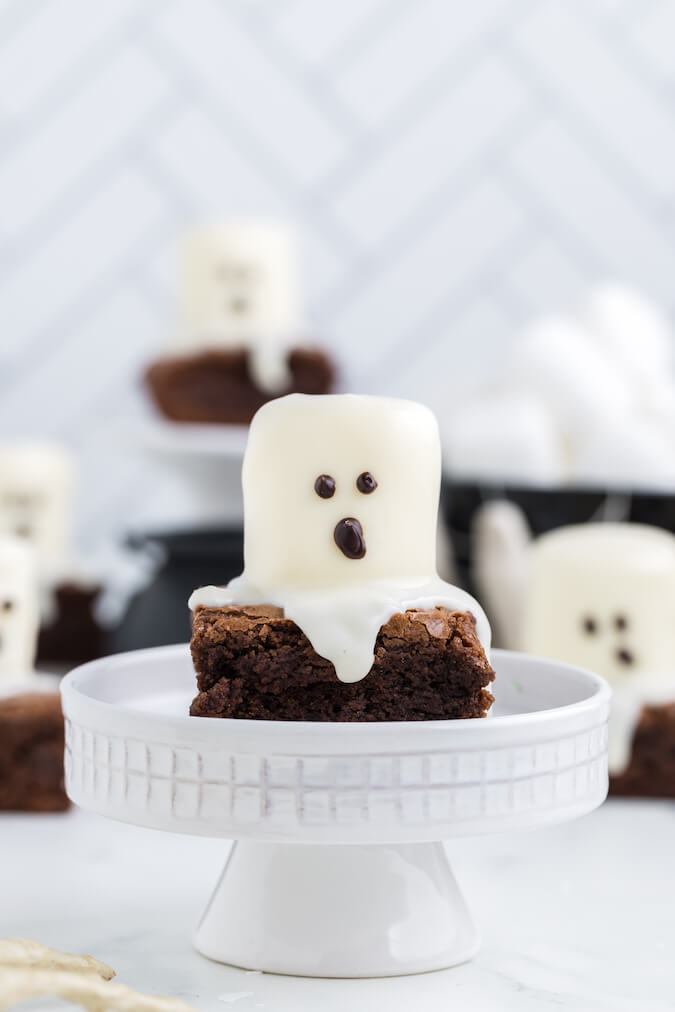
You can make these ghost brownies with marshmallows a few days in advance for your convenience. But plan to serve these Halloween treats within 3-4 days of making them.
The spooky brownies can be stored in an airtight container at room temperature for up to five days. However, you may want to place the container in the fridge if your house is a bit warmer, so that the white candy coating doesn’t soften too much.
FAQ’s about Making Ghost Brownies with Candy Melts
What if I can’t find white melting wafers?
I prefer to use white candy melts or melting wafers instead of white chocolate chips because the melts are specifically designed for this type of dessert decoration. The candy melts actually stay melted longer than regular chocolate which hardens back up more quickly. Also, the melting wafers give a smoother finish to your marshmallow ghosts.
If you can’t find white candy melts, you can use white chocolate chips. Just add 1 ½ tablespoons of vegetable shortening to the bowl before melting the white chocolate.
Can I use black icing or decorating gel for the ghost faces?
If you like, you can use black decorating gel to make the eyes and mouth on the ghosts. But, I prefer using the melted semi-sweet chocolate because it sets up better and I prefer the taste of the chocolate to the gel.
What if the white melting wafers harden up before I finish?
Try to work quickly when dipping and drizzling the white chocolate. But, if the melted candy coating hardens, you can easily melt it down again. Just add one teaspoon of shortening to the stiffened white candy melts and microwave for about 15-30 seconds. Stir well, and then you can continue making your marshmallow ghosts.
Other Cute Halloween Treats for Kids
Check out some of my other cute Halloween desserts for kids:
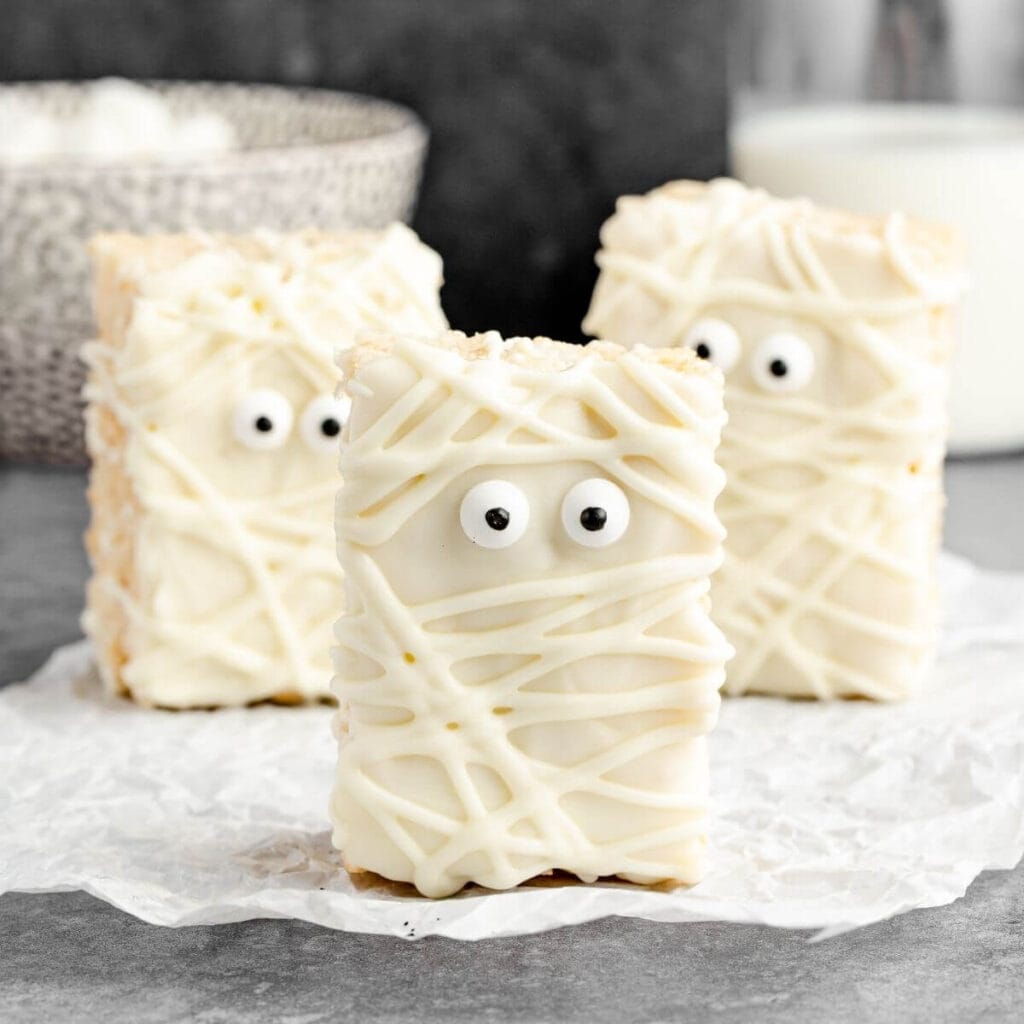
The Best Mummy Rice Krispie Treats to Make This Halloween – Whip up a quick batch of Rice Krispies Treats and decorate them to look like a mummy! You could even make these mummy treats at the same time as your ghost brownies since you’re already using white candy melts!
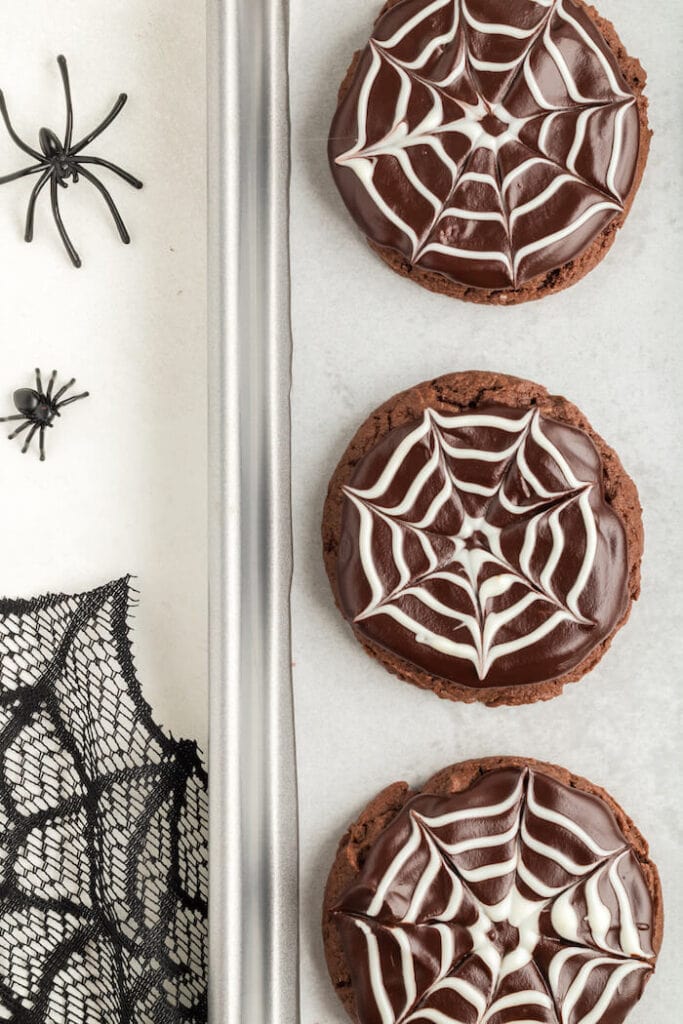
Spider Web Cake Mix Cookies to Make this Halloween – These easy cake mix cookies get a spooky layer of ganache and some white icing to look like spider webs!
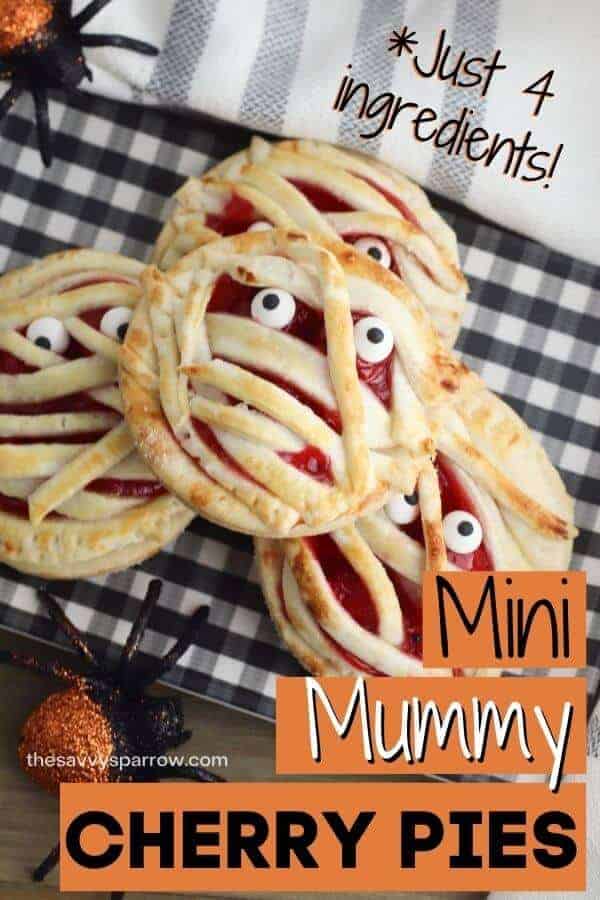
Cherry Pie Mummies – These easy cherry pie Halloween treats take just 4 ingredients!
I hope you and your little ghouls LOVE these easy ghost treats! And don’t forget to PIN this post for later:
Ghost Brownies with Marshmallows
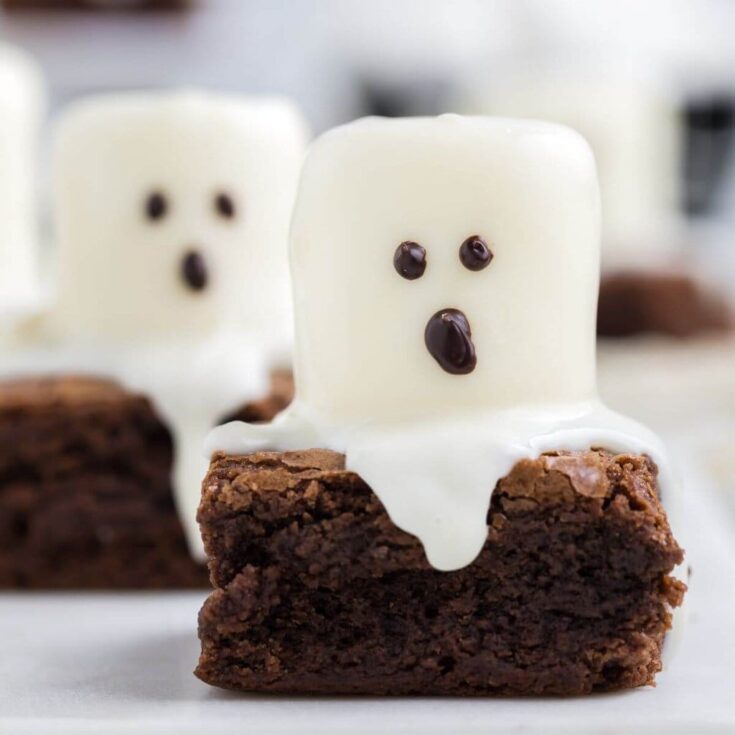
These cute ghost brownies are so easy to make with boxed brownie mix, marshmallows, and white candy melts. Such a fun Halloween treat that your kids will LOVE!
Ingredients
- 18 oz box of brownie mix (plus the ingredients listed on the package)
- 16 large marshmallows
- 10 oz bag of white melting wafers (about 1 1/2 cups)
- 1/4 cup semisweet chocolate chips
Instructions
- Prepare the brownies according to package instructions in a 9x9 inch pan. Set the brownies aside to cool completely. When brownies are completely cooled, cut them into 16 squares.
- Transfer the brownie squares to a baking sheet lined with parchment paper. Leave about one inch of space in between each brownie to be able to decorate them.
- Melt the white melting wafers according to package instructions.
- Dip the bottom of the marshmallows in the melted white chocolate and place the marshmallows standing up in the center of each of the brownie squares. *The small bit of melted chocolate acts as a glue to help hold the marshmallow ghosts in place.
- Gently drop a spoonful of the melting wafers over the top of each marshmallow, using your spoon to help coax the white chocolate down the sides to completely cover the marshmallows. Don't worry if the white chocolate drips down the sides of the brownies a bit - this makes your marshmallow ghosts look more spooky!
- Set the brownies aside for the white melting wafers to cool and set completely.
- When the white chocolate has completely hardened up, place the semisweet chocolate chips in a microwave safe bowl and microwave in 15 second intervals, mixing in between each interval, until smooth. Then transfer the melted semisweet chocolate to a piping bag or a zip-top bag with a small tip cut out of the corner.
- Using the melted chocolate, pipe two eyes and a mouth on each white marshmallow to make the ghosts' faces. Allow the faces to dry completely before serving.
Notes
- Work quickly when adding the white melting wafers to the marshmallows to prevent them from hardening up before you finish. If needed, you can add one teaspoon of shortening to the bowl and re-melt in the microwave for 15-30 seconds.
- White melting wafers are recommended over white chocolate chips. The melting wafers (candy melts) are designed to stay melted longer, and they give a smoother finish than white chocolate chips. If you can't find white candy melts, you can substitute white chocolate and add 1 1/2 tablespoons of vegetable shortening before melting.
- Store ghost brownies in an airtight container at room temperature for up to five days.
Nutrition Information:
Yield:
16Serving Size:
1Amount Per Serving: Calories: 256Total Fat: 9gSaturated Fat: 2gTrans Fat: 0gUnsaturated Fat: 6gCholesterol: 0mgSodium: 174mgCarbohydrates: 45gFiber: 0gSugar: 11gProtein: 2g
Nutritional information is provided as a courtesy and is an estimate only. Different online calculators may calculate nutritional information differently. Also, the addition of optional ingredients and varying brands and products may change the information. For the most accurate data, you should calculate the nutritional information with the actual ingredients that you use.

Comments & Reviews
Excellent variety of ideas and great “products” upon completion! Nice work!