Learn how to organize makeup drawers with this easy step-by-step guide, and get my favorite inexpensive makeup organizers that I’ve used for my daughter’s large vanity drawer and my own bathroom drawers!
We just remodeled our master bath, and one of the things that I was most excited about during the whole project was being able to organize my makeup!
Our old bathroom vanity was not conducive to makeup organization… It had just two large and way too deep drawers, and I always felt like there was so much wasted space. But our new bathroom vanity is what an OCD organizer’s dreams are made of, with four good sized drawers that are nice and shallow, perfect for organizing makeup products!
So I’ve been strategizing how to properly categorize and organize all of my makeup collection, and after a little trial and error, I’ve come up with a system that I absolutely LOVE! If you need help with makeup drawer organization and you’re confused on which organizers to buy, then this is the post for you!
And then hop over here to see how to organize your medicine cabinet when you’re done!
*This post contains affiliate links, which means if you click a link and make a purchase, I earn a commission at no additional cost to you. Read my full disclosure for more info.
How to Organize Makeup Drawers – 5 Easy Steps
Step 1: Completely empty your makeup drawer and get rid of stuff.
This is the first step to any successful organizing session… the purge! It’s time to let go of the things that you don’t really need… the random sample size packets that you’ve been saving for 2 years “just in case”, the broken palettes that are cluttering up the bottom of the drawer, and the bright red lipstick that you bought 3 years ago for Halloween and you haven’t worn since.
Really go through your makeup drawer and get rid of products that you don’t need or makeup that has expired. *See the make up expiration dates guide down below to see what needs to be thrown out!
Step 2: Group makeup products by category.
Once you’ve whittled down your makeup stash, it’s time to group the items that you decided to keep. Simply make piles of like items so that you can get a visual of what you have. This will be helpful for the next step…
Step 3: Determine what makeup organizers to use.
After you’ve got all of your makeup products laid out on the floor by category, it’s much easier to see what you actually have and what size organizers you need.
For instance, if you only have four small lipsticks, then you probably won’t need a large organizer for those. You can also measure the length of your longest lipstick tube so that you know the minimum dimension that you need for your lipsticks, if you’re going to group them together in the drawer.

I recommend purchasing a pack of drawer organizers with a variety of sizes so that you’re more likely to have the bins that you need on hand… You can check out my favorite acrylic drawer organizers for makeup down below!
Step 4: Clean and wipe out your makeup drawer.
Next, it’s time to clean the actual insides of the drawers. You wouldn’t want to go through the hassle of neatly organizing makeup products only to put them back into dirty drawers that have lipstick smears or specks of eyeshadow powder in them.
Just take a damp rag and wipe out the bottom, sides, and front of each drawer. You can also use a paper towel to dry the insides of the drawers after you’re done.
You may also need to wipe down the outsides of some of your makeup tubes or containers. For instance, the outside of my concealer tube usually gets a little yucky from some of the product that squeezes out as I’m putting the wand back in. You’ll want to make sure all of your tubes and compacts are clean so they don’t dirty up your nice clean makeup drawers.
Step 5: Organize your makeup in the drawer.
This is the fun part of how to organize makeup drawers… actually filling your new organizers and compartments with all of your makeup products so they look nice and neat!
Start by placing your empty make up drawer organizers into the drawer to see how they fit best with the least amount of wasted space… Think of it like a game of Tetris!

Then, once you know how the actual plastic organizers will fit, it’s time to start filling up the individual compartments. Neatly add your make up products to the drawer, keeping everything grouped by category.
And that’s it! Then you can enjoy your neatly organized make up drawers, and maybe shave a few minutes off your morning beauty routine too… No more digging through the cluttered drawer to find your lost eyeliner!
Makeup Organization Categories
Here are some ideas for how to organize makeup drawers by category:
- Primers – Including face primer, eyeshadow primer, lash primer, etc. I like to group these items together because they get used first.
- Face products – This would include foundation, concealer, powders, etc… Basically any type of skin-colored base products.
- Eye products – Depending on how many eye makeup products that you have, you may want to break these down into smaller categories for eyeshadow, eye liner, mascara, false lashes, etc.
- Lipsticks and lip glosses
- Blush
- Brushes and other tools – I like to keep all of my brushes together in one organizer bin, with my tweezers.
- Disposable makeup application products – These could include cotton face rounds and Q-tips… I like to keep these in their own small organizers so they look neat in the drawer.
- Nail polish
- Nail tools – Like nail files, clippers, etc.
Another good way to organize make up is by how frequently you use it. If you use the same basic products every single day, then why not group those together in the drawer right in front so that they’re easily accessible.
For instance, the products that I use daily are concealer, eye shadow, eye liner, and blush. (Sometimes I skip the foundation altogether, depending on if I’m having a good skin day.) I could group those few items in a single makeup organizer bin so that I can find them easily in the morning.
Makeup Expiration Dates
One of the most important steps to organizing makeup drawers is to get rid of your expired makeup and to downsize the products that you no longer use. But how do you know that your makeup is past its prime?
Makeup that has never been opened and that has been stored in a cool, dry place should last about 2-3 years, but once you pop open that top, your makeup products do have a shelf life.
Here’s a list of expiration dates for some common makeup products:
| Product Type | Expiration |
|---|---|
| Foundation | 1 year |
| Concealer | 1 year |
| Cream Blush | 1 year |
| Powder Blush | 2 years |
| Eyeshadow | 1 year |
| Eye Liner Pencil | 2 years |
| Liquid Eyeliner | 3-6 months |
| Mascara | 3 months |
| Lipstick | 2 years |
| Lip Gloss | 1 year |
| Lip Balm/Chapstick | 1-5 years |
| Nail Polish | 1 year |
Use this chart as a guide when you’re in the purging stage and you need to determine whether to keep a certain product or get rid of it. And when in doubt, throw it out! These are products that go on your face or near your eyes, so you don’t want to risk getting a skin infection or rash.
My Favorite Makeup Drawer Organizers
We can’t talk about how to organize makeup drawers without talking about the actual plastic organizers. So here are my recommendations for a few different makeup drawer organizers, and one awesome vanity top organizer that I LOVE so much that I bought two!
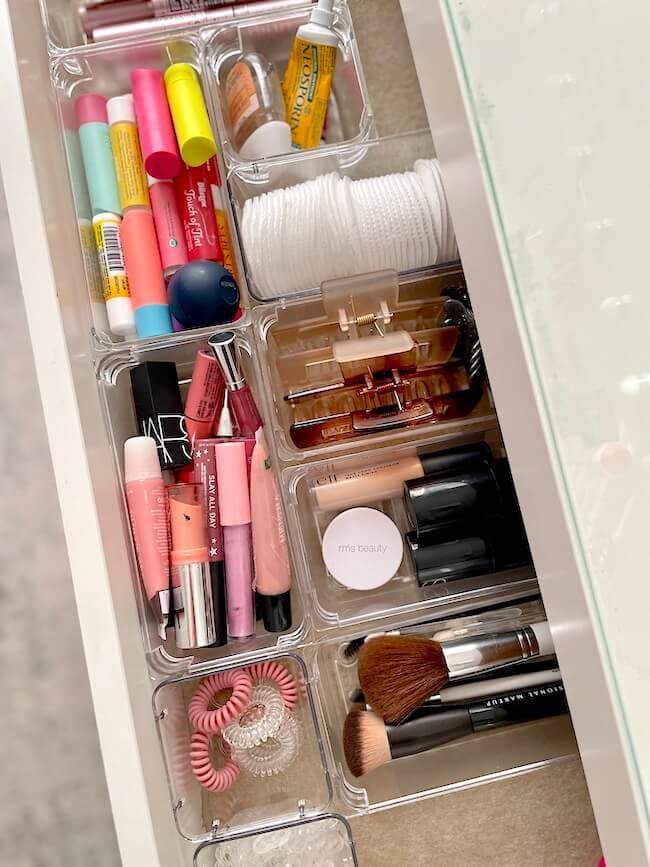
16 Piece Drawer Organizer – This is the set that I bought for both of my daughters’ vanity drawers over a year ago. You can see the makeup organizers in my youngest daughter’s drawer in the photo above.
Here are some of the features of these organizers:
- durable crack-resistant plastic
- lightweight
- stackable – Great if you won’t use all of the sizes and you want to save some for future organizing projects.
- easy to clean – Just wipe them out with a damp paper towel
- good variety of sizes – The smaller bins are great for things like hair ties and the larger bins can hold eyeshadow palettes or brushes.
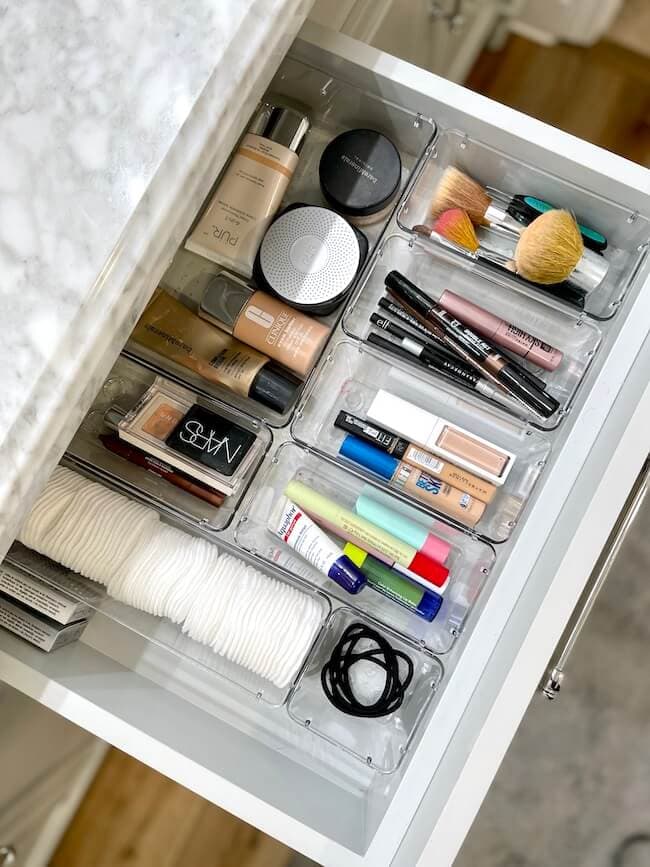
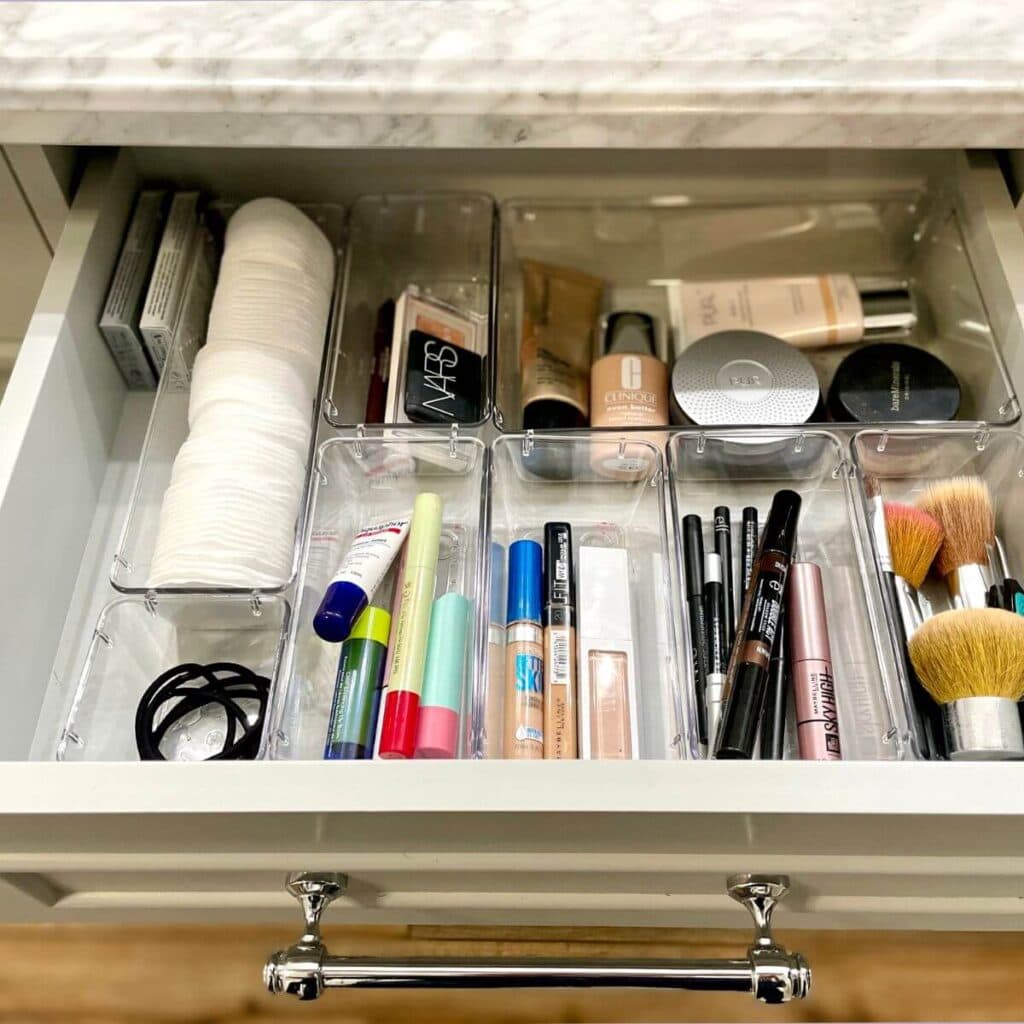
37 Piece Clear Plastic Drawer Organizer Set – The plastic bins in the photo above are the makeup drawer organizers that I purchased for my own bathroom drawers, and I absolutely LOVE them. They have more rounded edges than the first set, and they also include small silicone pads that you can stick on to the bottom of each bin to make them non-stick.
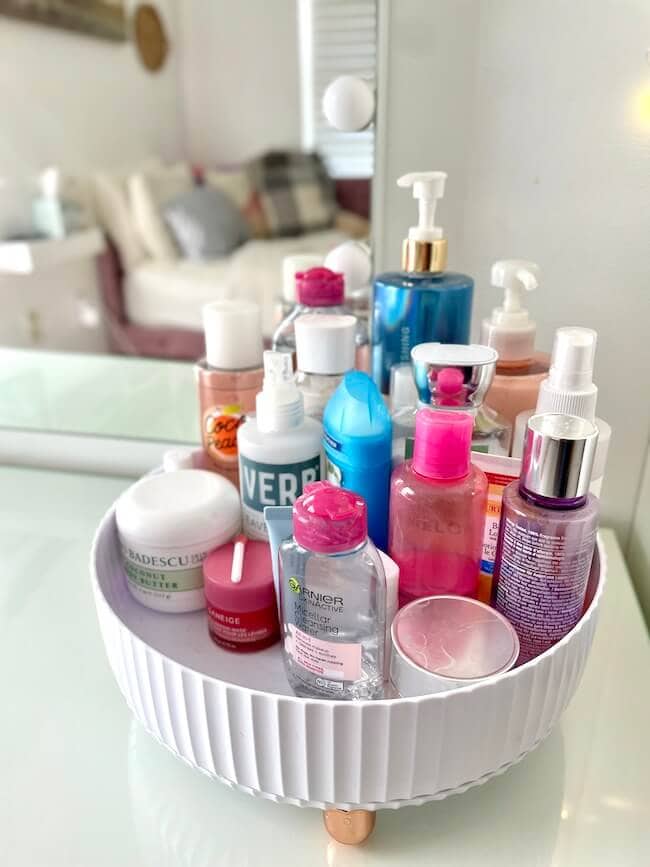
Rotating Lazy Susan Perfume and Makeup Organizer – I LOVE this tabletop makeup, perfume, and toiletry organizer so much that I bought two of them – one for each of my daughters!
Both of my girls have the same makeup table and vanity mirror in their rooms, and they both have a TON of beauty products. This rotating tray with cute gold feet and a nice modern white design is not only pretty (or “aesthetic” as they would say), but it also holds a HUGE amount of beauty products!
As you can see in the photo above, my daughter has at least 20 different products in the tray and there’s still room for more! And some of the bottles like the body lotions and the micellar water are pretty large!
Other Drawer Organization Tips to Help You
After you’re done organizing makeup drawers, you may be motivated to keep going! Here are some other posts to help you declutter and organize other drawers and clutter-prone spots in your home:
Junk Drawer Organization – Keep it Clean Once and For All! – Get tips for decluttering and organizing all of the, well, JUNK in your kitchen junk drawer!
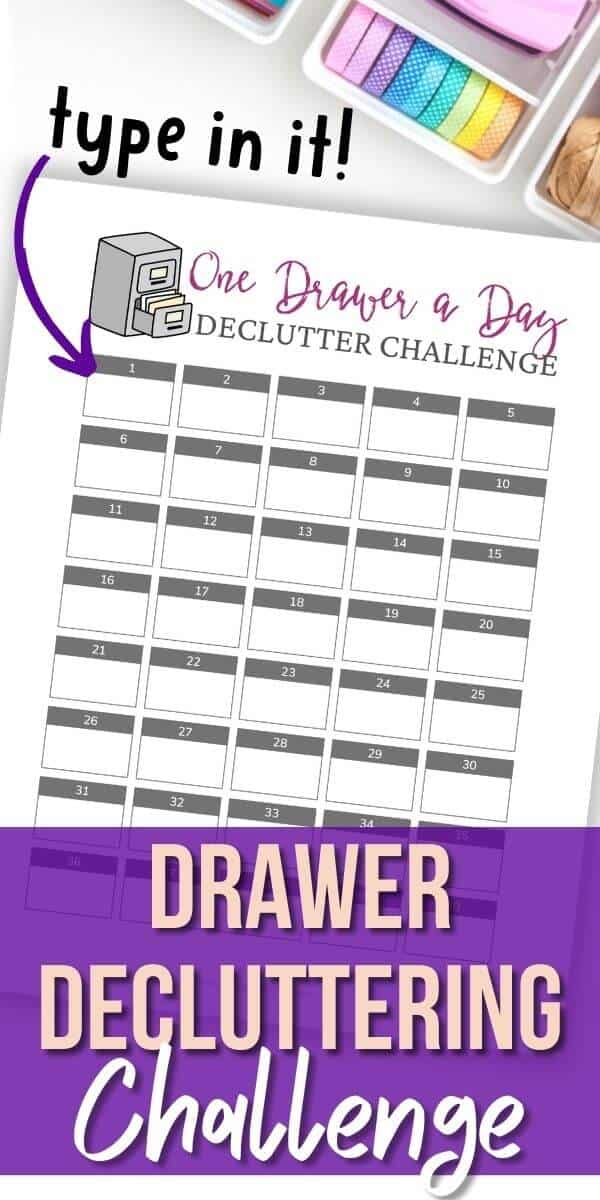
The One Drawer Decluttering Challenge – Great if You’re Super Busy! – Need help with other random drawers in your home? Use this free printable drawer decluttering challenge and tackle ALL of your messy drawers – from the silverware drawer to your desk drawers!
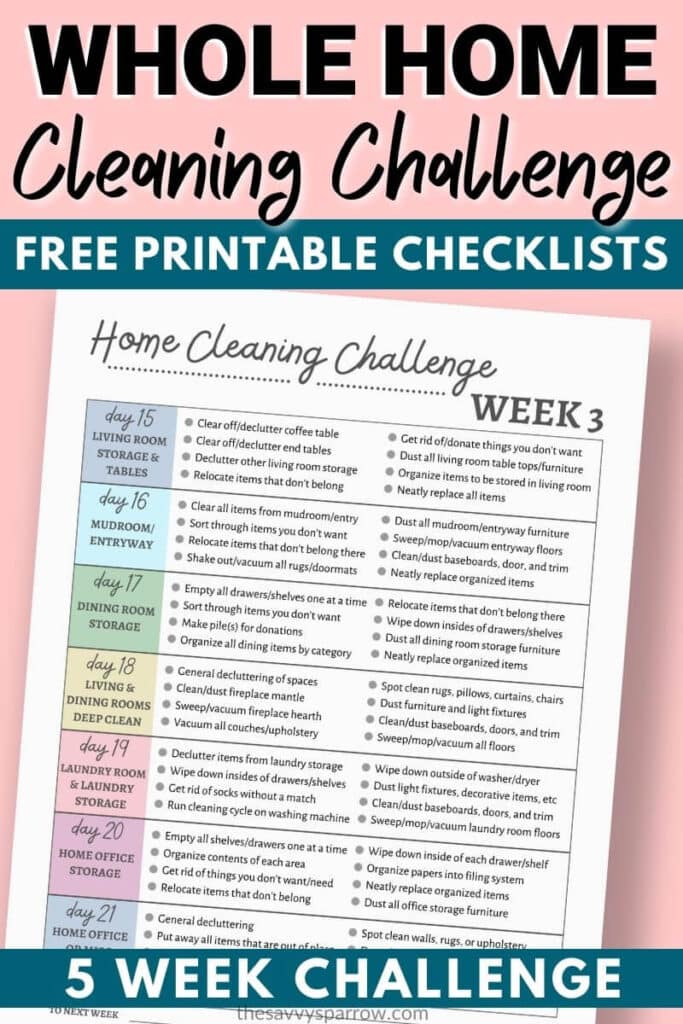
And be sure to check out my SUPER popular 5 week Whole Home Cleaning Challenge next! So great for cleaning, decluttering, and organizing your entire home, one day at a time!
What are your favorite organizers for makeup? Do you have any organization tips to share? Leave me a comment down below! And don’t forget to PIN this post for later: