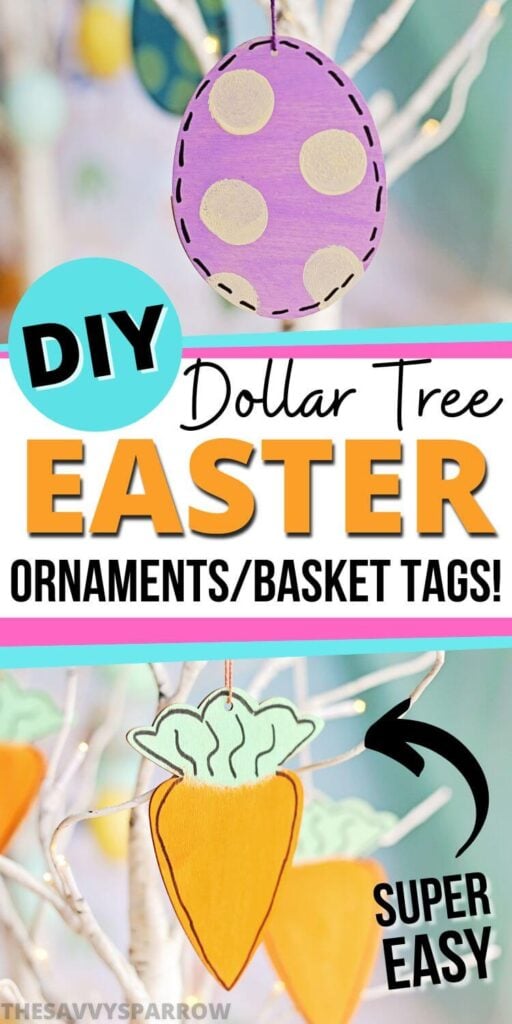
Looking for a fun Dollar Tree Easter craft to make this year? These DIY Easter Tree Ornaments are so cute, and they’re perfect for your Easter decor or even to use as wooden Easter basket tags!
I love decorating my home for Easter, but I don’t love having to open up my wallet and dole out big bucks for Easter decor that I’ll only use for one month out of the year. So when I have some extra time and I’m looking for a creative outlet, I turn to the Dollar Tree craft aisle.
You can make all sorts of Dollar Tree Easter crafts using inexpensive supplies from the dollar store, such as wreaths, centerpieces, and these cute wooden Easter tree ornaments. Plus, Dollar Tree has a wide variety of Easter-themed items like plastic eggs, bunny ears, spring flowers, and wooden Easter cut outs that you can use to create your crafts.
These cute wooden Easter crafts look like they were purchased from a pro crafter on Etsy, but you can actually make them yourself in less than an hour! And with the ability to choose your own paint colors, you can customize these cute Easter tree ornaments to match your Spring decor or your child’s Easter basket.
Here’s how to make them:
*This post contains affiliate links, which means if you click a link and make a purchase, I earn a commission at no additional cost to you. Read my full terms of use for more info.
Ideas for Using the Wooden Dollar Tree Easter Decorations
These cute wooden Easter crafts are made with Dollar Tree supplies, so you can make about 10-15 of these ornaments for less than $10. That means this Easter craft is perfect for a wide range of uses. Here are some ideas for using this cute Dollar Tree Easter craft:
- Hang the wooden ornaments on an Easter tree
- Use them as name tags for Easter baskets – Just use the black brush pen to add in your child’s name!
- Use the DIY wooden Easter crafts as place cards for Easter brunch – Then your guests can each take their own ornament home with them!
- Add the wooden Easter egg ornaments or carrot ornaments to an Easter gift for your neighbor or your child’s teacher
- Use the painted wooden Easter ornaments to decorate an Easter wreath to hang on your front door
- Add the wooden Easter decorations to a large piece of jute rope to make an Easter garland
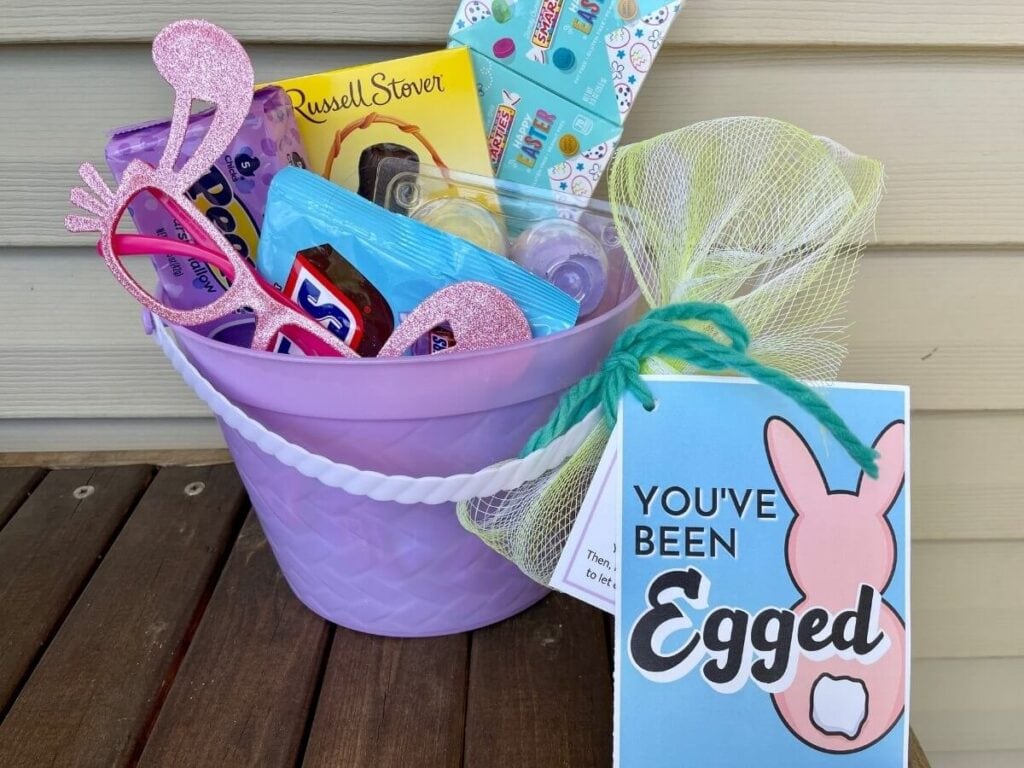
- Use the wooden Easter ornaments to dress up a “You’ve Been Egged” gift basket
Supplies for this Dollar Tree Easter Craft
Here is a list of the supplies that will be needed to make this Dollar Tree Easter ornament craft. Supplies are broken down by store:
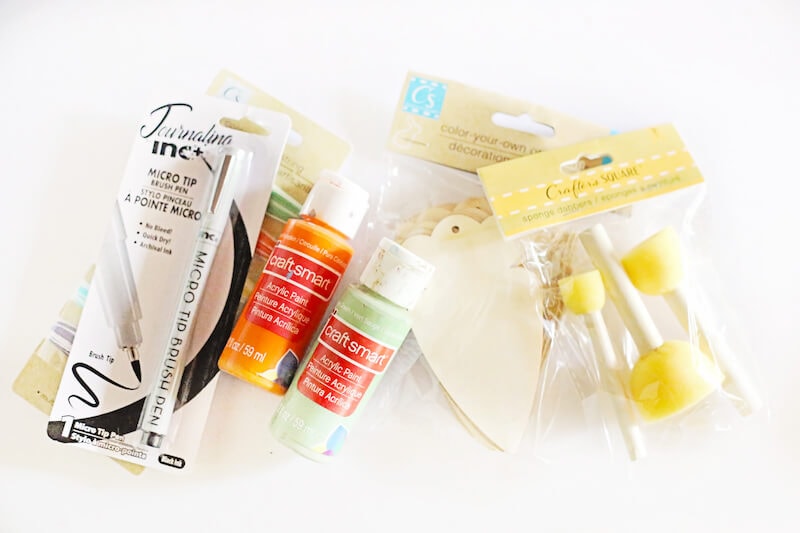
Supplies from Dollar Tree
- Blank wooden egg and carrot shapes – You can also make wooden chick or bunny ornaments with Dollar Tree supplies!
- Set of 3 sponge dabbers
- Micro tip brush pen
- Colored twine, string, or ribbon – The wooden Easter crafts from Dollar Tree come with string already included, but you can swap it out for a colored string to give your Easter ornaments some flair!
Other Supplies
- Acrylic Paint – I recommend purchasing your paint for these wooden Easter tree ornaments from Walmart or Hobby Lobby, because these other craft stores have the small bottles of paint for about 60 to 80 cents per bottle.
*For the carrot Easter tree ornaments, I used the paint colors Sage Green and Pure Pumpkin. For the Easter egg wooden ornaments, just pick your favorite Spring colors.
What if I can’t find the wooden Easter cut-outs?
Keep checking back. Sometimes Dollar Tree gets more in stock. If they are in season, ask an employee when the truck is expected, then show up later that day or the next day. Or if you’re just itching to get started, Amazon does have a wooden egg cutout pack of 50 for under $11.
How to Make Wooden Easter Ornaments with Dollar Tree Supplies
There isn’t a lot of prep necessary for this easy Easter craft, but the painting area will need to be covered up, especially if your kids will be helping out. Just cover your work surface with newspaper or a large piece of cardboard to make clean up a breeze. You can also use a paper or foam plate as a paint palette, so that you can just throw it away when you’re done.
Then, once your crafting area is ready to go, follow these simple steps:
Step 1: Paint the base color for the wooden Easter tree ornaments.
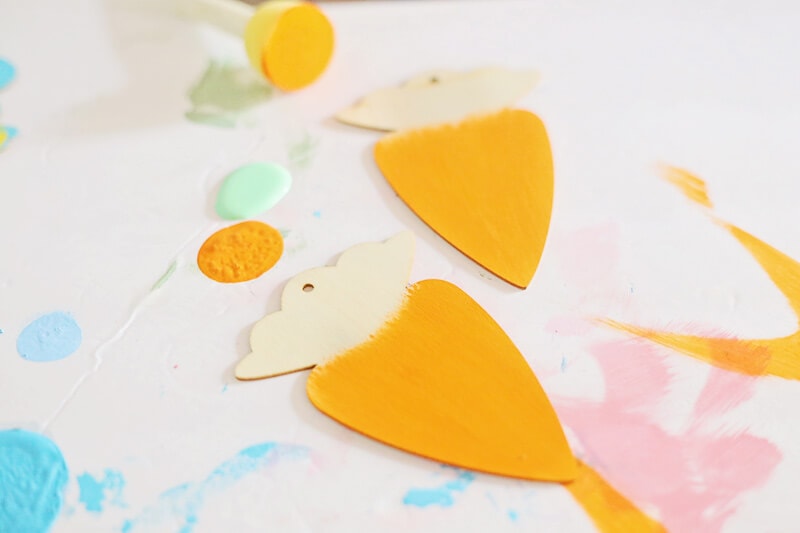
First, paint the base color on to the wooden Easter shapes using the largest sponge dabber.
For the carrot ornaments, I used Pure Pumpkin and painted the wood ornaments like this:
For the Easter egg ornaments, just choose whichever colors that you want the base of your ornaments to be. I would recommend selecting a few different colors for the wooden egg ornaments for a more colorful Easter tree, wreath, or Easter basket tags.
Once all of the eggs are painted, allow them time to dry completely before moving on to the next step. This is a great time for kids to step in and help out, since this basic painting step is easy enough for even littler ones to contribute.
Step 2: Paint the polka dots or other accents on the wooden Easter ornaments.
Once the wooden Easter egg ornaments are all dry, it’s time to add in the second color of paint. For this step, grab the secondary colors and the smallest sponge dabber.
*TIP – When choosing colors for your Easter egg ornaments, remember this cardinal rule of design – If you’re using a darker base color, then you’ll want to layer on a lighter color of polka dots on top. If the egg base color is lighter, choose a darker polka dot paint color. Having more contrast in your paint colors will help your wooden Easter egg ornaments really “pop”.
For anyone struggling to figure out what colors will look good together, there are plenty of online resources available. Search “color palette generator” in a web search engine to find loads of options. Many of them let the user choose a color, and then suggest alternate colors that look good together. This is one of the easiest ways to pick good complementary colors, even for people who aren’t particularly art-oriented.
Once you’ve selected your polka dot colors, it’s time to add the dot decorations.
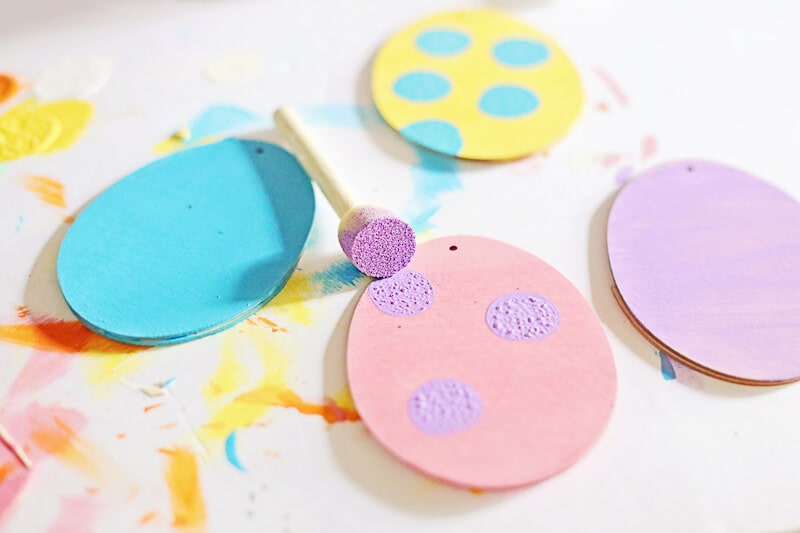
To apply the dots, press the dabber firmly, but not too hard on to the wooden egg. Then, rotate the dabber slightly to get a full coverage dot.
It might be good to practice this step on a piece of scrap paper first. Too little pressure will leave gaps in the dot where the base color shows through. Too much pressure and the paint will leak out and keep the dot from being round. Stick to about 3-5 dots per egg. Once they are done, allow them to dry completely once again.
For the wooden carrot ornaments, just paint the top leaf part of the carrot with the green paint like this:
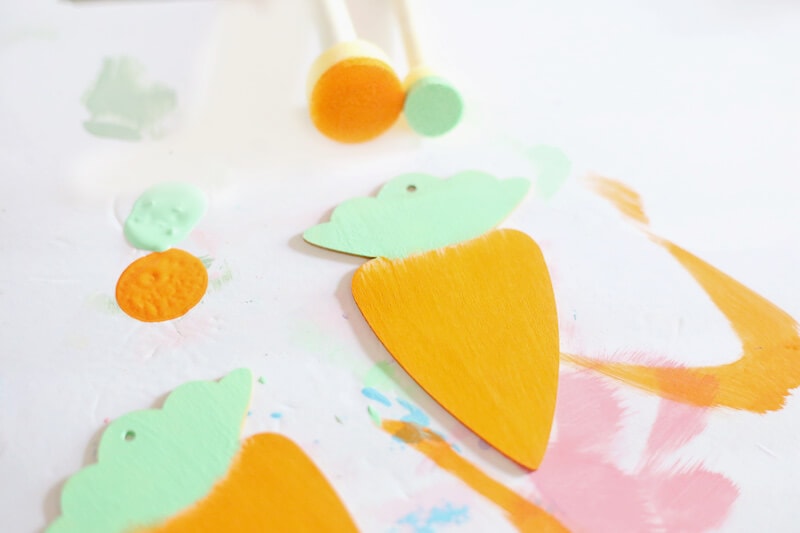
Allow the paint to dry fully before moving on to the next step.
Step 3: Add the black accents with the brush pen.
Now it’s time to break out the brush pen. This part will require a steady hand, so you may want to practice your pen strokes on some scrap paper first. And don’t worry, if you accidentally mess up, you can always paint over your Easter tree ornaments and start again.
My biggest tip for using the brush pens is to be confident in your motions, and draw the lines as smoothly as possible in one fluid stroke. These pens will bleed, so hesitation will create odd blobs and break up the lines. Just go for it!
For the black outline detail of the carrot ornaments, just draw a solid line around the border of the carrot shape. And don’t worry about getting the line perfectly straight or even from the edge of the wood. In fact, a little irregularity will actually make your Easter tree ornaments look more interesting and more organic.
Here’s the outline on my carrot Easter ornament:
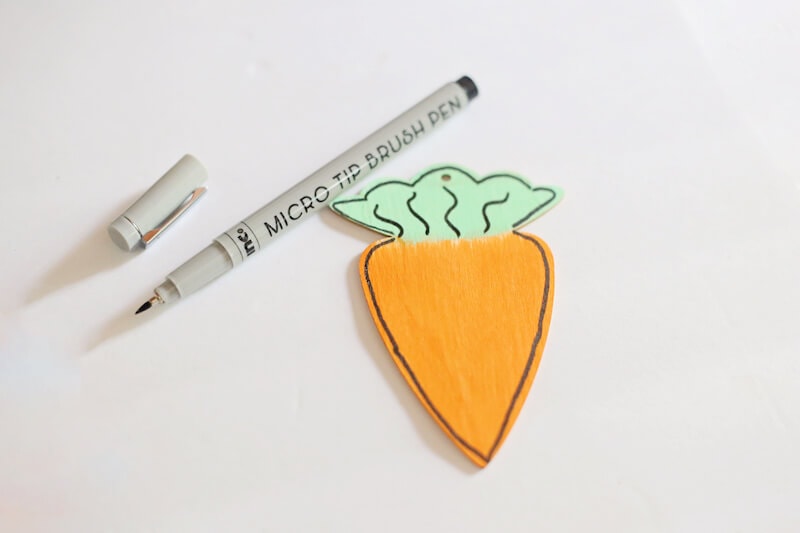
For the wooden Easter egg ornaments, you can experiment with different types of outline details.
Try a dotted line to look like stitching around the Easter egg shape. Or draw a standard outline, but then add 2-3 hash marks perpendicular to the outline in a few spots. Here are some examples:
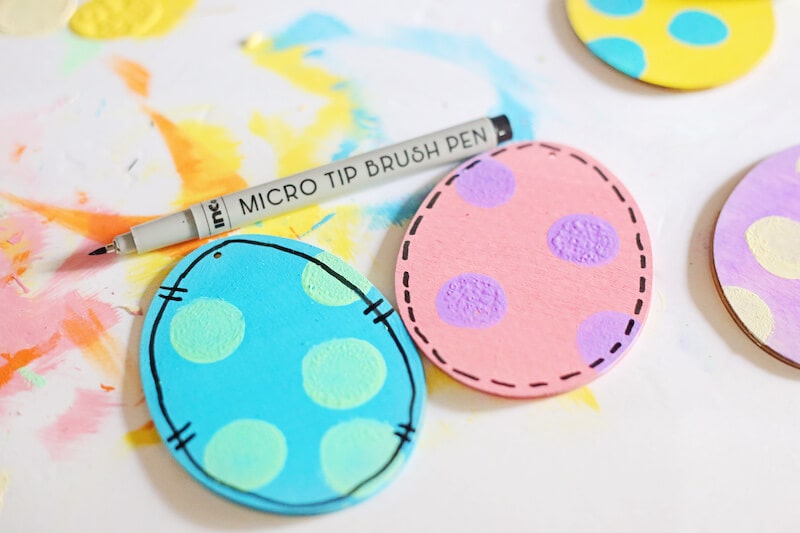
Once again, allow the DIY Easter tree ornaments to dry completely, although the pen ink does dry much more quickly than the paint.
Hanging the Dollar Tree Easter Ornament Crafts
Once everything is dry and ready, it’s time to string these Easter ornaments so that you can hang them on your Easter tree.
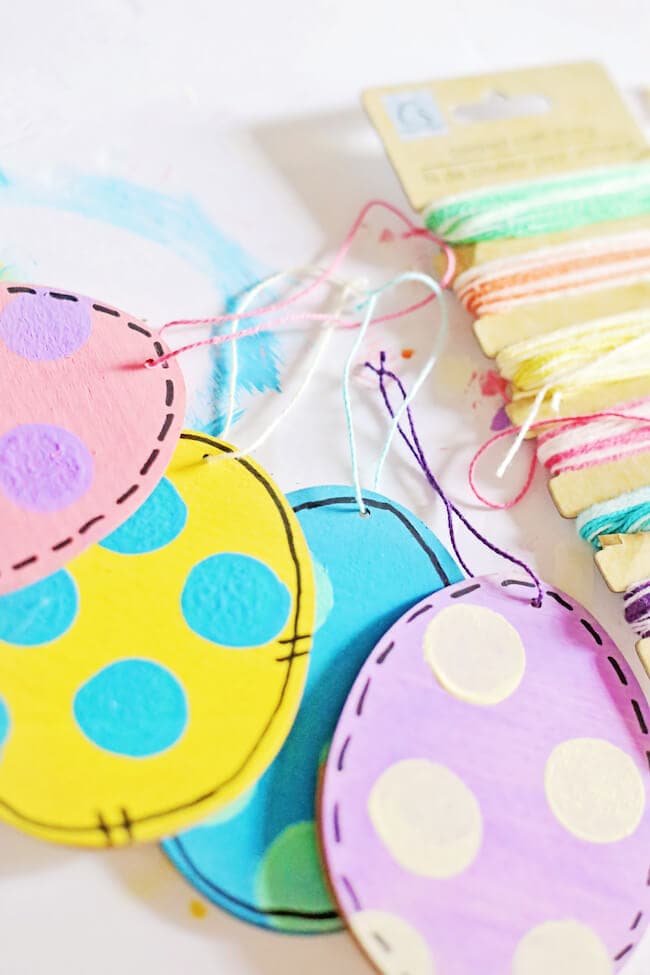
Just select the string, twine, or ribbon colors that you want to use for each ornament, and thread a piece through the hole in the top. Finish this Dollar Tree Easter craft by tying a knot in the string to create a loop.
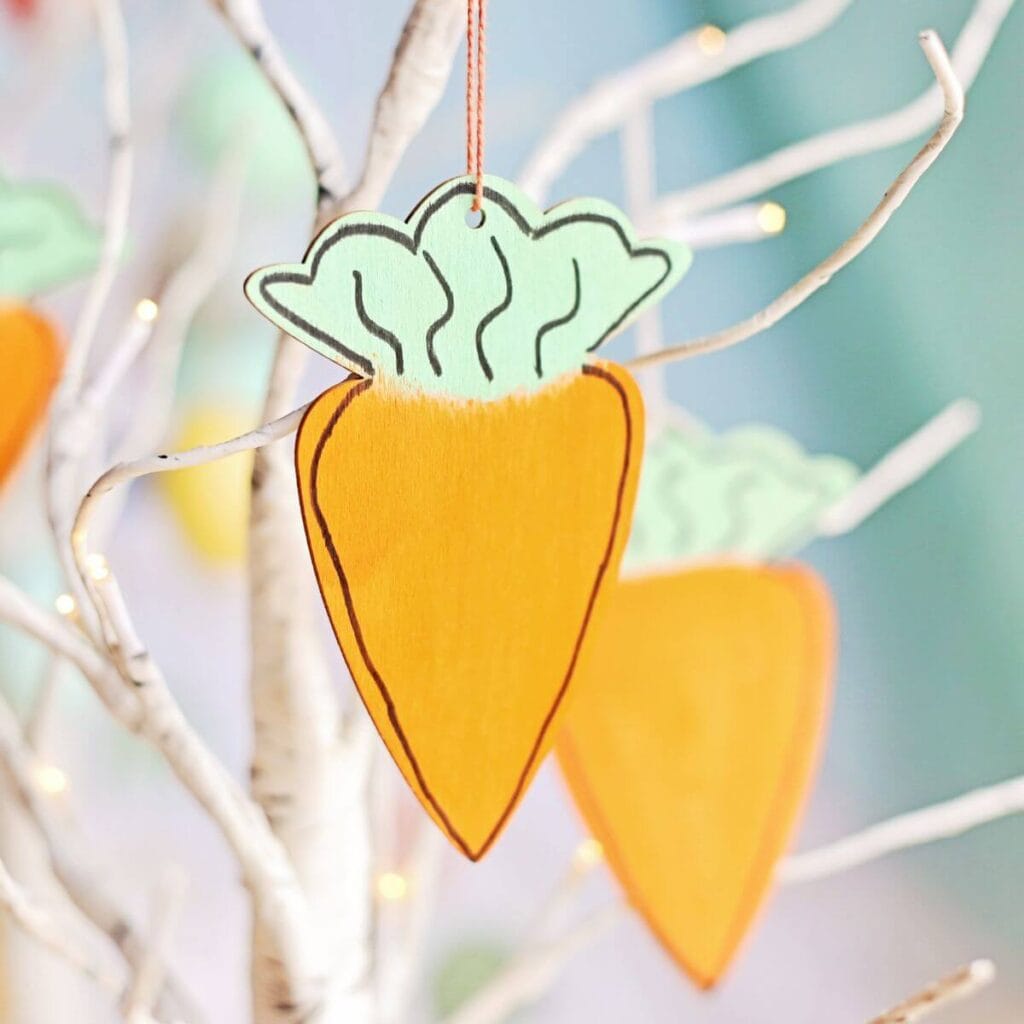
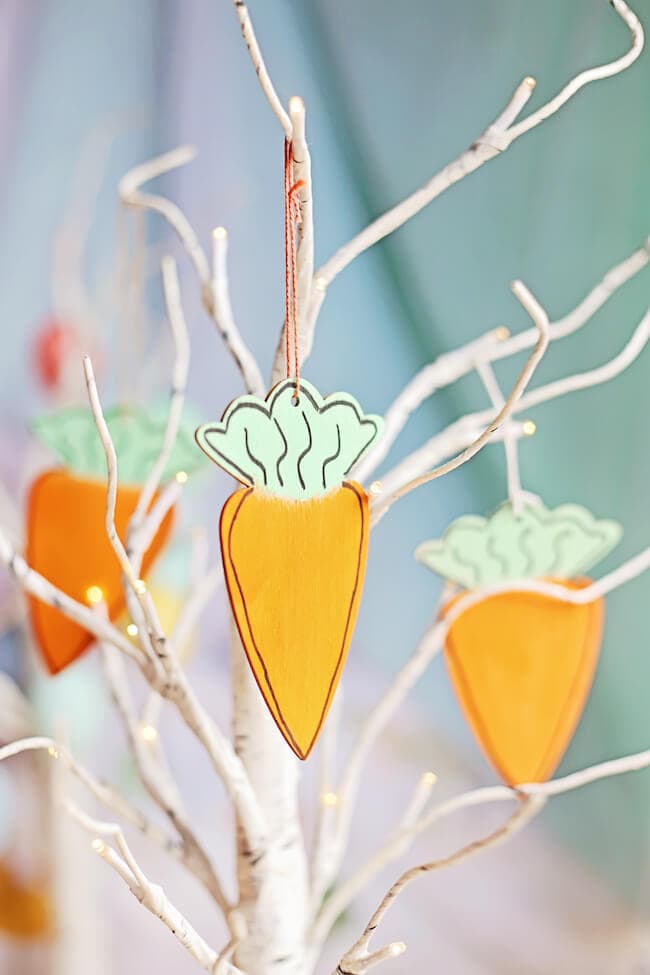
And then your cute Easter tree ornaments are ready to hang! Here’s the finished wooden carrot ornaments:
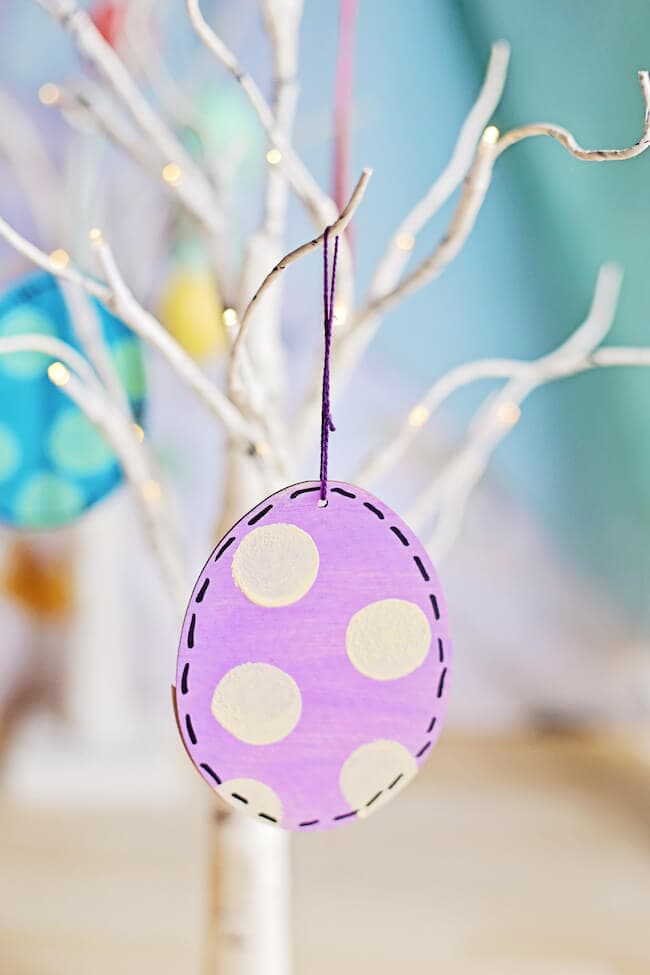
And here is the wooden Easter egg ornament:
And don’t forget, these cute Dollar Tree Easter crafts are perfect for Easter basket tags, Easter garlands, or Easter gift tags also!
Other Easter Crafts to Make for Spring Decor
Want some more Easter craft ideas that are perfect for your DIY Easter decor? Check out these other ideas:
DIY Twine Easter Eggs – Cute and Easy Easter Decor – These cute twine Easter eggs are made with plastic eggs, jute twine, and some acrylic paint! You can pick up most of these supplies from Dollar Tree while you’re purchasing the wooden Easter ornaments, and make a day out of Easter crafting!
DIY Mini Bunny Topiary – Cute Easter Decor to Make Yourself – This cute Easter topiary would look perfect on your entry table or fireplace mantel!

Hope you enjoyed these Dollar Tree Easter crafts! They really are such cute Easter ornaments to use on your Easter tree or for Easter tags!
And don’t forget to PIN this post for later:

Leave A Reply!