If you’re looking for easy DIY holiday decor ideas to make this year, then you will LOVE this DIY Christmas sign! Make this cute Christmas round wood sign with Dollar Tree supplies and the FREE holiday SVG file for your Cricut, or the FREE PDF to make it by hand.
I was browsing a new local boutique a few weeks ago and came across the CUTEST big, round wood signs. Of course, I immediately started racking my brain to figure out how I could recreate them, without the need for a fancy power saw.
I had a cheap round wood table when I was younger… the kind of table that’s so ugly and flimsy-looking that you have no choice but to cover it with a tablecloth. The table itself was ugly, but the removable round tabletop would have been absolutely PERFECT for this project. Only problem is, to purchase a similar table today is around $30… not exactly ideal for cheap Christmas crafts.
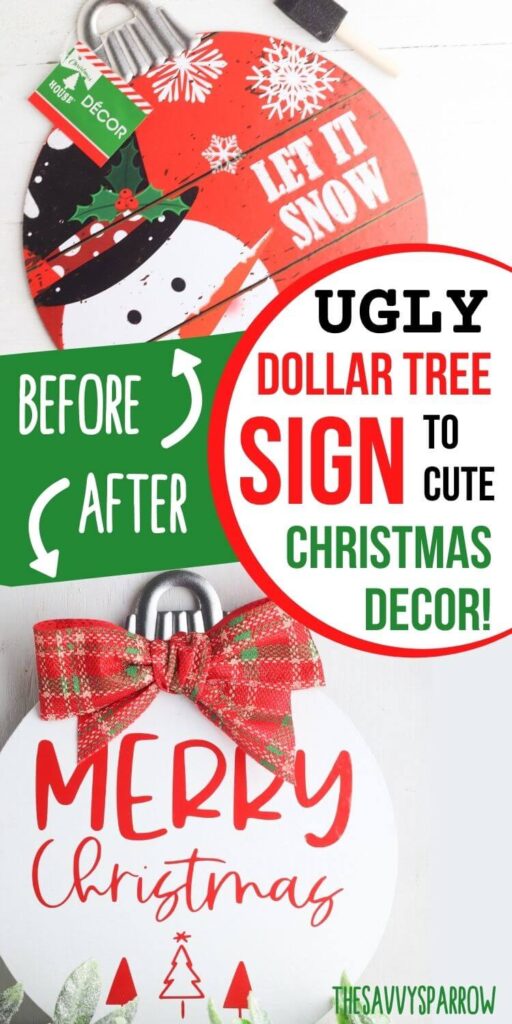
So you can imagine my delight when I ran across these wood (or maybe they’re faux wood board) Christmas signs from Dollar Tree in the shape or ornaments:
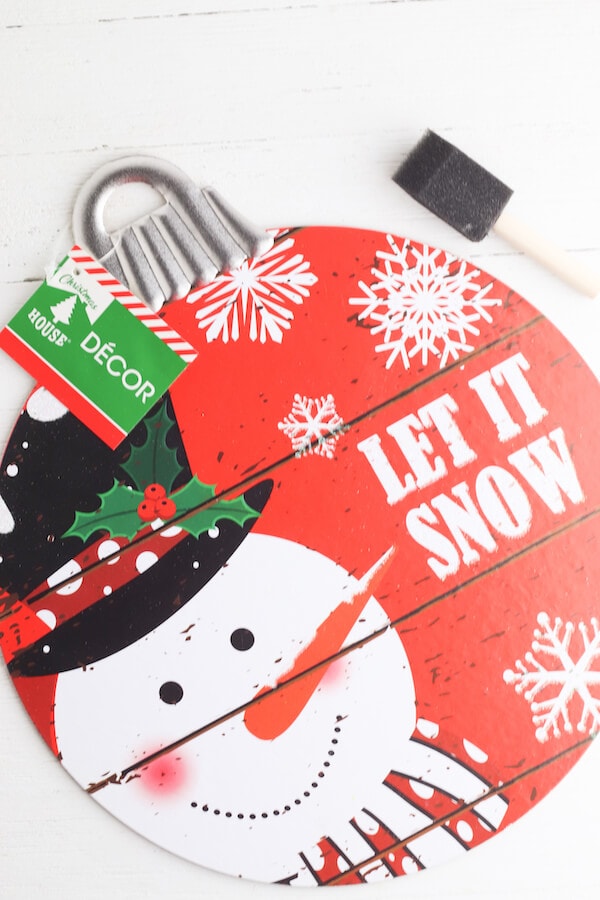
These round wood signs are the PERFECT size to hang on your front door during Christmas time or to add some festive holiday flair to your dining room buffet or a wall collage.
Just a few coats of acrylic paint, some vinyl (or hand stenciling if you don’t have a Cricut), and this Dollar Tree ornament sign gets transformed into this beautiful handmade holiday sign:

*This post contains affiliate links, which means if you click a link and make a purchase, I earn a commission at no additional cost to you. Read my full disclosure for more info.
This DIY Christmas sign is super simple to create, and you can hang the end result in your home, gift it to a friend, or even sell it online or at a craft fair. The possibilities are endless! All you need is a Dollar Tree sign, some cheap acrylic paint, vinyl, and a few other inexpensive items.
And if you don’t have a Cricut machine, don’t you worry! You can still create this cute and easy DIY Christmas wood sign!
Here’s the skinny on how to make your own DIY Merry Christmas sign:
Supplies for DIY Christmas Sign
Here are the supplies needed to make your own wood Christmas sign, with or without a Cricut machine:
Cricut Method
- Dollar Tree ornament sign – Visit your local Dollar Tree to grab one or two ornament signs for $1 each, or you can order them in bulk here.
- White acrylic paint – I usually pick up the small bottles of acrylic paint for around $1 at either my local craft store or supermarket.
- Foam brush – You can find foam brushes at Dollar Tree, or almost anywhere they sell paint and other craft supplies. I prefer to use a foam brush to a regular paintbrush, because the end result is much smoother.
- Red vinyl
- Free Christmas SVG file – Grab it down below!
- Transfer tape
- Weeder
- Plaid ribbon – I got mine from Dollar Tree, but Hobby Lobby has a great selection also.
- Hot glue gun and glue sticks
Hand Stenciled Method
*For more details about how to do lettering with carbon paper, visit this post: DIY Scroll Sign with Printable Sign Templates
- Dollar Tree ornament sign
- White acrylic paint
- “Merry Christmas” PDF – Download it at the end of this post!
- Carbon paper– This is the kind that I use and LOVE for making signs (plus it comes with a set of styluses to use to transfer your designs)! It is super affordable, and I was able to trace 5 different sign templates using just one sheet.
- Ball point pen or stylus
- Red acrylic paint or red Sharpie marker
- Small detail paint brush – If you choose to use paint instead of the Sharpie marker
How to Make this DIY Christmas Sign with Your Cricut
Now that you’ve gathered all your materials together, you’re all set to create this DIY Merry Christmas Cricut sign!
Step 1: Paint the ornament sign.
Paint the ornament sign until the graphics on the front are completely covered. You may have to do several coats in order to fully cover up the original design. Then, allow the paint to dry. While the paint is drying, you can move on to the next step.
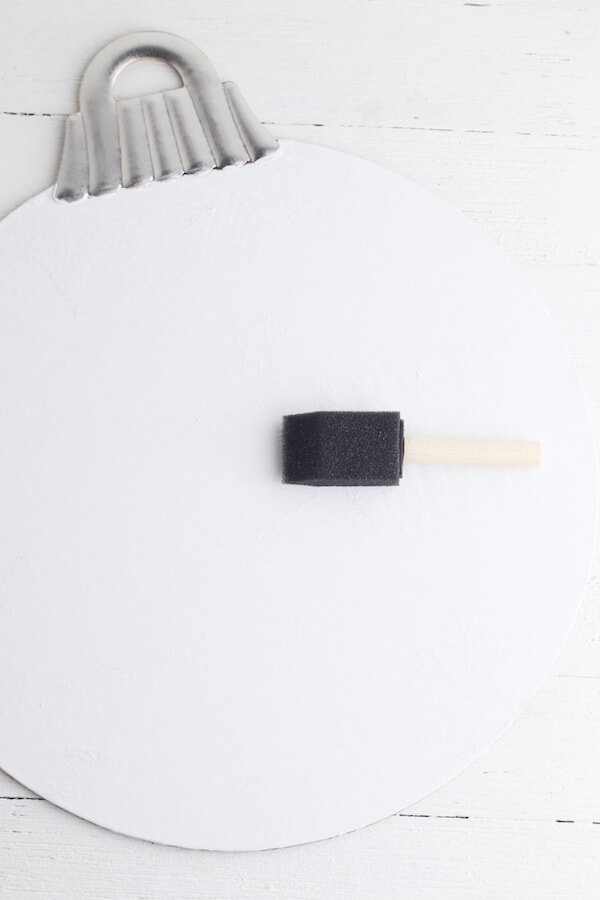
Step 2: Prep the FREE Merry Christmas SVG pattern in Design Space.
Now you’re ready to prepare your design to cut. Follow these instructions to prep the SVG file:
- Download the Merry Christmas SVG by clicking on the link at the bottom of this post. That link will take you to the file, and then you will have to download it to your computer by clicking the “download” button (probably in the upper right hand corner of your screen).
- Upload your FREE “Merry Christmas” SVG file into Design Space by clicking on the “Upload” button on the left-hand sidebar in Cricut Design Space. *There’s also a SUPER handy tutorial for how to upload SVGs to Design Space here!
- Weld the letters together.
- Resize the design to fit on the sign (7 inches tall), or adjust the size if needed to fit your own wood sign.
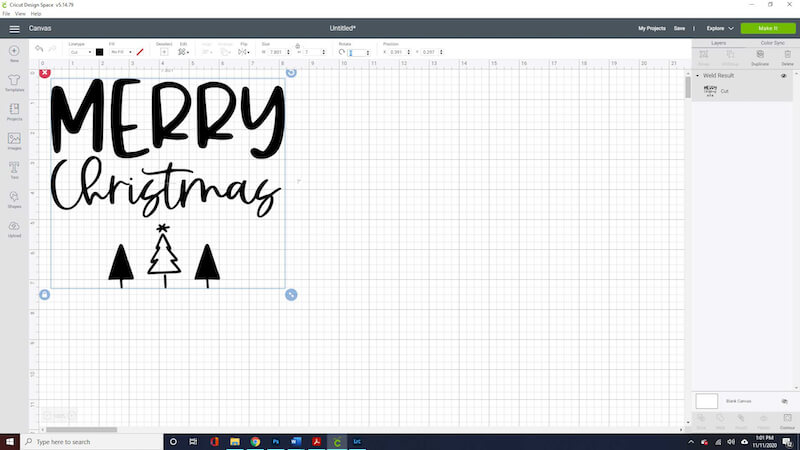
Step 3: Cut the vinyl for your DIY Merry Christmas Cricut sign.
After you’ve prepared the design, it’s time to load your vinyl and cut it out! Click on “Make It” from the top right corner, and then you will be prompted to load the vinyl into your machine with the proper cutting mat.
Next, you’re going to cut the design on red vinyl. Then, use a pair of scissors to cut out each word for your sign, and peel off any excess vinyl with your weeding tool.
Step 4: Transfer the Merry Christmas design onto the sign.
Use transfer tape to transfer the design to the sign. If you’re struggling with this part, here are a few helpful tips:
- Start at one end of the transfer tape and press down slowly across the design.
- Use a scraper tool to smooth out the tape, eliminating any air bubbles or uneven surfaces.
- Pull the tape down at an angle when removing it from your design.
- Use Regular Grip transfer tape. If you use Strong Grip, you run the risk of ruining your vinyl cutout.
- If you’re more of a visual person, you can also check out this helpful tutorial.

Step 5: Attach the bow to the sign.
This is always the tricky part for me because I am not a natural when it comes to making bows look pretty for my DIY projects. If you are, please tell me all of your secrets!
If you want step-by-step instructions on typing the perfect bow, you can find them here. Make a bow with the plaid ribbon and glue it to the top of the sign with your hot glue gun.

How to Make a Christmas Sign without Vinyl
If you don’t have a Cricut machine, then you can still make this DIY Merry Christmas sign with one of my favorite ever lettering on wood techniques! And it’s just as easy (if not easier!) than dragging out a vinyl cutting machine!
The first step is the same as the Cricut method above… you need to paint over the original Dollar Tree design using white acrylic paint. You may have to do 2-3 coats to completely cover the design (the Dollar Tree decor signs tend to be pretty bright and gaudy).
Then, follow these simple instructions for how to make this DIY wood Christmas sign without using vinyl:
Step 1: Print the Christmas Sign Template PDF.
Simply print the sign template at the end of this post on regular printer paper.
Step 2: Use a piece of black carbon paper to trace the outlines of each letter onto the white ornament sign.
First, let me point you in the direction of my DIY Scroll Signs post, where I have a FULL, detailed tutorial for how to do this simple carbon paper tracing method (plus a VIDEO explaining the process!).
*I actually made 10 different DIY signs on this scroll (including the Merry Christmas version below), and I just unwrap the scroll to switch out the signs for different holidays… It’s SUPER cool, so be sure to check it out!
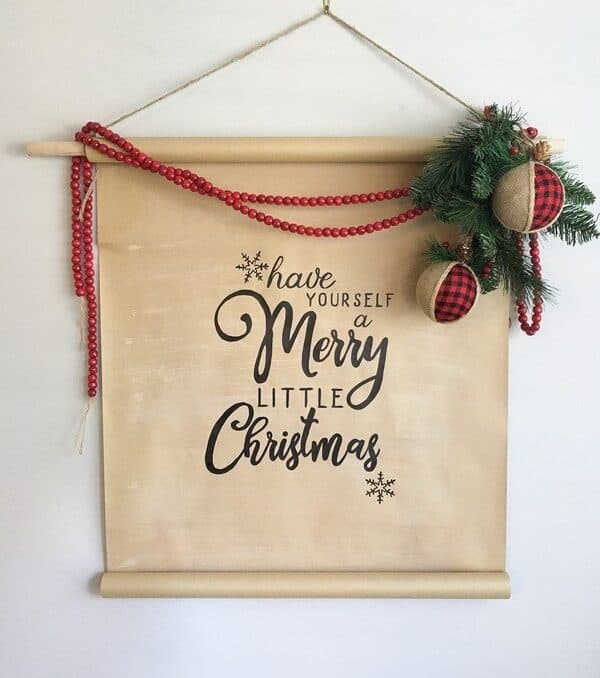
To use the carbon paper tracing method, first place one sheet of carbon paper in between your Merry Christmas PDF template and the painted wood sign. The carbon paper sheet should be shiny side down underneath your template, so that the shiny side is up against the painted sign. Make sure to line up the sign template and carbon paper so they are both centered on your wood.
If you don’t have carbon paper, you can use the same technique that I used for my DIY wood signs here, but it will take a little bit longer.
Once your template and carbon paper are positioned where you want them on the wood ornament sign, trace the outline of the design using a stylus or a ball point pen. I like the fine point of a stylus, but a ball point pen allows you to easily see the parts that you have already traced.
When tracing with the stylus, I occasionally forget the parts that I have gone over, and I have to lift the papers to see where I missed. That’s the benefit of using a colored ball point pen… you can easily tell where you’ve already traced.
If you do have to lift your design to check it mid-tracing, then be sure that you have a firm grip on your DIY sign template so that it doesn’t move.
Tracing the letters of the sign template on top of the printer paper PDF with the carbon paper underneath will cause the design to be transferred to the white wood. Then, you can move on to the next step…
Step 3: Use a Sharpie or paint to color in the outline of the letters.
When coloring in letters with this DIY sign technique, I prefer to use black permanent markers… and actually, I have found that the permanent markers from Dollar Tree work better than Sharpies for these sign projects!
But, since the lettering on this Merry Christmas sign is red, you can choose to use either a red Sharpie marker or red acrylic paint and a fine-tipped paint brush. The nice thing about a marker, however, is that you have much greater control and filling in the letters is much easier, in my opinion.
*Remember, you can refer to this post on DIY scroll signs for detailed instructions on how to transfer the lettering to your Merry Christmas sign if you need help!
Step 4: Attach a bow to the top of your sign.
Follow the instructions above for hot gluing a bow to the top of your sign, and you’re done!
Isn’t this Merry Christmas DIY sign so stinkin’ cute?! And for just a fraction of the price of the ones that I fell in love with in that expensive boutique!
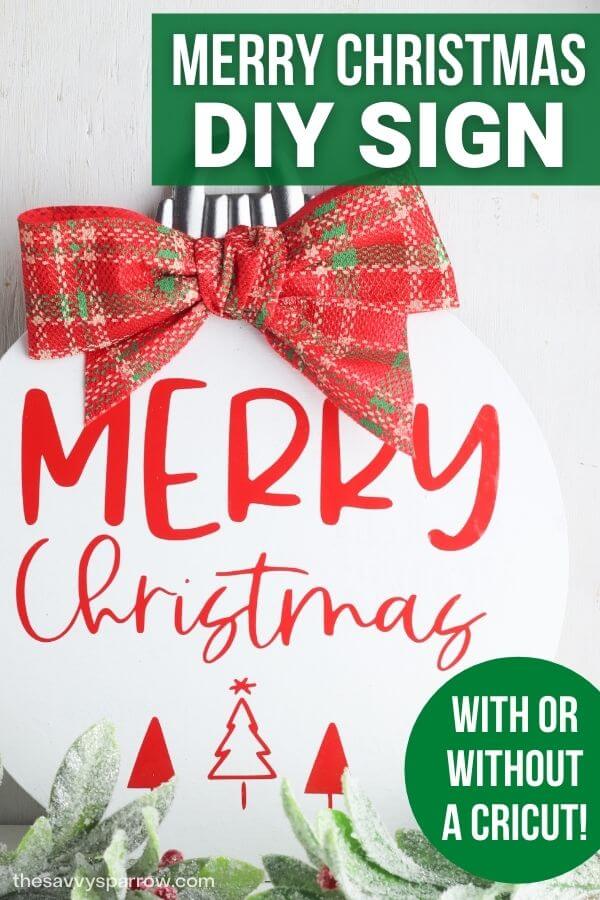
FREE Merry Christmas SVG and PDF Templates
Just click on the links below to download the holiday sign template in either SVG or PDF form, depending on which lettering transfer method you are using!

Click HERE For the FREE SVG File for Cricut
Click HERE for the FREE PDF File for Hand Lettering
*Note – The PDF version for stenciling your sign by hand has two sizes – one for the smaller Dollar Tree signs like I made, and a larger “tiled” version that prints out on 4 pieces of US Letter size paper. To make a larger holiday sign, you can use the tiled version and tape the pieces together for a larger template.
Other Easy Christmas Crafts
After you’re done making your DIY Merry Christmas sign, pour yourself a steaming mug of hot cocoa, cozy up by the fire, and celebrate your success… Then check out some of my other easy and inexpensive DIY Christmas projects:

Hope you enjoyed this easy DIY Christmas decor idea! And don’t forget to PIN this post for later:

Leave A Reply!