These DIY wood slice ornaments are the PERFECT Christmas Cricut crafts for beginners! Learn how to make your own wood slice ornaments with vinyl in just a few simple steps! Or, make these wood Christmas ornaments with carbon paper if you don’t have a vinyl cutting machine.
I am redoing my Christmas tree decorations this year, so I have been in full ornament-making mode. Our brightly colored, shiny ornaments of Christmases past are being replaced with rustic, neutral Christmas decor.
But instead of going out and spending hundreds of dollars on all new Christmas ornaments, I’m doing some fun and easy DIY ornaments, like these rustic wood slice ornaments.
I’ve got a nice supply of fallen branches in my backyard, so these ornaments were super cheap to make. Just a little bit of twine, some vinyl, and an inexpensive bottle of acrylic paint, and you’ve got yourself some cute Cricut Christmas ornaments, perfect to give as gifts, to hang on your tree, or to sell at craft fairs this holiday!
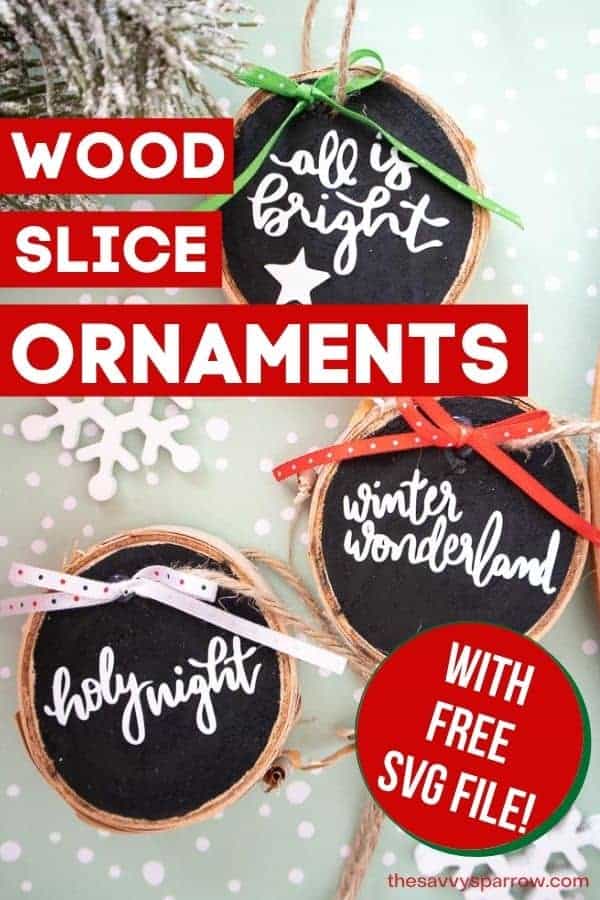
Here’s how to make these DIY wood slice ornaments:
Supplies for DIY Wood Slice Ornaments
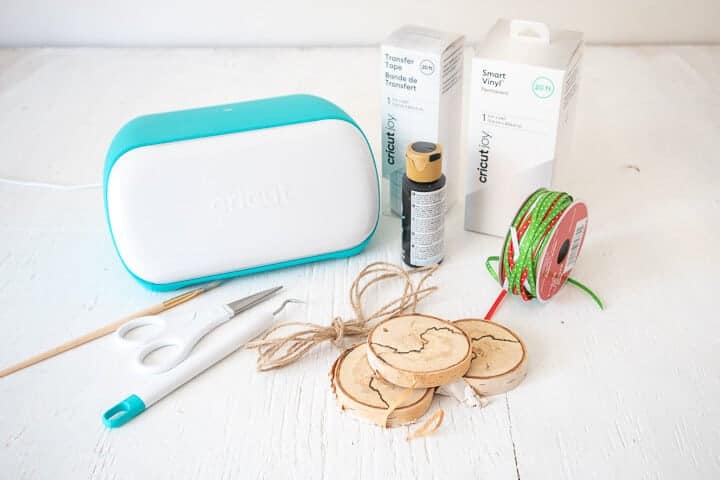
- Wood slices, about 2.25” diameter x ⅜” thick – You can buy wood slices at most craft stores, or cut your own if you have a wood pile in your backyard!
- Black acrylic paint – I like to use the small bottles that you can get at the craft store for less than $1.00.
- Paintbrush
- Twine or decorative ribbon of your choice
- Hot glue gun and clear glue sticks
Supplies if Making the Ornaments with a Cricut
- Cricut Joy
- Smart Vinyl, Permanent in white
- Holiday SVG file – Click HERE for the FREE Christmas Ornament SVG File!
- Weeder
- Scissors
- Cricut transfer tape
Supplies if Making the Ornaments with Carbon Paper
- White carbon paper
- Stylus tool or ball point pen to use for tracing
- White Sharpie paint pen or white acrylic paint and a small paintbrush
- Wood Slice Ornament Templates in PDF form – Same as the Holiday SVG file, just in PDF form so you can print it on your home printer!
How to Make Wood Slice Ornaments with Vinyl
After you’ve got your supplies together, you’re ready to start on these super easy DIY Cricut Ornaments:
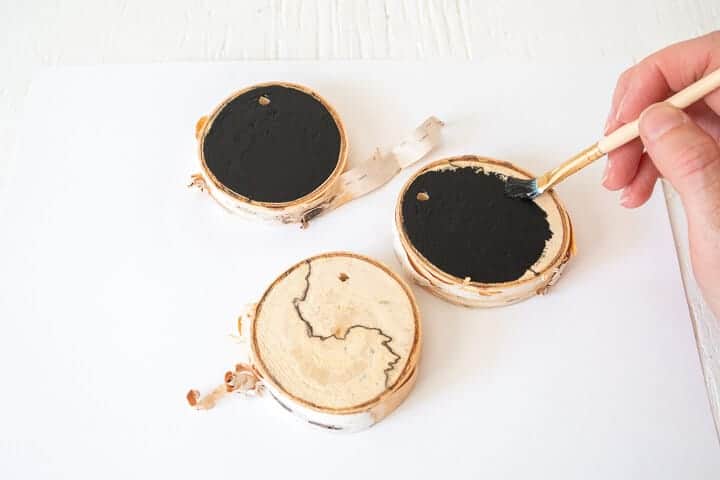
Step 1: Paint the wood slices.
Paint both sides of the wood slices with your black acrylic paint. While the paint is drying, you can move on to the next step, prepping your vinyl cut outs.
Step 2: Prep the FREE Christmas SVG pattern in Design Space.
Next it’s time to get your design ready to cut. First, upload the Holiday SVG File into Design Space.
With the image highlighted, click on “Ungroup” to separate the images.
Then adjust the sizes of the phrases and images to fit your wood slices. Or, if your wood slices are similar in size to mine, then you can just leave the sizing at 2″ wide.
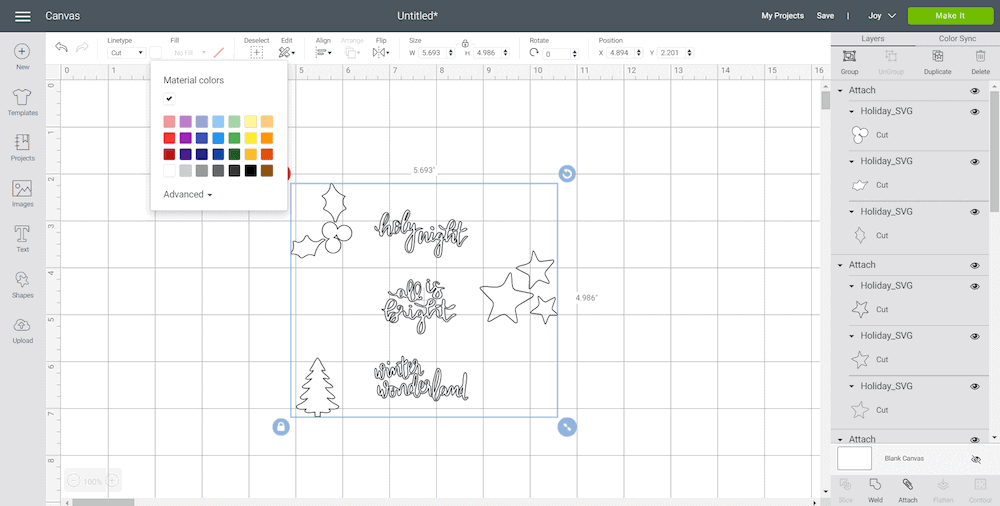
Next, highlight one phrase at a time and click on “Attach”. Then, highlight each individual set of images (for example, the 3 stars) and click on “Attach”.
Step 3: Cut the vinyl for your DIY wood slice ornaments.
Now it’s time to load your vinyl and cut the design. First, make sure that the machine type is set to Cricut Joy in Design Space. Then, click on “Make It”.
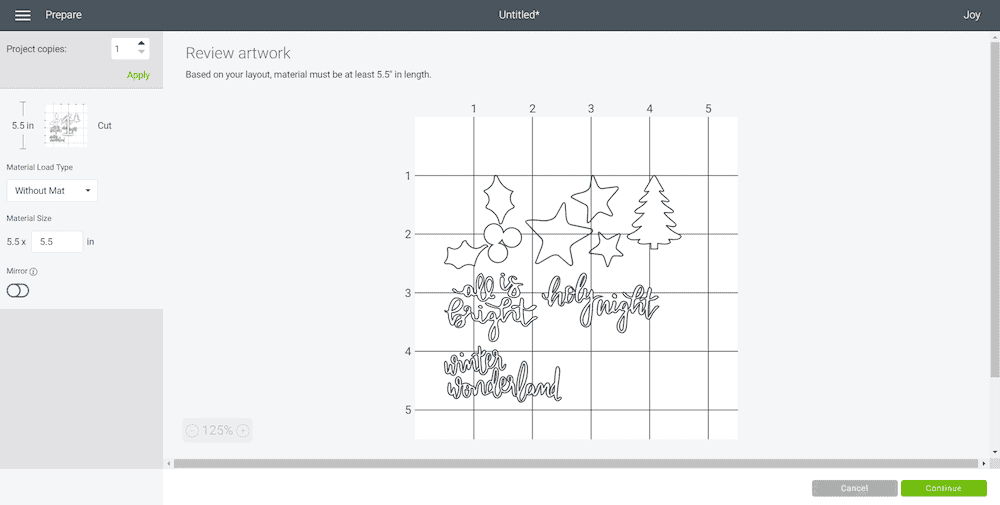
Choose “Without Mat” as the option for cutting when using Smart Vinyl. Set material type to Smart Vinyl.
Then, follow the prompts for loading the mat into the Cricut Joy and cutting the Smart Vinyl. When prompted, unload the vinyl from the cutting machine.
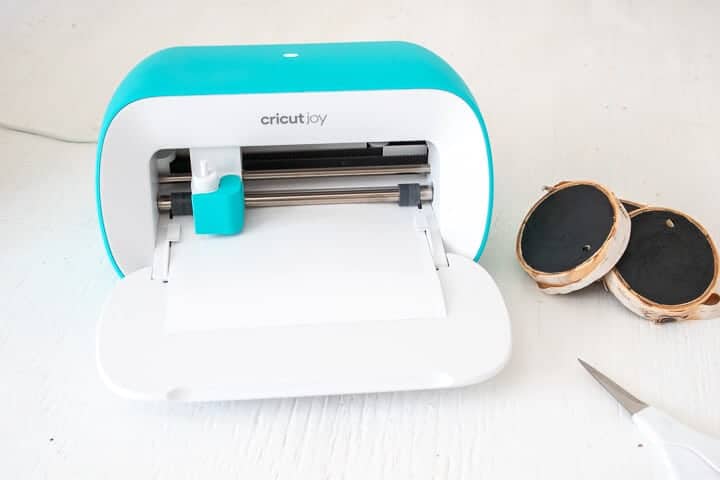
Step 4: Apply the vinyl Christmas phrases to the wood slices.
After your vinyl is cut, it’s time to apply it to your DIY wood slice ornaments.
First, use scissors to cut around each phrase and image. Then, use your weeding tool to peel away the excess vinyl.
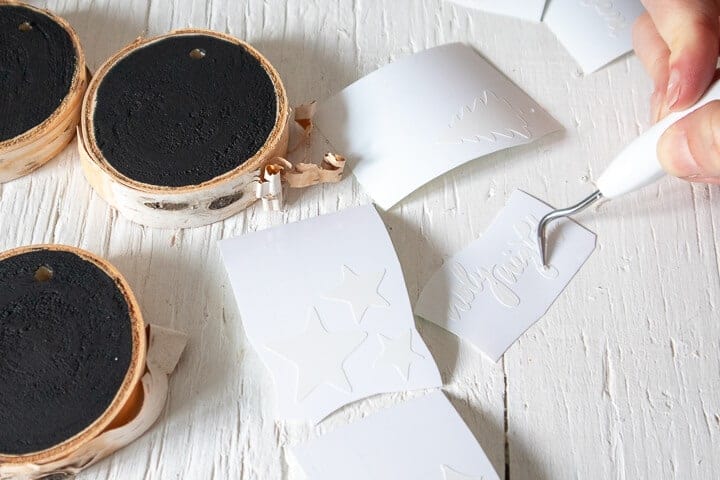
Next, cut a piece of transfer tape a bit larger than the size of the phrase or image. Then, peel away the backing on the transfer tape, and place the transfer tape on top of the cut image. Rub the vinyl with gentle, even pressure to help it stick to the transfer tape.
You can also use your scraper tool for this:
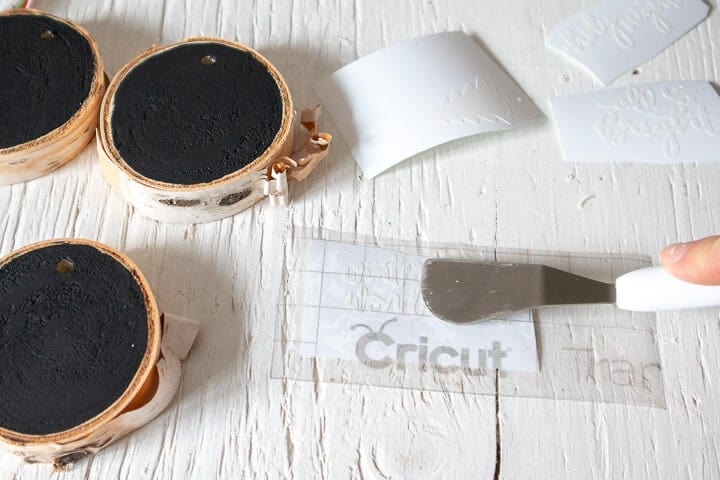
Then, peel away the backing on your vinyl piece, and place the vinyl image on to one side of the wood slice. Gently rub the vinyl to help it stick to the wood slice. You can use your hand, an old credit card, or the Cricut scraper tool for this.
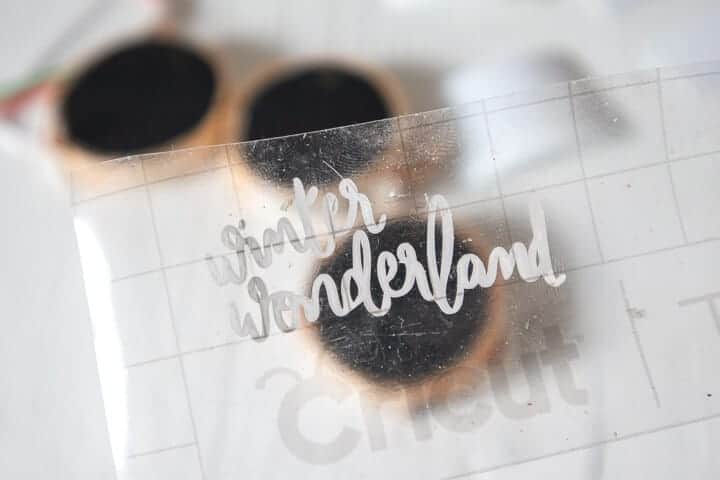
Then, once your vinyl is good and stuck, carefully and slowly peel away the transfer tape.
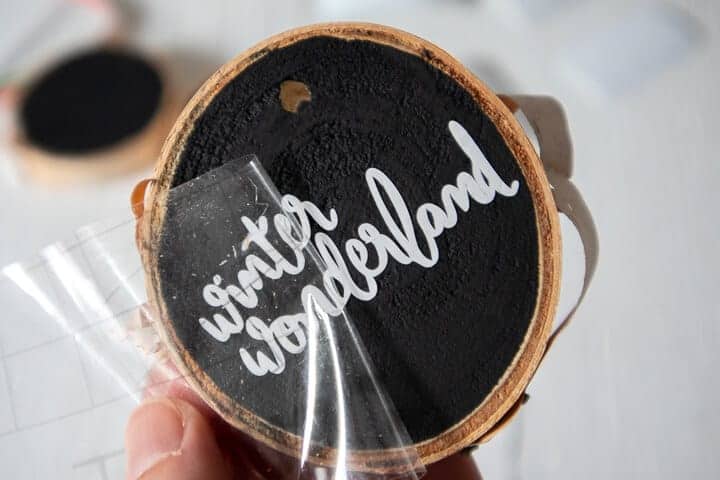
Repeat the steps to add vinyl to all of your ornaments. If you want, you can also brush on a few layers of Mod Podge on top of the vinyl to ensure that it stays in place.
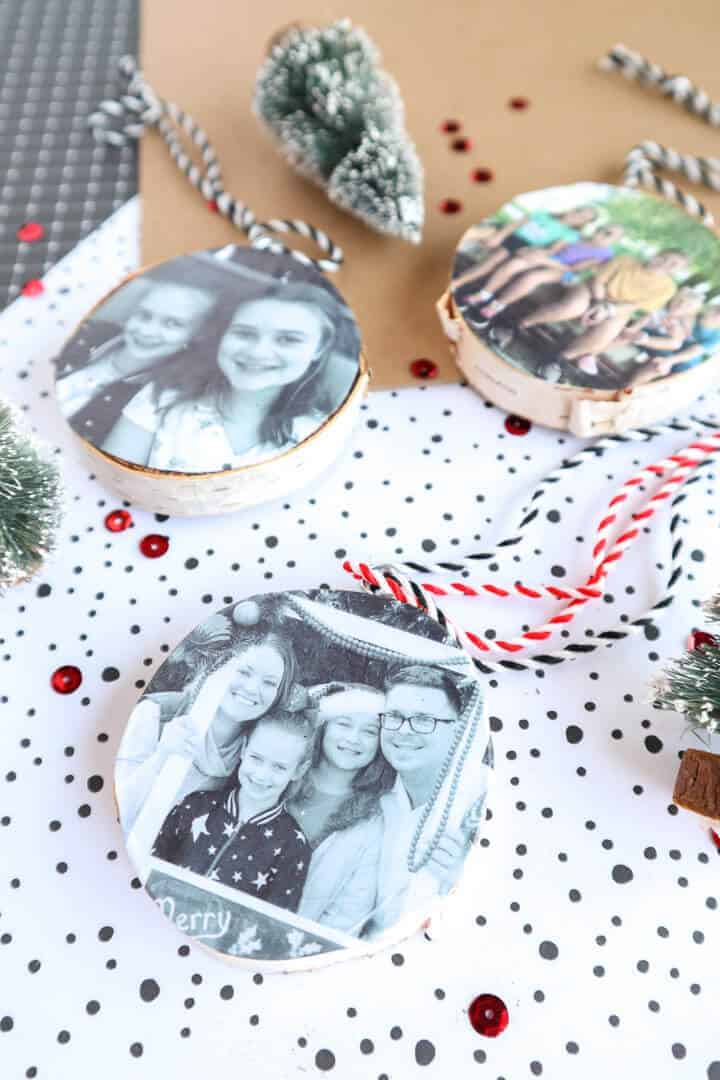
I added a Christmas phrase to one side of my ornament and a Christmas image to the other side. You could also add a photo to one side of your wood slice ornaments, if you want.
Go HERE to see how to make your own DIY photo Wood Slice Ornaments… they’re SUPER easy!
Step 5: Assemble your DIY Wood Slice Ornaments!
Now that you’ve applied the vinyl to all of your DIY wood slice ornaments, you’re almost done!
To assemble the ornaments, cut three pieces of twine 9” long. Insert one end of the twine through the hole at the top of the wood slice and tie the ends together to make a loop. This will be the hanger for your ornaments.
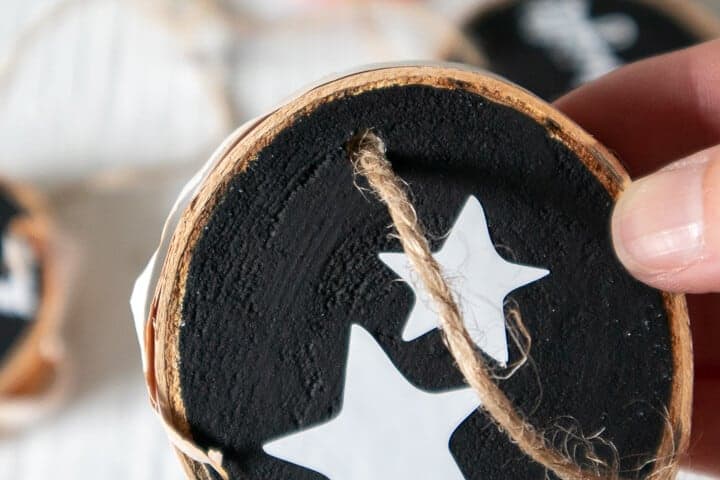
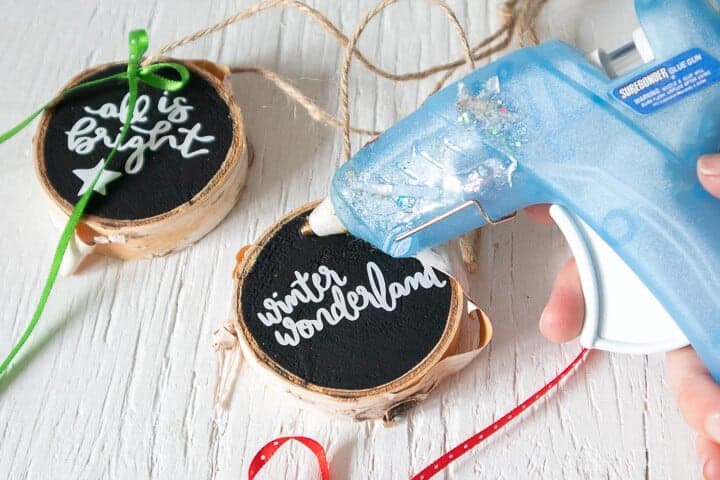
Then, for the cute bow detail, cut a piece of decorative ribbon 6” long. Tie the ribbon into a small bow, and hot glue the bow near the top of the ornament.
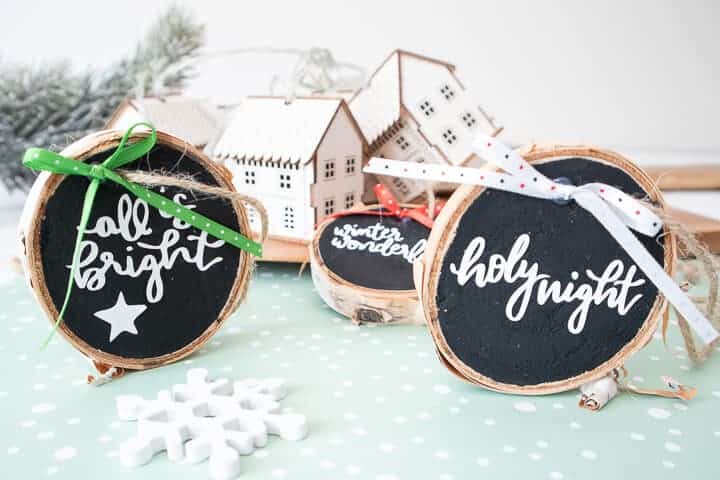
And that’s it!
Told you these cute wood ornaments were super easy to make!
How to Make Wood Slice Ornaments Without a Cricut
If you don’t have a Cricut, don’t worry! You can still transfer designs to wood using carbon paper!
Carbon paper is one of my absolute FAVORITE crafting tools, because it allows you to create beautiful home decor, even if your handwriting looks like chicken scratch!
You can go to this post on DIY Scroll Signs to see how to use carbon paper to transfer lettering and other designs onto pretty much any surface, including paper, wood, and canvas. I’ve even got a handy video in that post to show you how to do the carbon paper transfer method.
Then, click the link below to download the Free Holiday Designs template in PDF form, and print it out to trace with the carbon paper. Don’t worry… it will all make sense when you hop over to the DIY Scroll Signs post!

Grab the FREE Wood Slice Ornaments Template in PDF Form HERE!
*Note – Since you will be tracing your design on to a BLACK surface, you will need WHITE carbon paper. If you try to use black carbon paper to transfer a design to a black painted surface, you won’t be able to see the marks.
After you’ve got the holiday designs transferred to your wood slices using the carbon paper, then just color in the lines of the lettering and images using a Sharpie paint pen or white acrylic paint. Refer to the DIY Scroll Signs post to see how I did this!
Super easy! And no Cricut machine needed!
I hope you’ve been inspired to create some of your own Christmas decor this year! And be sure to check out some of my other DIY Christmas ideas:
- DIY Felt Christmas Trees with Christmas Tree Pattern – You can make these with OR without a Cricut!
- 70+ DIY Christmas Gifts You’ll Want to Keep for Yourself! – Awesome ideas, even if you’re not crafty or you’re short on time!
- Easy Gingerbread House Crafts for Kids with FREE Printable Template! – Fun and easy Christmas crafts for kids!
Or, hop over to The Pioneer Woman for some more DIY rustic Christmas ornament ideas!
And happy nesting!

Leave A Reply!