
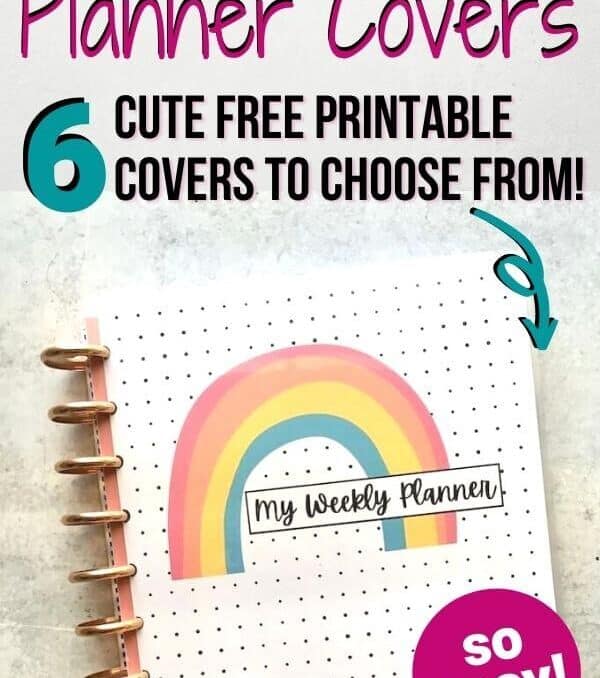
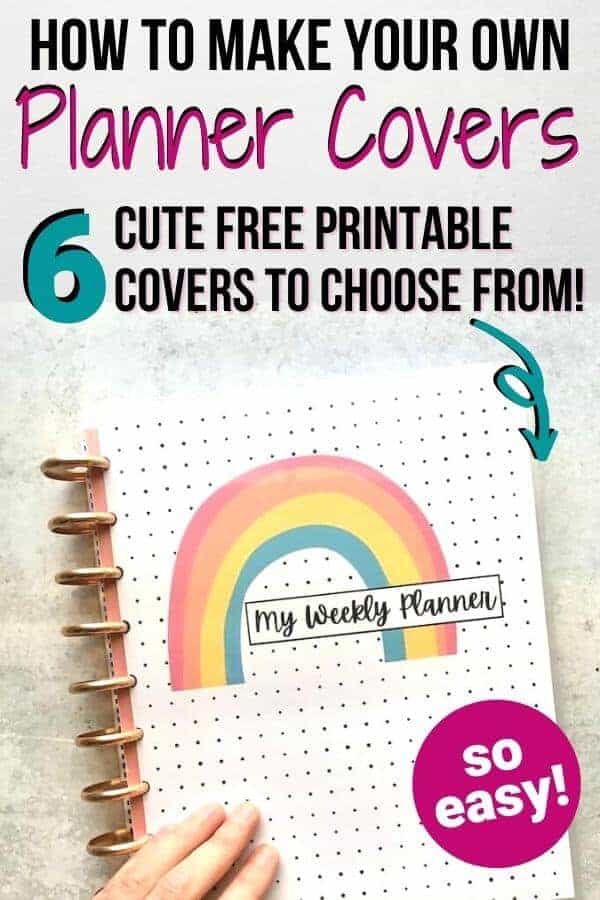
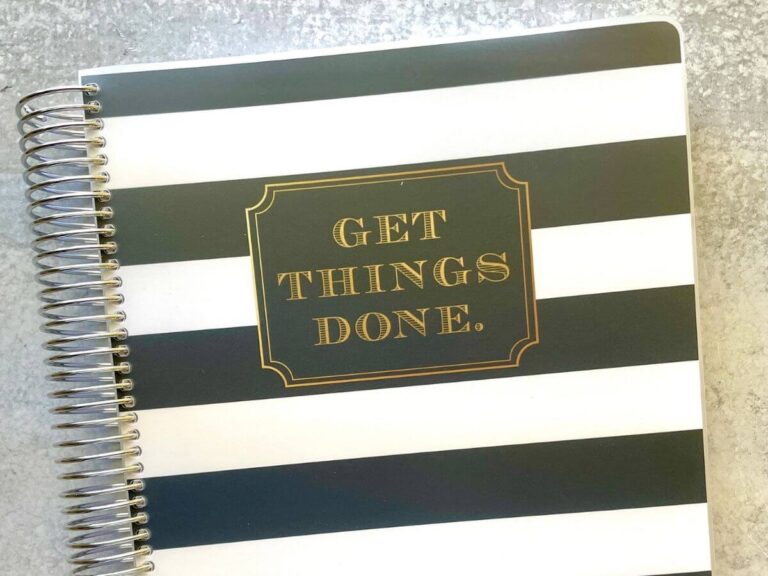
Want to know how to make your own planner cover? Learn how to make DIY Planner Covers with free printables so you can create the perfect cute and customized planner in minutes!
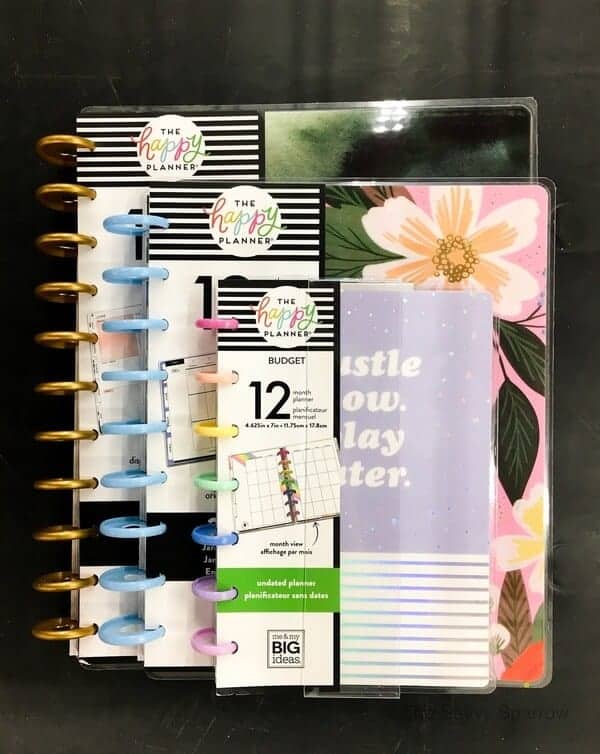
I was recently reading through readers’ comments on my post about Everything You Need to Know about the Happy Planner, and I came across a gal that said she made her own Happy Planner covers after not being able to find one that she really liked.
And that got me thinking…
I have a laminator. I have card stock. I have binder rings and disc-bound rings. And I have some knowledge of how to create super cute graphics.
I can totally do that, too!
And I’m glad I did! Making your own DIY Planner Covers for the Happy Planner is so SUPER easy, especially when you use my free printable planner covers!
Thanks to my handy classic Happy Planner punch, which I also used to add these cute printable habit trackers to my planner, I was able to whip up some new, cute and colorful planner covers in minutes.
Here’s how to do it:
*This post contains affiliate links, which means if you click a link and make a purchase, I earn a commission at no additional cost to you. Read my full disclosure here.
Supplies for DIY Planner Covers
- Free printable Planner Covers – You can grab mine for FREE down below!
- White card stock – I used 65 lb card stock… any thicker and it may be difficult to use the hole punch with your laminated planner covers.
- Laminator – This is the one that I have and LOVE!
- Laminating pouches in 5 mil – These are the ones that I use, and they are perfect for SO many different projects!
- Paper trimmer – Mine is from Stampin’ Up. A paper trimmer is not necessary because you can just use scissors, but it is HIGHLY recommended!
- Happy Planner Paper Punch – I got mine at JoAnn’s using a 50% off coupon, so it was a great deal! If you don’t have a craft store nearby, you can find them here.
- Happy Planner discs – which you should already have if you use the Happy Planner
DIY Planner Cover Sizes
Before I show you just how easy it is to make your own Happy Planner covers, let’s go over the sizes…
You may notice that my free printable planner covers are just a tad bit smaller than the standard Happy Planner cover sizes… that’s because you have to leave room for the laminating pouches to properly seal around all sides of your planner cover.
All of the printable DIY planner covers are 1/4″ smaller (width and height) than the regular planner covers, allowing you to leave at least 1/8″ of a laminated seal on all sides.
Here are the measurements for regular Happy Planner covers that you would buy in the store:
Mini Happy Planner Cover Size
The Mini Happy Planner comes with a 5.125″ x 7.5″ cover, so you will want to cut your DIY Planner cover to about 4.75″ x 7.25″ before laminating. Don’t worry about getting the 1/8″ just right… it’s more about leaving enough lamination trim around the edge of your cover.
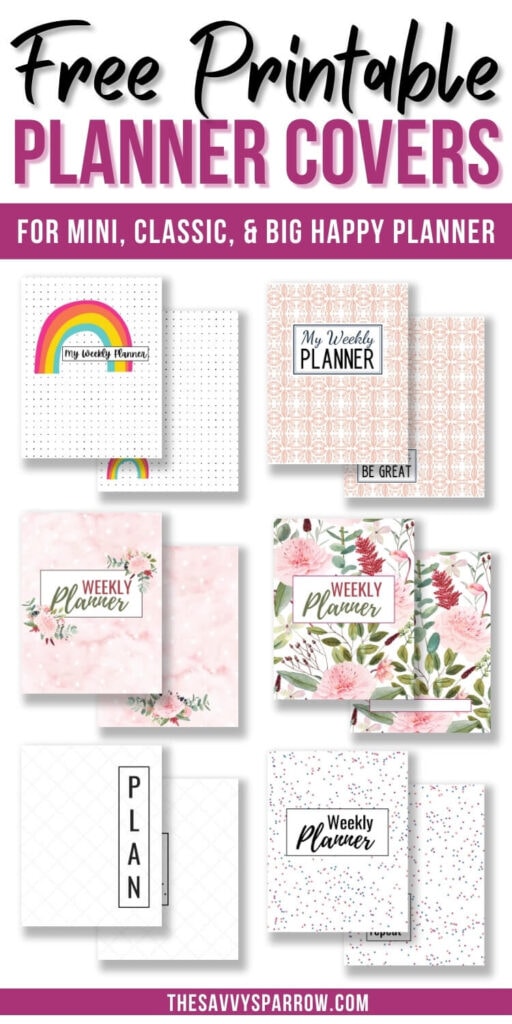
And be sure that you download the correct planner covers! I’ll provide you with 3 different sized covers, so you can pick the one that you need!
Classic Happy Planner Cover Size
The Classic Happy Planner cover size is 7.75″ x 9.75″, so my printable planner covers should be cut to 7.5″ x 9.5″ before laminating. Then, you can leave about 1/8″ of lamination all the way around.
Big Happy Planner Cover Size
The Big Happy Planner cover size is 9″ x 11.25″, so it’s best if your printer can print that size… which is larger than a standard US letter size paper, 8.5″ x 11″.
If your printer can only print as large as 8.5″ x 11″, then you have a few different options:
- Get the planner covers printed at an office supply store on larger paper.
- Print the planner covers on REGULAR copy paper (not card stock!), and then glue the copy paper to a card stock backing that measures 9″ x 11.25″. *Note – You don’t want to print on card stock AND use a card stock backing, because then your planner cover will be too thick to fit in the Happy Planner punch! I recommend using a tape runner if you go with this method!
- Print the planner covers on 8.5″ x 11″ card stock. Then, cut a strip of a second sheet of card stock about 1/2″ wide by 11″ long. Then, use a coordinating washi tape to stick the 2nd strip of card stock to the planner cover before running it through the laminator.
How to Make Your Own Planner Covers for Happy Planner
Step 1: Print the FREE Planner Covers on white card stock.
For the BEST DIY Planner Covers, I recommend that you print the covers at FedEx Kinko’s, unless you have a really awesome home printer. I find that when I am printing files with a lot of solid blocks of color, the quality is better if I print at an actual print shop.
You can even download the free planner covers to your computer, and then upload them to a site like staples.com or fedexkinkos.com to have them printed. Then all you have to do is go in and pick them up – that’s what I did with these GIANT DIY Wall Calendars that I made!
Notes for printing the FREE Planner Covers:
- Set your printer to ACTUAL size! This is very important, because then your planner covers will print in the correct size for your Happy Planner!
- Use card stock. – Card stock is much thicker than regular printer paper, and when combined with the laminating pouches, it will give you a nice and sturdy planner cover. I recommend 65 lb card stock.
- You can always test first! When in doubt, just print off a “test” cover on regular copy paper in black and white to be sure that the sizing is correct for your planner.
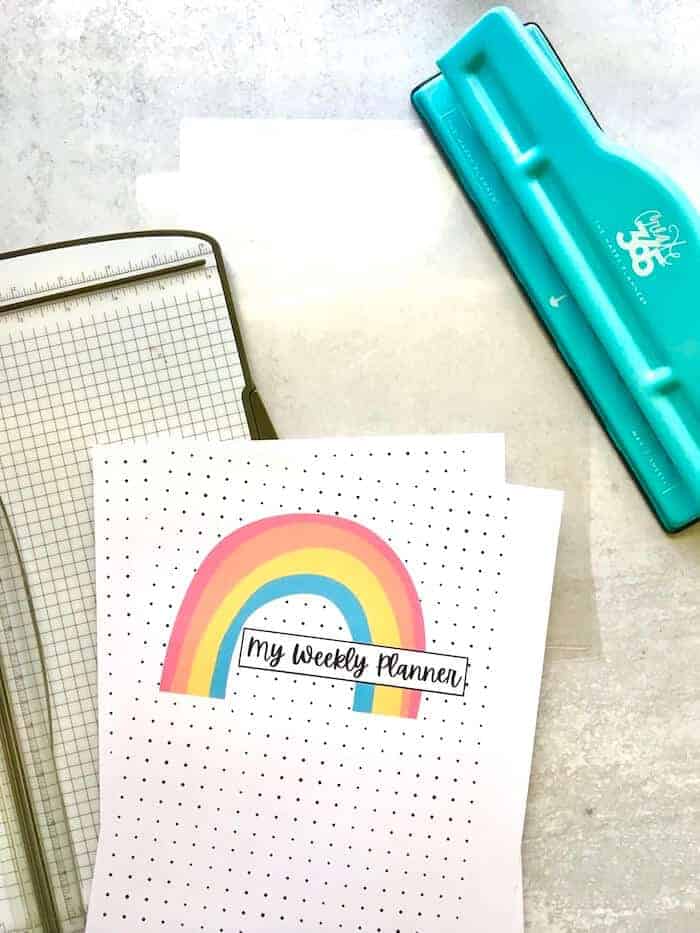
Step 2: Cut the printable planner covers to the correct size for your planner.
Remember this… Cut FIRST, laminate SECOND. You always want to cut your paper down to the finished size that you need BEFORE running it through your laminator. If you don’t, then the “seal” from the lamination will be broken when you try to cut the paper and lamination together.
You can use the planner cover sizing guide listed below so you know what size to cut your card stock planner covers:
| Happy Planner | Finished Cover Size | Cut DIY Cover to |
|---|---|---|
| Mini Happy Planner | 5.125″ x 7.5″ | 4.75″ x 7.25″ |
| Classic Happy Planner | 7.75″ x 9.75″ | 7.5″ x 9.5″ |
| Big Happy Planner** | 9″ x 11.25″ | standard US Letter |
** See notes above under “DIY Planner Cover Sizes” for tips on printing the Big cover sizes!
Then, once the front and back are both cut, move on to the next step.
Step 3: Laminate the front and back planner covers.
Using a 5 mil laminating pouch, laminate each cover (front piece and back piece).
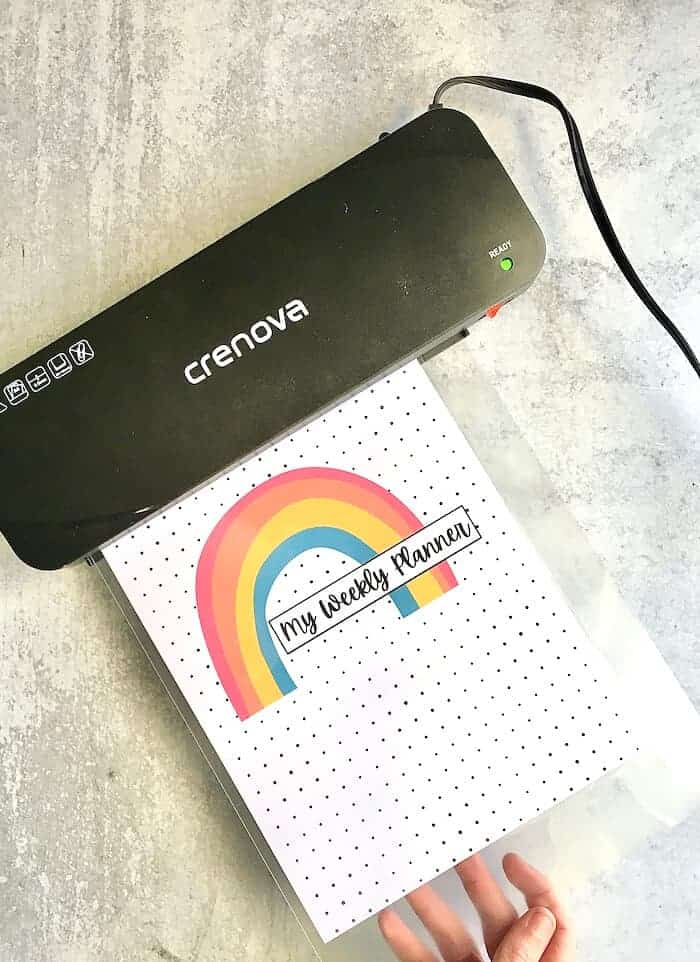
I think the 5 mil size is perfect for these DIY planner covers! A 3 mil pouch will not be near as sturdy, and a pouch that is larger than 5 mil probably won’t punch well with your paper punch.
You’ll notice in the photo above that I left a small margin of clear lamination on the left side of the card stock. This is what I was referring to earlier, about the pouch needing an area to create a seal. I just eye-balled my margin (it’s between 1/8″ and 1/4″), but you can measure it precisely if you want to get a perfect Happy Planner cover size.
Step 4: Trim the laminated planner covers to the correct size.
After you’ve laminated the front and back covers, it’s time to trim them down to the correct size. Remember, you don’t want to cut too close to the edge of the card stock, because the seal from your lamination will be broken!
I highly recommend using a paper trimmer for this so that you have a nice and straight cut.
Here is what your laminated planner covers should look like at this point (if you choose the rainbow and black polka dot cover):
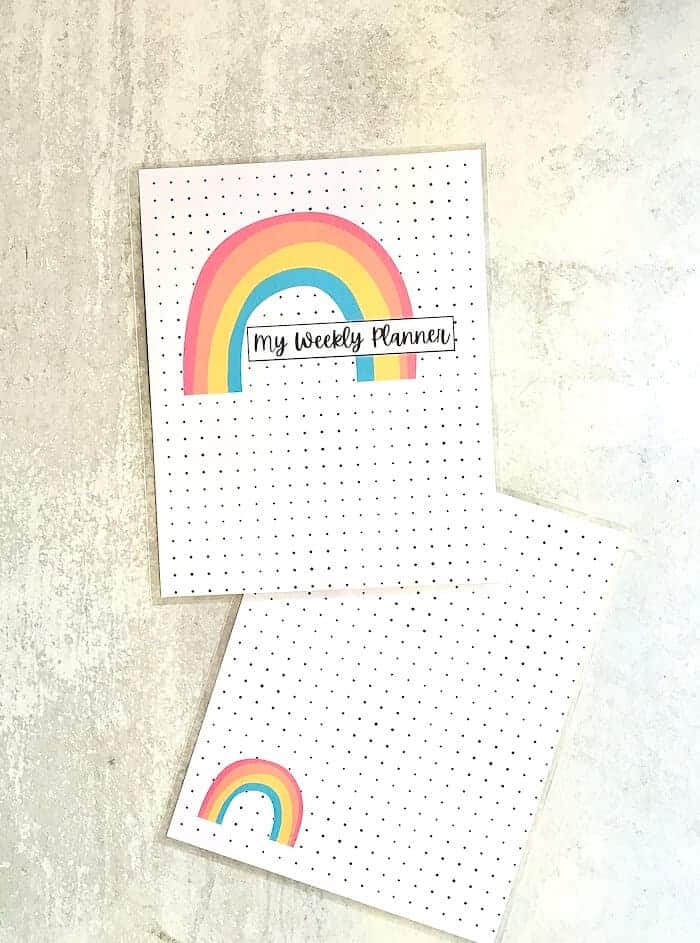
Look closely and you’ll see that there is a small clear plastic margin all the way around.
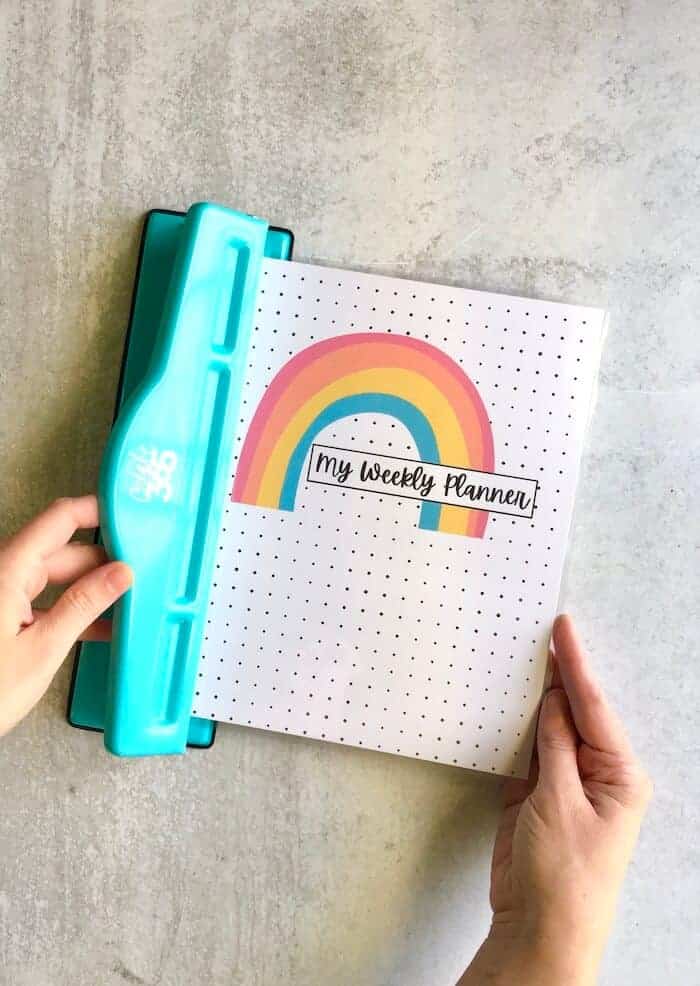
Step 5: Hole punch the laminated planner covers and add to your planner!
You definitely want to make sure that your Happy Planner punch is nice and sharp before punching your first cover. (The Crafty Journal has some good tips for sharpening craft punches, and it’s SUPER easy!).
You also want to be sure that you clear out all of the plastic from your punch before moving on to the back piece of your planner cover… I learned that the hard way.
I didn’t clear all of the excess plastic lamination sheet after punching my first piece, and then the second piece got stuck and one of the holes ripped when I was trying to remove it.
Remember… I make the mistakes so you don’t have to! 🙂
And speaking of mistakes… I made another HUGE mistake on my first try at these… I punched the left side of both the front AND back pieces. But actually, you will need to punch the RIGHT side of the back cover so that it goes on properly!
Let me say that again for you in the back…
VERY IMPORTANT – Punch the LEFT side of the front cover and the RIGHT side of the back cover!
Then, all you have to do is snap your new DIY Planner Covers right onto your Happy Planner discs, and you’re all done!
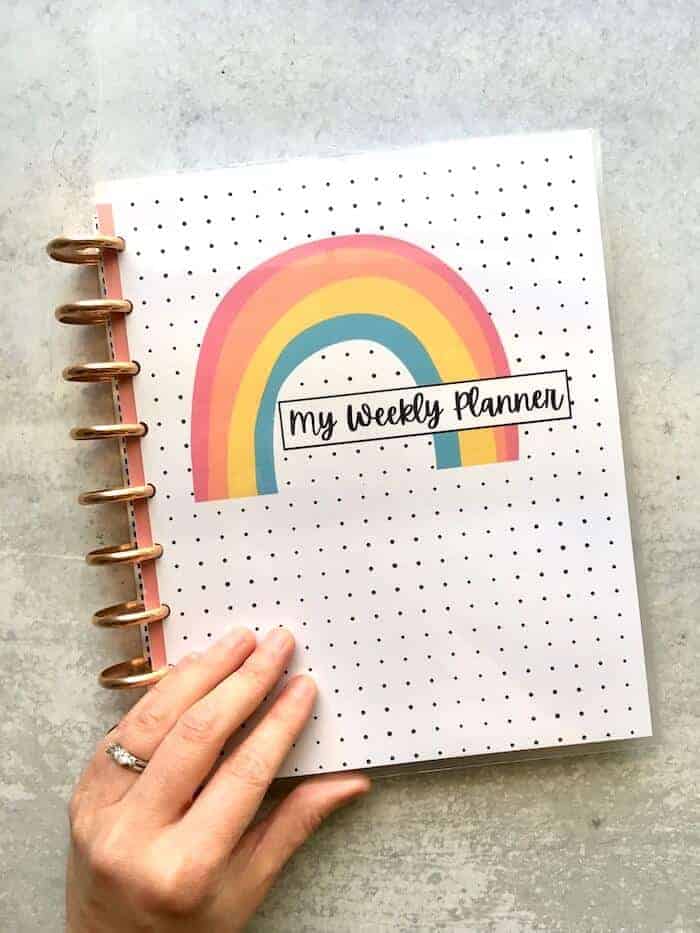
Isn’t it so stinkin’ cute?! You can’t see me, but I’m patting myself on the back!
One thing to note – See the coral color strip on the left margin? That’s NOT part of the planner cover design… it’s actually the first page in my planner, which just happens to match perfectly with the color of the rainbow. Because you need to leave a strip of clear lamination all the way around your cover, and because of the positioning of the hole punch, you WILL be able to see a small strip of the first page in your planner underneath. If it bothers you, then just be sure to use a white page as your first page, because then it won’t be as noticeable.
Free Printable DIY Planner Covers – 6 Designs to Choose From!
Okay… this is what you’ve been waiting for… the FREE printable DIY Planner Covers!
When you join my FREE email newsletter, then I’ll send you the planner covers as a FREE welcome gift! Plus, you’ll get the password to my entire FREEBIES library! Just use the form below:
Other Planner Ideas
After you’ve made your own planner covers for your Happy Planner, maybe you want to add some cool custom pages, too! I’ve got some cute free printable Habit Trackers you can add to your planner HERE!
*You can visit Happily Ever After Etc. for how to resize printables for your Happy Planner… great for these habit trackers!
And if you want some ideas for what to put in your planner, then check out this post: 75+ Things to Keep Track of in Your Planner to Help You Stay Organized!
And happy nesting!

Thank you, these are beautiful! My teen and I are going to use them in our digital planners! ♥
look forward to seeing what u have
Hi! Quick question: when you punch the holes, don’t they open the seal on the lamination? It happened to me and created a bubble that keeps growing as a use the cover. Some covers behave better than others, but there’s always a bubble. Any tips?
Thanks!
Anna
These lists and covers you camksound great!
Thank you so much for all you’re amazing info
You’re welcome Angie! Glad you found the DIY planner covers idea helpful! 🙂
These products are amazing!
Yes, I totally agree! Love my Happy Planner!