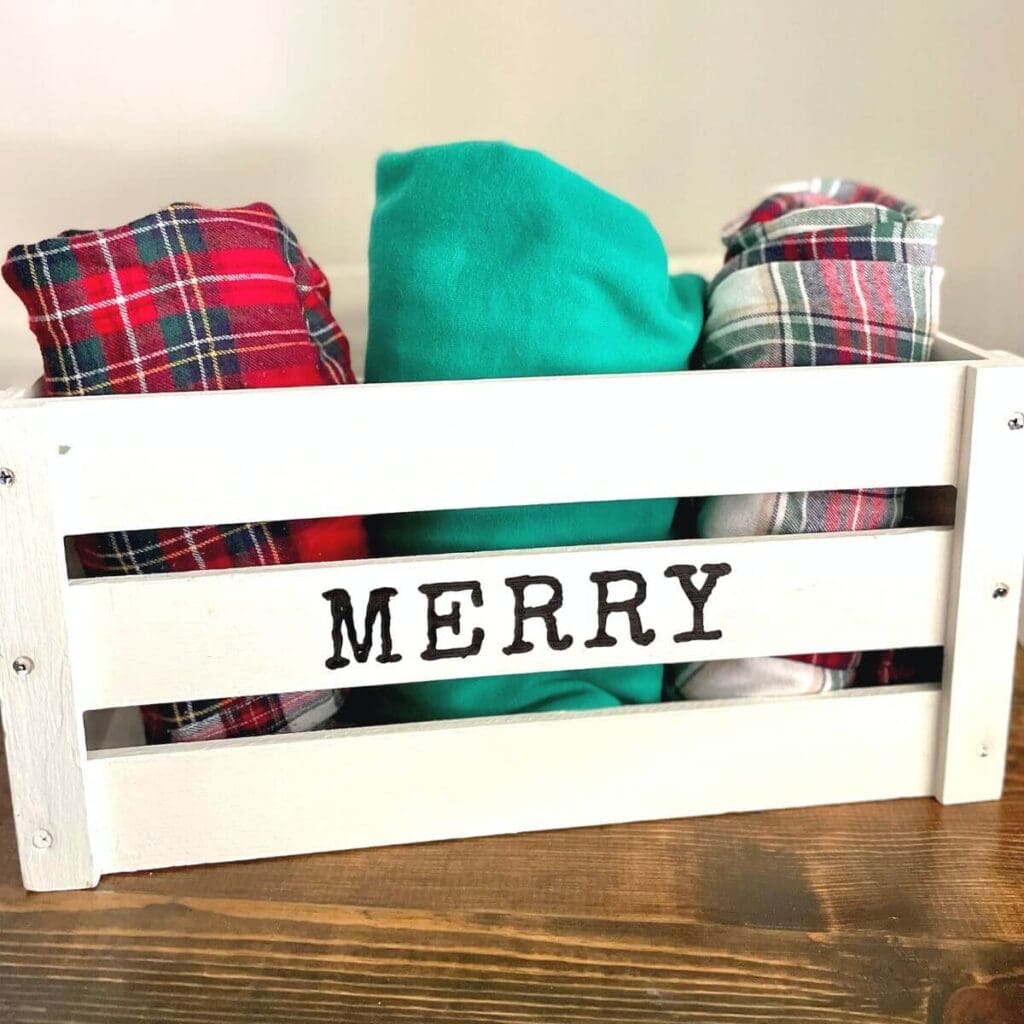
Want to make your own wooden Christmas crate to use for your Christmas Eve box or as part of your holiday decor? This full tutorial will teach you how to DIY a Christmas crate and personalize it with a name or Christmas saying!
If you’ve never heard of a Christmas Eve crate and you have kids, then you’re missing out! It’s a great way to plan and box up all kinds of activities, cozy things, and sweet treats for your family to enjoy together the day before Christmas.
But if you’re going to try out this fun Christmas tradition with your family, then you’ll need a wooden crate or some other type of box to use. And if you want to personalize your box with your kids’ names, then you’ll either need to make a Christmas crate yourself or purchase one.
*This post contains affiliate links, which means if you click a link and make a purchase, I earn a commission at no additional cost to you. Read my full disclosure for more info.
But don’t worry… making your own personalized wooden crate is MUCH easier than you think! Just a little paint, a printable stencil, and a good marker is pretty much all you need to make a beautiful holiday box for your holiday decor or Christmas Eve box!
Here’s how to do it:
Where can I find wooden crates for a Christmas Eve Box?
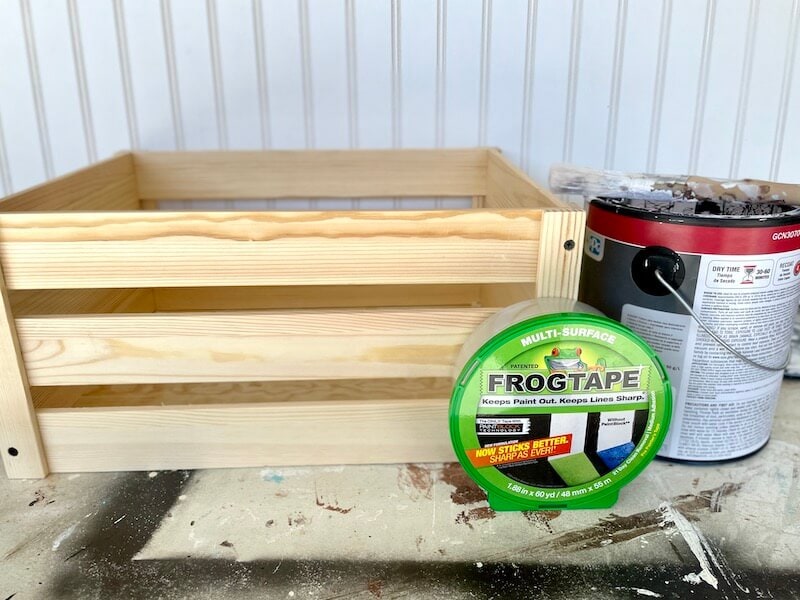
You can find unfinished wood crates at most craft stores or here on Amazon. My wood crate is from Hobby Lobby, and I lucked out and got it on sale for 40% off, making it only $14.99.
You can also find great deals on wooden crates at:
- Michael’s craft store – They have an 18″ long by 9.5″ tall unfinished wood crate for about $12.99.
- Joann craft store – Look here if you want a crate that has already been whitewashed to save a step… and it only costs a few dollars more. They also have the unfinished wood boxes for about the same price as other craft stores.
- Walmart – You can also find a large variety of wood crates in both unfinished and pre-stained options here.
And if you’re really crafty, you can even build your own crate!
What do I need to make my own Christmas crate?
This wooden Christmas crate is super easy to make with just a few supplies. Here’s what you need to make one similar to mine:
- wooden crate
- white paint – or paint color of your choice
- painter’s tape – to tape off the handles or other embellishments so they don’t get painted
- carbon paper and stylus or ink pen – This carbon paper pack is the one that I use for all of my lettering and sign projects, and it comes with a few different styluses too!
- black permanent marker – The permanent markers from Dollar Tree that come in a 4 pack for $1.25 work best on the painted wood… I find that they’re much “juicier” than the Sharpie branded markers.
- printable sign template for your wooden box
- embellishments for your Christmas crate – These are optional, but they’re a great way to “fancy up” your holiday crate! Just check the wood crafts section of your local craft store for lots of different metal embellishments like antiqued brass tacks or vintage looking corner pieces.
How can I use the Christmas crate?
These super cute and inexpensive painted wood crates are super versatile. Here are some ideas for how to use your wood Christmas crate:
Use it for your Christmas Eve Box.
This is probably the most popular way to use a wood Christmas crate, and it’s why I made my DIY crate in the first place. I wanted to start the fun family tradition of gifting a Christmas Eve Box to my girls, but I wanted to have a personalized box to use… and I didn’t want to spend $100 to buy two of them pre-made.
So I busted out my crafting skills and made this awesome crate to use:
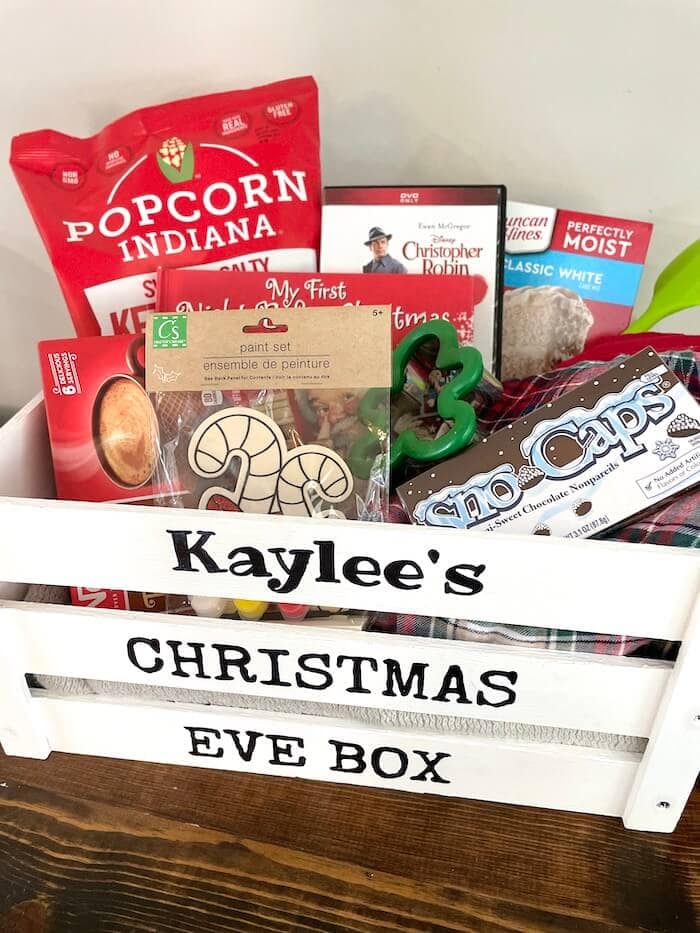
The whole crate cost me less than $18 to make, because I already had the white paint and carbon paper, so it was a HUGE savings!
Use the crate in your holiday decor.
There are a ton of ways to use wooden crates in your home decor.
You can place your wood crate on your fireplace hearth and add some birch sticks or blankets inside, or place it on an entry table with other Christmas items like a mini faux pine tree or a bunch of Christmas ball ornaments. Or add extra toilet paper to the basket and place it in your guest bathroom during the holidays. Or if you host a holiday party every year and pass out party favors, then this cute crate would make an awesome holder for those as well. The possibilities are endless!
Use the wood Christmas crate as a gift box.
If you plan on giving gift baskets full of goodies to neighbors, friends, or family members this year, then why not add everything to a customized wooden Christmas crate?!
You can stencil on the last name of your neighbors or family members and the year of their marriage for a fun and personalized gift. For instance, you can make a stencil template that says “The Ross Family Est. 2006” and then fill it with small gifts like a candle, homemade cookies, and gift wrapping supplies.
This would be an awesome DIY Christmas gift to give or get!
Sell your wooden Christmas boxes at craft fairs.
Since these holiday crates are so quick and easy to make, they’re perfect for selling at craft fairs! Just add some snowflake or winter-themed embellishments and a pretty wired bow to fancy them up a bit, and you’ve got an awesome holiday craft to make and sell.
You can even take orders for personalized Christmas Eve boxes and sell them for around $50! Talk about a great way to make a little extra holiday cash!
How to Make a Decorative Wooden Christmas Crate
Want to learn how to make your own DIY wooden Christmas crate? Just follow these easy instructions! My crate only took me about 45 minutes to make, not including the paint drying time, so not only is it a beautiful and practical holiday craft, but it’s also super quick!
Step 1: Paint the wooden crate.
If your crate has any decorative accents like handles or corner pieces, then you’ll want to use painter’s tape to tape over those areas before you start painting. I find it easiest to use an Xacto knife or box cutter to cut the tape around the edges of the areas that you don’t want painted, that way you get a precise paint line.
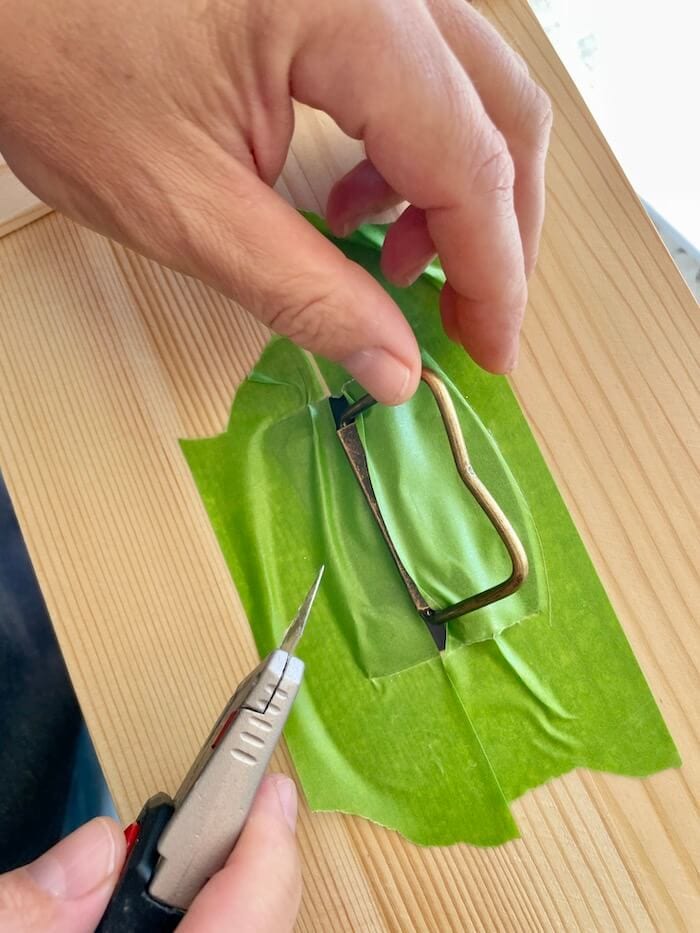
I used a white ceiling paint to paint my crate because that’s what I already had on hand, but pretty much any white paint will work. But you may want to consider using a paint with a primer mixed in, because the unfinished raw wood really soaks up the paint, and you may need to do multiple coats. You could also use spray paint to make this step faster.
Step 2: Decide what you will stencil on the side of the crate.
Next, you need to decide on what word or phrase you’re going to stencil on the side of the wooden crate. Take into account the size of your crate, the number of wooden slats that it has, and the positioning of the words when choosing what to stencil.
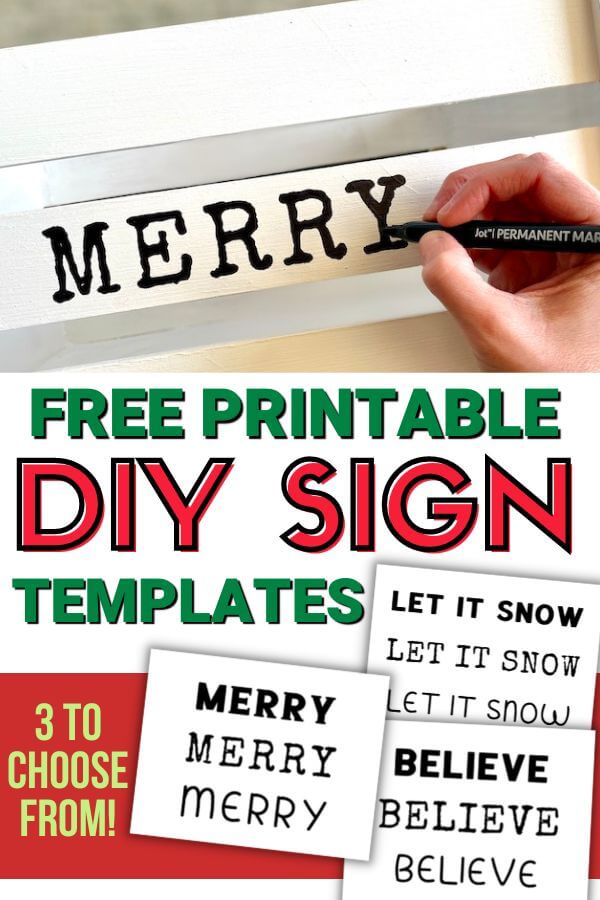
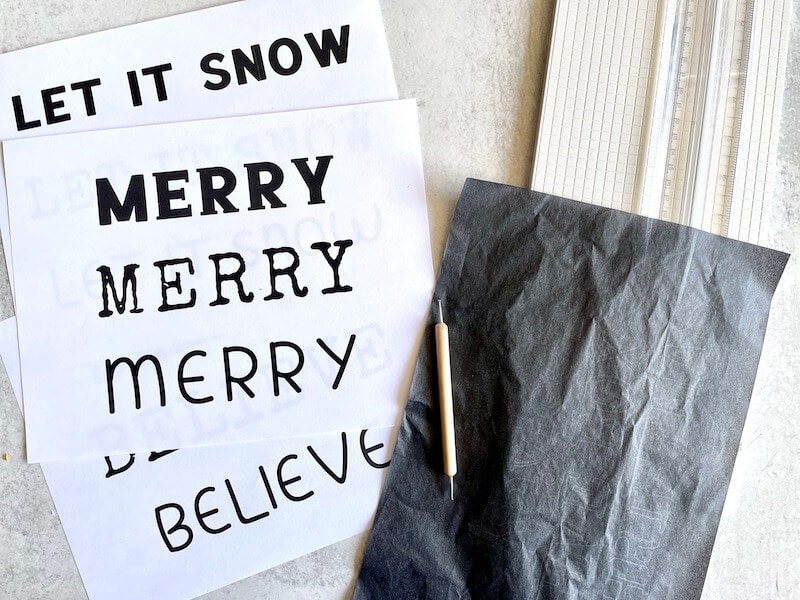
If you want a simple, one line stencil, then I’ve got a few free printable sign templates that you can download! The “MERRY” stencil is the exact same one that I used on my Christmas crate. And I included a few different font options for each set so that you can pick out which one works best for you:
Click HERE for the Free Printable Christmas Sign Templates!
Want some ideas for what to stencil on the side of your wooden crate? I’ve got a huge list of 100+ Christmas Sayings for Signs here!
Step 3: Personalize the Christmas crate with a name or Christmas saying.
After you’ve printed out your template, it’s time to start stenciling it on the side of the crate. This is SUPER easy to do!
My biggest piece of advice is to make sure that your word or phrase template is completely straight on the wood before you begin… I found it easiest to cut the stencil into a straight rectangular shape that was the same size as one wooden slat. Then, I lined the top of the paper stencil up with the line of the wood to make sure that it was straight.
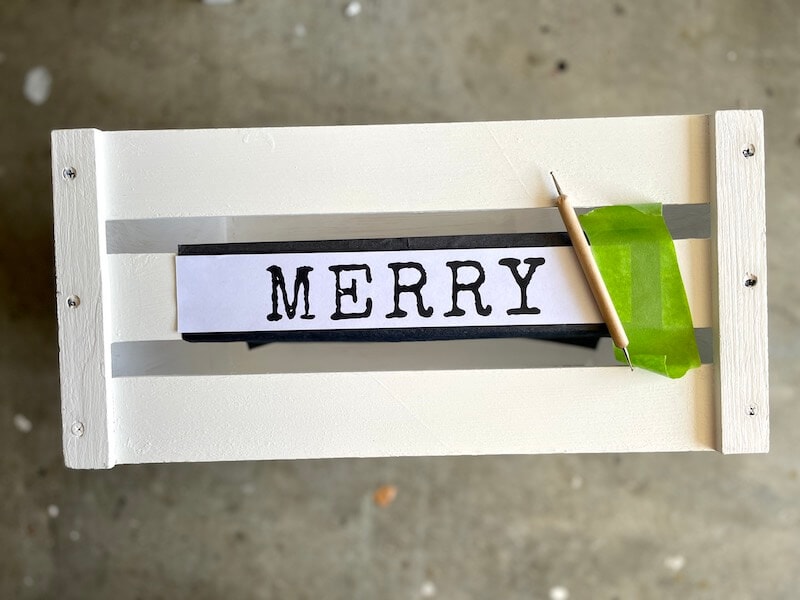
To prep your stencil, first place one piece of carbon paper (shiny side down) on the slat that you will be stenciling on to. Then, place the paper template on top, making sure that it is straight and centered. You can also put one small piece of painter’s tape on one side of the stencil to make sure that it stays in place.
When your stencil is perfectly positioned, just use a stylus or a ball point pen to trace over the outline of the letters. By applying pressure on the carbon paper, your lettering will transfer to the painted wood underneath it. Here’s what it should look like:
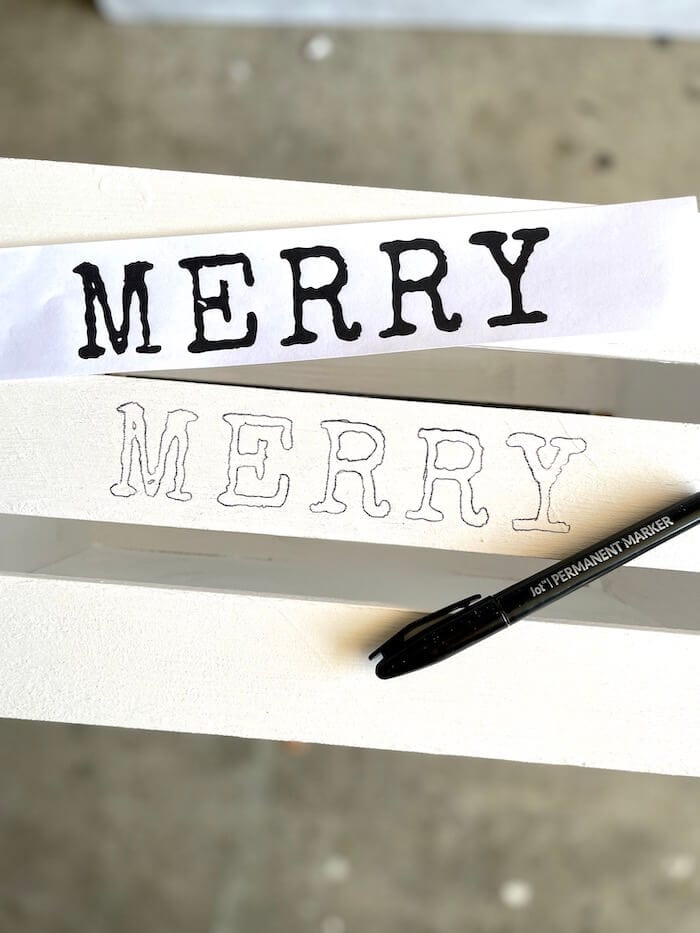
Then, you just use a permanent marker to color in the lines.
Craft Note:
Notice the black marker in the picture above? It’s from Dollar Tree and it comes in a pack of 4… After making TONS of signs using this same method, I’ve found these markers to work the best. They’re much more “juicy” than Sharpie markers, and they work better on painted wood surfaces. However, the tip is thicker than a Sharpie, so they don’t work as well for thinner or more detailed fonts.
If you use the “Merry” stencil with the markers that I recommend, then your finished lettering will look something like this:
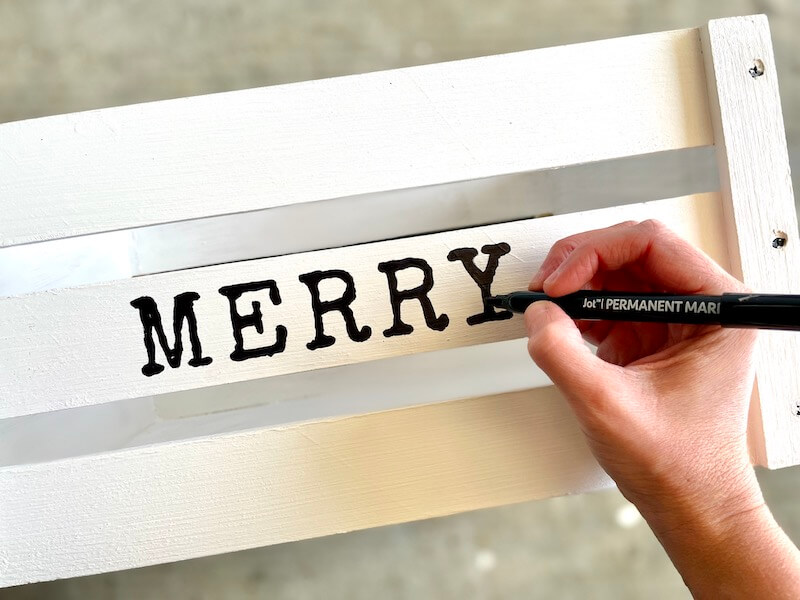
Personally, I LOVE this typewriter font on the crate, and the font itself is very forgiving… It doesn’t have perfectly straight lines, so you don’t have to worry about coloring in the letters precisely. Notice how the sides of the letters are more bumpy? That adds character and makes the lettering look even more like a vintage typewriter!
The name of the font that I used is “Special Elite”, if you want to make your own sign template with the same font.
FAQ’s about Making a Personalized Wooden Crate
Here are some questions you may have about hand stenciling your own wood Christmas box to personalize it:
What if I don’t have carbon paper?
No problem! I find that the carbon paper tracing method makes the lettering on wood go much faster, but if you don’t want to buy carbon paper just for this project, then don’t worry. You can still use the exact same method to transfer your lettering to the wood… You’ll just have to do one extra step.
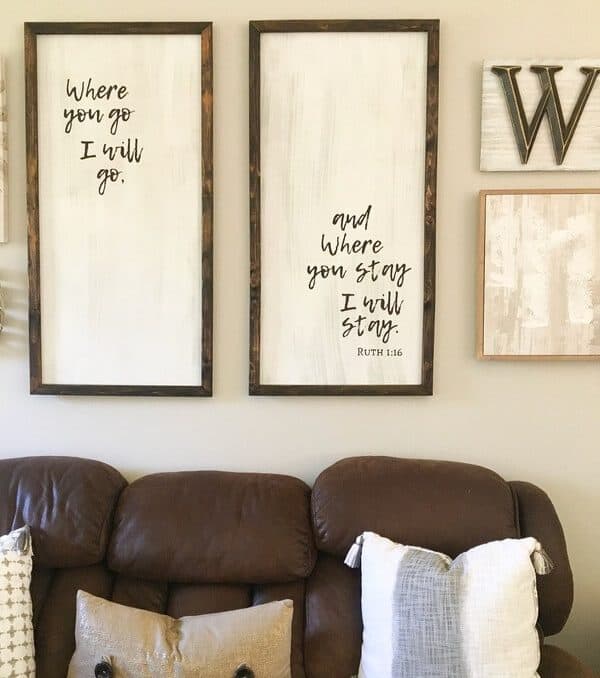
You can read how to do lettering on wood without carbon paper here! It’s still really easy to do, and it’s how I made these wood signs:
Can I hand paint the lettering instead?
Absolutely! If you don’t want to use the black permanent markers to color in the words, then you can definitely use a small detail paint brush and acrylic paint. I personally prefer to use a marker, because I find that it’s much faster and easier, but if you want your letters to be a different color than black, then you may want to use paint.
How do I make my own custom template to use?
If you want your wooden Christmas crate to say something other than Merry, Believe, or Let it Snow, then you can definitely make your own template!
I use a free online program called Canva to create ALL of my templates, and I’ve got a tutorial to show you how to do it here: How to Make Printable Sign Templates for DIY Signs – This will show you the exact steps to make your own template, and you can choose from 100’s of fonts to use!
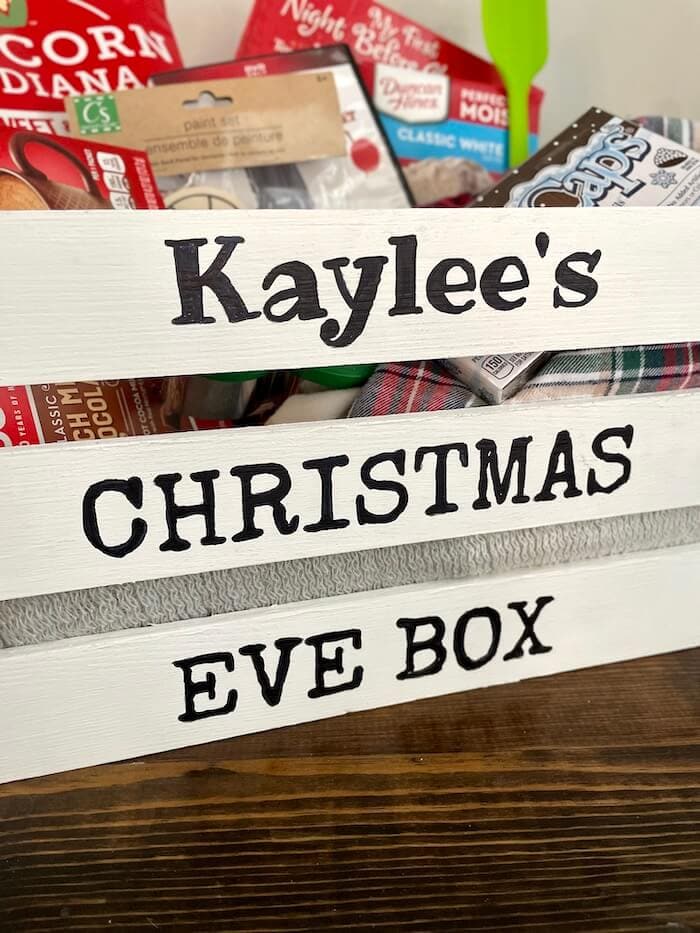
This is the same program that I used to make my daughter’s Christmas Eve box in the picture above also!
*NOTE – If you want to replicate the Christmas Eve box in the photo above, then use the font “Special Elite” for the lettering that says “Christmas Eve Box”. The personalized name is a font called “Ribeye”.
I hope you that I’ve inspired you to make your own wood Christmas box to use for your home decor or gifting this year! It really is super easy to do, especially if you buy a crate that is already painted or stained.
Want some other DIY Christmas decor ideas? Check out these posts:
- Faux Shiplap Wooden Christmas Sign – Easy DIY Christmas Wall Art!
- DIY Wood Slice Photo Ornaments – Easy DIY Christmas Gifts!
- 25+ Tabletop Christmas Tree Crafts for Your DIY Christmas Decor
And don’t forget to PIN this post for later:

Leave A Reply!