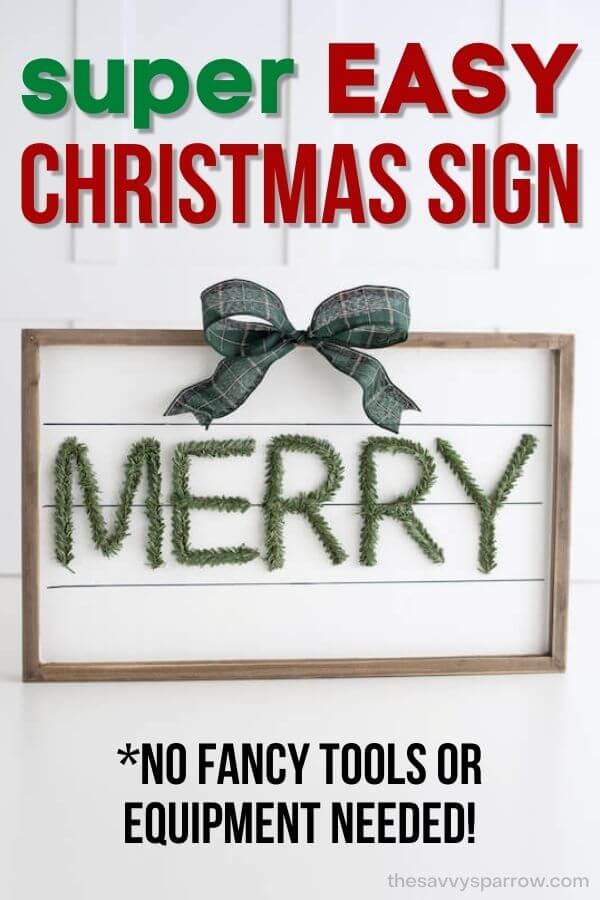
I love decorating my home with seasonal signs and wall art, but I have a hard time spending big bucks on home decor that I can only use for a few months out of the year. So when the holidays roll around, I turn to my trusty craft closet and DIY Christmas decor like this awesome and super easy wooden Christmas sign!
Unlike my other DIY farmhouse wood signs, this “Merry” Christmas sign doesn’t require any hand lettering. Instead, some handy wired pine stem pipe cleaners serve as the perfect easy-to-make letters.
Add a little paint and a faux shiplap background, and you’ve got the perfect, easy to make farmhouse Christmas sign… great for selling at craft fairs, giving as DIY Christmas gifts, or hanging in your own home this holiday!
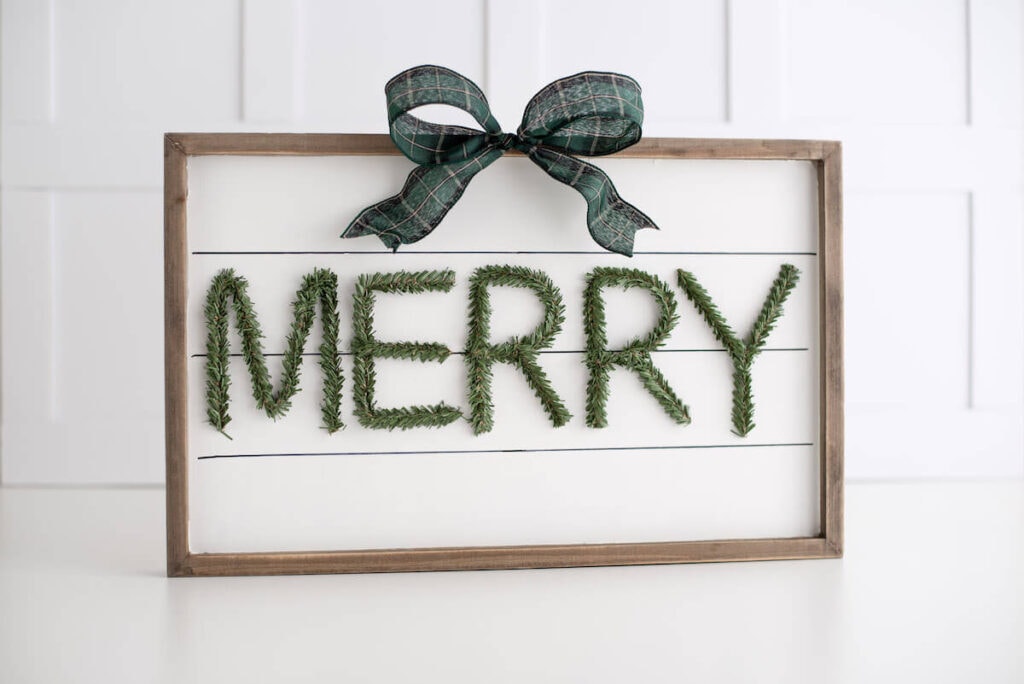
Here’s how to make this super cute holiday sign:
Supplies Needed for This DIY Wooden Christmas Sign
Here are the supplies that you’ll need to make this cute and festive Christmas wall art:
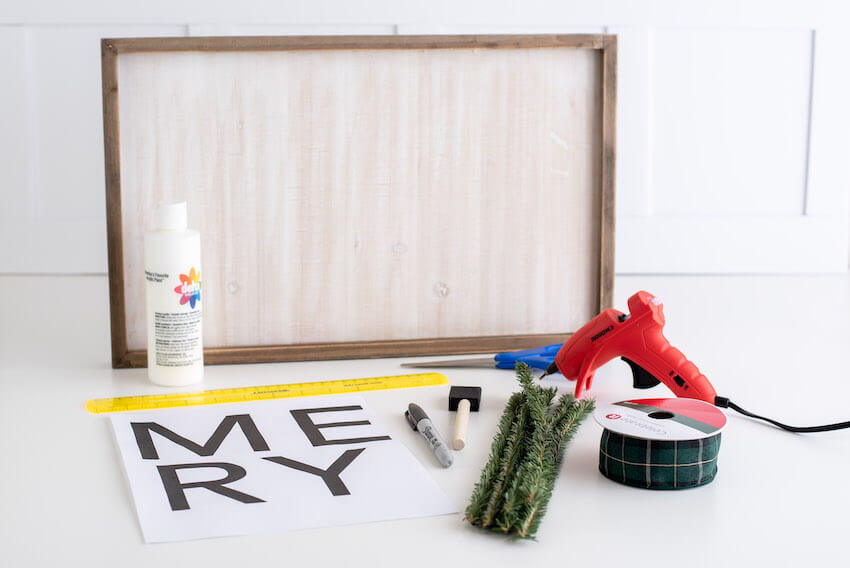
- Unfinished wood sign – You can find some great ones at JoAnn, Michael’s, or Hobby Lobby.
- White matte paint – I like to buy the small bottles of acrylic paints that you can get for about $1.00 at most craft stores.
- Paint brush – I used a foam brush for my DIY wooden Christmas sign.
- Ruler
- Black sharpie
- Wire pine stem garland ties – These are kind of like pipe cleaners, but they look like pine stems.
- Hot glue gun
- Thick wired ribbon
- “Merry” template PDF – I’ll show you how to make your own sign template down below!
How to Make a Faux Shiplap Wooden Christmas Sign
Once you have all of your supplies ready, you’ll be surprised at how quick and easy this Christmas sign is to make. Here’s how to do it:
Step 1: Paint the wood sign
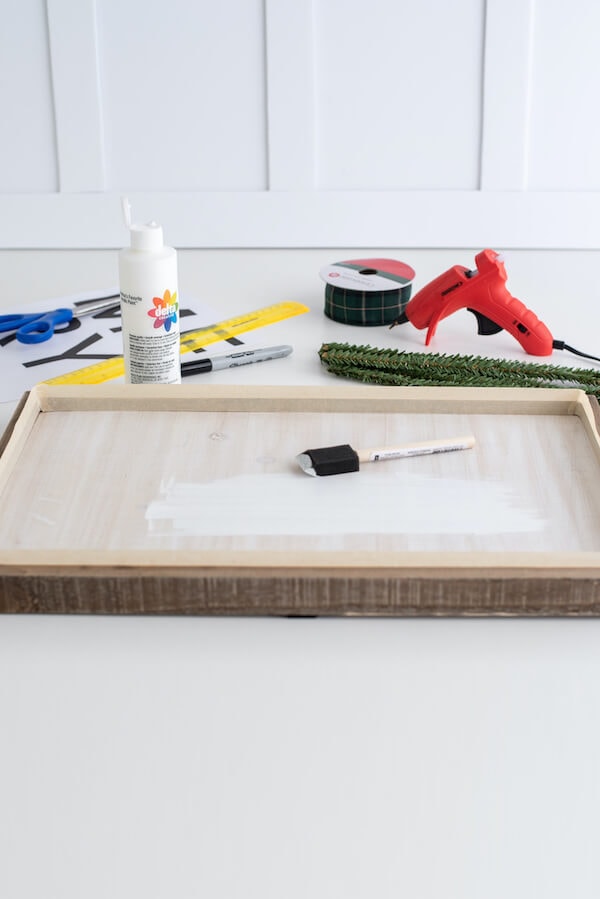
Start by painting the base of your unfinished sign with the matte white acrylic paint. You will probably need to paint 2-3 coats, because you’re painting on unfinished wood which really “soaks up” the paint.
If you want, you can also use masking or painter’s tape to tape off the inside edges of the frame so that you don’t accidentally get paint on them. As you can see, the nice square edge of my foam brush saved me from having to tape.
After the sign is painted to your liking, allow the paint to completely dry for 24-48 hours before moving on to the next step.
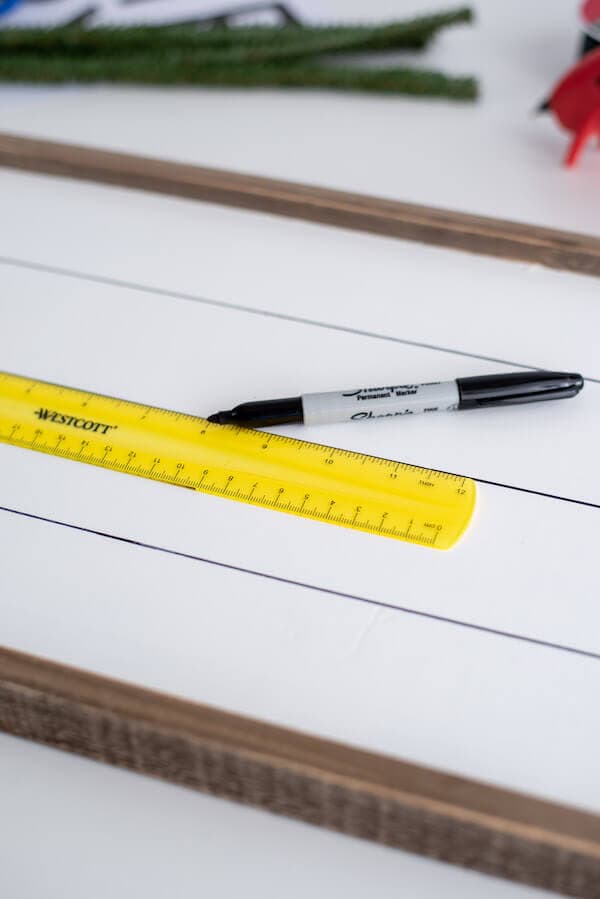
Step 2: Use a Sharpie marker to create faux shiplap lines on the sign
Once the paint is completely dry, draw on faux shiplap lines using a ruler or straight edge and a black Sharpie marker.
You’ll first want to do some math and decide how many shiplap “planks” you’ll need to draw. Simply determine how many planks you want there to be on your finished wooden Christmas sign, then measure the inside of the frame. Divide the height of your frame by the number of planks that you want to determine how far apart to draw your shiplap lines.
For instance, if your sign is 16 inches tall and you want 4 “planks”, then you would need to draw your Sharpie lines 4 inches apart.
Step 3: Create a sign template and print it out
Don’t worry… this is MUCH easier than it sounds, and I’ve got an entire post with a video of how to create your own printable sign templates in my favorite user-friendly free program. Or, you can also use Microsoft Word to print a template.
Just create a template of the word “merry” or any other short Christmas word or phrase using a sans serif font. Then print it out. You’ll use this template as a guide when forming your letters in the next step.
The size of your letters will depend on your personal preference and what you think will fit your sign best. If you’re making a larger sign than mine, obviously you’ll want to print out larger letters. But just for reference, my DIY wooden Christmas sign is about 12″ x 18″, and my sign letters are approximately 3.5” tall.
Here are some other Christmas sayings for signs that would work great for this DIY Christmas wall art:
- Peace
- Joy
- Noel
- Let it snow
- Snow
- Welcome – Could work for a holiday sign to hang on your front porch
Step 4: Shape the wired pine stems to form letters for your wooden Christmas sign
Using the template that you created, shape the wired pine stems along the lines of each letter like this:
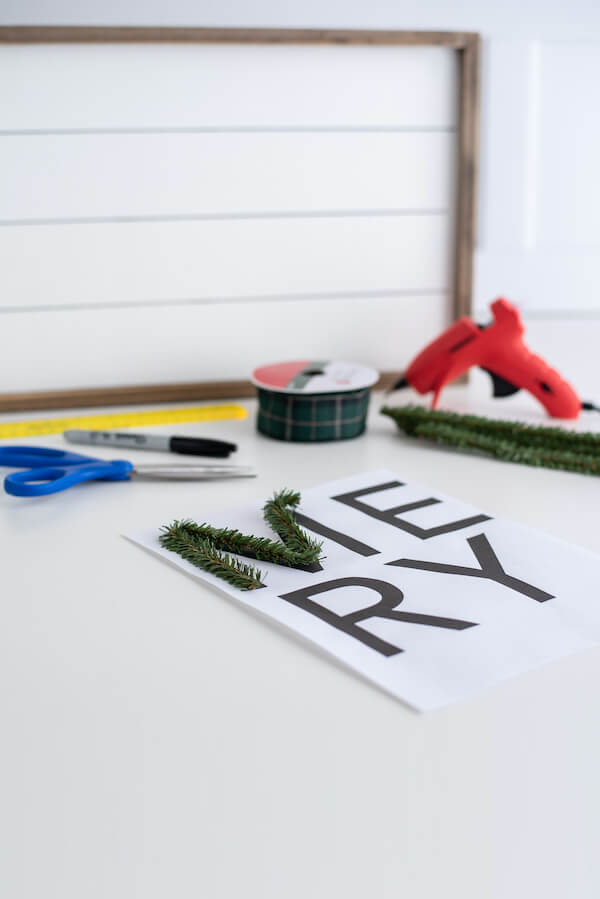
Don’t glue the pine stems to the template… you’re simply using the printed letters as a guide so that each letter of your finished sign is consistent and aligned.
Step 5: Hot glue the pine letters to the faux shiplap Christmas sign
Lay the pine stem letters out on the faux shiplap sign until you’re happy with the placement. Then, hot glue each of the pine letters to the DIY Christmas sign.
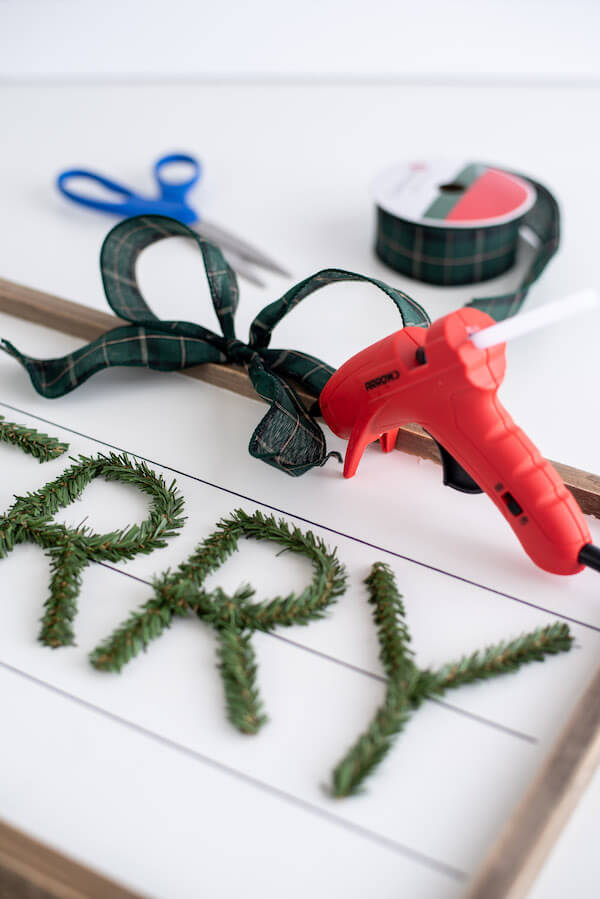
If you want, you can also hot glue a pretty, holiday ribbon bow to the top of the frame like I did, but that’s completely optional. It looks beautiful either way!
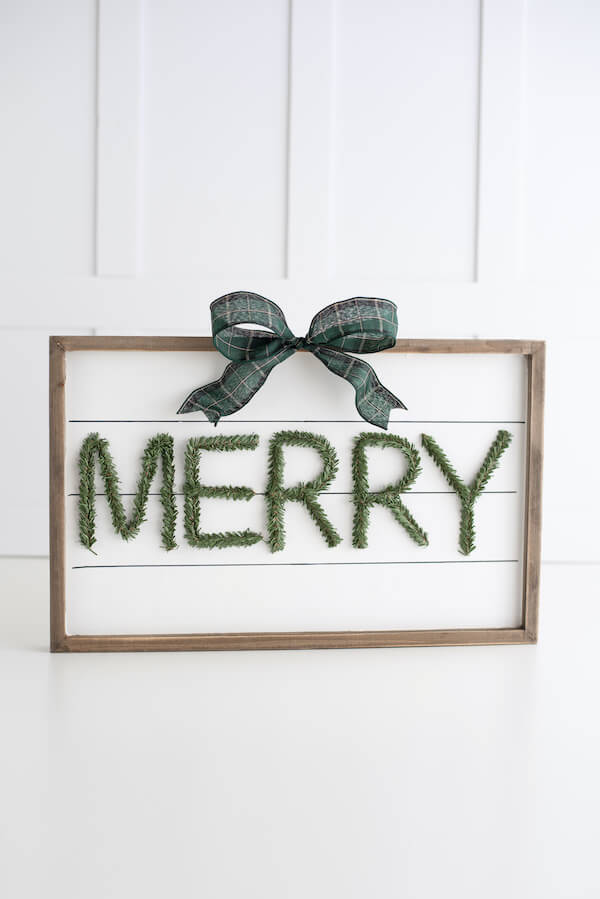
And here’s the finished DIY wooden Christmas sign… So adorable, right?!
Other Christmas Signs to Make This Season
If you loved this awesome sign idea, then check out some of my other favorite holiday signs:
DIY Scroll Sign – This beautiful sign is actually about 10 signs in 1! You just unroll the scroll each month to reveal a different seasonal sign. So this cool DIY wall art can be displayed year round!
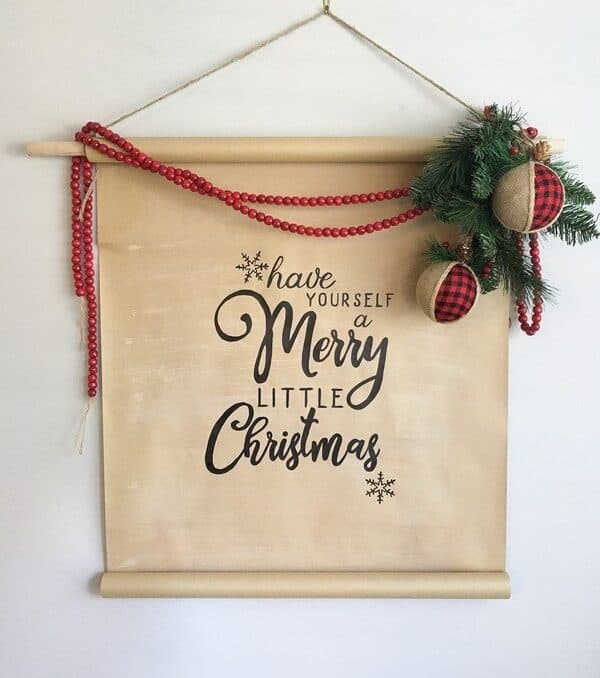
DIY “Merry Christmas” Sign – A tacky Dollar Tree ornament sign gets a major makeover in this easy tutorial. Learn how to make this cute Christmas decor, with or without a Cricut machine!

DIY Farmhouse Window Frame Wall Decor – This awesome and inexpensive wall decor is made using Dollar Tree supplies! And you can just change out the wreath to go with the seasons!

*You can head over here for even more DIY Christmas sign ideas!
And don’t forget to PIN this post for later:

Leave A Reply!