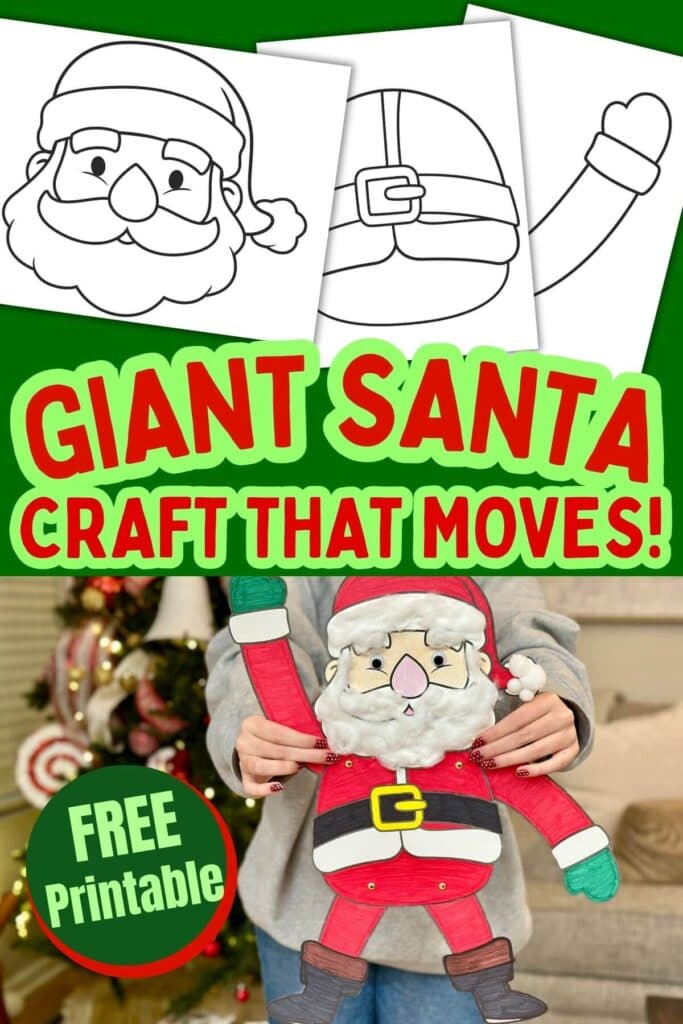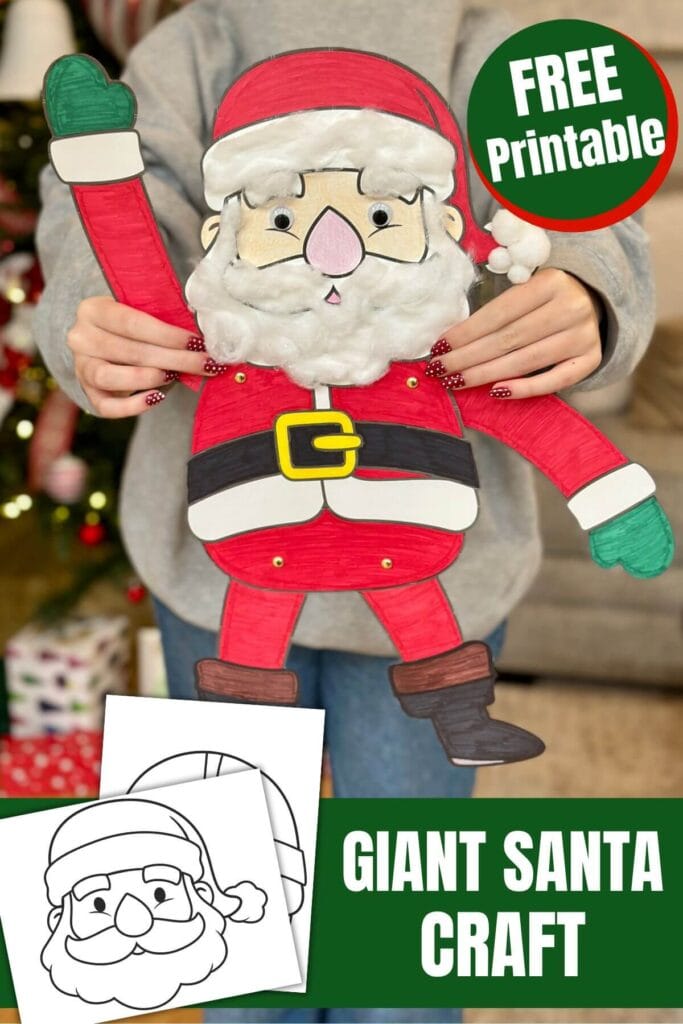
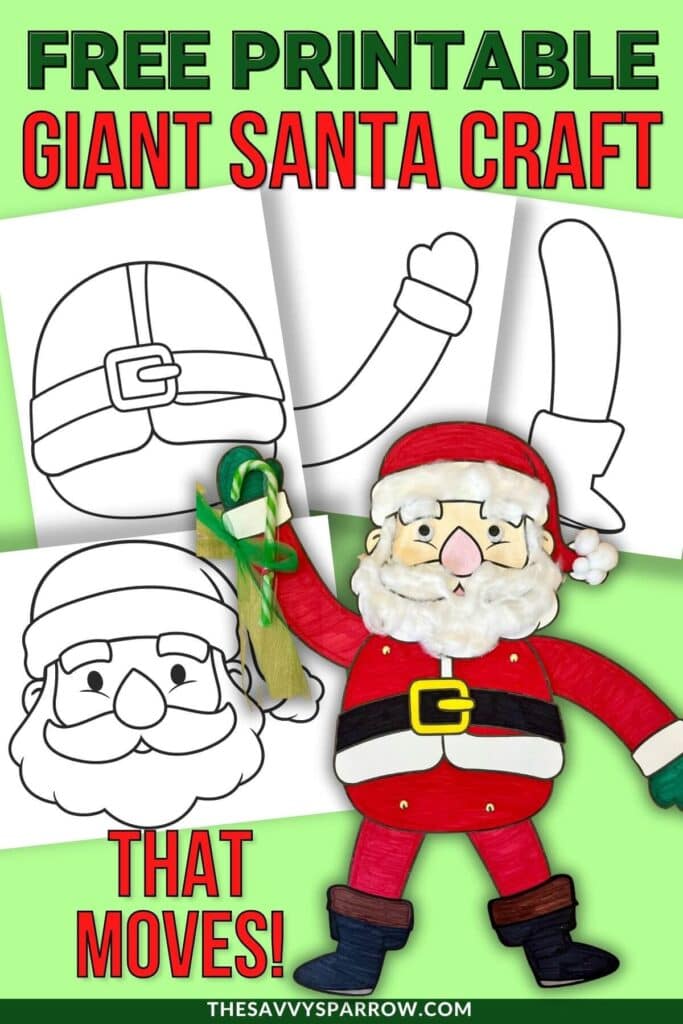
This giant Santa Claus craft is made with just a few simple art supplies and free printable templates! And the best thing about this cute Santa Christmas craft for kids? Santa’s arms and legs are movable!

Is it December already? Wow. And you know what that means – it’s time to keep those little hands busy while you frantically wrap presents, tackle the Christmas cleaning, and try to remember where you hid that package from Black Friday!
I don’t know about you, but I need all the free and easy Christmas crafts I can get my hands on this season. Between baking cookies, attending holiday parties, and trying to maintain some semblance of order in the house, I’m always looking for activities that will keep my kids entertained for more than five minutes.
That’s why I’m sharing this adorable giant movable Santa Claus paper craft! Your kids can color, cut, and assemble their own poseable Santa using free printable templates. It’s the perfect low-prep Christmas activity that will buy you at least 30 minutes of peace – and that’s worth its weight in gold this time of year!
Plus, if you’re looking for more free printable Christmas crafts, be sure to check out my Christmas Door Hanger and Christmas Puppets – both are huge hits with kids!
Why You’ll Love This Movable Santa Craft
- Inexpensive – This craft uses supplies you probably already have at home! No expensive craft kits required!
- Easy to Make – While there are a few steps involved, this craft is straightforward enough for kids to complete with minimal help. Even younger children can participate with some adult assistance.
- Interactive and Fun – Unlike static paper crafts, this Santa can be posed in different positions! Kids love being able to move Santa’s arms and legs to create funny poses.
- Perfect Party Activity – Planning a classroom Christmas party or holiday get-together? This craft is ideal for keeping multiple kids entertained at once. Just print out enough templates and set up a crafting station!
Supplies Needed
Here’s what you’ll need to create your giant movable Santa:
- Free printable Santa templates – Download the templates that include Santa’s body, face, arms, and legs.
- White card stock – This is highly recommended instead of regular printer paper! Card stock makes Santa much more durable and helps him stand up to all that posing. He won’t get as floppy or torn.
- Gold brads (also called paper fasteners) – These little fasteners are what make Santa’s limbs movable! You’ll need about 4 brads per Santa.
- Scissors – For cutting out Santa’s pieces along the solid lines.
- Colored pencils, crayons, or markers – For coloring Santa’s suit, face, and accessories.
- Optional decorating supplies – Like white cotton balls, gold glitter or glitter glue, small pom-poms, or Googly eyes.
Step-by-Step Instructions
Follow these simple steps to create your movable Santa:
Step 1: Print the Templates
Print out the giant Santa template on white card stock. Make sure to print at 100% scale so all the pieces are the right size! If you’re making multiple Santas for a party or classroom, print enough copies for everyone.
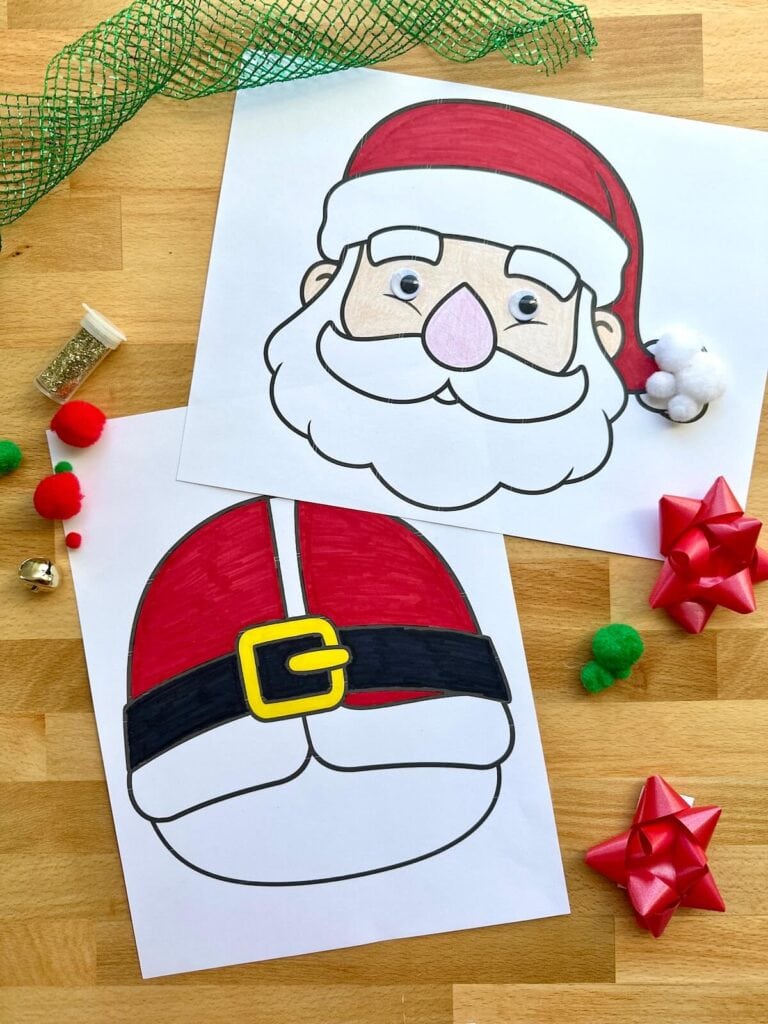
Step 2: Color Santa’s Pieces
Before cutting anything out, have your kids color all of Santa’s parts. This is the fun creative part where kids can really make their Santa unique! Some might want a traditional red-suited Santa, while others might get creative with different colors.
*Tip: Coloring before cutting is much easier than trying to color tiny cut-out pieces!
Step 3: Cut Out the Pieces
Carefully cut out all of Santa’s pieces along the solid lines. This includes his main body/belly, face, both arms, and both legs.
*Tip: Adults or older kids should help younger children with this step, especially with the small details.
Step 4: Attach the Pieces with Brads
Now for the fun part – making Santa movable! Use a hole punch or a pair of scissors to carefully add small holes in the end of each arm and leg. I made the holes a few inches in so that the arms and legs were not quite as long, but you can position them wherever you like. Then add four holes to the body piece – these are where you will attach the arms and legs.
Line up the holes on the arms and legs with the corresponding holes on the body piece, and push a gold brad through each hole. Oopen the brad prongs on the back to secure it in place. Don’t fasten them too tightly – you want the limbs to move freely!
Start by attaching both arms, then both legs. Make sure each limb can rotate easily so you can pose your Santa in different positions.

Step 5: Add Optional Decorations
This is where you can really make your Santa special! Here are some fun ideas:
- Glue white cotton balls onto Santa’s beard for a fluffy, realistic look
- Add gold glitter to his belt buckle or the trim on his hat for extra sparkle
- Use red glitter or glitter glue on his suit for a festive shimmer
- Attach small pom-poms to the tip of his hat or as buttons on his coat
- Add googly eyes for a whimsical touch (kids absolutely love this!)
Step 6: Display Your Santa Claus Crafts
Once everything is dry, your movable Santa is ready for action! Display your finished Santas on the fridge or use them as Christmas decorations around the house. This is also the perfect Christmas classroom craft!
Free Printable Santa Craft Template
Want to make this fun Christmas craft with your kids this December? Click the button in the box below to download the free printable Santa Claus template now!
Download The Printable!
Click below to download your FREE Giant Santa Template
So stock up on card stock and brads, and get ready for some quality Christmas crafting time. Your kids will love it, and you’ll love the blessed silence while you wrap those gifts in peace!
Happy crafting, friends!
Pin this post to your Pinterest board for Christmas crafts and activities! This is a great way to support us and save this idea for later!