Need help with organizing the top shelves of your closet? These baskets are my new favorite top shelf closet organization hack! And grab my free printable storage bin labels, too!
One of the very first things that my husband and I did when we moved into our new house was to remove the closet doors. The bi-fold doors that led to our master closet were outdated and took up too much space in the small bathroom, so they had to go. And immediately after taking off our master closet doors, we did the same thing with both of our daughters’ bedrooms.
Now you may think that we’re completely crazing removing closet doors… don’t our rooms look messy and cluttered with a straight-shot view into the closets? But with the proper closet organization systems and a few minutes each day to put things back where they belong, you can keep your closets looking nice and organized!
And I recently created this super simple top shelf closet organization system that I’m sure will work for years to come! If you need help with how to keep the top of your closet organized, then this is the post for you!
*This post contains affiliate links, which means if you click a link and make a purchase, I earn a commission at no additional cost to you. Read my full disclosure for more info.
What to Store on the Top Shelf of Your Closet
If your closets are anything like mine, then the top shelf is pretty tall. Tall enough that you don’t want to be keeping your everyday essentials up there and having to break out the step stool each time you need to access something.
So what should you store on the top shelves of your closet? Here are some ideas:
- Off-season clothing and accessories – Winter hats and gloves, ski pants, or bathing suit cover-ups and sun hats can easily be stored at the top of the closet when they’re not in use.
- Gift bags and bows – If you re-use gift bags and tissue, and you only need to access them for birthdays or holidays, then the top of the closet is a great place to keep these items.
- Dressy accessories – Things like evening purses, dress belts, or ties that are only used for special occasions can go on the top shelf.
- Medical items like braces or heating pads
- Sentimental items – The top of the closet is a great place to store sentimental items that you don’t want to part with like old yearbooks, your kids’ Honor Roll certificates, or your hand-knitted baby blanket… It’s a climate-controlled safe space and it’s out of the way.
- Holiday or seasonal decor
- Extra blankets, towels, or other linens
How to Organize the Closet Top Shelf Fast
When we remodeled our master bath recently, I knew that I had to find a closet organization system that would work for me and that was easy to maintain. In the past, I had just haphazardly thrown mismatched storage baskets, duffel bags, and other random items on the top shelf of my closet to get them out of the way.
But I finally decided to tackle the messy closet top shelves, and I’m glad that I did! Here’s how I did it:
Step 1: Take everything off of the top shelf and organize by category.
This is how I start any decluttering and organizing project… clearing out the space first! You don’t know what you have (and what you need to get rid of) until you actually see it all sprawled out on the floor in front of you.
Start by taking everything off of the top shelf of your closet and grouping the items into categories on the floor. For instance, you can put all of the hats together, all of the scarves together, etc. For this first step, focus on “micro categories” – So instead of just grouping all winter accessories together in one pile, split them up into smaller categories like winter gloves, winter hats, and winter scarves.
This will help you to determine what items will fit together in a bin and which categories will need multiple bins.
*If there are other items that are stored elsewhere in your home that you want to relocate to the top shelves of the closet, then now is the time to gather up those items as well. Having everything together will help you determine what organizers to buy and how many you need.
Step 2: Find storage bins for each group of items.
After you have everything grouped together and you know what you’re going to be storing on the top shelves of your closet, it’s time to purchase the necessary storage bins. I HIGHLY recommend that you get matching bins so that everything coordinates and looks neater, even though it will cost you a little bit more than using assorted bins and baskets that you already have.
Buying coordinating baskets was probably one of the absolute BEST things that I could have done to make my closet look neater and more organized… I wish I had a “before” picture to show you, but you’ll just have to take my word for it!
When deciding what storage bins to use, think about the dimensions of your shelves and how much space you have from the shelf to the ceiling, as well as the sizes of the items that you need to store.
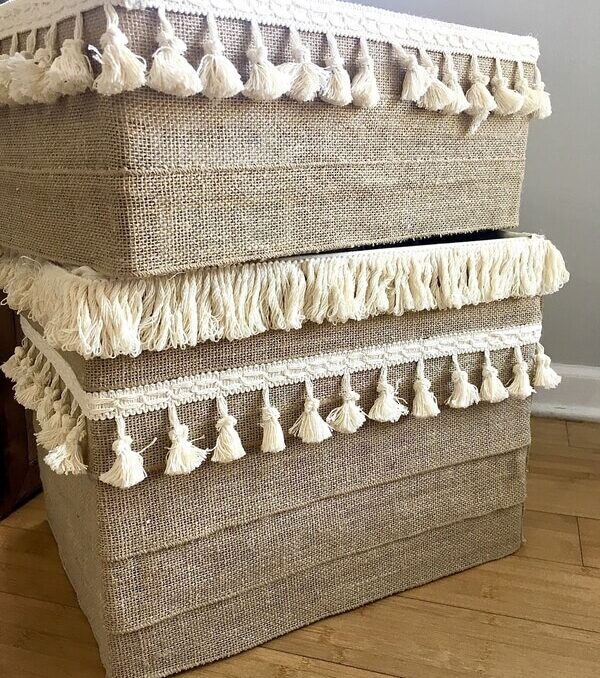
If you’re crafty and patient, you can also make your own DIY storage bins from cardboard boxes like I did here, though it’s really not much cheaper and will definitely take you more time:
Step 3: Label the top shelf closet bins.
If you’re going to be storing things on the top shelf of your closet, then you definitely need to know what’s inside each bin. You don’t want to have to get every single organizer basket down to find one item that you need, so labeling the top shelf bins is crucial!
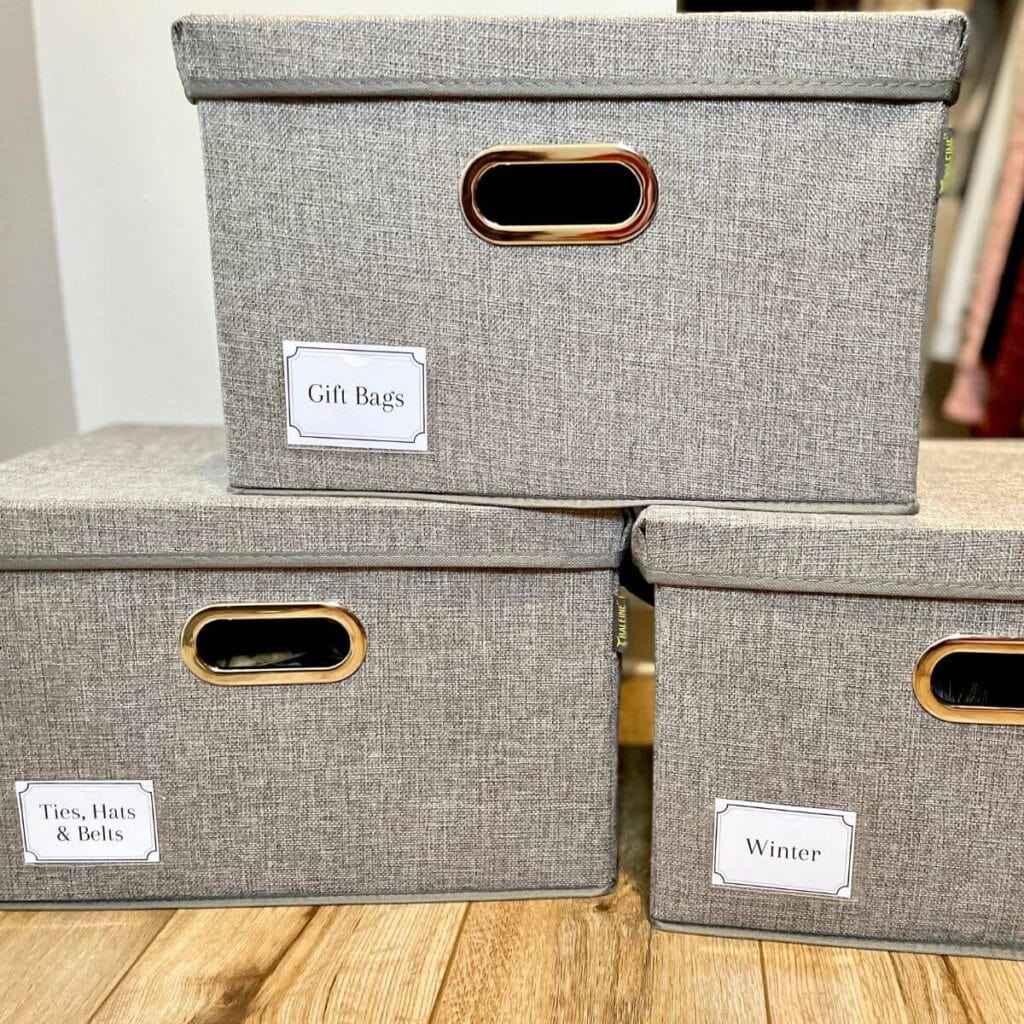
My favorite organizers for the top shelf come with little plastic sleeves sewn on the front of the basket, so you can easily label them. And if you make your own storage basket labels, then you can customize what each one says to fit your needs! Then all of the labels will look the same and they’ll look nicer in your closet.
If you decide to go with a different storage bin system for your top shelf, then you can make your own DIY storage basket labels with chalkboard clips and scrapbook letters stickers like I did here:
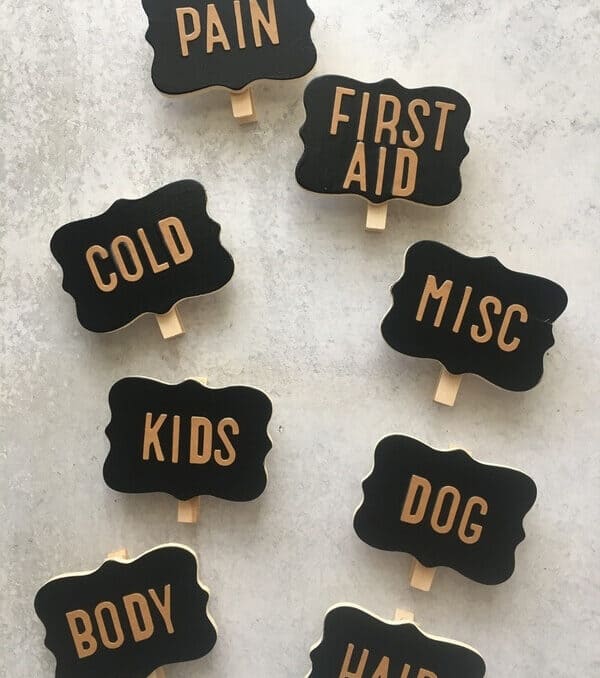
I made these cute chalkboard style labels to organize my medicine cabinet recently, and I absolutely LOVE them!
Or, if you have neat handwriting, then you can use a gold paint pen and chalkboard tags and write out your own labels by hand.
For the top shelf closet organizers that I used in my master closet, I made my own labels to fit inside the plastic label sleeves perfectly… And I’ll share them with you at the end of this post!
No matter which method you choose, just be sure to label your top shelf closet organization bins so that you can easily find what you need.
Step 4: Place the storage bins on the top shelf of your closet.
Once your bins are labeled, just add your organized items to each bin and put them on the closet top shelf. Here’s what the bins look like on the top shelf of my master closet:
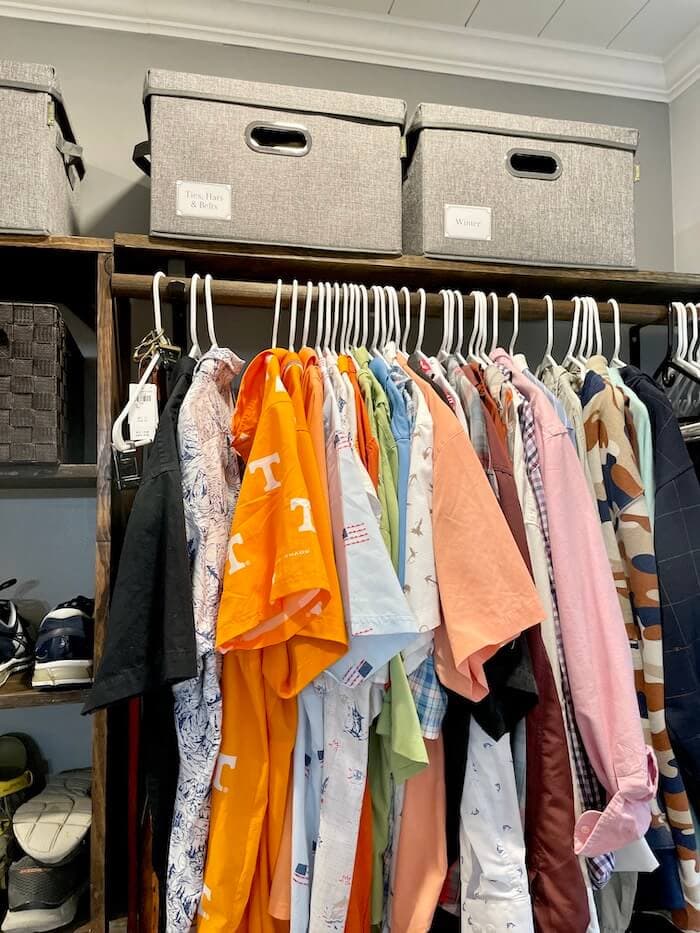
I absolutely LOVE them, and when I need to re-do my kids’ closets, I’ll definitely purchase the same storage bins!
I was able to organize the entire top shelf and make it look nice and tidy in less than one hour! A great afternoon organizing project that makes a BIG difference!
My Favorite Top Shelf Closet Organizers
I searched for hours to find the perfect organizers for the top shelf of my master closet. Since we had just finished remodeling the bathroom and the closet, I wanted everything to look perfect… And I didn’t want to have to look at mismatched storage bins!
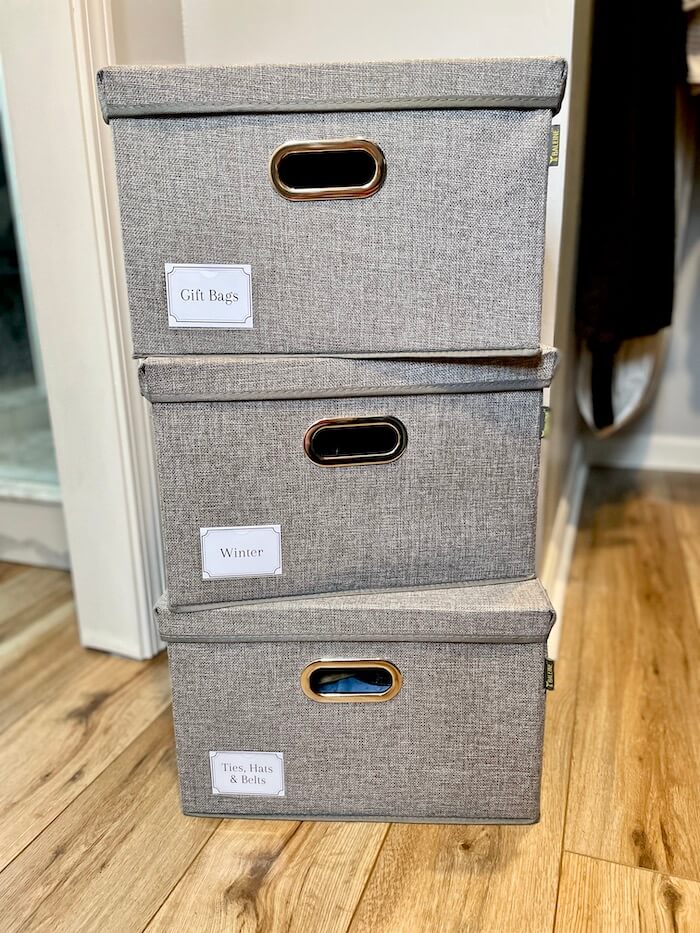
Here’s what I LOVE about my top shelf closet organizers:
- Perfect size – The bins are the perfect size for the things that I need to store… I can easily fit each category of items into its own basket!
- Clear label pockets on the front – Make labeling the storage baskets super easy!
- Soft bottom – I didn’t want an actual wicker basket style organizer, because I didn’t want to scratch up the shelving unit as I was sliding the baskets on and off the shelves.
- Sturdy – My favorite closet organizer baskets are well-built and feel sturdy, even when I have heavier items inside.
- Well-fitting lids – I specifically looked for bins that included lids so that everything looked cleaner. Plus, the lids help to keep dust from getting to the items inside.
- Good value – Since I needed 5 storage bins for my closet, I looked for the more inexpensive options. These come in a pack of 5 for a great price!
Check out my favorite storage baskets on Amazon here!
Free Printable Labels for Closet Organizer Baskets
If you choose to purchase the top shelf closet organizers that I used, then you’ll probably want a nice printed label to put inside the clear pocket. I created my own label templates, and I’ll share them with you to make your life easier!
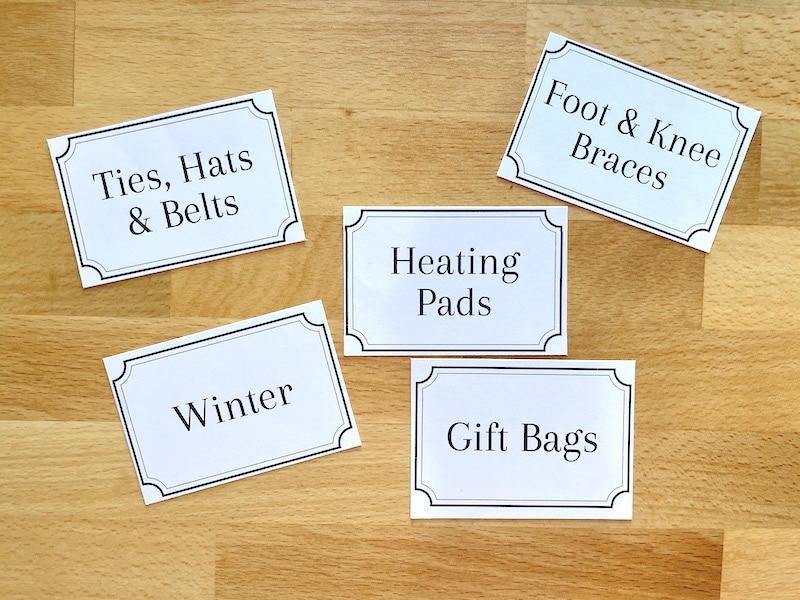
The free printable labels are made in a free graphic design program called Canva… but don’t worry, it’s super easy to type into the template to create your own labels! Here’s how to do it:
How to Use the Closet Bin Organizer Label Templates
1. Click here for the Storage Bin Label Templates. A new window will open for you to access the template in Canva like this:
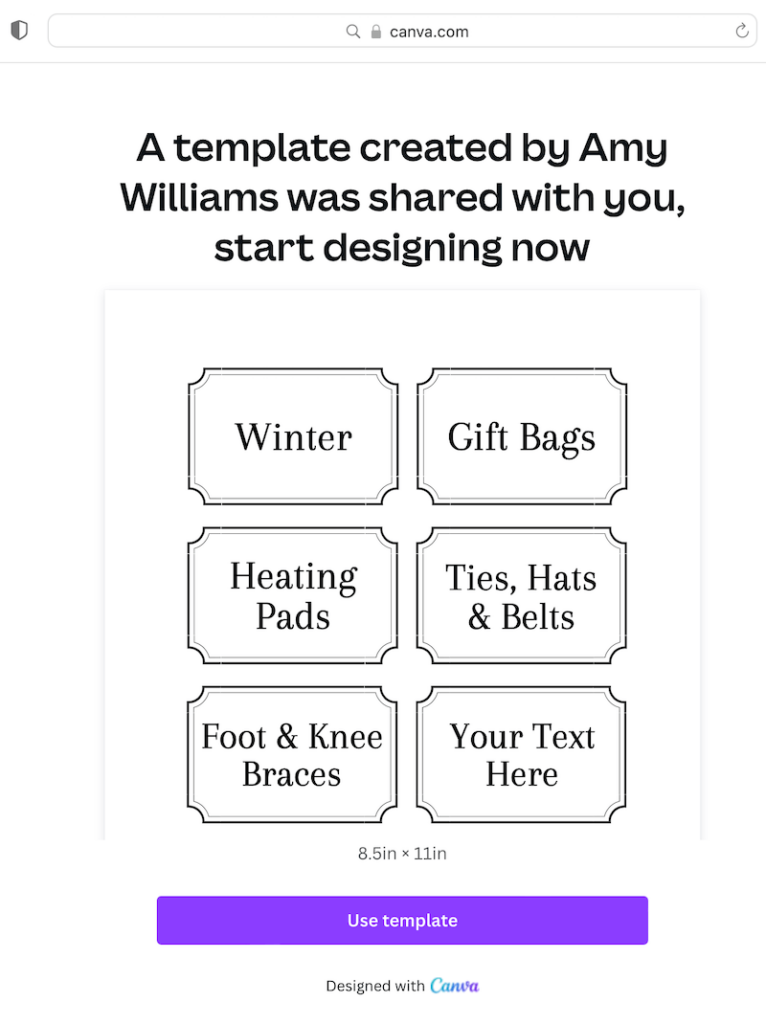
Just click the button that says “Use template”, then a new window will open for you to edit the template. *Note – If you don’t already have a Canva account, you’ll need to sign up for one first… But it’s free!
2. A new window with the actual storage bin labels template will appear. From there, just highlight the text in the first label by double-clicking on the wording. Then, you can type in your own labels and even change the fonts and colors.
See where it says “Arapey” in the upper left of the screen? Click on the drop down arrow in that box and you’ll see a whole bunch of different fonts to choose from. To change the color of the font, just select the “A” with the rainbow colored bar underneath it:
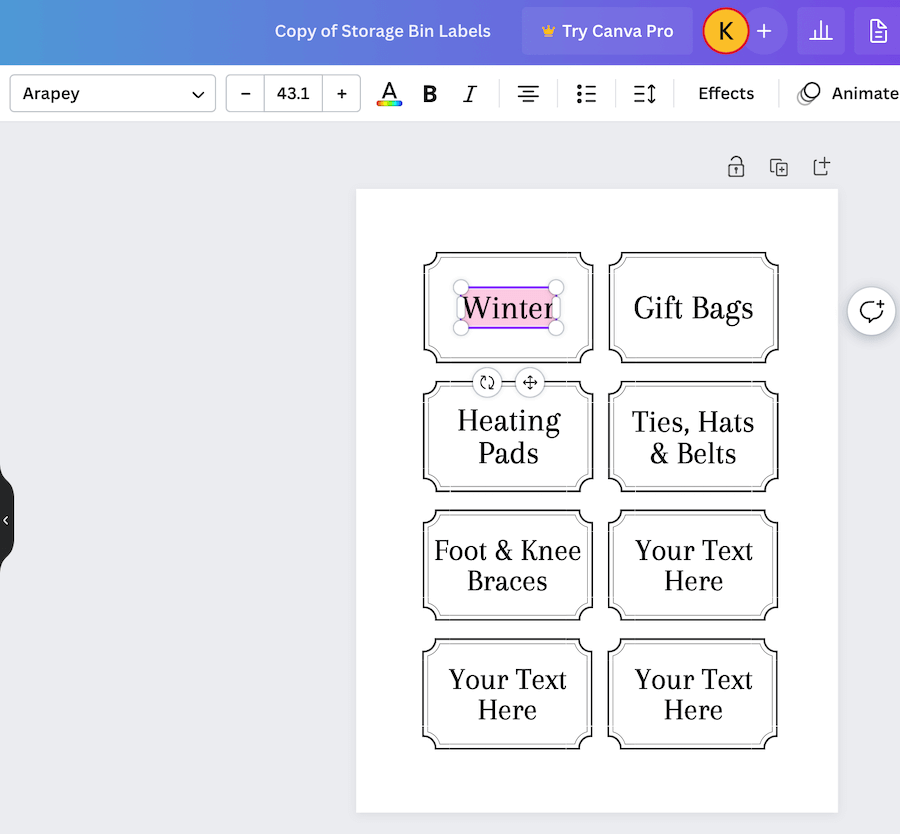
3. Download your custom storage bin labels and print! When you’re done entering in your own text, just select “Share” from the top right corner of the screen, and go down to “Download”. From there, choose “PDF Print” and then press “Download”.
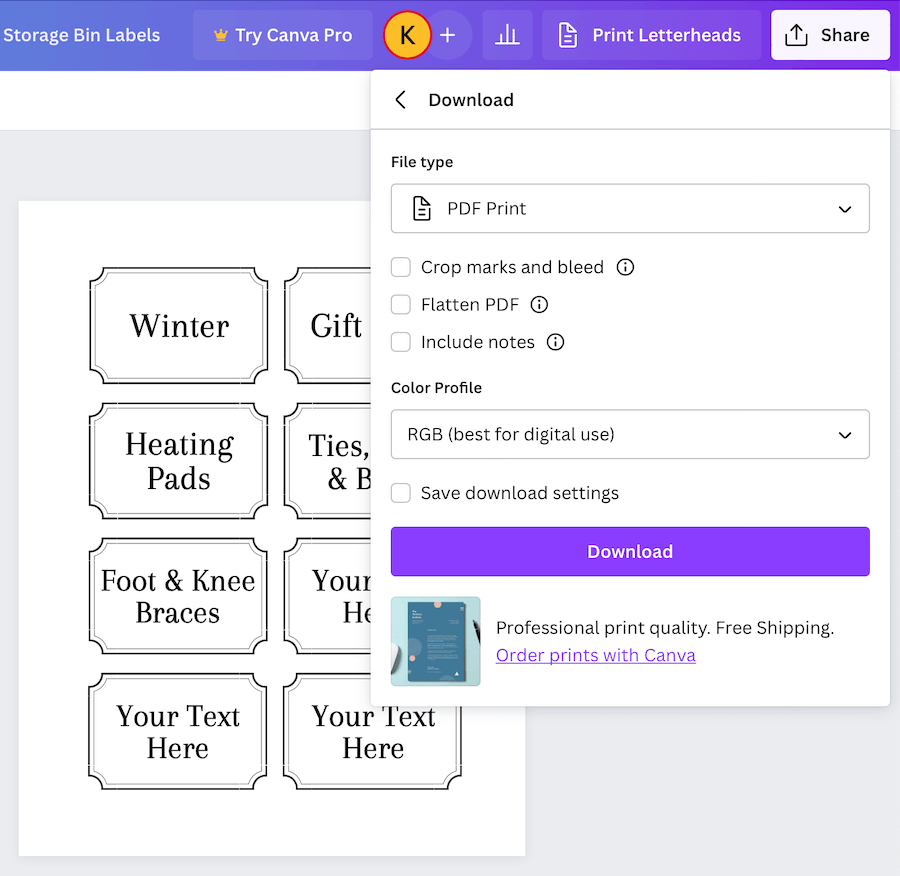
The printable storage bin labels will download to your computer and then you can print and cut them to go in your storage baskets! It doesn’t get much easier than that!
Other Organizing Ideas to Help You
If you loved this easy top shelf closet organization idea, then check out these posts for other decluttering and organizing tips:
- Junk Drawer Organization – Keep it Clean Once and For All!
- Organize Paperwork: How to Setup a Filing System for Family Papers
- How to Keep a Freezer Inventory Plus Free Freezer Inventory Sheet!
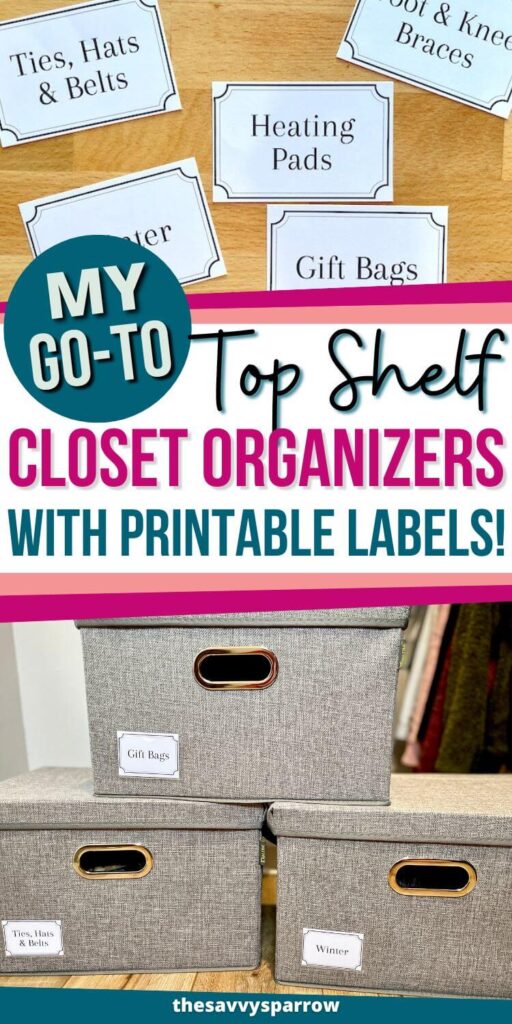
And don’t forget to PIN this post for later:

Leave A Reply!