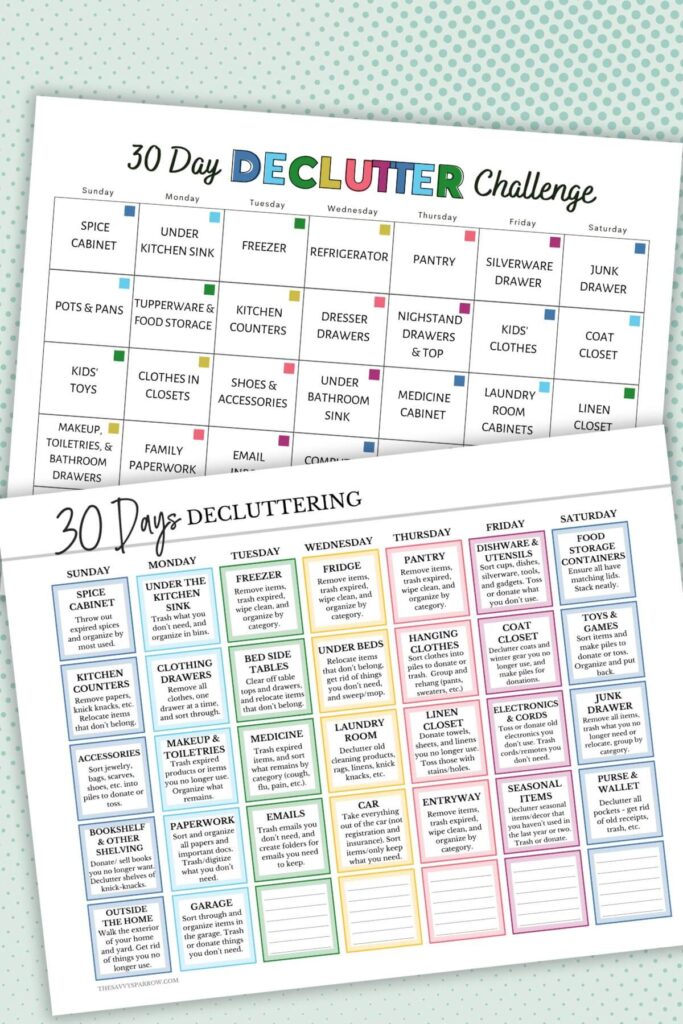
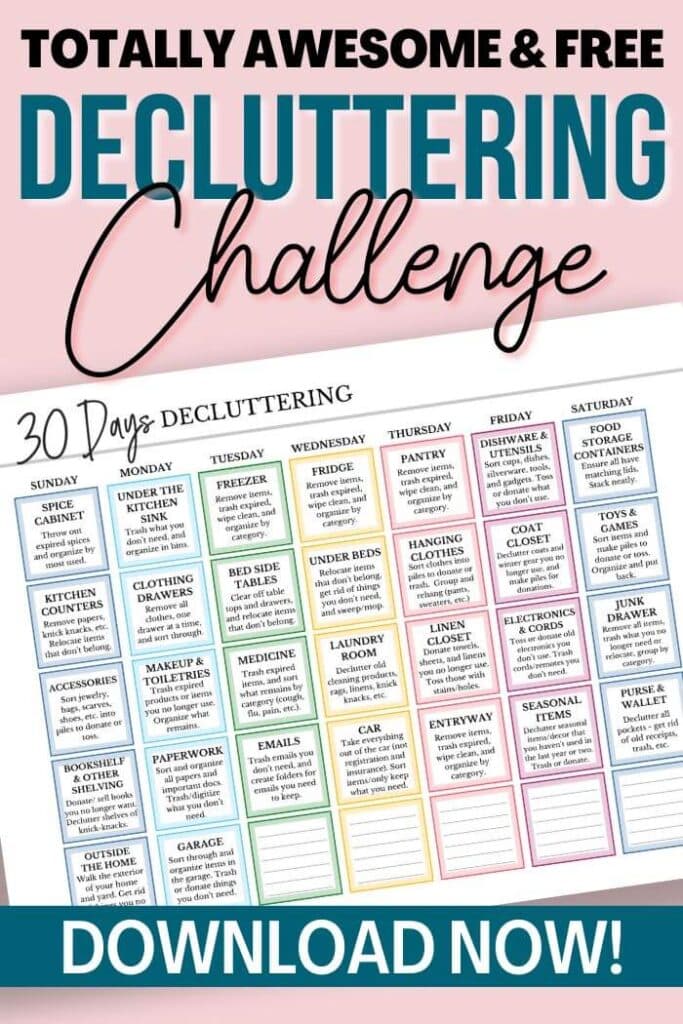
If your whole house is a cluttered HOT MESS, then this 30 Day Declutter Challenge can help! Grab the FREE printable 30 Day Decluttering Calendar to get started now and tackle your entire home one small step at a time!
Yeah, yeah… I get it. You’re too busy doing ALL THE THINGS to worry about decluttering one room in your house, let alone the WHOLE entire house.
I’ve been there. But, decluttering doesn’t have to be hard, and it doesn’t have to take hours upon hours to complete. In fact, you can work on one simple daily task for about 30 minutes a day to make the decluttering process less intimidating.
And the free printable calendar that you can download at the end of this post is just the thing to help you on your decluttering journey!
Just print the 30-day decluttering challenge calendar, hang it on your fridge, and grab the garbage bags! By tackling small areas of your house at a time, you’ll be well on your way to a clutter-free home with less stuff! Because after all, small tasks completed on a consistent basis can lead to big changes!
The 30 Day Decluttering Challenge
I’ve found that a decluttering checklist in the form of a calendar is the best way to tackle the daunting task of decluttering your entire home. By clearing a little bit of clutter each day, you’ll have a much tidier space by the end of the month. And the calendar helps you to know what space to work on every single day.
I don’ t know about you, but I find the process of decluttering to be overwhelming because it’s difficult to know where to start and what to work on next. But this declutter calendar helps with that!
I recommend that you print the free printable decluttering calendar (at the end of this post), and hang it on your fridge. Then, cross off each day as you complete the challenge. Just like crossing things off your to-do lists gives you a sense of accomplishment, this printable declutter calendar can act as motivation to keep going!
Here’s a look at the step-by-step decluttering tasks that are included on the free list:
Day 1: Spice Cabinet – Ground spices lose their potency over time, which can change the flavor of your recipes. So while you’re decluttering your spice cabinet, be sure to throw out any spices or seasonings that are expired.
Day 2: Under the Kitchen Sink – Under the kitchen sink is a prime spot for clutter like plastic grocery bags, cleaning supplies, old rags, and random glass jars that you may be holding on to for future craft projects that you’ll probably never get to… Or at least that’s what takes up residence under my kitchen sink. Remove everything from this area first, and then trash what you no longer need. Be sure to wipe out the cabinet before replacing the items that made the cut.
You may also want to invest in some plastic bins from Target to organize your cleaning supplies and paper products under your kitchen sink.
Day 3: Freezer – I suggest removing everything from your freezer first. Then, trash expired foods and wipe the inside of the freezer clean. Be sure to check for crumbs or food debris on the bottom shelves and inside the bins on the door. Group all of your frozen foods by category, and then replace the items in the freezer.
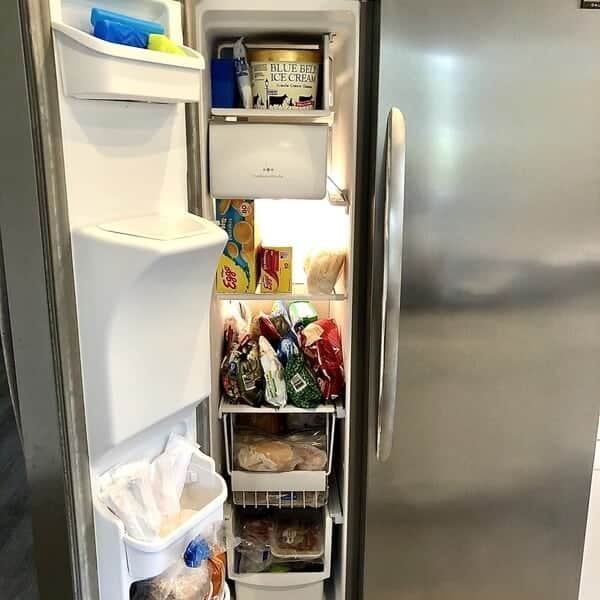
You can also use my FREE printable freezer inventory sheet to keep track of what’s in your freezer after you’re done!
Day 4: Refrigerator – The process for decluttering and organizing the fridge is very similar to the freezer. However, because refrigerated foods have a shorter shelf life, you may find that you have more expired foods like dressings or sauces in the fridge. If your fridge is super dirty and unorganized, then this process may take longer, and you’ll probably want to place your refrigerated items in a cooler with ice to keep them cold while you work.
Another tip, when placing the cold foods back in the refrigerator, be sure to place the older foods that need to be eaten first towards the front. In the restaurant world, this is called “FIFO” which stands for First In, First Out.
Day 5: Pantry Items or Dry Food Storage – You probably have a lot of expired foods in your pantry, from that can of baking powder that you bought 2 years ago for one recipe to the snack bars from Costco that you never ate.
Start with one shelf at a time and remove all of the items from that shelf, checking expiration dates as you go. Trash items that are past their use by date, and make a pile of dry foods and baking ingredients that are still good but that you won’t use. Group items by category as you remove them, so that it’s easier to organize the pantry as you put everything back.
And be sure to wipe the shelves, drawers, and floor clean before you replace everything.
Day 6: Dishes, Cups, and Utensils – Do you seem to collect sports water bottles, takeout silverware from restaurants, or random kitchen gadgets? Today is the day to sort through and declutter your kitchen cabinets and drawers, focusing on dishes, mugs, cups, silverware, and cooking utensils. Make piles to donate or trash based on the condition of the items.
Day 7: Food Storage Containers – There’s nothing more frustrating than adding your leftovers to a container and then realizing that it doesn’t have a matching lid. So today is the perfect time to tackle your food storage cabinet! Trash containers that are in poor condition or missing lids. Stack remaining items so that they fit nicely in the drawer or cabinet.
Day 8: Kitchen Counters – Kitchen counters are a prime “drop zone” for most families, so they tend to get cluttered quickly, especially if you have a small kitchen. Check out this post for tons of ideas on how to declutter kitchen counters.
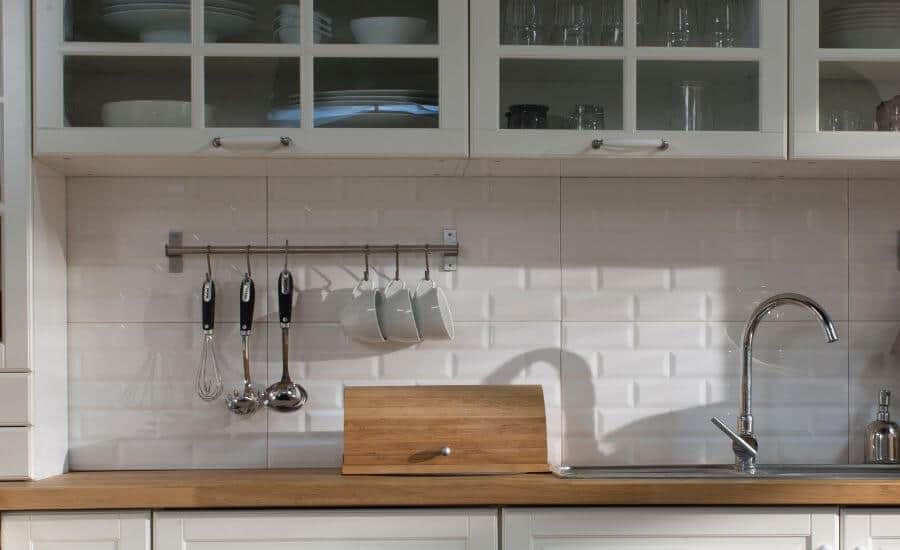
Day 9: Clothing Drawers – Empty your drawers and sort all of your clothes and undergarments into piles to donate or trash – I like to do this one drawer at a time. As you’re sorting through your clothing, refold items so they are nice and neat, and group like items together so they are easy to find.
I have an 8 drawer dresser, so I sort my clothing drawers this way – pajamas, workout clothes, short sleeve shirts, long sleeve shirts, shorts, jeans and pants, socks and underwear, bras and bathing suits.
Remember, if you haven’t worn something in the last year, you probably don’t need it, unless it’s a “specialty” clothing item like long underwear or a bathing suit.
Day 10: Nightstand – Nightstand drawers and tops are another prime spot for clutter. Clear off the tops of your bedside tables, leaving only the most essential items like a book, the tv remote, and your phone charger. Organize and declutter the contents of the drawers, using small storage bins to corral like items if needed. For instance, I store batteries in my nightstand drawers, and I have them neatly organized in a plastic drawer organizer.
Day 11: Under the Bed – Areas of your home that are hidden are typically ripe for collecting clutter… Out of sight, out of mind! And it’s so easy to just shove things under the bed where they’re out of sight so you can deal with them later. Well, “later” is today!
Start by removing all of the items from under the bed, and give that space a good vacuuming or mopping – Lord knows it needs it! Then, relocate items to where they belong, or organize the items that need to be stored there because of space constraints.
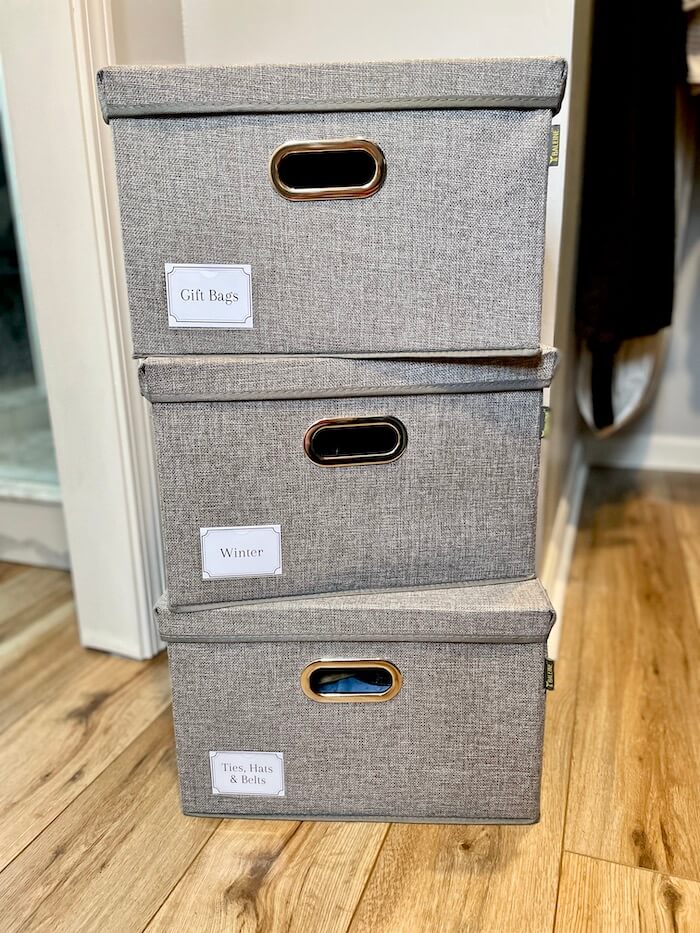
Day 12: Hanging Clothes – Next it’s time to tackle the closet! Go through all of your hanging clothes, making piles to donate or toss. Rehang clothing items grouped by category like sweaters, skirts, and jackets. And if your top closet shelves are messy, then be sure to check out my favorite closet shelf storage hack:
Day 13: Coat Closet – Sort through coats, winter accessories, and other items in your hall closet. This is a great opportunity to donate coats and winter gear that you no longer wear or that your kids have grown out of to local churches or missions.
Day 14: Toys and Games – If your kids are old enough, then I recommend that you have them help you. Just explain that if they haven’t played with a toy in the last several months, then they should give it to a child that doesn’t have as many toys as they do. This can be a great teaching moment to explain to young children about sharing and counting your blessings.
Once you’ve decluttered your toys and games, organize remaining items by age group or type of toy (action figures, craft supplies, board games, etc.) and replace them in your toy storage.
Day 15: Shoes and Accessories – Sort through jewelry, scarves, hats, shoes, etc. and declutter items you have not worn in a long time. Separate into piles to donate or toss, based on condition.
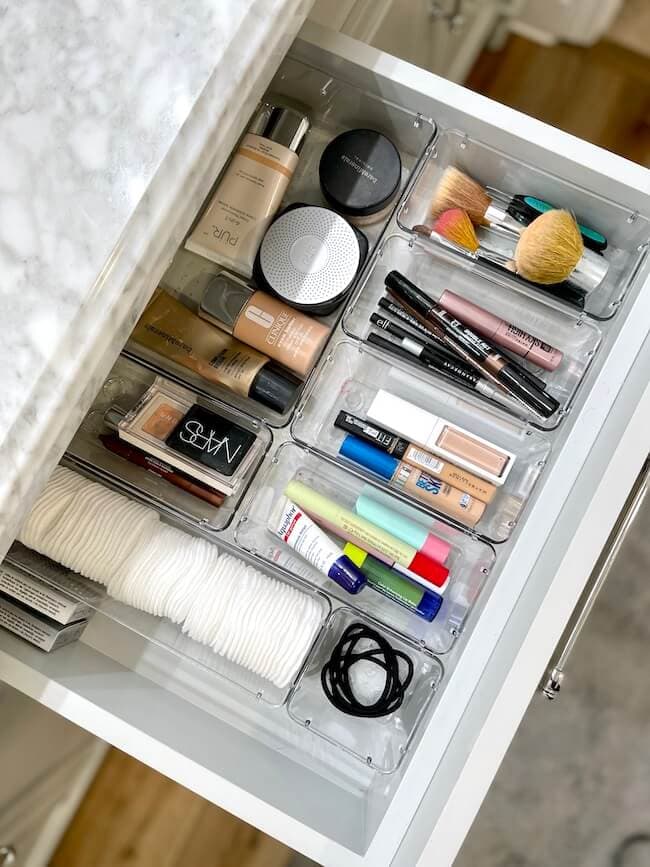
Day 16: Makeup and Toiletry Products – Remove all makeup and toiletry items from your drawers or cabinets, and discard items that are past their expiration dates or items that you no longer use. You can reference this post for ideas on how to organize your makeup drawers to tidy up the beauty products that remain.
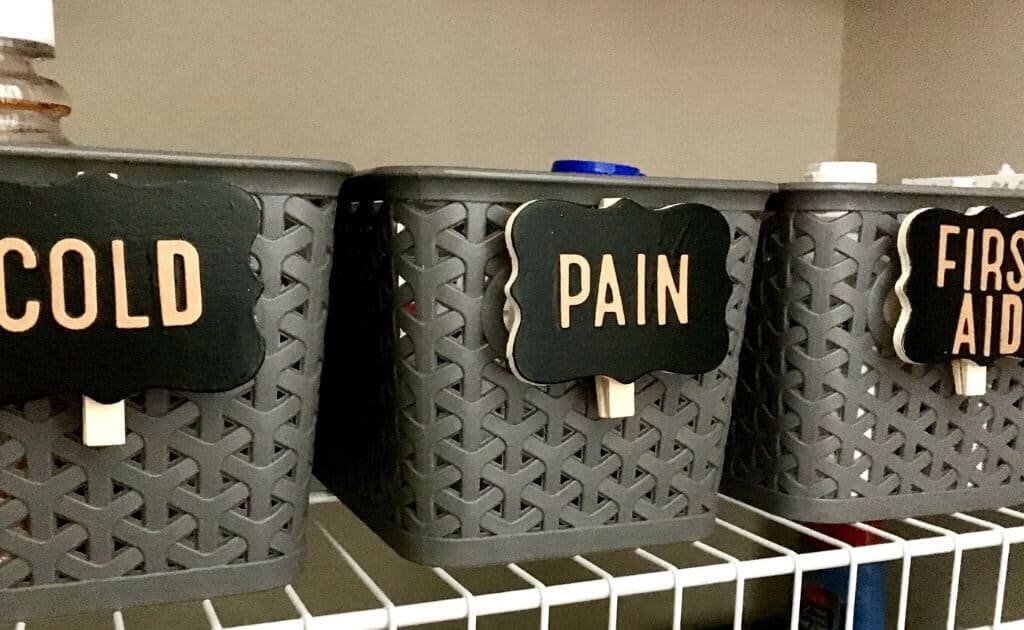
Day 17: Medicine Cabinet – Because medicine gets used pretty infrequently, you probably have tons of expired products in your medicine cabinet. First trash medications and ointments that are past their expiration dates. Then, check out this post for How to Organize Your Medicine Cabinet in 6 Easy Steps.
Day 18: Laundry Room – Since the laundry room is often hidden behind a door and it’s not an area where guests venture, it can be easy to let it get cluttered and messy. Declutter the laundry room by getting rid of old cleaning supplies or detergents that you won’t use, old rags or linens, and anything else that you no longer need. Be sure to toss any socks without matches, too!
Day 19: Linen Closet – Bath towels and washcloths tend to wear out pretty frequently, so today is the day to sort through and get rid of old linens. Toss towels, sheets, or other linens with holes or stains, or repurpose them into cleaning rags.
Day 20: Electronics and Power Cords/Chargers – You know that DVD player that you haven’t used in the last 2 years? Or that CD Walkman that’s hanging out in your desk drawer? Today is the day to get rid of old electronics that you no longer need. If they’re in good working order, you could donate them to a thrift store or mission. Also check for power cords or chargers that you no longer need.
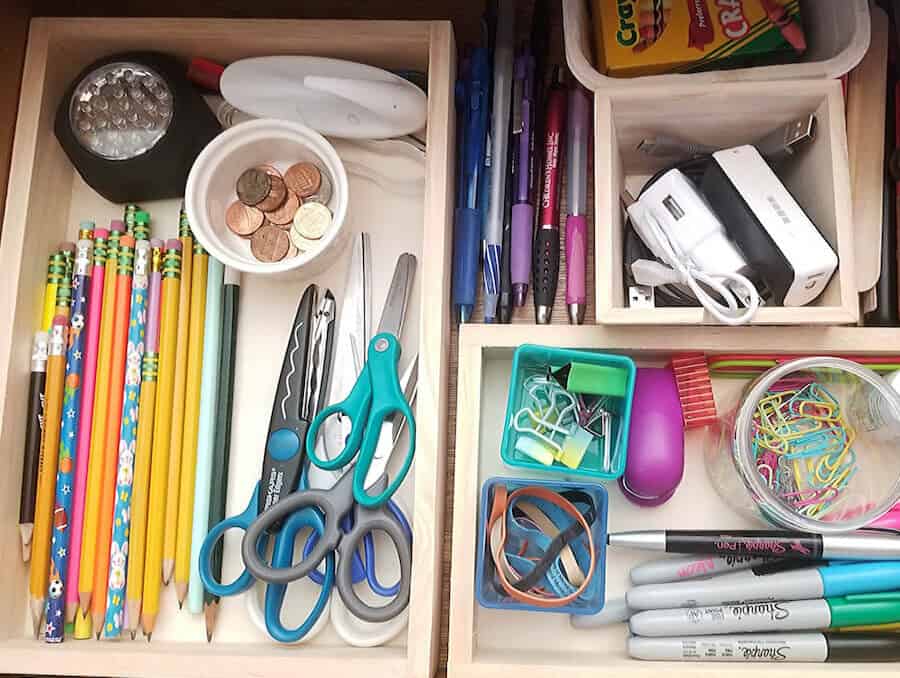
Day 21: Junk Drawer – The junk drawer is probably an area of your home that needs to be decluttered on a regular basis. This storage space for odds and ends quickly collects what I call “convenient clutter”. It’s convenient to just toss random small items in the junk drawer, and it’s also convenient to have most of those items like tape, pens, scissors, business cards, etc. easily accessible. You can check out my junk drawer organization tips HERE!
Day 22: Bookshelves and Other Decorative Storage Shelves – If you’re a book lover, then this may take you some time, but today is the day to declutter those bookshelves and other shelving units. Make a pile of books you no longer want to keep, and drop them off at a local library, school, or assisted living facility. You can also sell books that you’ve already read to used bookstores if you have one nearby.
For other shelving, declutter knick knacks or other items that you no longer want.
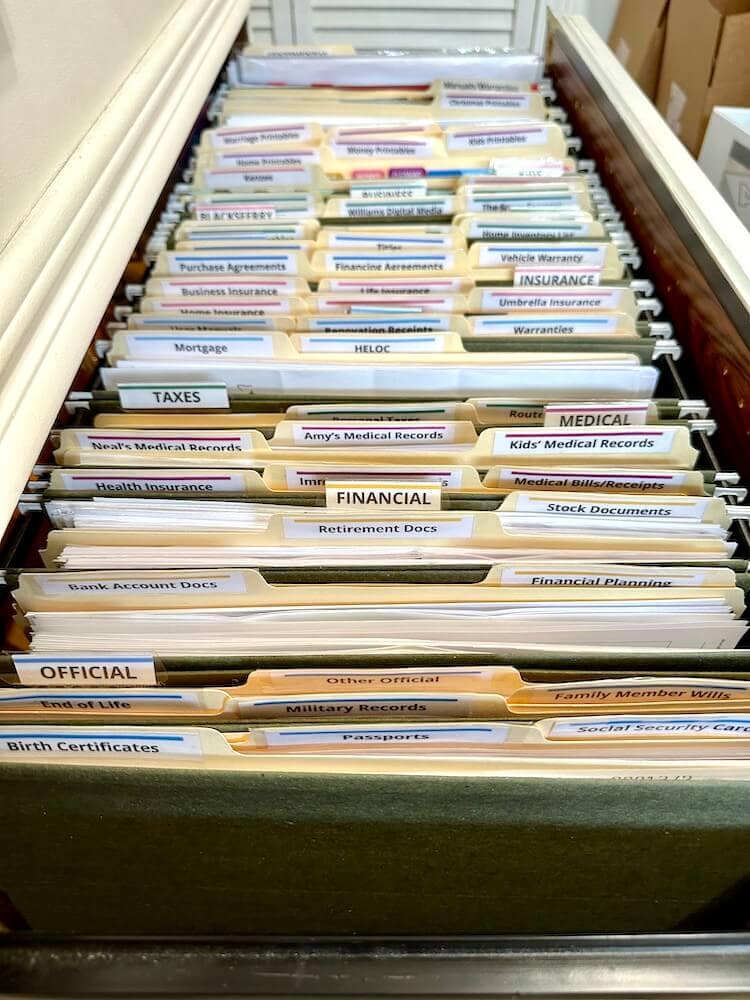
Day 23: Paper Piles – Household paperwork is one of the most difficult things to declutter and organize, so this may take you a day or two. I personally like to store my important papers in filing drawers with these free printable file folder labels. But find a paperwork storage system that works for you, and then stick with it to stay on top of the paper clutter!
Day 24: Email Inbox – Go through ALL of your email accounts (I have two business accounts and one personal!), and “trash” any emails that you no longer need, like expired coupons and sales emails, etc.
You can also set up Folders in your email account to store important emails that you don’t want to get rid of, so they’re not cluttering your inbox. I would suggest that you categorize your email folders to keep everything organized. For instance, you could group emails by business emails, medical and health-related emails, and family-related emails.

Day 25: Car – My favorite way to declutter my car is to just take a trash bag out to it, and put EVERYTHING from inside my car in the trash bag. The ONLY things that don’t go in the bag are my registration, insurance cards, and the vehicle manual. Everything else gets put in the bag, and then I take it inside to go through the bag and see what I need to keep (put back in the car or in a designated spot in the house) and what I can get rid of.
Day 26: Entryway or Mudroom – This drop zone is usually pretty messy since it’s probably the first room that you come to when you get home. Your entryway may be a prime spot for junk mail, old coats or purses, sports equipment, books or worn out shoes. Today is the day to sort and declutter all those items that greet you when you first walk in the door. Relocate items that don’t belong there, or get rid of things you no longer use.
Day 27: Seasonal Items and Decor – Seasonal items like holiday decor can be one of the biggest challenges to declutter, because they’re not used but once a year. However, try to edit down your seasonal items to only things that you have used within the last 2 years.
Day 28: Purse and Wallet – Sort through all of the pockets of your purse and wallet, keeping only the necessities. Add important papers or receipts that you need to keep to your paperwork files.
Day 29: Outside the Home – Look around the exterior of your home for things that can be decluttered. Things like old planters, garden hoses or sprinklers, random trash, worn out patio furniture, or old pet toys may need to be donated or trashed.
Day 30: Garage – We saved the hardest part of this 30-day declutter challenge for the last day! You may need two days (or even a full week) to declutter your garage – which is okay! Sort through items like old tools, random nails or hardware pieces, old sports equipment or bikes, and get rid of things you don’t need or haven’t used in a while. Or relocate items that are out of place to a different area of your home.
You can also invest in some pegboard and hooks, large storage bins, or other organizational systems to keep everything tidy.
Tips for Using the Declutter Calendar
- Work at your own pace – Don’t feel like you have to complete one decluttering job each day. Or if a certain area of your home is extra messy, then feel free to complete that area in your own time frame.
- Set daily reminders – Use the reminder app on your phone or write a note on your calendar pages to remember to complete the decluttering challenge each day.
- Cross the days off as you go – The simple act of putting a line through each day as you complete that day’s mission is super motivating!
- Do extra research – If needed, you can look up more in-depth articles for how to declutter and organize certain areas of your home. For instance, if your important papers are just crammed in a drawer with no rhyme or reason, then check out this post for how to set up a home filing system to get organized!
- Try a longer challenge – If a 30 day decluttering challenge seems to be too short for your physical space, then use a more comprehensive list or a challenge with a longer time frame. I’ve got some other awesome free printable cleaning and decluttering challenges at the end of this post!
Get the Free Printable 30 Day Decluttering Challenge
Want the FREE printable 30 Day Decluttering Challenge to help you stay on track? Just click the dark teal link down below to download and print the declutter calendar!
Click HERE to Download the 30 Day Decluttering Calendar
Other Printable Decluttering Checklists
Want even more decluttering ideas? Check out these posts for even more resources to get your home in order:
Decluttering Checklist – If you would rather work though a list than a calendar-type plan, then check out this post for a free printable decluttering checklist:
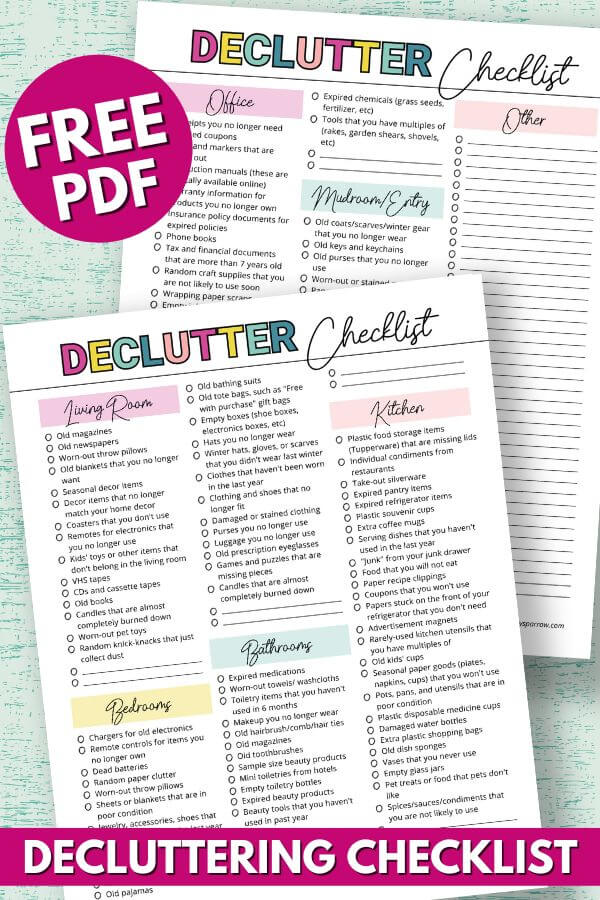
Bedroom Declutter Checklist – Want to focus on just one room at a time? Start with the bedroom with this free printable bedroom decluttering checklist!
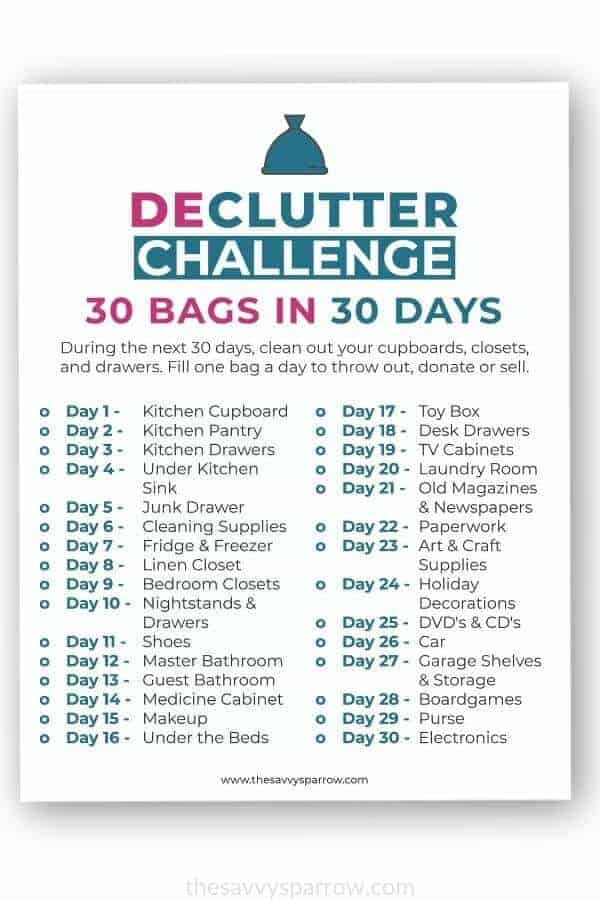
30 Bags in 30 Days Decluttering Challenge – If you still feel like this 30 Day Decluttering Challenge is just too much work for you, then I also have a 30 BAGS IN 30 DAYS Challenge… So you can focus on removing JUST ONE bag of clutter from your home each day, and you’ll have 30 bags of clutter out of your house in only a month.

Comments & Reviews
Is there a printer friendly version of the 19 page list? It’s a bit much. I was curious if you had a condensed version that is more eco friendly? Thanks!
Can you please send me the link to print the declutter your home. In 30.days along with whatever organizing pages to put in my happy planner. Thank you so much
Sure Rachel! I’ll email you right now. 🙂