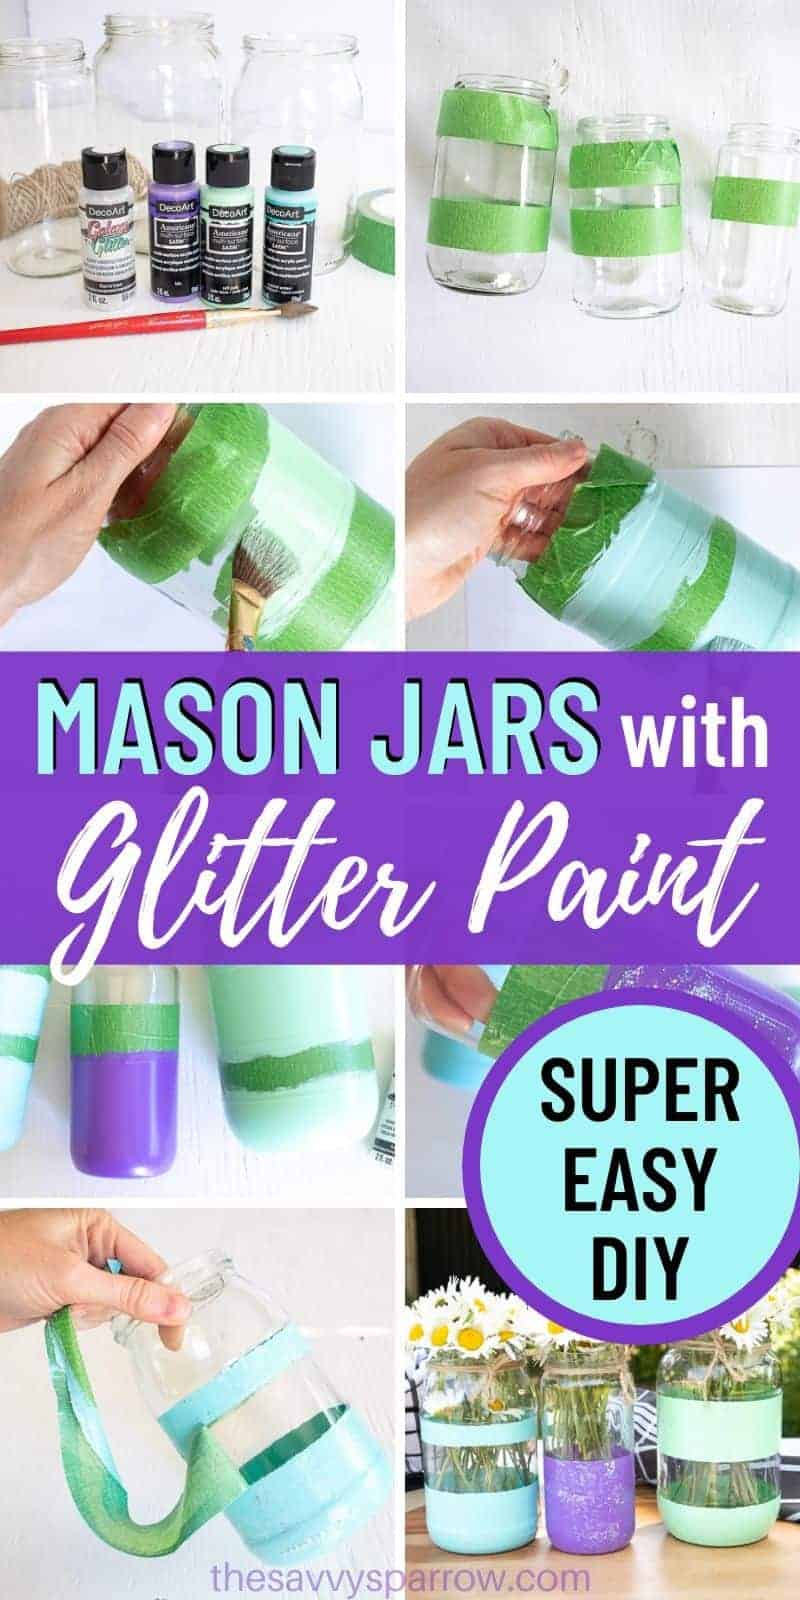
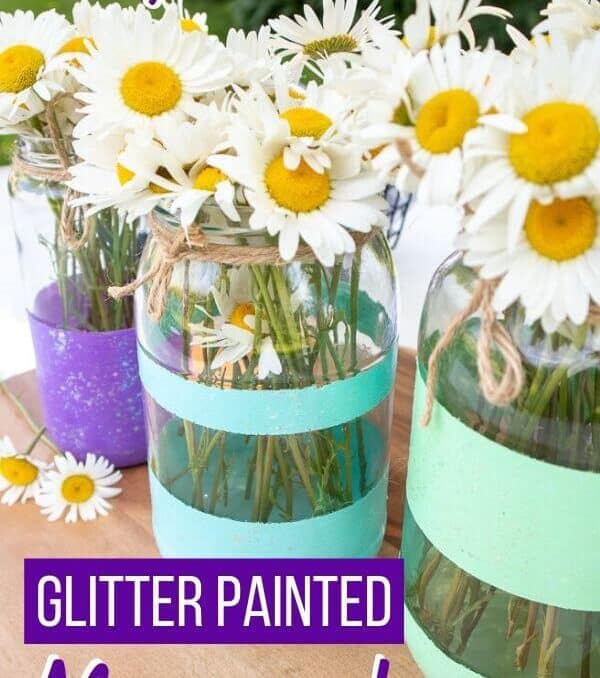
Learn how to paint mason jars with these easy mason jar crafts! These cute DIY painted mason jars with glitter stripes would be perfect to store makeup brushes on your counter or to use as floral centerpieces for a summer wedding! They’re super easy to make, so these cute painted jars would be perfect for tween and teen crafts, too!
If you’ve got a variety of old mason jars laying around just begging to be repurposed, then I’ve got the craft for you!
I tend to hoard old jars. If you need glass pickle and olive jars or plastic mayonnaise or peanut butter jars, chances are I’ve got one to spare.
We were on a “let’s make our own pickles” kick a few years ago and all of those extra jars came in handy… but then I decided that it was easier (and cheaper!) to just go out and buy pickles, so all of my extra jars just started collecting dust…
Until I decided to use them for some cute DIY mason jar crafts like these chalk painted kitchen canister jars and…
these adorable DIY painted mason jars with glitter stripes!
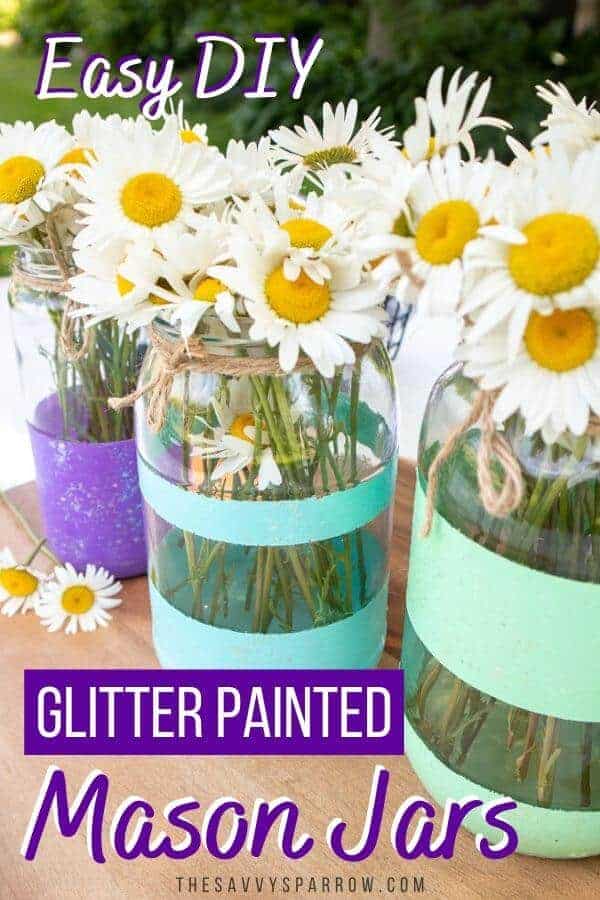
I’m telling you… these cute painted mason jar crafts are SO easy to make, that you’ll be buying extra pickles just to use the jars to make more of these cute glitter mason jars.
You can even make these DIY painted mason jars to sell at craft fairs!
Here’s the easy how-to:
*This post contains affiliate links, which means if you click a link and make a purchase, I earn a commission at no additional cost to you. Read my full disclosure here.
Glitter Stripe Mason Jar Supplies
These DIY painted mason jars only require a few basic supplies, making them a cute AND cheap home decor project! These are the exact paint colors and brands used to make these glitter painted mason jars, but feel free to substitute colors to match your decor.
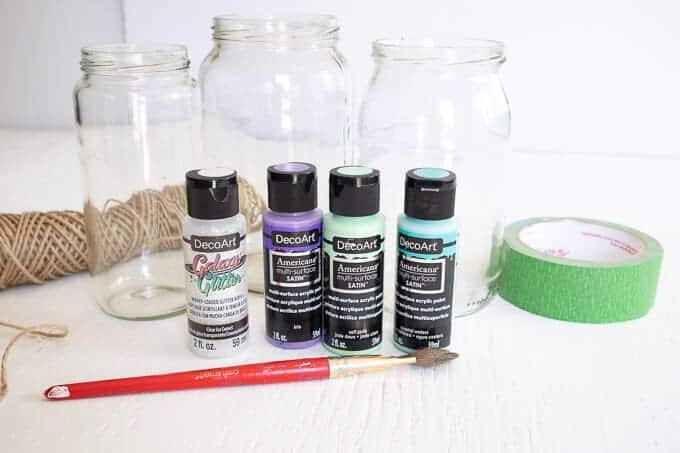
- 3 glass jars in varying sizes, lids removed
Note – You can use Ball mason jars or another brand for this project, but the stripes probably won’t look as nice because of the ribbed designs in the sides of the jars.
As you can see in the picture above, I just used old glass jars from pickles, olives, etc. because they have smooth, flat sides. The glitter painting process works the same no matter what type of jars you decide to use.
- DecoArt Americana Multi Surface Satin paint in Soft Jade
- DecoArt Americana Multi Surface Satin paint in Coastal Waters
- DecoArt Americana Multi Surface Satin paint in Iris
*You can find an awesome set of DecoArt American paints in a variety of colors HERE!
- Medium Flat Tip Paint brush
- DecoArt Galaxy Glitter in Clear Ice Comet
- Painter’s Tape, 1” wide – Frog Tape is my painter’s tape of choice, hands down! It’s the same tape that I used to paint stripes in my youngest daughter’s room!
How to Make DIY Painted Mason Jars with Stripes
These DIY painted mason jars with glitter are super simple to make, so they’re the perfect crafts for tweens and teens, or if you just need to blow off some steam and indulge in an easy home decor project!
Here’s how to make these cute striped glitter mason jars:
Prep your mason jars
Thoroughly wash jars with soap and water, and allow them to dry completely before painting. If you try to rush the drying process, then your paint won’t adhere to your jars as well.
Tape off your painted mason jar stripes
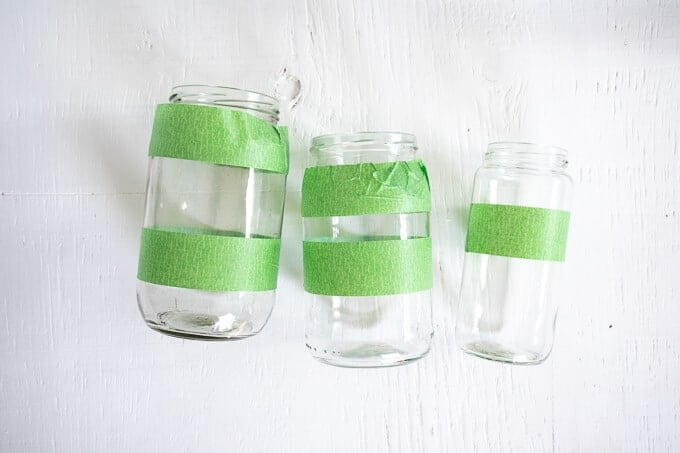
For each jar, position a piece of painter’s tape around the circumference in varying distances. For the smaller jar, apply only one piece of tape at about the middle height.
If you want to recreate my exact mason jar crafts, then here is what your painter’s tape should look like on your jars:
Paint mason jars with Multi-Surface Acrylic Paint
Paint the lower half of the smallest jar in Iris.
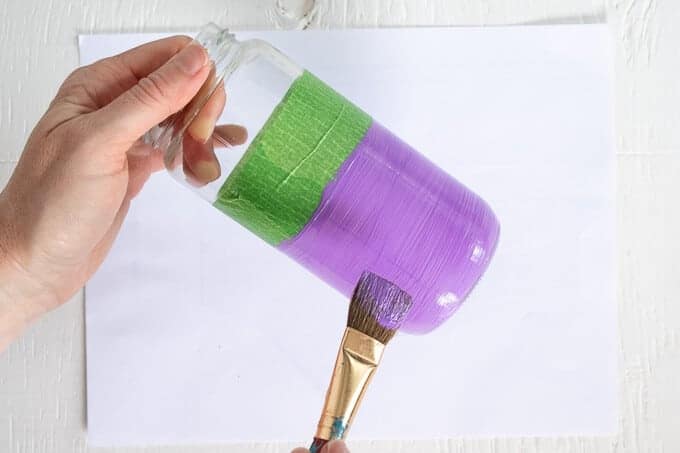
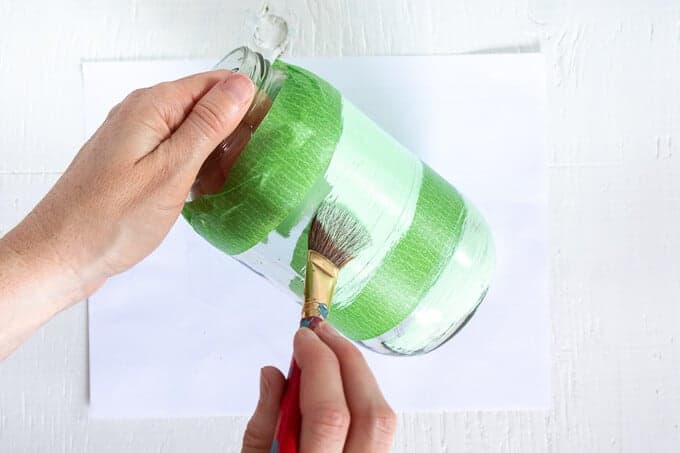
Paint the spaces between the painter’s tape on one of the medium sized jars in Coastal Waters.
Paint the spaces between the painter’s tape on the other medium sized jar in Soft Jade.
Add additional coats of paint
The key to painting mason jars is to build up your paint coverage. Just one coat of acrylic paint will probably leave your glass jars streaky, so you will need to repeat with additional coats of paint for more coverage.
Repeat as needed, and for best results, ensure paint is fully dry in between each coat.
Paint glitter mason jars with Galaxy Glitter Paint
After your final coat of colored acrylic paint has fully dried, then it’s time to add your glitter!
Cover the painted portions of the jars in Galaxy Glitter acrylic paint. Repeat as needed until desired coverage is achieved.
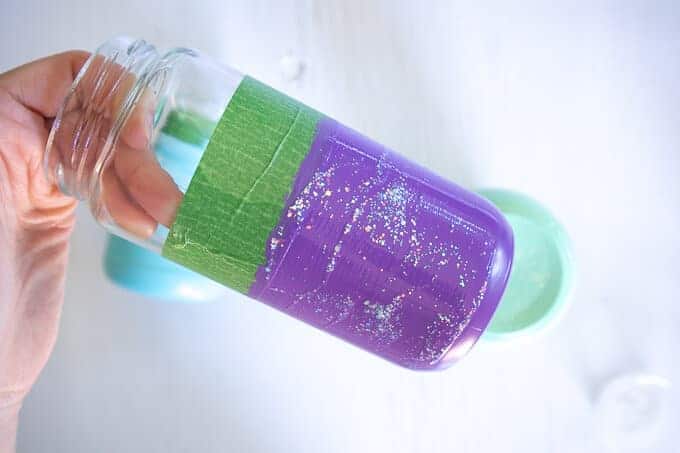
These glitter mason jars have 3 coats of glitter paint.
Allow glitter mason jars to dry and peel off painter’s tape
Drumroll, please… I know it’s tempting to rip off that tape, but let your glitter paint dry fully first. Then you can remove the tape and admire your handy work!
Use your DIY painted mason jars for cute centerpieces or countertop storage!
Aren’t these DIY painted stripe mason jars so stinkin’ cute! And so stinkin’ easy! That’s my kind of craft project!
Your painted jars would be perfect for summer wedding centerpieces with daisies like this:
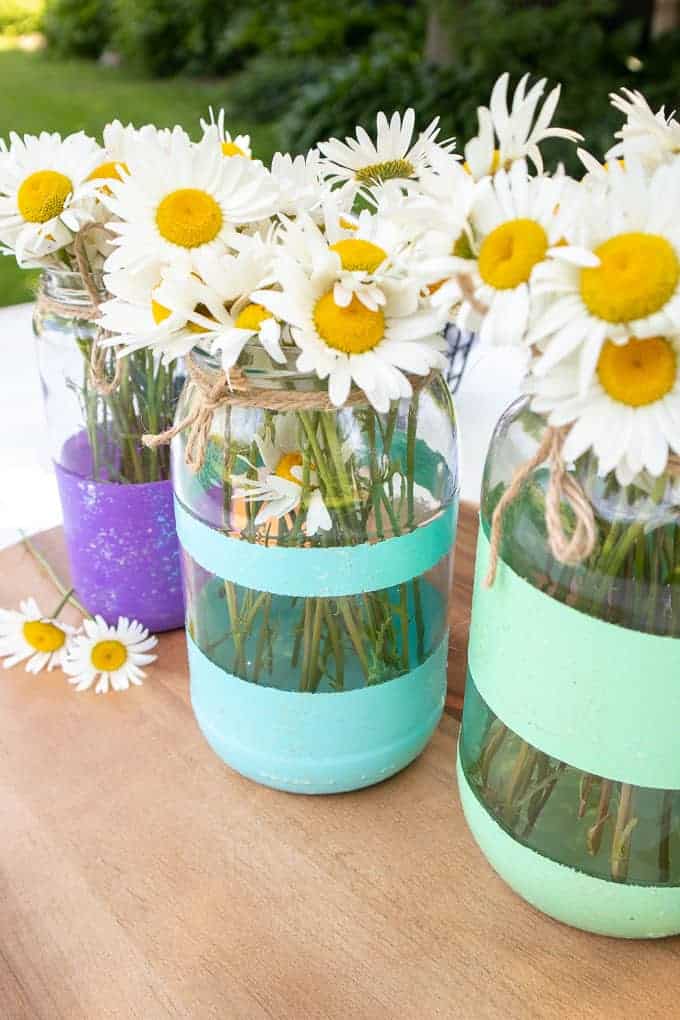
Or, you could use them for makeup brush storage or craft supply storage. Just swap out the acrylic paint colors to go with your wedding theme or home decor, and you’ve got super simple custom mason jar crafts!
Speaking of crafts… these painted mason jars would also be AWESOME crafts to make and sell, because you can use recycle old food jars, lowering your out of pocket costs!
Want even more ideas for DIY painted mason jars for home decor? Be sure to check out my Chalk Painted Mason Jar Kitchen Canisters!
Or head over here for more mason jar craft ideas!
And don’t forget to PIN this post for later! Happy Crafting!

Leave A Reply!