
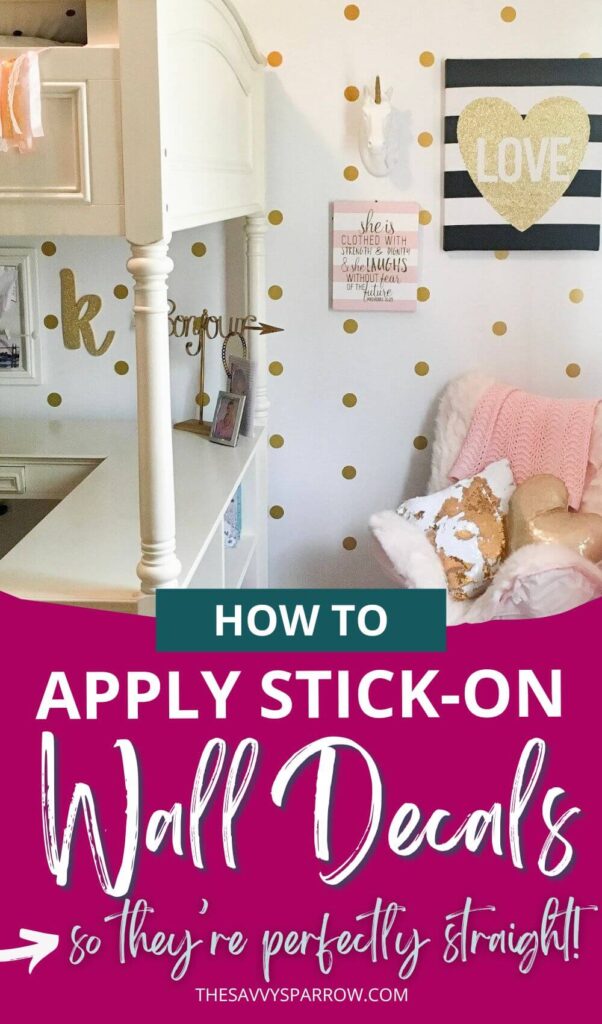
Removable vinyl wall decals are an inexpensive way to decorate large walls in kids’ bedrooms and beyond, but it can be difficult to get the placement just right. Here’s a step-by-step guide on how to apply wall stickers evenly so that you have a perfect pattern!
I love wall stickers because they can easily transform large walls from boring and blank to modern and interesting. However, it can take a while to get them perfectly straight if you don’t know what you’re doing. So I’m going to save you the time and let you in on my tips for how to apply wall stickers evenly so that they’re nice and straight.
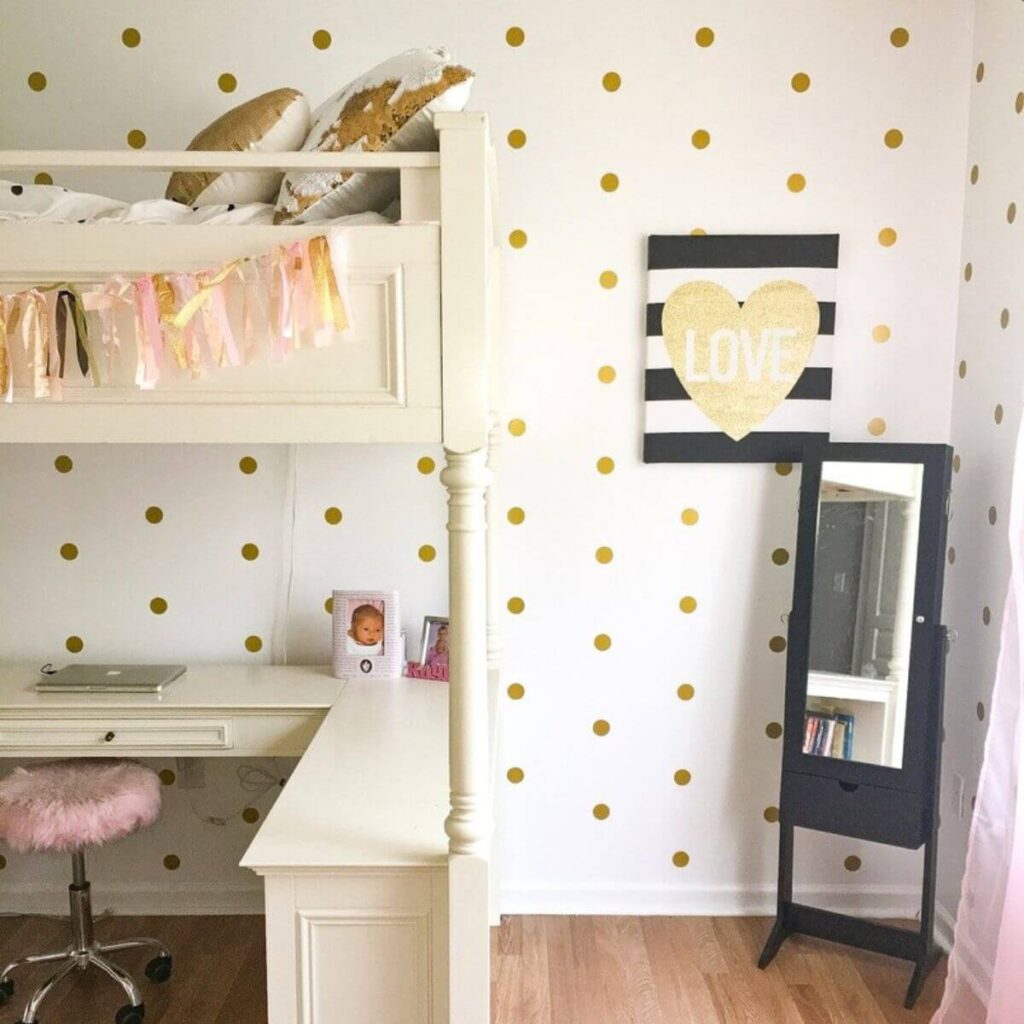
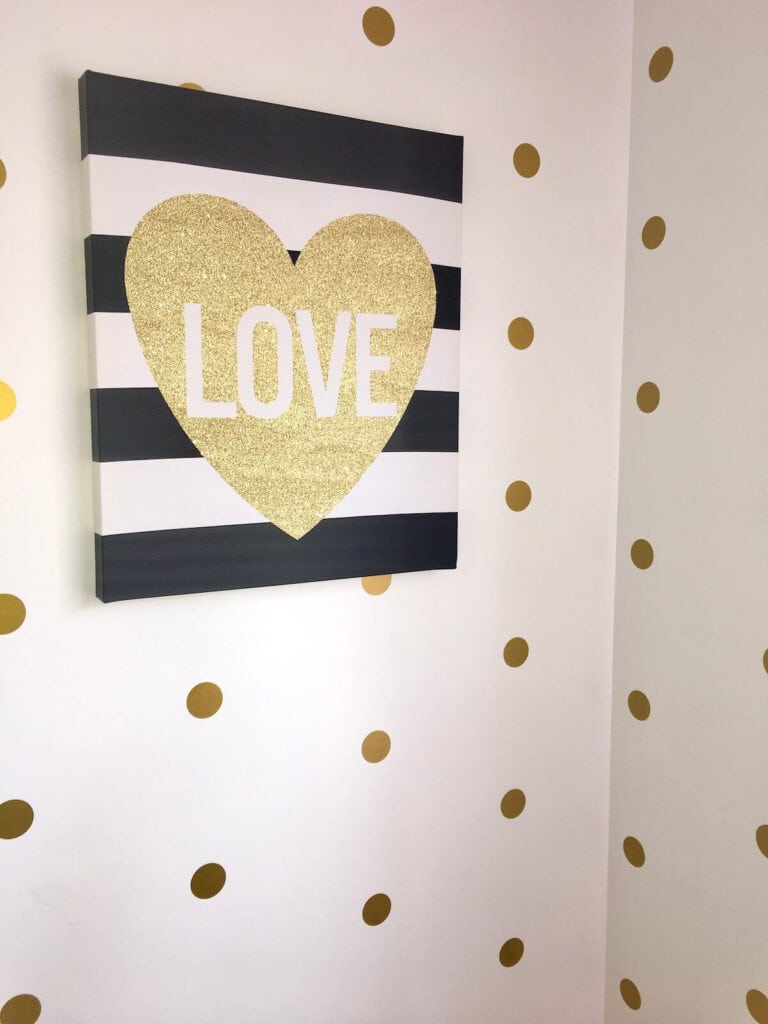
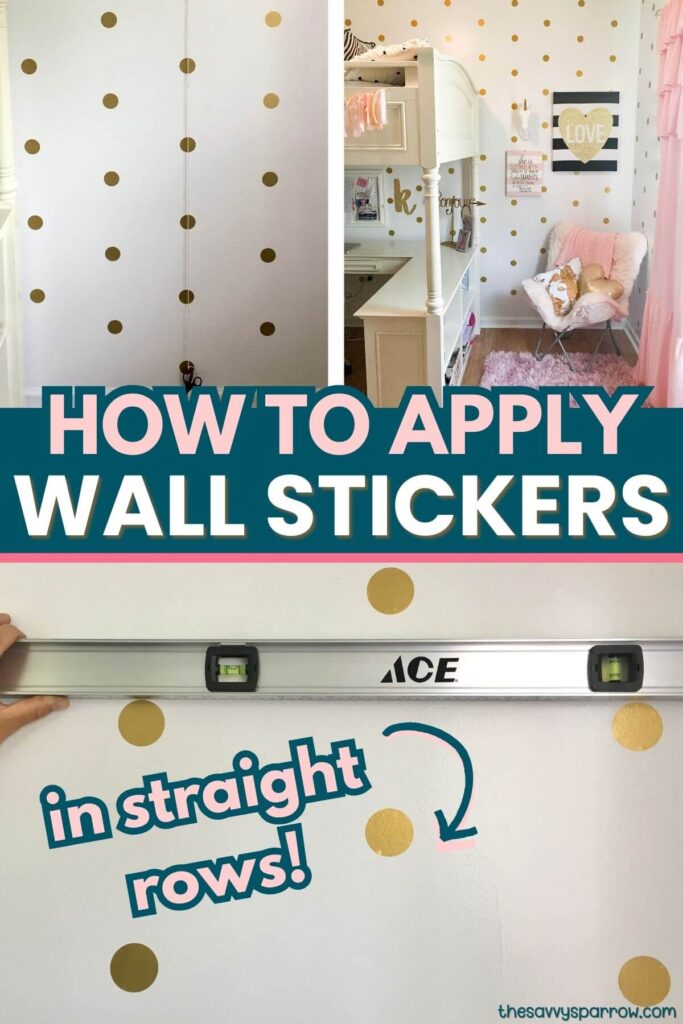
First, let’s take a look at my oldest daughter’s room. I knew that I wanted to do smaller polka dot wall decals to make her small bedroom look larger.
*This post contains affiliate links, which means if you click a link and make a purchase, I earn a commission at no additional cost to you. Read my full terms of use for more info.
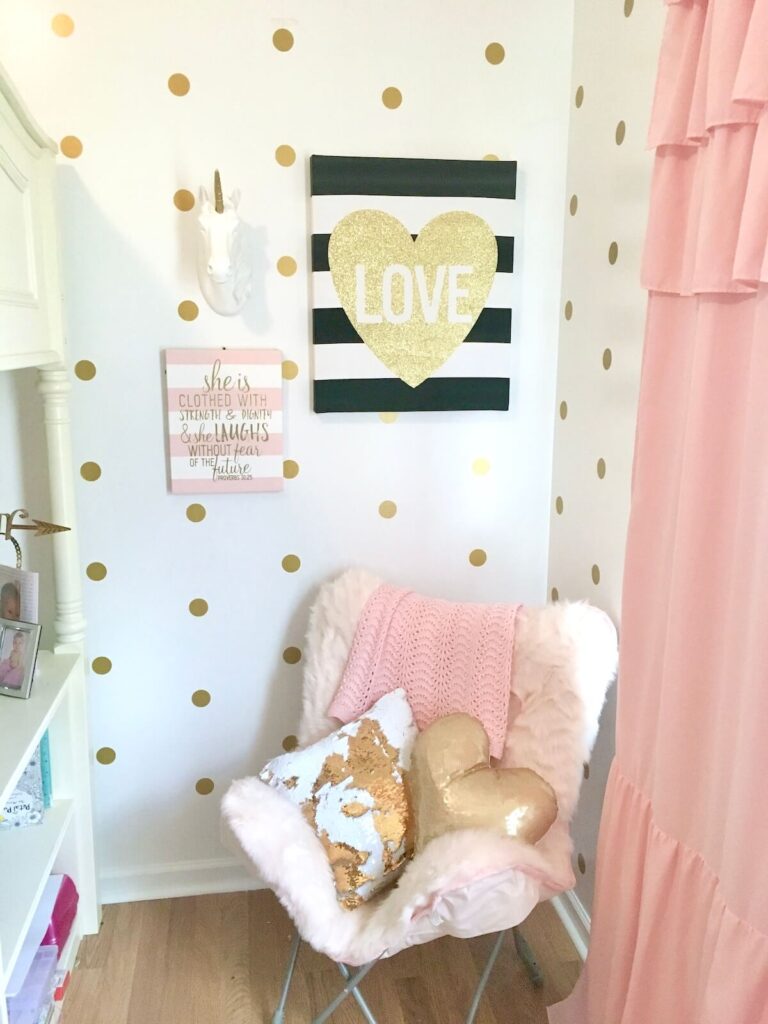
These are my absolute favorite decals. I had seen pictures of adorable little girls’ rooms on Pinterest, covered in sparkly but subtle gold dots, and I knew I wanted to do the same thing for my daughter’s space. So, I headed to trusty Amazon and found the wall decals that I felt were the best for the money. I ended up settling on these gold dots and, boy, am I glad that I did. I seriously cannot recommend them enough.
These wall decals were easy to remove from the paper backing, and they went on the wall smoothly with no bubbles. Plus, if I didn’t get them just right on the first try, they were easy to reposition. Which was great since I’m a perfectionist and I was trying to apply the wall stickers evenly in a pattern. And, they were a great value too! The pack comes with 200 dots, which was plenty for my project. That’s a huge impact for any room for less than $10!
Items Needed to Hang Wall Stickers Evenly
- Vinyl wall decals with adhesive backing – I prefer the removable wall stickers, because if you don’t get the placement perfect on the first try then you can remove them and try again without leaving any sticky residue.
- 4 foot level
- DIY plumb line and plumb bob (See Step 3) – I used string and kid’s scissors.
- Pencil
- Scotch tape (to attach your plumb line to the wall) – You can use the wall-safe Scotch tape or painter’s tape.
- Step stool
How to Apply Wall Decals in Even Rows
Step 1: Prep Your Walls
Before you jump in with your peel and stick decals, you want to make sure that your wall’s surface is free of dust and dirt. The quickest way to do this is to wipe them down with a clean lint-free cloth.
Step 2: Decide On Placement or Pattern
Place a few decals on the wall in different spacings and patterns. Then take a step back from the wall and look at what you like best.
Ultimately, we decided to do our removable vinyl decals in a polka dot grid pattern with rows that were 10 inches apart and staggered. Our dots are 10″ apart vertically and 20″ apart horizontally, giving us a perfect pattern.
I recommend placing at least 10-15 dots in a trial pattern to get a clear picture of what looks best. At first, I only placed 5 dots on the wall (in the shape of a 5 on dice) and thought that 8″ apart would look best. We did half of the wall before I decided I wanted to take all of the wall decals down to make them farther apart. Don’t do what I did!
Save yourself some time (and your husband’s patience!) and make sure that you are 100% happy with the pattern before you start! This is an important step even if you decide to go with random patterns.
Step 3: Make a Plumb Line and Plumb Bob
Shout out to my husband for this handy little DIY plumb line, which is basically a vertical leveling tool that uses gravity to determine what is level on an upright surface. A plumb bob is a heavy object at the end of the plumb line that acts as the weight so that your plumb line is level.
So, how is this DIY contraption helpful in applying wall stickers evenly in rows?
Well, instead of having to use your big 4 foot level horizontally and vertically to figure out what is level for every singe dot, the plumb line takes care of all of the vertical dot placements for you.
So how do you DIY a plumb line?
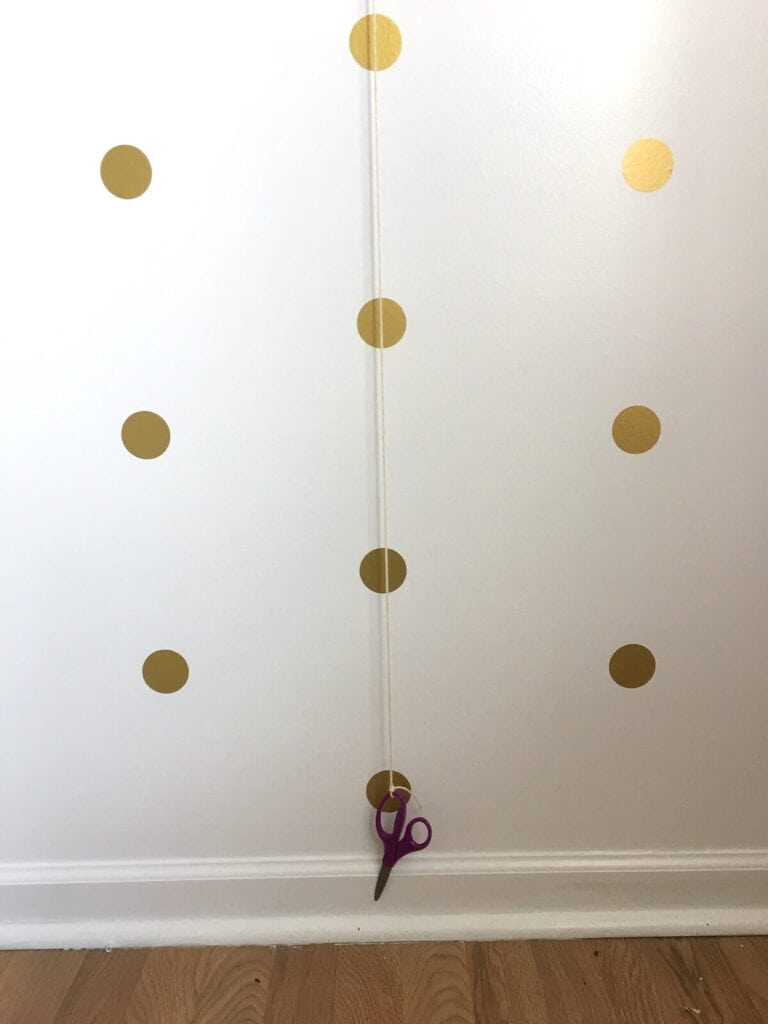
Simple. Just take a piece of string that is longer than the height of your walls (we used butcher’s twine because that’s what we had on hand) and tie a pair of kid’s scissors to the bottom. Then, use scotch tape to attach the top of the string to the very top of the wall. The scissors should be hanging just above the floor. There’s your gravity-powered level!
Step 4: Mark the Vertical Placement of Wall Decals and Apply in a Row
Starting from the top of the wall, use a pencil to lightly mark where you want your top decal to go. Then, using the ruler on the side of your 4 foot level, measure down and mark where you want your next decal to go.
We put our pencil marks 10″ apart down the level, and then we placed the polka dot stickers so that the top part of the decal just barely covered the pencil mark.
Continue this process until you have completed the entire first row.
*TIP – You can use a credit card to remove any air bubbles from underneath the stickers as you go.
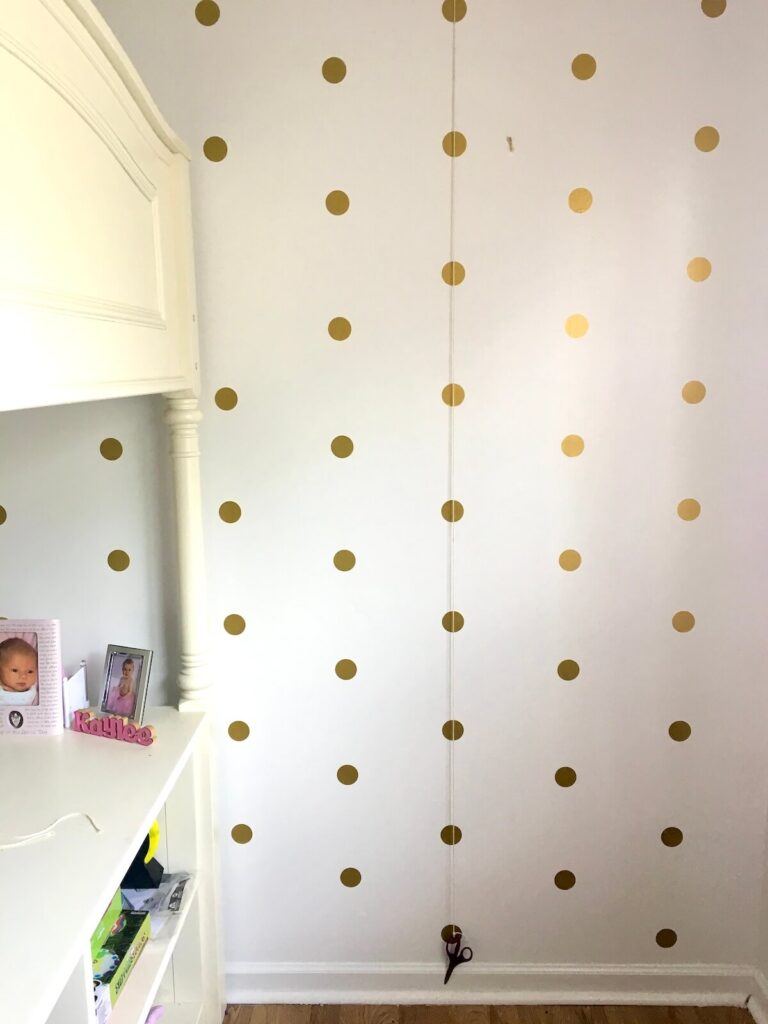
Step 5: Reposition Plumb Line and Apply Next Row
Before you move on to the next row, you need to reposition your plumb line. Simply remove the tape and use a tape measure to re-tape the line where you want your next row to go. For us, that was 10″ apart.
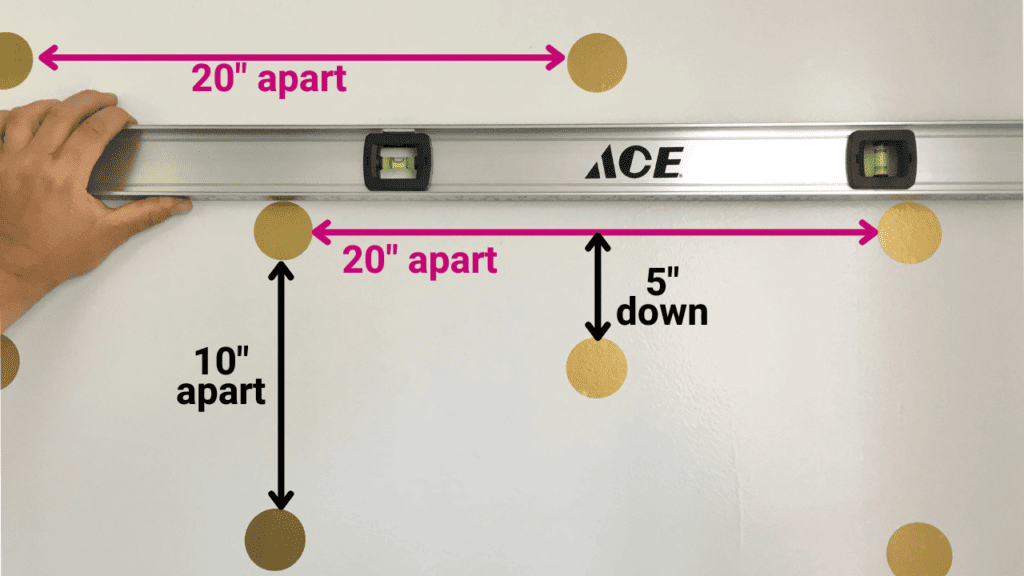
Then, using a pencil, mark where you want the dots in the 2nd row to go. Since we staggered our dots, the top dot of the 2nd row was down 5″ farther than the top dot of the 1st row. We started the 2nd row down 5″ lower, but each of the dots was still 10″ apart vertically.
Here’s a visual of the measurements that we used:
Step 6: Use Level to Verify Horizontal Placements
The DIY plumb line is a great tool to make sure that your dots are level vertically. But it’s still a good idea to check the placement of your dots horizontally with a level.
For us, that meant making sure that the tip top of our dots was hitting the level exactly 20″ apart, and that when we held the level up so that it just hit the top of our dots, the level’s bubble was perfectly in the middle.
Apply your 3rd row, reposition plumb line, mark next row’s dot placements, apply dots, reposition plumb line… You get the idea. Keep going until your room is beautifully decal-ed!
*Tip – Don’t be in a rush… and don’t expect to finish in an hour. Start this project when you have plenty of time (at least 6 hours depending on the size of your room), or plan to finish it over several days.
And that’s it! It may seem a bit difficult but, trust me, if I can do it, then you can too! The only problem is… Now I’m kind of obsessed with these cute little decals and I want to decorate even more rooms!
Before you go, be sure to check out some of my other favorite DIY wall decor ideas:
- DIY Faux Brick Wall – I did this awesome DIY accent wall in my home office and I absolutely LOVE it! A great wall project in under 4 hours.
- How to Paint Stripes on Walls – I painted my youngest daughter’s room with these wide horizontal pink and white stripes to make the room look larger.
- Turn a Blank Wall into a Mudroom Wall – One of my favorite DIY home projects – great if you don’t have a dedicated mudroom and you need some extra storage for coats and purses.
- Easy Reverse Shiplap Accent Wall – We did this accent wall in our dining room… super easy and a nice way to add some texture!
Want to jazz up your own space with some decals?! Be sure to pin this wall decal tutorial for later! And thanks for stopping by!


I liked your tip of using a pencil to lightly mark where you want your top decal. My wife and I are decorating our daughter’s room and we want to know how we can decorate the top of her walls. I’ll be sure to use pencil markings when placing decals at the top of her wall.